Growing seeds is fun once you learn how. But it can be intimidating and overwhelming for beginners.
So in this post, I’m going to show you everything you need to know about how to start seeds: including different ways to do it, how and went to begin, and much more!
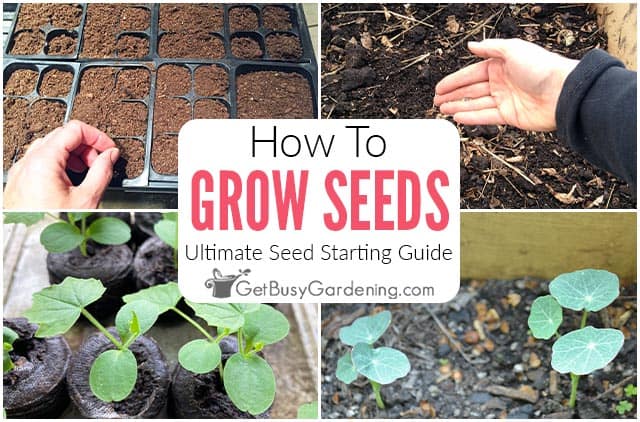
Seed starting can seem intimidating and complicated for beginning gardeners. But, I’m here to tell you that it doesn’t need to be.
Growing plants from seeds is a rewarding and fun process once you get the hang of it, and the perks don’t end there.
With my experience and tips, we can get you growing seeds confidently, no matter your climate, or the types of plants you’re most interested in.
So, whether you want to grow vegetables from seed, or prefer flowers, you’ll learn all you need to know here.
In this comprehensive guide, I will show you everything you need to get started – from why, when, and how to sow seeds step by step, to tracking what you grow, and much more.
Why Grow Seeds?
Whether or not you decide to grow seeds is really a personal choice. It’s certainly not required, but every gardener should at least try it.
I know it can be very intimidating, so don’t put too much pressure on yourself. The best thing to do is to consider all of the benefits, and decide if it’s worth it for you.
Benefits Of Growing Your Own Seeds
There are a lot of different benefits to growing seeds. Below I’ve listed a few of the most common ones, but this is not comprehensive. Ask any seasoned gardener and they will have their own benefits to add.
- Cost effective – We all know that starting seeds is cheaper than buying seedlings and plants, so this one is a no-brainer.
- Many more options – There are waaay more seeds to choose from at the garden center than there are seedlings and plants. So you’ll have a much larger variety of options.
- You know what you’re getting – When you grow seeds yourself, you have complete control over the environment, and any type of products that are used. So, if organic gardening is important to you, you’ll know exactly what you’re getting.
- Start gardening sooner – This is especially important for those of us who live in a cold climate. Growing seeds allows us to dig in the dirt much earlier than we could outside.
- A sense of pride – When you watch those tiny seeds grow into huge plants in your garden, it’s the most amazing feeling. You’ll be so proud of yourself!
- Extras to sell or share – You can pretty much guarantee you’ll have extras to share with friends, to swap for other varieties, or even make a little extra cash by selling them.
Seed Starting 101: The Basics
Over the years, I’ve found that one of the biggest things beginners get hung up on is the technical stuff. So let’s dive right in, and get a few basics out of the way first.
Technical Terms
Don’t be intimidated by the big technical words that go along with growing seeds. Trust me, once you get the hang of it, these will become a natural part of your vocabulary.
Here are a few of the most important terms to understand for beginners, and for the purpose of this guide…
- Sowing – Simply put, this is the process of planting seeds.
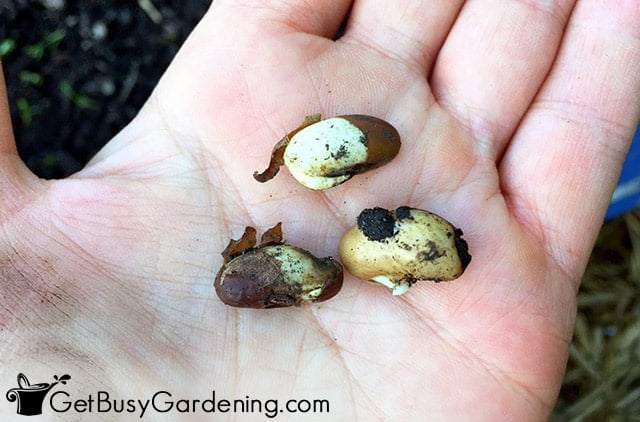
- Germination – The point when a seed first begins to grow into a seedling.
- Scarification – Nicking or scratching the outer coating of hard seeds to help speed up germination.
- Stratification – Simulating natural winter conditions for seeds that require a period of cold dormancy to germinate.
Different Seed Starting Techniques
To have the best success at growing plants from seed, it’s important to understand that there are few different ways to do it.
I want to make this super easy for you, so I’m only going to talk about the two most popular techniques: starting seeds indoors and direct sowing.
There is one other method that I use, and it’s called winter sowing. But that is a bit more specialized, so I won’t cover it in this guide. If you’re interested in learning more, you can read all about it here.
- Starting seeds indoors – Using this technique, you start seeds inside your house several weeks before they can be planted into the garden. The main benefit is that you can start them much earlier than you could outside.
- Direct sowing – With this method, you plant the seeds directly into the garden. The main benefits are: you don’t need any special equipment, and you don’t need to worry about caring for seedlings or transplanting them.
Learn all the details about the three common methods here.
Equipment & Supplies
Many new gardeners hesitate to try growing seeds because they’re worried about the cost of buying all the necessary equipment. Well, I have a secret… you really don’t need to buy that much stuff.
You can find my full list of supplies and equipment here. But for starters, there’s only a handful of items that you really need.
- Seeds – Ok, this one goes without saying, but it is technically a required item right?
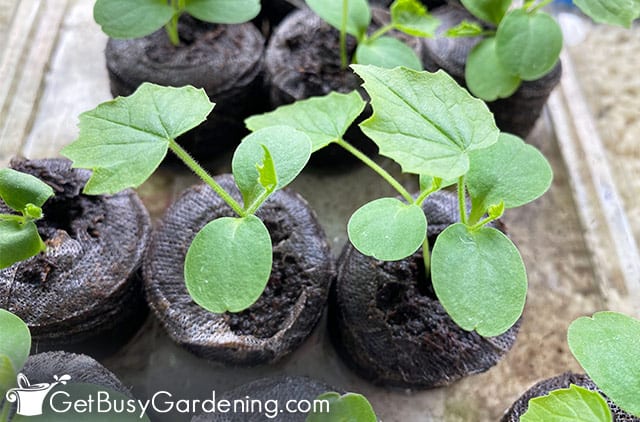
- Soil – You can use either a potting mix or peat pellets for your growing medium indoors. Outside, I recommend amending garden soil with compost or worm castings.
- Water – Distilled, rainwater, or melted snow warmed to room temperature are the best types to use. If city tap water is your only option, leave it sitting out for 24 hours so the chlorine can evaporate.
- Trays (aka: flats) – You’ll only need these indoors. Plastic flats are reusable, so you won’t have to buy them every year.
- Lights – I’m only listing this here because people always ask me about them. Grow lights are not required, but I highly recommend them for the best results indoors. Learn all about using lighting for seedlings here.
Choosing Which Seeds To Grow
I know it sounds silly, but sometimes choosing which seeds to grow is the hardest part. It’s fun, but also very overwhelming.
So, below I’ll give you some tips and pointers to help you narrow it down, and make the best selection for you and your garden.
Different Types Of Seeds
There are tons of different types of seeds out there, and the thought of learning the correct way to grow every single one of them can be overwhelming. Instead, let’s think about it in simple terms.
When we simplify it, seeds can be separated into two very broad categories. I call them “warm weather” and “cold hardy”.
1. Warm weather seeds – These types of seeds need a warm environment to grow. They likely won’t sprout if it’s too cold, and the seedlings won’t tolerate frost.
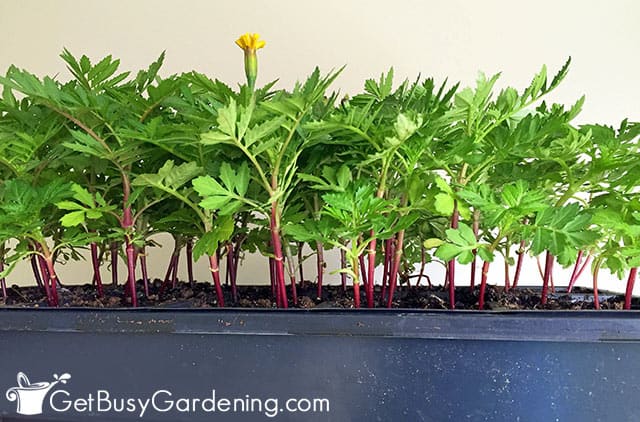
Typically, these are the best candidates for starting indoors (but not always!). Examples include vegetables like peppers, eggplant, tomatoes, tomatillos, okra, broccoli, and basil. Or flowers like marigold, zinnia, and cosmos.
2. Cold hardy seeds – On the flip side, the seeds in this category prefer cooler temperatures, and many of them won’t germinate, or the seedlings will suffer if it’s too hot.
A lot of these are great for direct sowing (but not all of them!). Examples include: (vegetables) spinach, mache, lettuce, arugula, radish, beets, peas, and carrots. If you like flowers: petunias, snapdragon or sunflowers.
Which Ones Are Easiest For Beginners
The difference between the two basic types of seeds above is a good starting point, but definitely not a hard and fast rule.
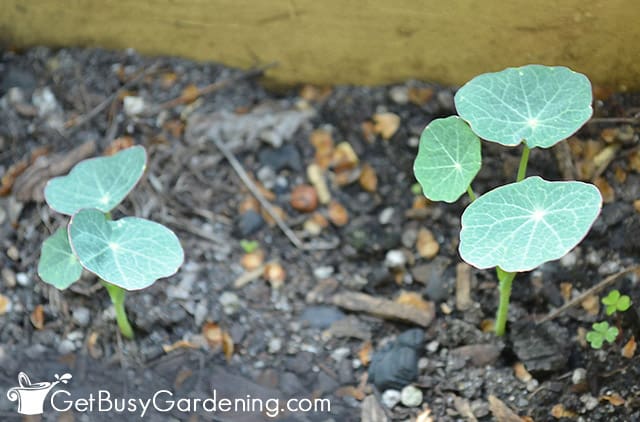
Plus, when you’re a newbie, you should choose seeds that are the easiest to grow. That will give you quick wins, and build your confidence to eventually try other types.
To make this simple for you to figure out, here are a few lists of some of the easiest ones to begin with.
- 17 Easiest Seeds To Start Indoors
- 17 Easiest Seeds To Direct Sow
- 13 Easy Annual Flowers To Grow From Seed
- 23 Easiest Vegetables To Grow From Seed
Preparing To Grow Seeds
Once you have purchased the seeds you want to grow, the next step is preparation. Taking the time to prepare will set you up for success, and ensure things go much smoother at planting time.
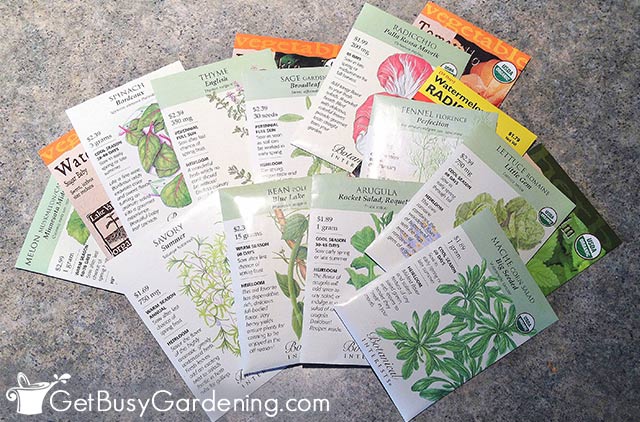
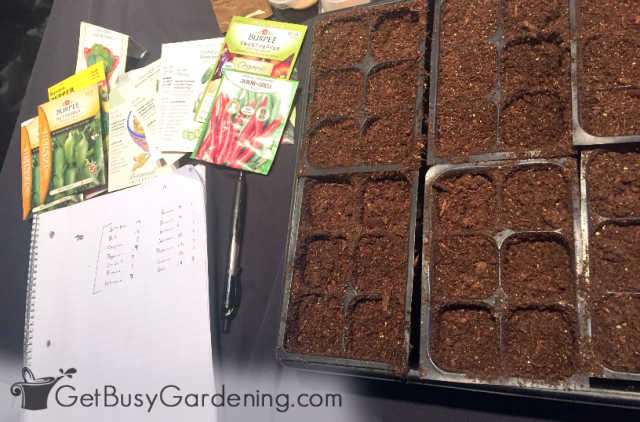
Read The Seed Packets
This may sound like silly advice, but it is very important to read every single packet that you buy. The growing requirements for each type of seed could be very different, and the packet will give you all the important details.
It will tell you the best time to plant each one, and whether it’s better to start them indoors or directly in the garden.
You’ll also find out if you need to prepare the seeds before sowing them. Some will require soaking, scarification, or even stratification to germinate.
Get Your Supplies Ready
It’s a good idea to collect all of the items you’ll need beforehand, so you’re ready to go when the time is right. If you’re reusing dirty trays or flats, then you need to clean and disinfect them first.
I also like to get all of my stuff setup indoors, and make sure I have any soil amendments I need for my outdoor beds as well.
Make Sure Your Old Seeds Will Grow
If you have a bunch of old seeds laying around, you might want to test them to make sure they will grow. It’s easy to check their viability with a simple germinate test.
You don’t need to worry about doing this if yours are brand new, but I recommend testing any that are more than a year old.
Related Post: How To Harvest & Collect Seeds From Your Garden
When To Start Growing Seeds
I wish I could tell you an exact date, but unfortunately there is no such thing. It totally depends on the type of seed, which method you use, and where you live.
Always make sure to check the seed packets to find the recommended ranges for each one. But here are some general guidelines…
- Indoors: The general rule of thumb for when to start them indoors is 6-8 weeks before your average last frost date. Here’s a step by step guide that will help you figure it out.
- Outdoors: Dates for starting seeds outdoors can range anywhere from 4-6 weeks before last frost for cold hardy seeds. But warm weather varieties shouldn’t be sown outdoors until after all chance of frost has passed in the spring.
How To Plant Seeds
Regardless of which method you choose for starting seeds, the basic steps are the same (and really, this is the easiest part of the whole process). Here are the step by step instructions…
Step By Step Instructions
Step 1: Prepare the soil – If you’re starting seeds outdoors, loosen up the top few inches of soil.
Then amend it with worm castings or compost, and some granular fertilizer. Indoors, use a quality soil mix or plantable pellets.
Step 2: Determine the spacing – The exact amount of spacing varies wildly depending on the type of seed, so check the packet for the specific requirements here.
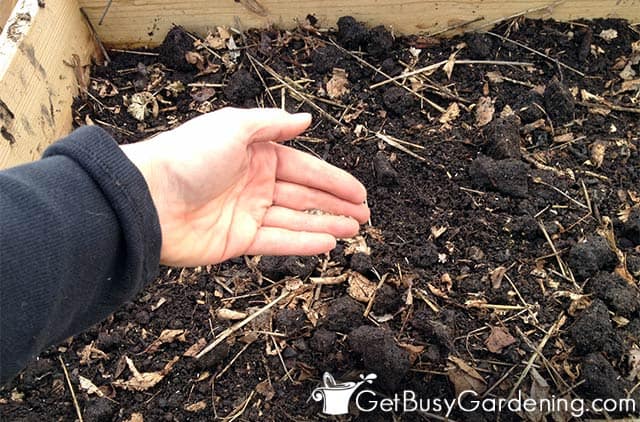
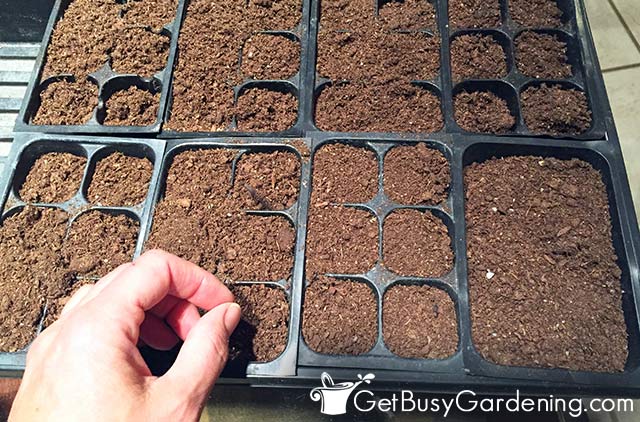
Step 3: Sow your seeds – A general rule of thumb is to plant a seed twice as deep as it is wide.
You can make a hole in the soil first, and drop them into it; or lay them on top, and gently press them down. Tiny seeds can just be sprinkled over the top of the soil.
Step 4: Cover the seeds – Once you’re done planting, cover the seeds with dirt and gently pack it down over the top of them.
Step 5: Add water – If the soil isn’t already damp, moisten your indoor flats or garden bed using a gentle stream of water. Be careful not to disturb or wash away the seeds.
Tracking What You Sow
The last piece of advice I want to give you about growing seeds is to keep track of everything you sow. Getting into the habit of writing it down is invaluable.
So, grab a pen and paper (or a start a spreadsheet if you’re tech savvy), and make a chart with the following columns:
- Type of seeds you started
- When you planted them
- Date of germination
- How many sprouted
- Notes (to track things like what worked, any problems you had, adjustments you want to make, what you can do better next time, etc.)
After doing this for a few years you’ll begin to see patterns. This will help you figure out which seeds to start at the same time, which ones work best with the different methods, and when is the best time to start each type.
And then poof, you’ll have your very own, fully customized seed starting schedule.
Growing seeds is fun and easy when you follow the tips and steps above. Once you get the hang of it, you’ll be able to start all of your plants from seeds.
This seed starting guide is just the beginning. There are tons of other factors involved, and learning by trial and error is a frustrating waste of time. That’s why I created the Online Seed Starting Course. It’s a comprehensive, self-paced training that walks you through everything, step by step. Enroll and get started today
On the other hand, if you just want a quick-start guide for growing seeds inside your house, then my Starting Seeds Indoors eBook is what you need.
More Articles About Growing Seeds
- Peat Pellets Vs. Soil: Which Should You Use And Why?
- How To Make Your Own DIY Seed Starting Soil Mix (With Recipe)
- How To Make Newspaper Seed Pots
- How To Grow An Avocado Tree From Seed
- How To Grow Parsley Seeds
- How To Grow Castor Bean Seeds
- How To Grow Cucumber Seeds
Share your seed starting tips, or advice for growing plants from seed in the comments section below.


LAUREN says
I’m starting a “garden” for the first time. I plan to use pots for growing. Am I able to start the seeds indoors in the actual pots that I plan to grow them in and then put them outside when they’re ready? Can I keep them in pots the entire time or is the transplant process necessary? Thanks!
Amy Andrychowicz says
Yes you sure can grow seeds directly in pots if that is the way you would prefer to do it, no transplanting necessary.
Andy says
Just curious – did you winter sow this year? I put out my flats in late january like I always do, but I’m worried with that temporary freak warmup we had that my tomatos may have broken dormancy…in all honesty i’m afraid to even open them up to look! I’ve kept them low to the ground and on the north face of a building, so hopefully they stayed cool enough. When do you think I should pull them out into partial sunlight to germinate?
Amy Andrychowicz says
I’ve had problems in the past when we had a warm up like this in early spring. If I were you, I would check your containers. If you have tomatoes sprouting, then you can protect the seedlings during the next cold spell. If nothing is sprouting yet, then I would put them in a shady spot to try to keep them from germinating. Then keep an eye on the containers for premature sprouts.