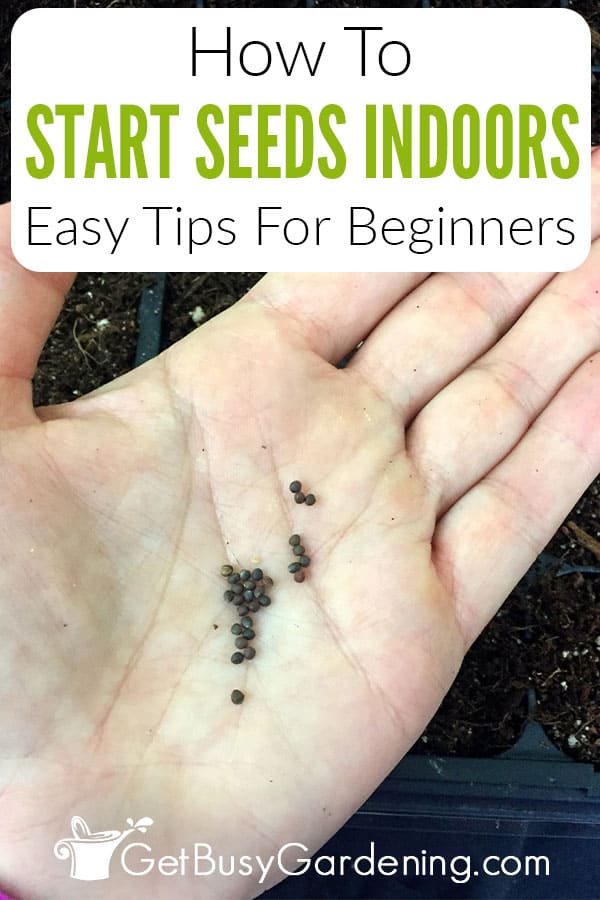
Growing seeds indoors is fun, but it can be tricky and frustrating for beginners. I want to make it easy for everyone.
So, in this post I will give you tons of tips from when to begin, all the way through germination, including how to start seeds indoors, step by step.


There’s no doubt that starting seeds indoors is a great way to get a jump on the gardening season. Plus it’s a great way to save yourself some money.
But it’s not always easy to grow your own seeds, especially inside the house where the conditions are not ideal for them.
Trust me, I know. I struggled for years to get it right, and perfect the art of starting seeds indoors. The good news is that this guide will make it much easier for you!
Below you will learn how to start seeds indoors the right way, so that you have the fastest and best success.
Why Start Seeds Indoors?
The main reason why people start seeds indoors is to get a jump on the gardening season. This is especially true for those of us who live in a cold climate with short summers like I do here in MN.
But there are lots of benefits to planting them indoors vs using other methods to grow seeds. Here’s a list of some of the most important reasons.
- Long-season vegetables and flowers have plenty of time to mature before frost
- You’ll get an earlier and better harvest from your crops
- Germination rates are more consistent in a controlled indoor environment
- Since the seeds are protected, there’s less risk of losing them to pests or harsh weather conditions
What Seeds Can You Grow Indoors?
The good news is that you have tons of options for what types of seeds you can grow indoors. But don’t fall into the trap of thinking that you should start every kind inside.
To figure out which ones will work the best, always read the packet first. That will tell you the recommend method to use.
In general, the ones that should be started indoors are seeds that require warm soil to germinate, those that are slow to sprout, or any that need an extra long hot summer to flower or produce fruit.
Take a look at my list of some of the easiest types to start indoors to get more ideas.
When To Start Seeds Indoors
To figure out when to start seeds indoors, always read the packet. It should tell you the recommended dates for each type.
Generally speaking, you should start planting them indoors six to eight weeks before your average last frost date.
From there, you can make a list of everything thats need to be started around the same time, and begin by planting the ones that will take the longest first.
Getting the timing right is one of the biggest struggles for new gardeners. It may take a little bit of trial and error in the beginning, but don’t worry, you’ll get the hang of it. Learn how to figure out exactly when to start here.
How Long Does It Take To Grow Seeds Indoors?
The amount of time it takes to grow seeds indoors totally depends on what you have. Some are much slower than others.
Again, reading the packet will give you the details. You should be able to find both the expected time for germination, and also the maturity date.
What You Need To Start Seeds Indoors
You don’t have to buy a ton of expensive equipment to start seeds indoors, but you will need a few things.
In this section, I’ll talk about what is required, as well optional items that are nice to have. See my full list of the best seed starting supplies here.
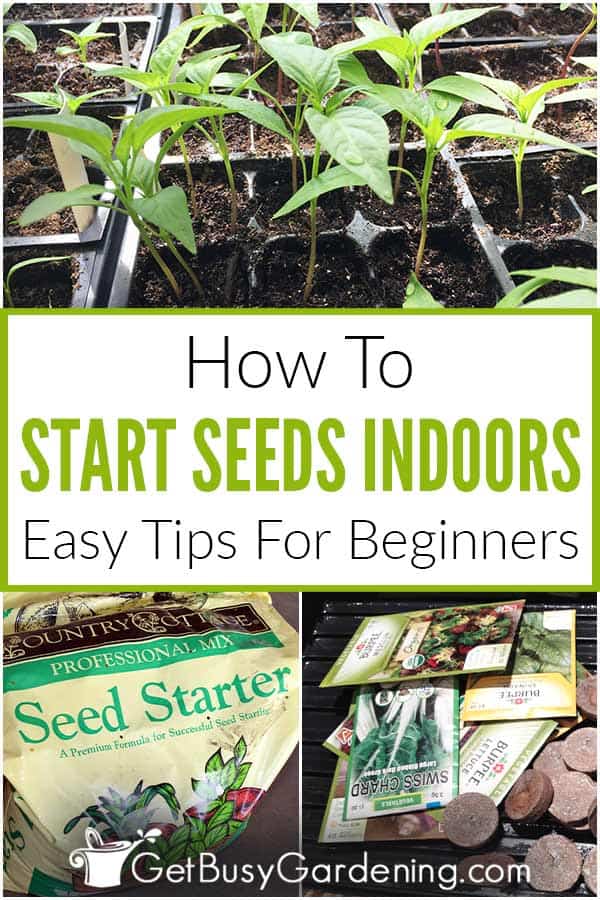
Choose The Right Containers
Using containers that are specifically designed for growing seeds indoors will make it much easier for you. So, if you’re a beginner, I recommend using plastic trays, or buying some kind of a starter kit.
The trays and cells are the perfect size, and the clear lid allows light and moisture in, prevents the soil from drying out too quickly, and helps retain heat.
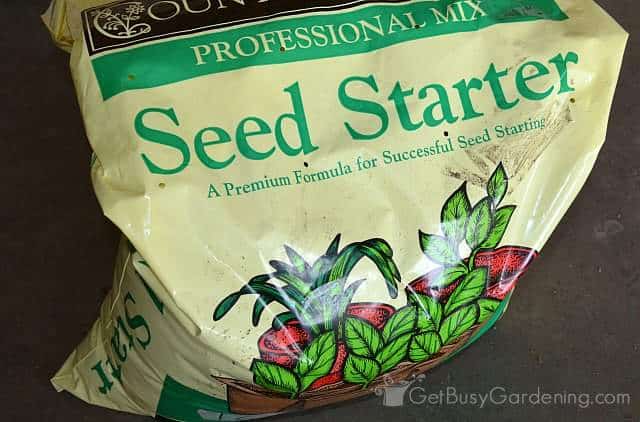
Use The Best Soil For Seeds
The best type of medium to use for starting seeds indoors is a sterile, lightweight, soilless mix that is both fast draining and also holds moisture.
Whatever you do, don’t cut costs when it comes to the type of soil you buy. Quality is very important here.
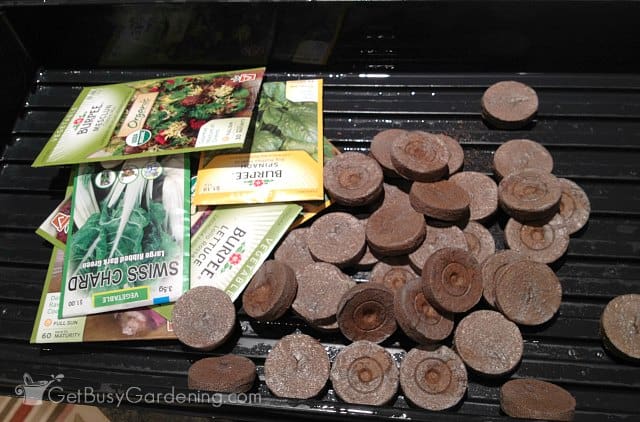
Using the wrong type can prevent germination, or cause other problems down the line. The best medium is a commercial mix, or you can use peat pellets instead, if you prefer.
You can also make your own using a mix of coco coir or peat moss, perlite and vermiculite. Learn how to make your own mix here.
Related Post: Peat Pellets Vs. Soil: Which Should You Use And Why?
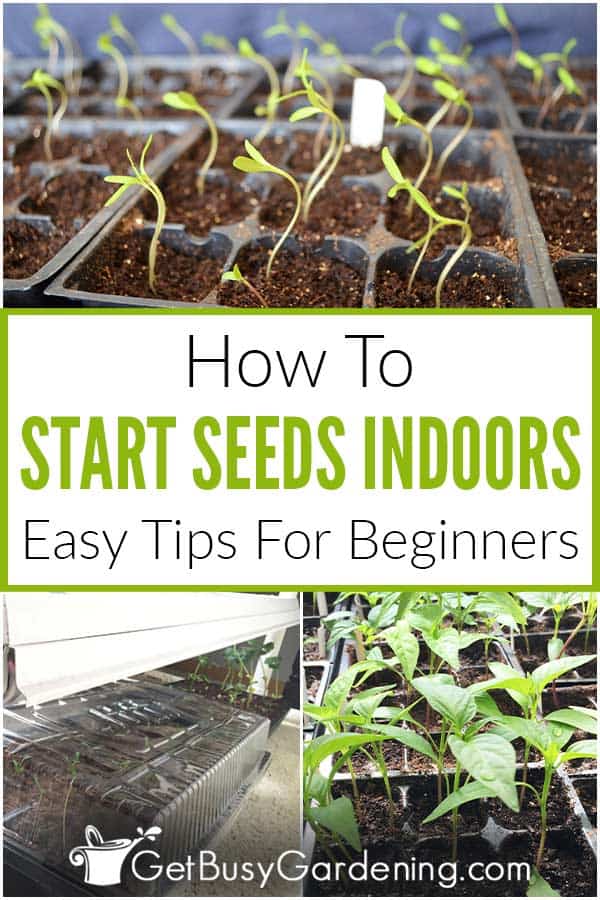
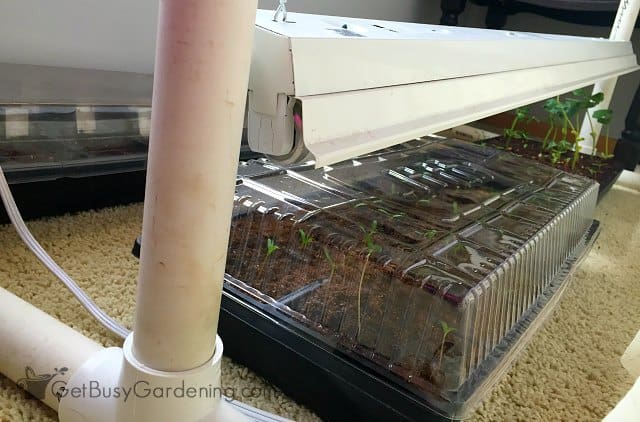
Provide Adequate Light
While a south facing window is the ideal location for indoor seed starting, it won’t provide strong enough or consistent light.
Not providing adequate lighting is the biggest mistake that newbies make, and one of the main causes of failure. It’s difficult to grow strong, healthy seedlings indoors without using artificial light.
You can buy a light system, or get a fixture with a bulb and hang if from a shelf. Optionally, you could make your own DIY lights for seedlings.
I also recommend getting an inexpensive outlet timer to make it a snap to provide the perfect amount of light for them.
Consider A Heat Mat
Though not required, a heat mat is a really nice thing to have for growing seeds indoors. Adding bottom heat under your trays helps speed up germination, which means they will sprout much faster.
Don’t worry, you don’t need to buy one for every single tray, you can rotate them. Once most of them have germinated in one tray, move the heat mat under a different one.
Planning For Indoor Seed Starting
Before you start planting seeds indoors, you should take some time to prepare. Below are a few of the most important things to do to set yourself up for the best success.
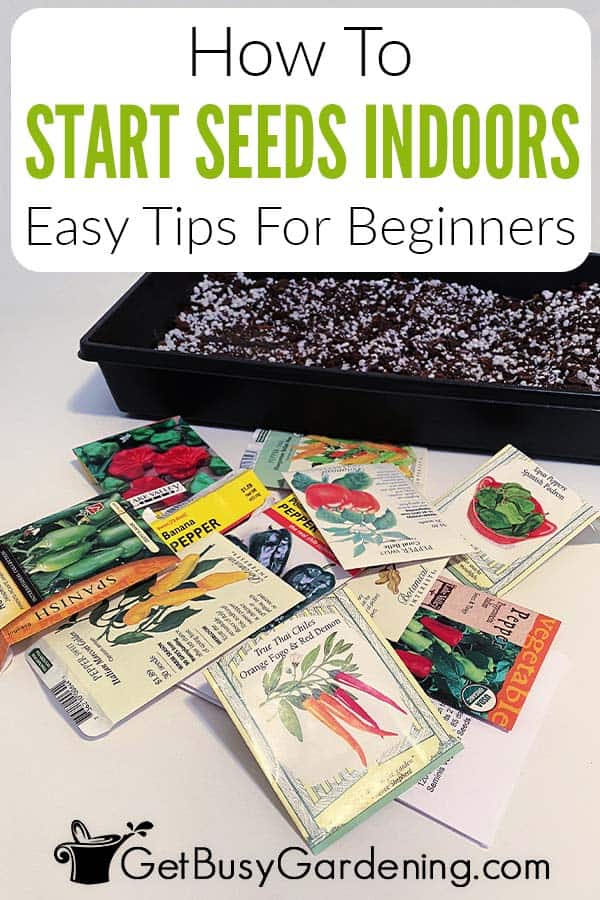
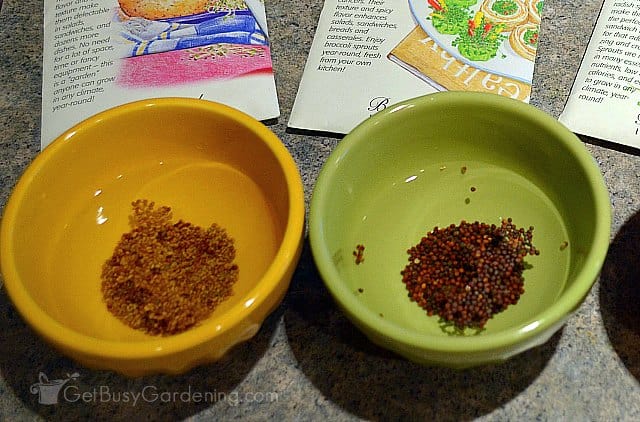
Make A List Of What You Want To Sow
Making a list of the seeds you want to grow indoors is the fun part. My biggest piece of advice here is don’t go too crazy, especially if you’re a beginner.
I recommend only choosing a few of your favorites, rather than trying to do a bunch of them the first time. Otherwise, it’s easy to become overwhelmed.
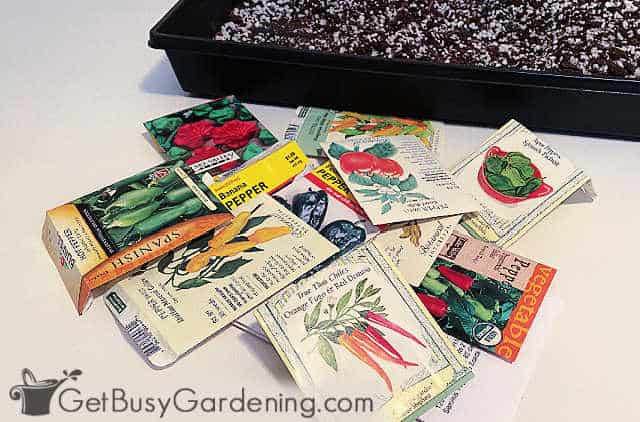
Read The Seed Packet
Once you’ve chosen the seeds you want to start indoors, the next step is to read all of the details on each of the packets. Some will require extra steps to germinate reliably.
For most types, you won’t have to do anything special. But some will need to be nicked, chilled, or soaked before they’re planted. If any of these steps are necessary, then follow the instructions on the packet.
Find The Best Location Indoors
The ideal location for growing seeds indoors is a place that doesn’t get much traffic, is between 60-75F, has good airflow, and plenty of space for everything (including allowing you to move around easily).
But really, as long as you have the proper equipment, you can use any room of the house. Even in a cool basement or a dark closet.
Prepare Your Equipment
Getting all of your equipment set up beforehand really helps to speed things up. So pull everything out of storage, and dust it off.
Set up your shelves, and hang the lights. If you have trays that you’re going to reuse, it’s crucial to clean and disinfect them first to prevent disease and fungus issues.
Now is also a great time to take inventory on your supplies, and buy anything you’ll need to hit the ground running when sowing time comes.
How To Start Seeds Indoors Step By Step
The funny thing about growing seeds indoors is that planting them is actually the easiest part. Here are the step by step instructions.
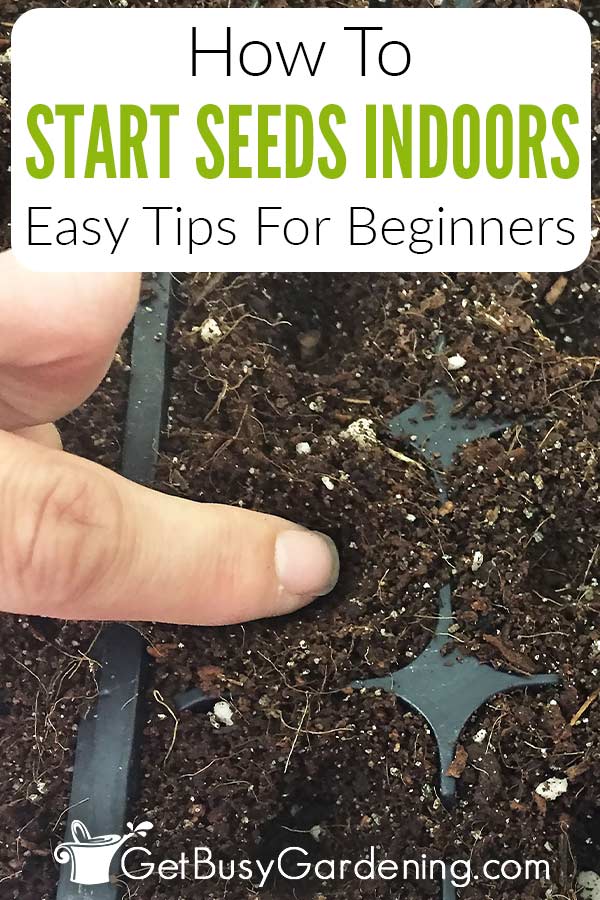
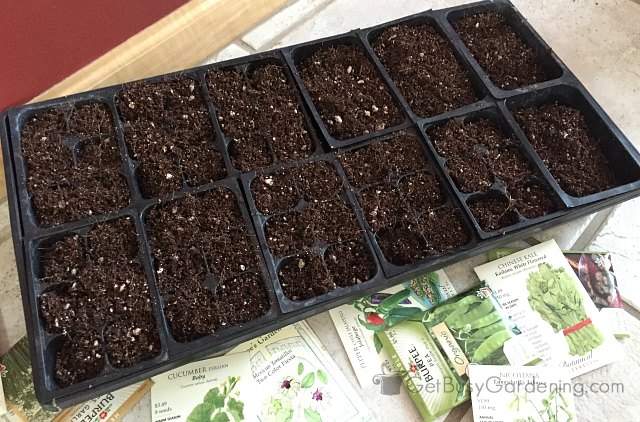
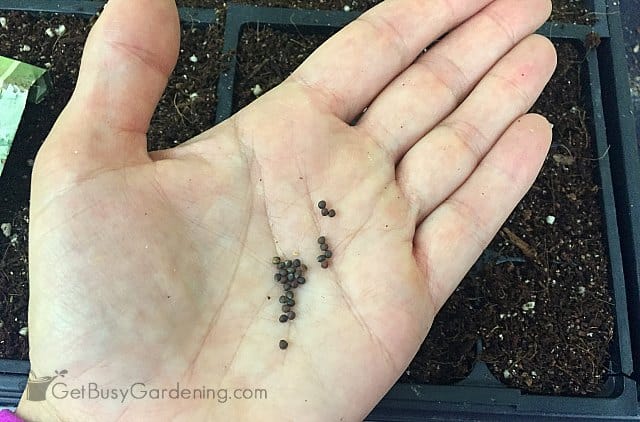
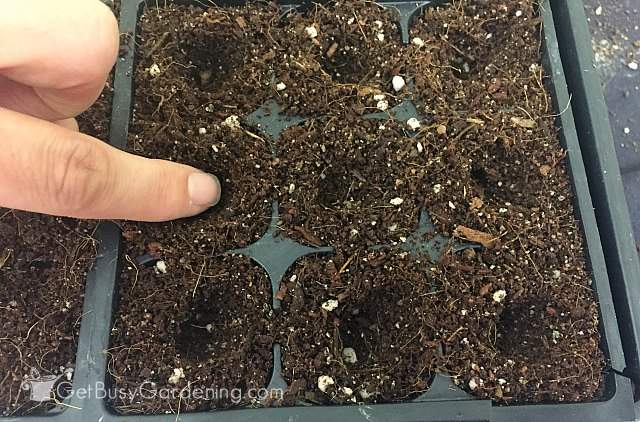
Step 1: Prepare the soil – Loosely fill they cells with soil, or soak the pellets to get them ready. Gently water the soil to moisten it. If it settles, then add more medium, and water it again.
Step 2: Plant the seeds – You can either make holes first to drop the seeds into. Or gently press them into the soil to the correct planting depth.
The general rule is to plant a seed twice as deep as it is wide. Teeny-tiny ones can just be sprinkled over the top.
Step 3: Cover them with soil – Cover up each one, and then gently pack it down to ensure that the soil comes in contact with the seed.
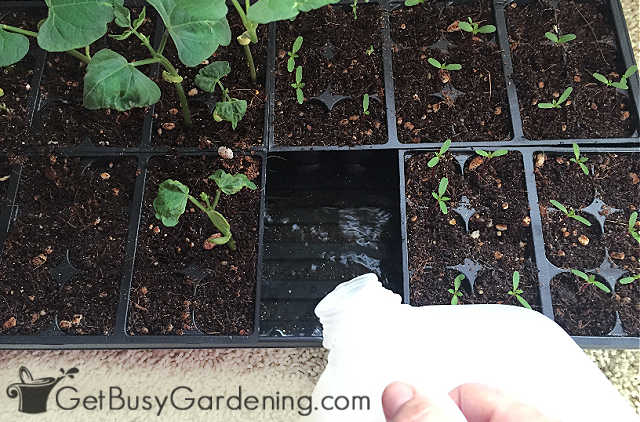
Step 4: Water the trays – Pour the water it into the tray, rather than over the top of the soil. Pouring water over the top could displace the seeds.
Step 5: Place them in a warm location – Put your trays in a room that is between 65-75F, or place them on top of the heat mat.
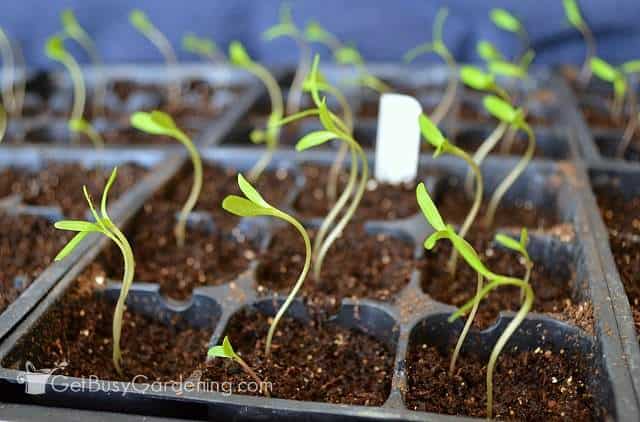
Tips For Growing Seeds Indoors
Once everything is planted, things can get a little more complicated. But this is also the best part! Here are some tips to help you learn even more about how to grow seeds indoors.
Light
For the most part, you won’t have to worry about turning on your grow lights until you start to see green in your trays. However, some actually need light to germinate.
In either case, make sure that you hang the lights only a few inches above the tray at all times. I recommend using adjustable hangers to make it easy to move them up as the seedlings get taller.
From the time the very first seed germinates, and as long as they are indoors, you should run the lights for 12-16 hours every single day. Learn exactly how to use grow lights for seedlings here.
Bottom Heat
Most seeds germinate fastest when the soil is consistently between 65 to 75F degrees. This is where your heat mat will really come in handy.
You could also try putting them on top of a radiator or air vent instead (as long as it’s not too hot). Just keep in mind that heat sources like this can dry out the soil much quicker, so watch them very closely.
The easiest way to ensure the temperature stays consistent is to use a soil thermometer. Oh, and don’t plug your heat mat into your light timer, leave it on constantly.
Watering
Keep soil evenly moist during germination. This can be a delicate balance, but basically it should never dry out completely or be soggy.
When you need to add more, pour the water into the seed tray rather than over the top. A spray bottle or mister also work well.
If you struggle with getting it right, then I recommend buying a soil moisture gauge. This handy tool really makes it simple to tell how wet the medium is.
Fertilizing
You don’t need to use fertilizer until after your seedlings have their first true leaves. Once that happens, then feed them with a weak dose of organic liquid plant food.
I recommend applying a natural fertilizer, rather than a synthetic chemical one. No only do they work better, there’s a much lower risk of burning your sensitive baby plants.
I use (and highly recommend) a general purpose liquid, fish emulsion or compost tea on all of mine. They love it!
Fish emulsion can get a bit stinky when used indoors though. So be sure to dilute it, or wait until everything has been moved outdoors before using it.
Now that your seeds are starting to grow indoors, learn all you need to know about how to care for seedlings.
Starting seeds indoors is not only fun, but it’s a great way to get a jump on the gardening season. When you grow seeds rather than buying plants from the store, it can literally save you hundreds of dollars every spring. Plus nothing is more satisfying.
If you’d like to learn everything you need to know about how to grow seeds for your garden step-by-step, then take my Seed Starting Course. It’s a self-paced, online program that will teach you everything you need know in great detail. Don’t waste another year struggling to learn by trial and error! Enroll in the course and get started today
Otherwise, if you just need some guidance going forward, then my Starting Seeds Indoors eBook would be perfect for you! It’s a quick-start guide, and it will get you up and running in no time!
More Posts About Growing Seeds
- How To Make Newspaper Seed Starting Pots
- Winter Sowing Seeds: A Quick-Start Guide
- 13 Easy Annual Flowers To Grow From Seed
- 23 Easiest Vegetables To Grow From Seed
Share your tips for starting seeds indoors in the comments section below.


Cathie says
How many seeds do I put in each hole? I have the small square cardboard pots.
Amy Andrychowicz says
It depends on the type of seed and how old they are. If they’re brand new seeds, then you can just plant one per hole. If they are old or a type of seed that has a low germination rate, then plant 2-3 per hole and thin them out later. If they’re super tiny (like specks of dust) you can just sprinkle a few of them over the top of the soil.
Scott says
I always have skinny plants and the stems don’t get thick. I use a grow light and a heat pad. Could you tell me how to grow thicker plants? Thank you.
Amy Andrychowicz says
The only way to grow thicker seedlings is to give them plenty of light. It sounds like you either need to move the lights closer to your trays, keep it on longer, or get a stronger one. Here’s a post that will give you all the information you need for how to use them properly to get strong, thick starts… Lighting For Seedlings: When To Put Seedlings Under Light & How Much.
Christy Christiansen says
Thanks for this great post. I tried to start seeds indoors last year in egg cartons and a plastic dome. I set it on my west facing window sill. I didnt have much success, I would like to try to start them under some grow lights in my basement. I spend WAY to much $$ on plants. My basement is really cool so I am concerned how well they will do once the lights are off. I appreciate your thoughts
Amy Andrychowicz says
To keep the seedlings warm overnight in your cool basement when the lights are off, you could put a space heater down there, or continue using a heat mat (if you have one). If it’s too cold for them (below 65 degrees F), it will slow their growth. You could also try using a mini indoor greenhouse, and keep it closed. That will also help to contain the heat. Definitely put a digital thermometer down there that keeps track of the temperatures so you can see how cool it gets at night.
Brandon says
Thanks for all of this, very helpful. Once the seeds have started to sprout, should I keep the dome on until the plants touch the dome? And if so, should I put a grow light right above the dome?
Amy Andrychowicz says
You’re welcome, glad you found this so helpful! Yes, keep the light just above the dome as soon as the seeds start sprouting. Once all (or most) of the seeds have germinated, you can remove the lids. If they start touching the lids, then it’s time to remove them. You don’t want the seeds growing up against the dome.
Mara P. says
How many seeds do you put in each peat pellet? Thanks!
Amy Andrychowicz says
It depends on how old the seeds are. If you’re using fresh, brand new seeds, then you can just plant one per pellet. However, if the seeds are more than a couple of years old, or have a low viability rate, then I would plant 2-3 per peat pellet, and thin out the weakest ones if more than one of them grows.
Mary McLeod says
I used to start my seeds indoors and had them germinate, transplanted them and continued growing them in my greenhouse about mid-April without any problems. The last two years, I have followed the same routine as before but my seedlings have died off from what appears to be “fruit flies” that are in the starter mix. Is it possible that these flies are in the mix when I buy them in February? Maybe the bags have sat in a warehouse over winter. Wondering if I would have more success making my own starter mix. Any suggestions.
Amy Andrychowicz says
Those aren’t fruit flies, they are fungus gnats. They may have come in the bags of soil you bought from the store, but really, they can come from anywhere. Here’s information about them… How to Get Rid of Fungus Gnats However, it’s very rare for fungus gnats to kill seedlings. I am worried that perhaps your seedling trays are infected with seedling blight, and your seedlings are dying from damping off rather than the fungus gnats. Here’s a post about how to disinfect seedling trays, and it explains more about seedling blight and damping off.
Dick says
I started my seeds in the button type planter ball.the seeds have grown to abour 1.5 inches with leaves. when do I put them in a bigger container before planting them outdoors in a raised bed?
Amy Andrychowicz says
You can pot up your seedlings once they have grown to be about twice as tall as the height of the seedling trays. Here’s more information about caring for seedlings, including details on when and how to pot them up.
J. Kaufman says
My seedlings are “leggy”. Now it looks like hairy white stuff on top of the soil. Where did I go wrong? I used seed starting soil and even bought a grow lamp with red and blue lighting.
Amy Andrychowicz says
The white stuff on top of the soil sounds like mold growth to me. If so, don’t panic, it’s pretty easy to get rid of, here’s how to get rid of and prevent mold growth in your seed trays. As for the leggy seedlings, that means that they aren’t getting enough light. Make sure your lights are hanging right over the top of the seedlings, only a couple inches above them. Then move them up as the seedlings grow taller. Also, make sure your lights stay on for 14-16 hours a day. Here’s some detailed information about grow lights for seedlings.
Samantha says
First year growing plants from seeds. I have to grow them emim the basement. We do have windows but it is cool. Heat mats are under each tray. Do you recommend keeping heat mTs under the plants once they germinate? Loved your advice!!
Amy Andrychowicz says
You can remove the heat mats once the seeds have germinated. If you’re worried about the basement being too cool, then you could leave the heat mats, or you could add a space heater. The grow lights will also help to provide a small amount of warmth for the seedlings.
Angie ~ ambient wares says
Excellent tips! We found a couple heating mats at a thrift store last year so I’m excited to be using them this year 🙂
Amy Andrychowicz says
Awesome score!
Jessica says
I like to recycle … and I don’t have a ‘lid’ per say for my plants…any recommendations or ideas? Plastic jugs cut in half or something? I currently use saran wrap and toothpick or pencils to hold it up (lol) Don’t judge me.
Amy Andrychowicz says
Oh my gosh, the saran wrap with toothpicks is perfect to cover your seed trays! I’ve used that trick myself. 😉 I like to use plastic containers that have a lid to start my seeds too, like the ones you get when you buy salad greens or deli/baking goods from the grocery store. Those work great too!
keil says
Thank you Amy for sharing these awesome seed starting tips! I cant wait to start my garden! 😀
Amy Andrychowicz says
You’re welcome!
Samantha Jones says
how much do I water my new seeds. will a spray bottle be better??
Amy Andrychowicz says
It’s easier if you pour water into the seed tray, and let the soil soak it up from the bottom through the drainage holes. That way, you don’t have to worry about displacing the seeds after you plant them. Dump out any water that hasn’t been absorbed in 20 minutes. The soil should be kept damp at all times, but not soggy or the seeds could rot. You could use a spray bottle instead, but it’s harder to make sure the soil is evenly moist that way. The spray bottle tends to only wet the top layer of soil, which means the middle and bottom could remain dry.
Ginger M Cochran says
Thank you for the tips. I started some seeds indoors, but once I moved them outside – they didn’t last long. Hopefully my new batch will do better.
Amy Andrychowicz says
Did you harden your seedlings off properly when you moved them outdoors? How To Harden Off Seedlings Skipping that step is the biggest mistake that newbies make when starting seeds indoors. I hope your next batch will do better too! Good luck.
Julie says
I have some herbs I started and was just wondering when to take the plastic covering off, your advice is very timely – thanks
Amy Andrychowicz says
You can take the cover off the seedling tray once all of the seeds have started to sprout, or once some of the seedlings are starting to touch the plastic top.
sara says
Thanks for the helpful tips! I am getting ready to start seeds. Every year it sneaks up on me and I am late to the game.
Amy Andrychowicz says
I know what you mean! I feel like this year snuck up on me faster than most. Probably because of the early spring weather we’ve been having. 🙂
Kenny Bain says
Brilliant links, I wish I had found this simple, concise write-up when I was researching the subject a couple of months ago. I had to plough through so much information on dodgy websites about how to grow illegal plants… 🙂
Amy Andrychowicz says
Wow, so nice of you to say! I too have had some rather questionable search results pop up when I’m looking for information about growing seeds and seedlings. I guess those illegal plants are pretty popular search terms, hummm… 🙂
Amy