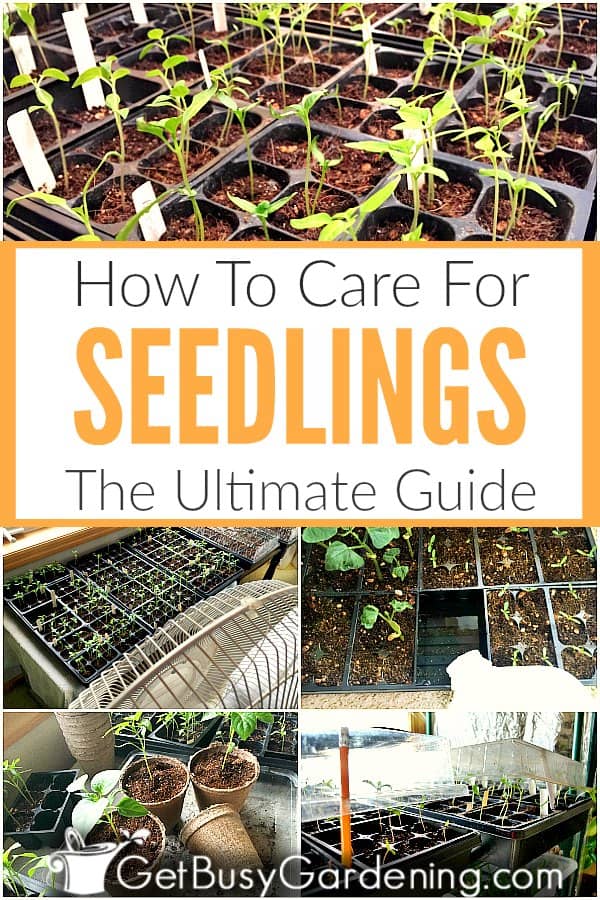
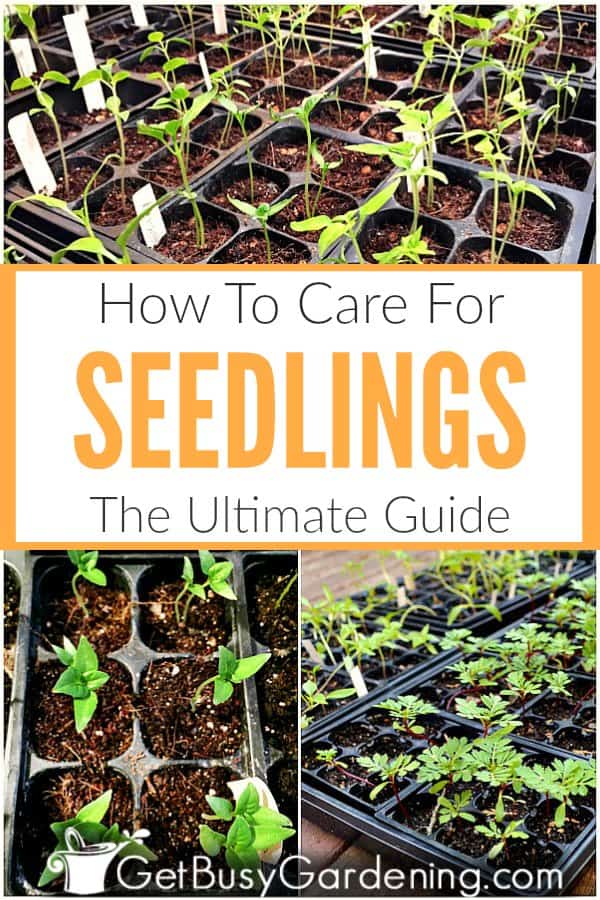
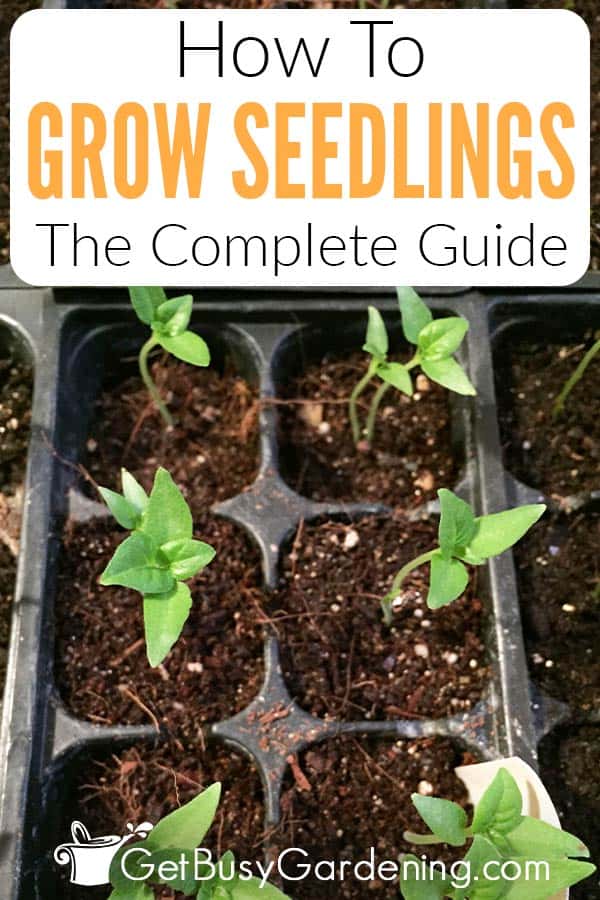
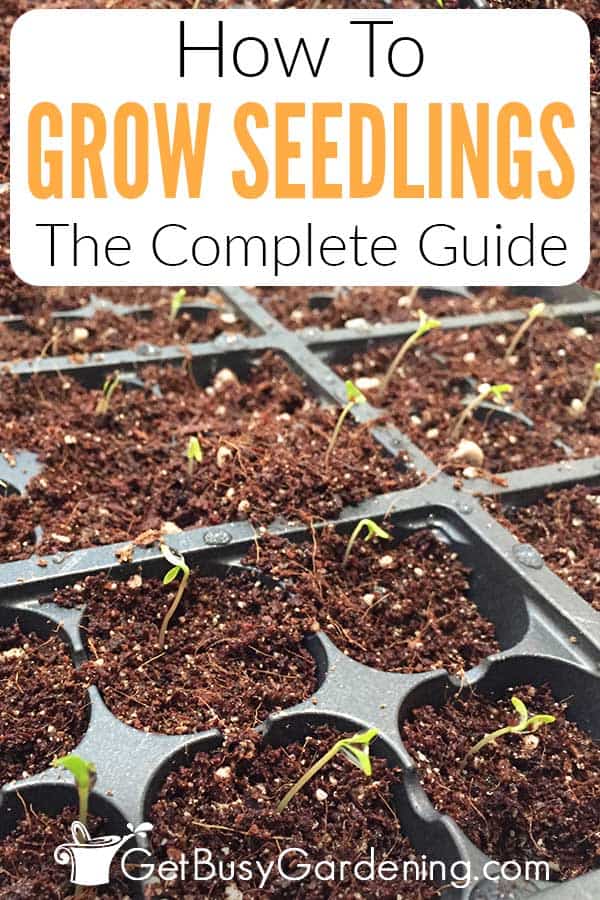
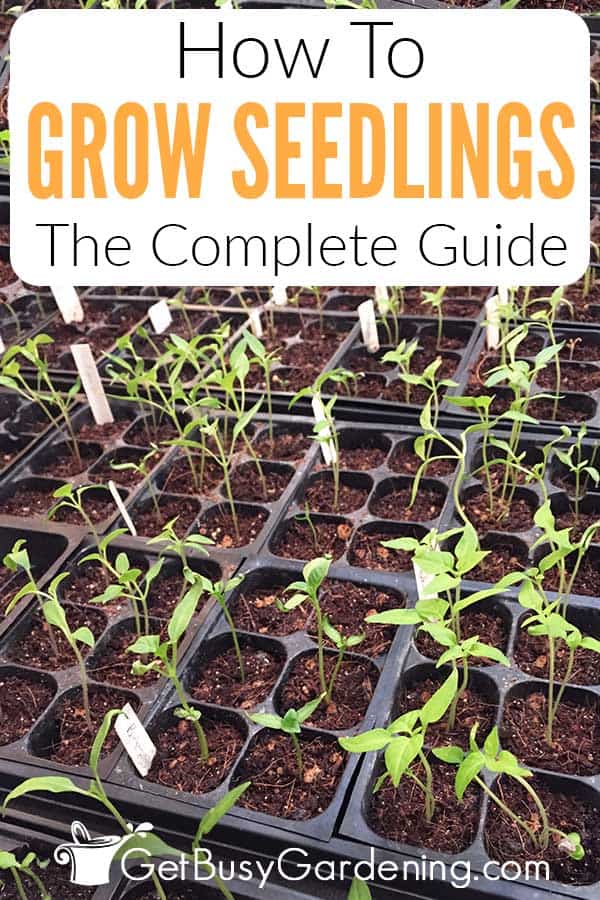
Growing seedlings is fun, but keeping them alive can be challenging. In this detailed seedling care guide, I will show you everything you need to know about how to grow healthy starts for your garden.
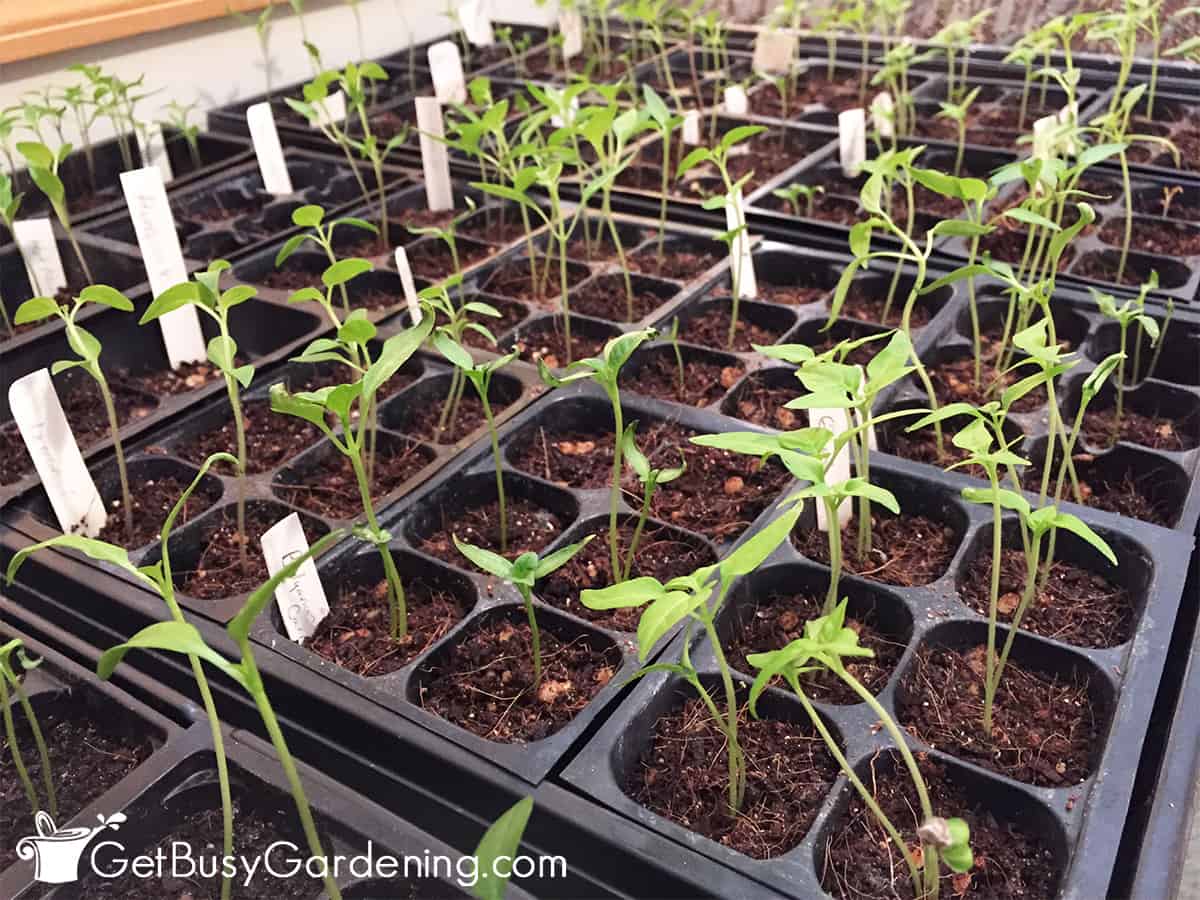

Getting your seeds to germinate is one thing, but figuring out what to do with seedlings once they start to grow? Well, that’s a whole different ballgame.
But, once you learn all about proper seedling care, you can easily keep them thriving. Plus you’ll feel confident that they’ll be strong enough to survive the transition to the garden.
In this guide, I will teach you everything you need to know about growing seedlings. If you want to start from the beginning, then get my best tips for how to grow seeds indoors here.
Growing Seedlings Indoors
I love growing my own seeds! No matter how many times I do it, I always get super excited when I see the first signs of life in my trays. It’s so much fun!
But after the elation of seeing your first sprouts popping out of the dirt wears off, reality sets in and you might suddenly wonder… Oh crap, my seedlings are growing! NOW what do I do?!? (gulp)
Don’t panic, I’ve got you covered. Keep reading and I’ll show you exactly what to do with seedlings after they start to germinate.
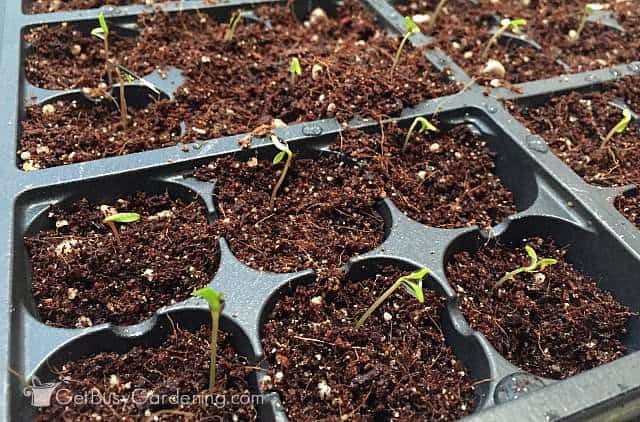
Seedling Care Instructions
Growing seedlings doesn’t have to be a huge struggle! With the proper care, they will not only survive but they will thrive in your garden.
Follow these instructions for taking care of seedlings after germination…
Light For Seedlings
Light is one of the most important factors of seedling care, and that’s why I’ve listed it first. Some will grow OK sitting next to a sunny window, but most will require more light than that.
You can learn more about proper lighting for seedlings here, but I’ve listed some quick tips for you below.
- When to start using lights – You should turn the grow lights on as soon as you see the first specks of green popping out of the dirt.
- Types of lights – There are tons of options here. You can buy a full-blown system, or just get the grow lights.
- Amount of light – Ideally, the grow lights should hang 3-4 inches above the seedlings at all times, and be kept on for 12-14 hours a day (an inexpensive outlet timer really comes in handy for this!).
Related Post: How To Make Easy DIY Grow Lights For Seedlings
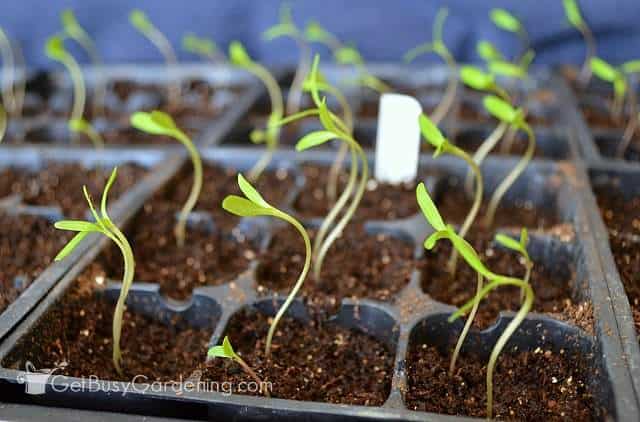
Proper Seedling Watering
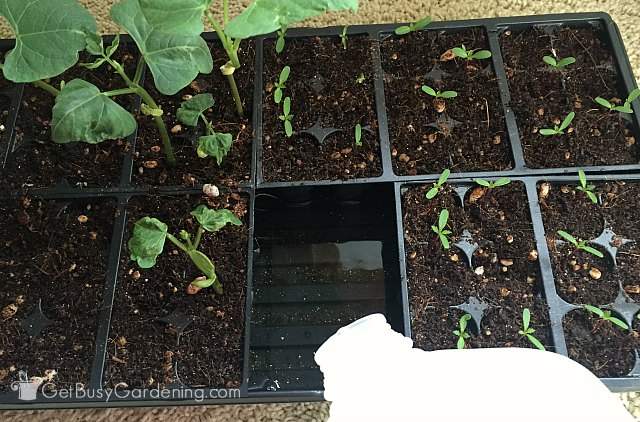
Proper watering is another extremely important part of successful seedling care. Seedlings need consistently moist soil. They can’t survive long without water, and should never be allowed to dry out completely.
However, never allow the soil to be wet all the time either. Soggy soil promotes pest infestations, mold growth in trays, and diseases that can kill your seedlings, like damping off.
Plus, too much water will ultimately kill them, and you don’t want that. Here are some tips to get it right…
- How often to water – You should check on your seedling trays a few times a day to see how moist the soil is. Once the top layer of soil starts to dry out, then it’s time to water. They will need to be watered more often as they grow larger.
- How to water – The best way to water is by pouring it into the tray, and then allowing the soil to absorb it through the drainage holes. Bottom watering will help ensure the roots get plenty of moisture, and avoid disturbing or displacing the delicate seedlings. Be sure to dump out any that’s not absorbed after 30 minutes.
- How much to water – Fill the tray just enough to cover the holes in the bottom of the cells so they can absorb it.
An inexpensive soil moisture gauge is a wonderful tool that will help you give your seedlings the perfect amount of water. I highly recommend getting one.
Seedling Ventilation & Airflow
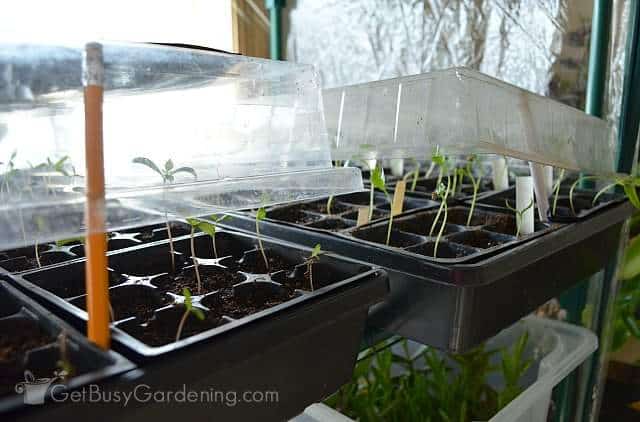
A common question I get from newbies is when to remove the humidity dome for seedlings. Great question!
It’s time to remove the dome lid once most of the seedlings in the tray have started to grow. But it’s best to do this slowly by ventilating the lid, rather than just removing it.
Start by propping it open an inch. Then keep propping it another inch or so every few days until the lid is completely off. Once the humidity dome is off, you can leave it off.
Airflow is also important for growing seedlings and preventing some common problems (like mold and overwatering).
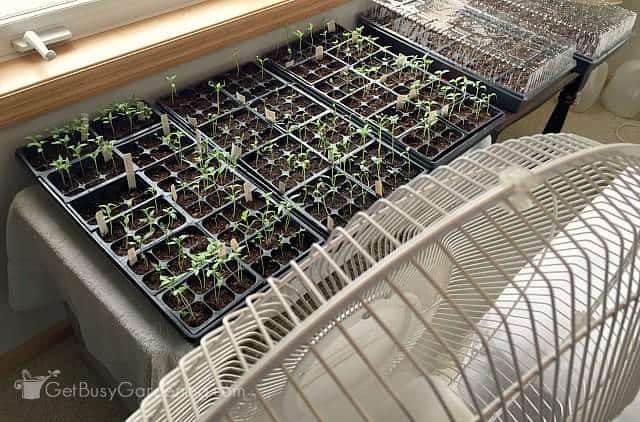
Once the lid is off, I like to use an oscillating fan to provide additional ventilation, and help to strengthen them.
I keep my fan plugged into the same outlet timer as my grow lights. I set it on low so it rotates and gently blows over the seedlings all day long, then it automatically turns off at night.
Keep in mind that the soil can dry out very quickly after you remove the lid, especially if you use a fan, so you should check the moisture level more often.
Thinning Overcrowded Seedlings
If there’s more than one seedling growing per cell, then you will need to thin them. It is really hard for some people to do this, but it’s very important.
Below are a few tips to get you started, but you can learn how to thin seedlings step-by-step here.
- Why do seedlings need to be thinned? – Because otherwise they will start to compete with each other for light, water and nutrients. It’s also really difficult to give seedlings proper airflow when they’re overcrowded.
- How big should seedlings be before thinning? – You can start once your seedlings have a few sets of their true leaves. Snip out the weakest so that only the strongest one is left growing in each cell.
- How to pick the strongest seedling – Keep the one that looks the healthiest and is the most compact, and pinch or snip out the leggy or weak looking seedlings. If they all look the same, then just choose one of them to keep per cell.
Fertilizing Your Seedlings
Once you start to see true leaves, it’s time to begin fertilizing them as part of a regular seedling care routine. But you don’t want to feed them a full dose of fertilizer, because they are just babies. Follow these tips…
- How to fertilize seedlings – Start feeding them with a weak dose of liquid fertilizer at first (about 1/4 of the regular dose). Then slowly increase the strength of the dose as they grow larger.
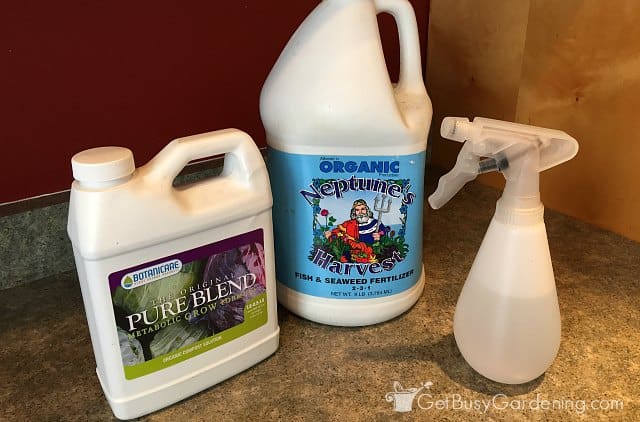
- The best fertilizer for seedlings – I recommend using natural, organic fertilizers rather than synthetic chemicals. Chemicals are notorious for burning seedlings, and they don’t work as well as organic types do.
I use (and highly recommend) an organic compost solution (you could also buy tea bags to brew your own) on all of my indoor seedlings.
Liquid kelp and fish emulsion are also wonderful, and seedlings absolutely love them… but beware that these can get a bit stinky when used indoors.
Transitioning Mature Seedlings
Once your seedlings grow larger, it’s time to start thinking about transitioning them to the next phase. Most will do best when they’re put into larger pots, rather than left growing in the small starter cells.
That will give them plenty of room to grow larger before it’s time to move them outside and into the garden.
Related Post: How To Harvest & Collect Seeds From Your Garden
When To Move Seedlings To Pots
The general rule is that, once the seedlings have grown to be about twice as tall as the height of the tray, then they should be put into bigger pots. Learn all about repotting seedlings here.
Most can handle staying in the small containers for a few weeks, as long as you keep them watered.
But, if it’s going to be more than a week or two before you’re able to plant them into the garden, you should pot them up.
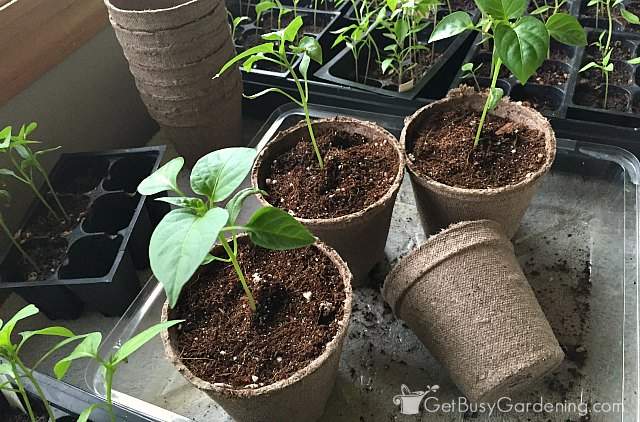
Plantable pots are a great option, and they make planting seedlings into the ground later on super easy.
Peat pots are popular and fairly inexpensive, I recommend buying either the 3″ size peat pots or 4″ peat pots for seedlings.
If you’re worried about the sustainability of peat, then get some that are made out of coco coir. You can use a 2.25″ size, or a 3″ size pot for seedlings. Heck, you can even buy pots made out of cow manure! Wow!
Of course you can always put them into reusable plastic pots if you have them on hand, to save yourself some cash.
Preparing Seedlings For Planting Outside
Hardening off is a crucial seedling care step that many newbies miss. But, if you planted your seedlings from your house directly into the garden, they would probably wither and die (eek!).
Seedlings growing indoors need time to get used to being outside before they are planted into the garden. So never skip this step!
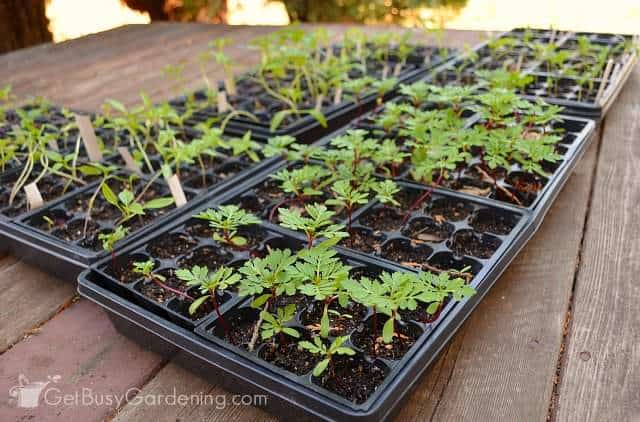
Once the weather warms in the spring (above 50 degrees F), put your seedlings outside in a shady location for several hours each day. They should be protected from sun, wind and heavy rain.
Gradually expose them to the sun over several days. Keep in mind that the soil will dry out much faster outside, and the seedlings may need to be watered more than once a day, so check on them regularly.
When the weather is warm enough, they can be left outside overnight. Learn exactly how to harden off seedlings step-by-step here.
When To Plant Seedlings Into Your Garden
Ok, so you’ve got these seedling care steps figured out, and you’ve managed to keep your babies alive. That’s awesome! Now you’re probably wondering when you should put them into the ground.
Cold weather plants like broccoli, cauliflower, carrots, radish, parsley, leafy greens (like lettuce) and others that can handle light frost can be planted as early as 2-4 weeks before your average last frost date.
Warm weather seedlings like tomatoes, cucumbers, basil, beans, squash and peppers shouldn’t be planted into the garden until after all chance of frost is gone.
If you don’t know your average last frost date, check with a local garden center. Get more details about how to figure out when to transplant seedlings into the garden here.
Troubleshooting Common Seedling Care Problems
Once you get the hang of it, you’ll find that it isn’t all that hard to grow seedlings. But it can be extremely frustrating when they start having problems, and you don’t know why.
So to help you figure it out, here are a few of the most common seedling care issues, and their causes…
Leggy Seedlings
This is the biggest problem with growing seedlings indoors, and it happens when they don’t get enough light.
Add a grow light, and hang it right over the top of the seedlings. Then leave it turned on for 12-14 hours a day.
Seedlings Leaning Over, Stretching, Or Growing Sideways
Inadequate light is the main cause, but it can also happen if the lights aren’t positioned properly.
If you’re trying to grow seedlings in a window, then add a plant light. If you already have a light, then move it so that it is directly above the seedlings at all times.
Seedlings Dying After Sprouting
If your seedlings died shortly after they started growing, then it was likely because of seedling blight.
This is a disease that causes something called “damping off”, which kills seedlings at the base. The only way to prevent this is to disinfect your seed trays before using them again.
Yellow Seedlings
The main cause is overwatering. Be sure that the soil is never soggy, and allow the very top to dry out a bit between waterings.
Small Seedlings, Or They’re Not Growing
Seedling growth can be stunted when it’s too cold in the room, if they are over or under watered, or if they aren’t getting enough fertilizer.
Get even more help with troubleshooting and fixing seedling problems here.
Seedling Care FAQs
In this section, I will answer the most commonly asked questions about growing seedlings. If after reading this guide and these FAQs you still can’t find the answer to your question, then ask it in the comments below.
What are true leaves?
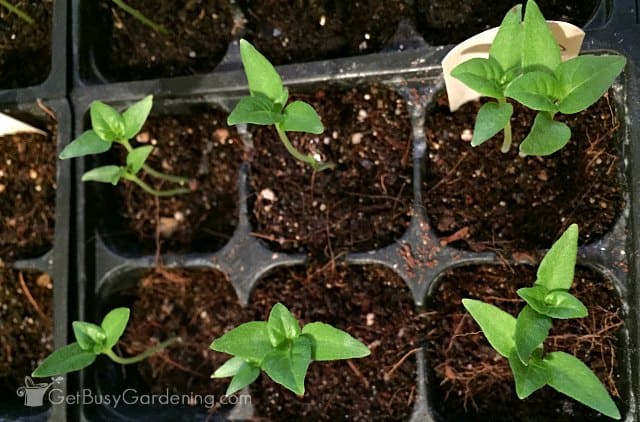
The term “true leaves” refers to any of the ones that grow after the first two leaves. They look like tiny versions of the leaves on a mature plant.
How long does it take for seedlings to grow true leaves?
That depends on the type of seedling. Some will start growing true leaves within a few days of germination, others can take several weeks.
It’s best to check the seed packet, or research the type of seedling you’re growing for specific timing.
How do you make your seedlings grow faster?
Heat, light, and fertilizer are three ways to improve seedling vigor, and make them grow faster.
If yours aren’t growing, then check the temperature of the room first. If it’s below 65 degrees F, then try keeping seedlings warm using a space heater or a heat mat.
Also be sure you’re providing adequate light and fertilizer to help speed up the growth. See the”Light For Seedlings” and “Fertilizing Your Seedlings” sections above for more details.
When should I water my seedlings?
Water your seedlings when the tray is empty, and the top of the soil is starting to dry out. Never allow the soil to dry completely though. Read the “Proper Seedling Watering” above for more details.
How do you grow strong seedlings?
All of the factors in this guide are important for growing strong seedlings. But adequate lighting and proper watering are by far the most important to help them thrive.
Can seedlings get too much light?
Yes. If you leave the lights on 24 hours a day, it can confuse them, and cause problems later on when you move them outside.
It’s best to simulate the natural sunlight pattern, and allow them a period of darkness each day.
How many hours of light do seedlings need?
Giving your seedlings 12-14 hours of light a day is ideal, and using an outlet timer makes it a snap.
When should I start seedlings?
It depends on the type of seeds. Follow the instructions on the seed packet to determine when to plant them. You can learn all about when to start seeds indoors here.
Where Can I Buy Seedlings?
You can find seedlings for sale at your local garden center in the spring and summer. Be sure to shop early for the best selection though, cause they can sell out fast.
Learning what to do after they start growing, and keeping them alive and healthy is tricky. But if you follow the seedling care tips above, it will be a snap! Not only will they survive the transition into the garden, but they will also thrive all summer long!

Looking for more more help growing any type of seed you want? Then you should take my online Seed Starting Course. It’s a fun, comprehensive, and self-paced online course that will show you exactly how to easily grow strong, healthy seedlings for your garden. Enroll and get started now!
Otherwise, if you just need some tips for growing seeds inside, then my Starting Seeds Indoors eBook would be perfect for you! It’s a quick-start guide to planting seeds indoors for beginners.
Find even more useful and essential seed starting supplies & equipment I recommend here.
Leave a comment below and share your seedling care and growing tips.

Susan says
Thanks for all the great advice. I found the watering tips especially helpful as I tend to over water.
The problem I am having is with some of my tomato seedlings. The tops of my 2inch plants are whizzening up and dropping off. Any advice would be so appreciated.
Thank you, Susan.
Amy Andrychowicz says
Humm… I’m not sure what you mean when you say the tops of your seedlings are “whizzening up”. Are they growing white mold on them? Or are the seedlings flopping over at the base and dying?
Regina W. says
Thank you for all the helpful information. I looked through the comments and I have searched Google, my question is, once I up pot do I keep those larger pots on a heating mat with a grow light until they’re ready to be hardened off then planted outside?
Amy Andrychowicz says
Nope. Once the seeds germinate, you can turn off your heat mats. The only reason you might keep them turned on is if the room you’re growing the seedlings in is really cold. Just to give them added warmth. Otherwise, the purpose of the heat mats is just to speed up germinate.
Sarah says
First of all I want to say thank you for sharing your wisdom! This has helped me out a lot. I am trying out a heated mat this year for my seedlings and I had the first few pop up today…I only have one tray (I have very minimal space) so i planted many different types of seeds in it. Cucumbers, zucchini, carrots and tomatoes. I have read that you should turn off your heat mat once seeds sprout, but what would you suggest I do if only some of them have sprouted?
Amy Andrychowicz says
You’re welcome, so glad to hear you found my seedling care guide so helpful! I would open the trays and pot up the larger seedlings. Then leave the lid on for the other seeds to germinate. I would also recommend investing in another seedling tray for next time. Seeds like cucumbers and zucchini germinate much faster than tomatoes do, so it’s best to use separate trays if possible. As for the carrots, those should be planted directly into the garden rather than started indoors because they hate to be transplanted. Here are step-by-step instructions for growing carrots from seed.
Sofia says
Hi Amy. Thank you for the tips. I have one question I started my seeds in one tray and now my cucumber seedlings are touching the lid but my tomatoes abd pepppers are not ready. Is it okay for me to open the lid and transplant my cucumbers to individual pots and close the lid again. Or will it affect my tomatoes and peppers if I open the lid. Thank you for your help and advice.
Amy Andrychowicz says
I think your idea of opening the lid to remove the cucumber seedlings is a great one! That is exactly what I would do. It shouldn’t hurt your other seedlings at all. In the future, I recommend checking the seed packets and only starting seeds with similar days to germination in the same tray. Cucumbers are much, much faster to germinate than peppers and tomatoes.
Ksenia says
Hi, Amy, thanks so much for the article and tips. I have just started with my seedling for the first time. I live in South Africa and only know how to plant in Russia (where I am from) learnt from granny. My first radish seeds have sprouted after 5 days. Sowing in egg cartons and closing with cling wrap, but seems to be working. Will keep in mind the tips, although we do not get frost this side of the world:-)
Amy Andrychowicz says
You’re welcome, and good luck with your seedlings. 🙂
John Austin says
I started cucumber planting in my farm and it all germinate after 4 days. I noticed that shortly after some seedlings withered. What should I do
Amy Andrychowicz says
It sounds like you planted the seeds outdoors, rather than indoors? If that’s the case, then do you know if you had a frost? That could be what caused your seedlings to wither. Otherwise, make sure the soil isn’t too wet or too dry. Cucumbers like well draining soil, and don’t grow well if the soil is kept too wet. They also don’t like it when the soil dries out completely. For more tips, read my full guide for growing cucumbers from seed.
Jennifer says
Years ago I had much difficulty trying to grow tomato seeds in the house. I came across an old book that stated to plant the seeds in a tray put the lid on them and put them in the darkness for 7-10 days. I wrapped the container with old towels. I knew that they needed heat to help the seeds, so I put the tray on top of a heating pad for this amount of time. In 7 to 10 days I had tomato seedlings. I put a workshop lamp over the top of my seedlings with one warm and one cool bulb. This is a kitchen and bathroom fluorescent bulbs. I kept the heating pad on for a few weeks. Never had any issues growing tomato seedlings indoors after this method. The first year I did this I grew 350 tomato plants. I got a little carried away. 🙂
Amy Andrychowicz says
Wow, 350 tomato plants!?!? That’s awesome! What in the world did you do with all those seedlings? Thanks for sharing your method for growing tomato seedlings indoors, those are great tips! 🙂
Madhvi Singh says
Hi, thank you for the seedling article.. This is really helpful. I am at the stage where I have seed leaves since last 3weeks and they are growing taller but no more leaves… They are out in morning sun and I have giving enough water and yesterday gave some fertilizer too. Is it all right, I only get moring sun, I have been moving my tray to get them maximum sunlight but it’s not helping.
Amy Andrychowicz says
My guess is that your seedlings aren’t getting enough light. You said they only get morning sun. If they are growing indoors, then that is definitely not going to be enough. Your seedlings will continue to grow taller and reach for the window. So, I would recommend adding a grow light.
Christine says
I used Saran Wrap over my seed trays at first and just peeled it back when the seeds sprouted. I realize now that was a mistake . So far my seedlings look good. I’ve been using a fan but have not introduced a grow light. I just spritzed fertilizer this morning. I feel on task and learned so much from this post/pin.
Happy growing
Amy Andrychowicz says
Awesome, so glad you found this guide helpful! Sounds like you’re on the right track for properly caring for your seedlings!
Mother of 3 says
Wow! I had no idea. We have some seedlings and while I know it is still too cold to plant them outside yet I did not know hat they would need time to acclimate to being outside and have been worried about keeping them alive until they get out to the garden.
Amy Andrychowicz says
Oh, I’m so glad you found my seedling care article then! Be sure to follow my step by step guide for hardening seedlings here to help you out. Good luck hardening them off. 🙂
Julie says
My nan taught me to brush my hands lightly over the seedlings, she said it made them strong, I guess doing the job that your fan does.
Funnily enough I was just showing my 19 year old son the seedling leaves v the “proper” leaves on some parsley we have going on the window sill, he had no idea, I feel I have not taught him well 🙁
Amy Andrychowicz says
Yes, gently running your hands over the top of your seedlings sounds like the same idea as using the fan to strengthen them. LOL about your son! Or maybe he didn’t listen the first few times you told him. 😉
torie says
What kind of soil do i use to transfer the growing seedling into the next size pot (before transplanting to the garden)?
Amy Andrychowicz says
I recommend using the same potting mix you used for planting the seeds. You can use regular potting soil for potting up seedlings too, but just make sure it’s a high quality lightweight soilless mix.
Ron Starhcer says
Providing adequate light and warmth is the biggest problem we have with seedlings!
Amy Andrychowicz says
Yes, those are both common challenges when growing seedlings indoors. If the room you keep them in is too cool, then try adding a space heater. As for the lights, the key is to turn them on as soon as the seeds germinate, and hang them as close to the seedlings as possible.
Duncan says
What is the ratio you use for “fish emulsion and an organic compost solution” for fertilizing seedlings and do you mix them in the same container and use together?
Thanks.
Amy Andrychowicz says
I have not tried mixing them together, but there’s no reason you couldn’t give that a try. The fish emulsion can be a bit stinky to use indoors, so I mostly use the compost tea when my seedlings are inside. Then I switch to the fish emulsion after I move the seedlings outside. But you can use the compost tea outside too. There should be mixing instructions on the label for you to follow.
Tom says
These are all great tips Amy, I decided to start my seeds early, before I went on vacation to South Carolina. My mother-in-law “babysat” them while I was away. When I came back, my seedlings were all dead! I’m actually thinking about sending her this link. Trying not to be mad, but if she wasn’t going to water them then I would have just had the neighbors watch them. We still have a few weeks left, so I guess I’ll just start again using your tips for growing seedlings.
Amy Andrychowicz says
Oh no! I’m so sorry to hear that all of your seedlings died! That’s a huge bummer! Hopefully your new batch of seedlings will grow fast for you.
Naomi says
This is such a problem of mine! I start my seeds and then they often end up sitting in the tray way too long. 🙁 I really need to stay on the ball and get them potted up sooner. Then I end up buying plants from the nursery anyways…or I just direct sow. Thankfully I live in a zone where I can direct sow most of my plants and I still have a great growing season.
That’s a great idea about the fan though to provide ventilation. I will have to try that for my seedlings that I have out right now. I did start putting them outside everyday but they are definitely at the point where I need to either put them out in the garden right now or pot them up.
I’m going to go read that hardening of post right now!
Amy Andrychowicz says
Awesome! Glad to hear that you found this seedling care post so helpful! If it’s warm enough to transplant the seedlings to your garden, then there’s not need to pot them up first. I hope that adding a fan and hardening your seedlings will go well for you, and they will all thrive in your garden!
Shary says
I’m new to this sowing seeds and what to do next after they sprout. A cheap tower fan in my partially shaded patio was great and worked wonderfully during warm summer days. YES to FAN.
I’m trying to begin thinning my herb sprouts. I’m scared to harm them. If I don’t thin soon they will compete. They are in the biodegradable pots.
Amy Andrychowicz says
Yea, so glad to hear the fan worked so well for your seedlings! Sounds like they are thriving for you. Yes, thinning them out is very hard, and scary the first few times you do it. But you’re right, your seedlings will start competing if you don’t do it soon. Start by reading the “Thinning Overcrowded Seedlings” section above, and be sure to read my detailed post about how to thin seedlings. Good luck!
Mike Silverman says
When useing a min green house and the seedling just pop up now not all of them do I take off the cover during the day time . use the spry water on the plants do soak the dirt just most dirt when should I move the seedlings
thank you
mike silverman
Amy Andrychowicz says
Your seedlings should be potted up into larger containers once they are about twice as tall as the seedling tray. Seed the section above called “Transplanting Seedlings” for more info.