Winter sowing is a fun and easy way to grow your seeds. In this quick-start guide, I cover everything from the benefits and when to begin, all the way through to maintenance and transplanting. Plus I’ll give you detailed step-by-step instructions to show you exactly how to do it.
What Is Winter Sowing?
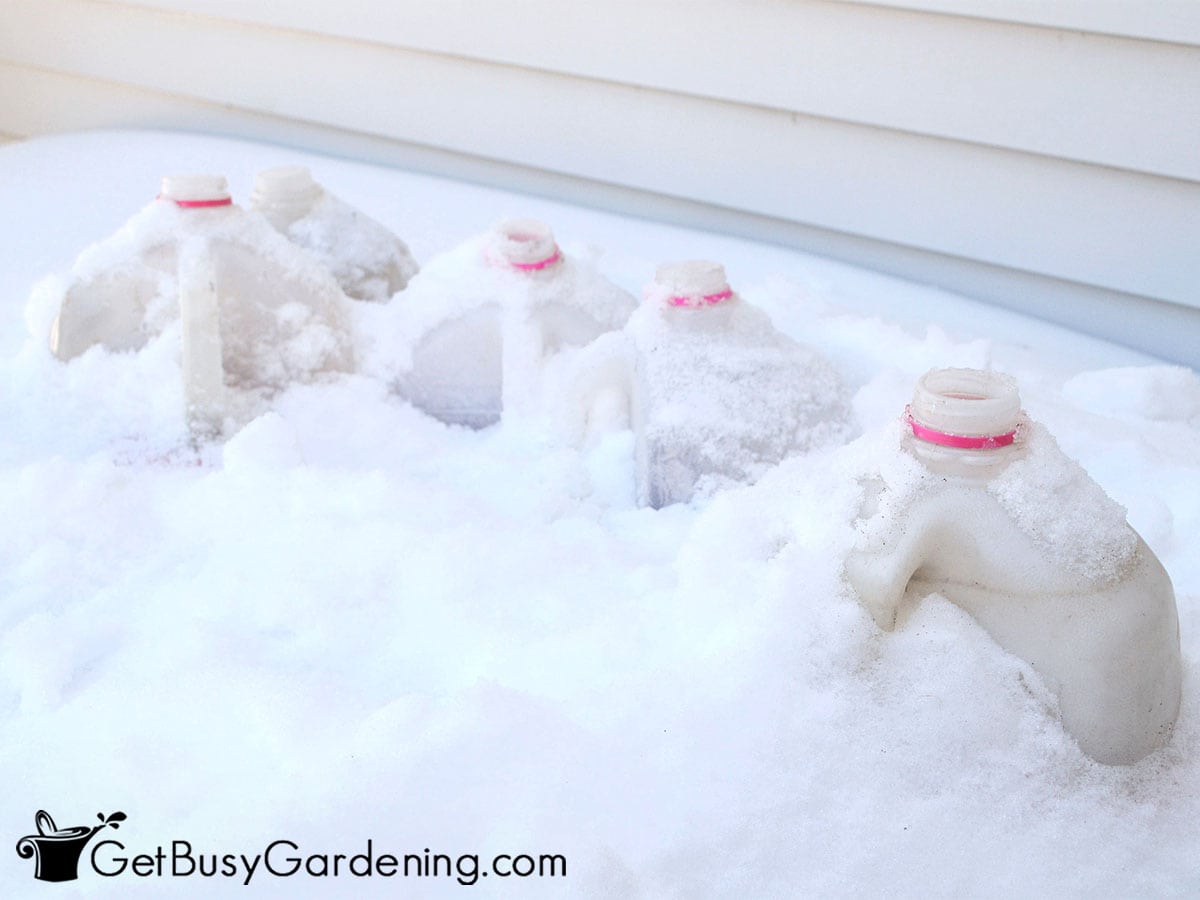
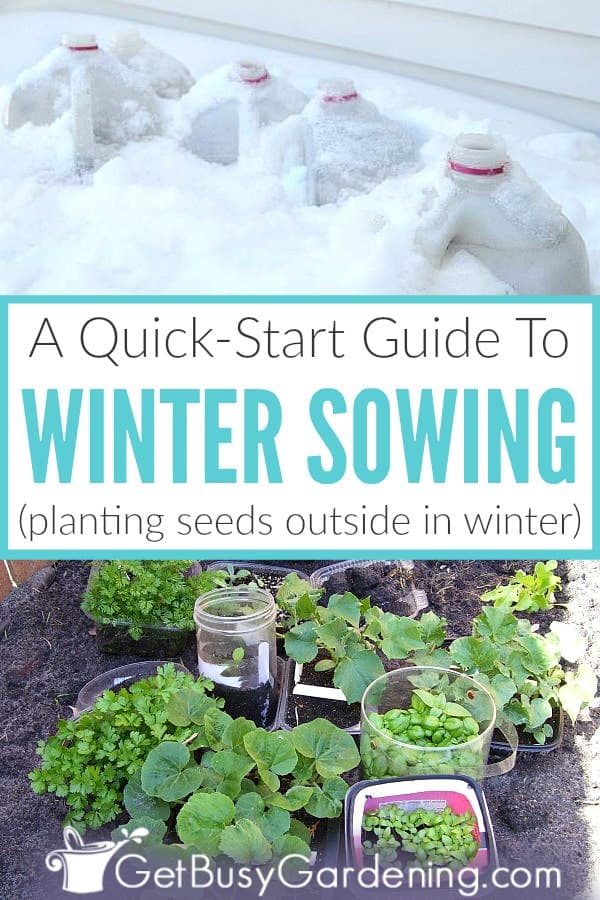
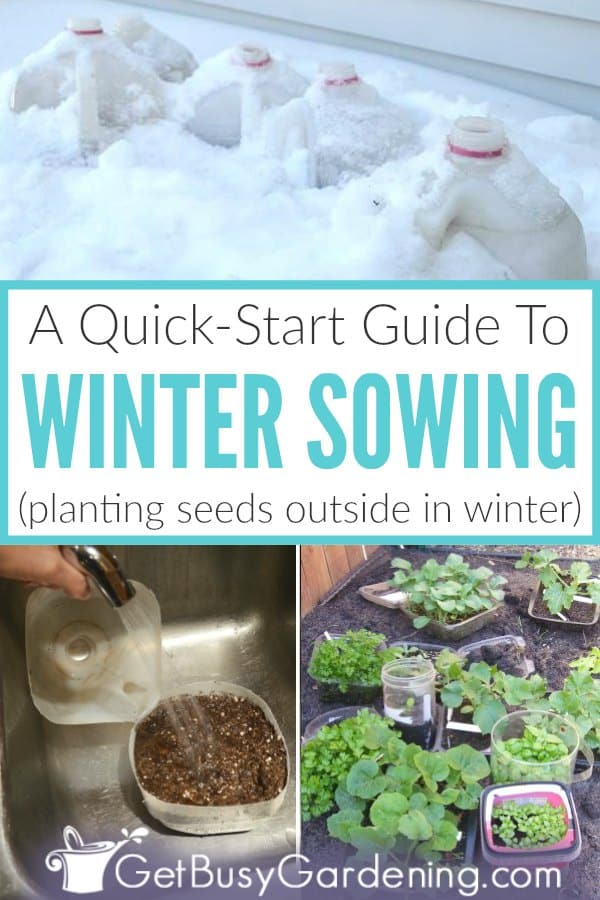
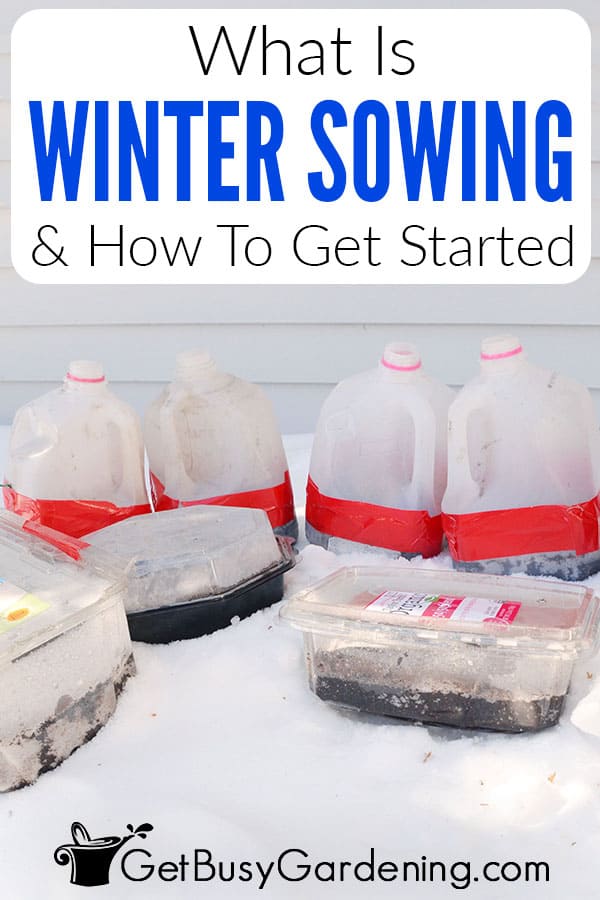
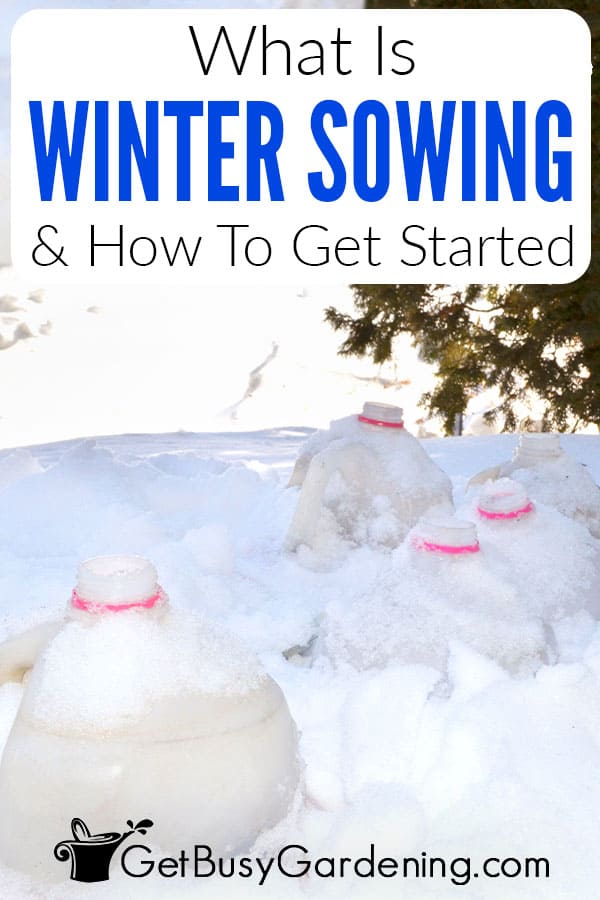
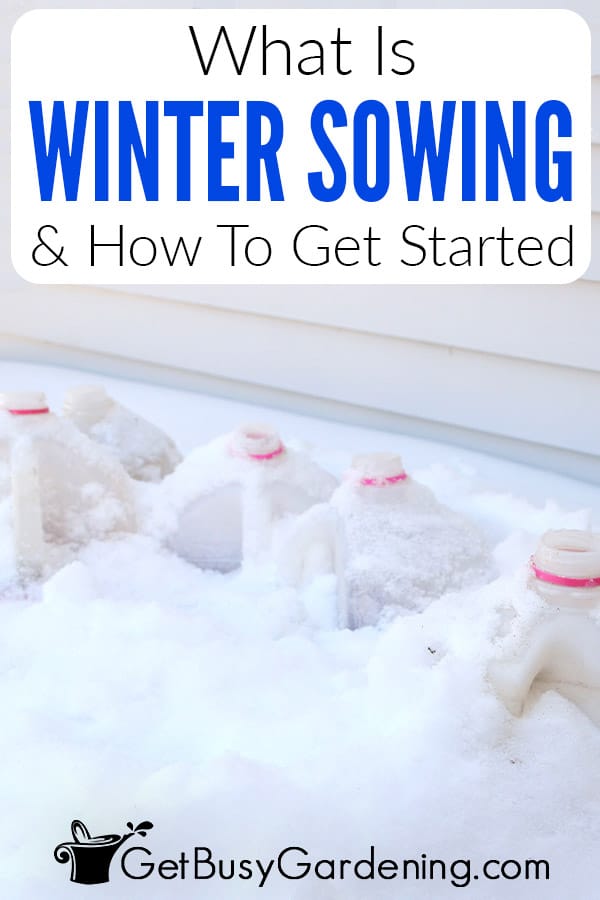
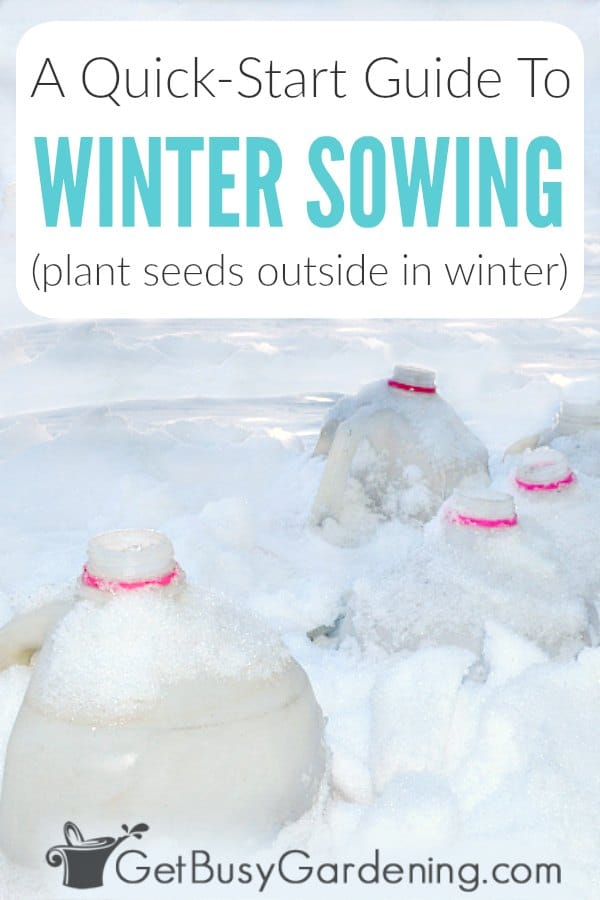
Winter sowing is a method for starting seeds outside during the winter. You plant them in miniature greenhouses that you make out of recycled plastic containers, and then put them outside in the snow and freezing cold.
Once the weather starts to warm up in the spring, the seeds will germinate at their own pace, just as in nature.
Benefits Of Winter Seed Sowing
For me, the biggest benefit of this seed starting method is saving space. Since they go outside, they don’t take up any space in the house. That is HUGE! But there are lots of other BIG benefits of winter sowing too:
- You don’t need to buy any special equipment or grow lights.
- There’s no need to sterilize your seedling trays.
- There’s no risk of the seedlings damping off.
- You don’t have to harden off your seedlings, because they’re already outside.
- Winter sown seedlings are hardier, and more robust, which means they have a much higher survival rate.
- You can start planting your seeds much earlier.
When Can You Start?
One of the things I love the best about winter sowing is that there is no set schedule you need to worry about. You don’t have to think about your last frost dates, or time your plantings to avoid leggy seedlings.
You can work on it at your own convenience, and whenever you have time. The only rule you need to follow is to wait until freezing temperatures are here to stay. Learn exactly when to begin winter sowing here.
My Expert Tips For The Best Success
As I said above, this technique is very easy. But there are are couple of things you need to understand before you begin. So, first let’s talk about the three main things you’ll need: soil, containers, and seeds.
The Best Soil To Use
The best type of medium to use is an all-purpose potting soil. I’ve also used a seed starting potting mix, which works just fine. But those can be a little bit more expensive.
Just make sure you buy a quality potting mix. Cheap dirt is too heavy, and could be full of weed seeds.
Also, always use a fresh, sterile medium, and never, use garden soil in any of your containers. Read about the best soil to use for winter sowing (and which ones to avoid) here.
Choosing Containers
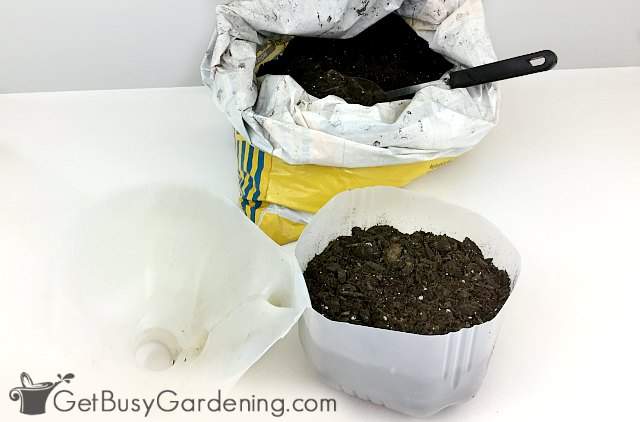
There are tons of different types of winter sowing containers you can use to make your mini greenhouses. The best part is that you make them out of items you throw out every day.
Things like milk jugs, 2 liter bottles, restaurant/deli/bakery food storage, ice cream buckets…etc. The shape and size doesn’t matter, but it must be made of transparent plastic.
It should also be deep enough to hold 3-4 inches of soil in the bottom, and tall enough to allow a few inches of headspace for the seedlings to grow.
Related Post: How To Clean Winter Sowing Containers For Reuse
Types Of Seeds To Plant
It’s important to use the correct types of seeds for winter sowing, because you can’t just use anything. The best ones are cold hardy annuals, herbs, and cold crop vegetables, or plants that are perennial in your zone.
If you’re unsure, check the seed packet. Look for terms like “self-sowing”, “direct sow outside in the fall”, “direct sow outside in early spring” or “cold stratification”.
How To Winter Your Sow Seeds
You don’t need any fancy equipment to get started, and you only need a few supplies. Gather everything ahead of time to speed up the process.
Supplies Needed:
- Containers
- Scissors
- Drill or old metal knife
- Potting soil
- Seeds
- Heavy duty tape or duct tape
- Plant tags (optional)
- Pencil, permanent marker or paint pen
Step-By-Step Instructions
Step 1: Choose your containers – Raid your recycling bin to find the perfect mini greenhouses, or ask your family and friends to save them for you.
It may take some time to build up a good selection, so be sure to start hunting for them a few weeks before you plan to begin winter sowing your seeds.
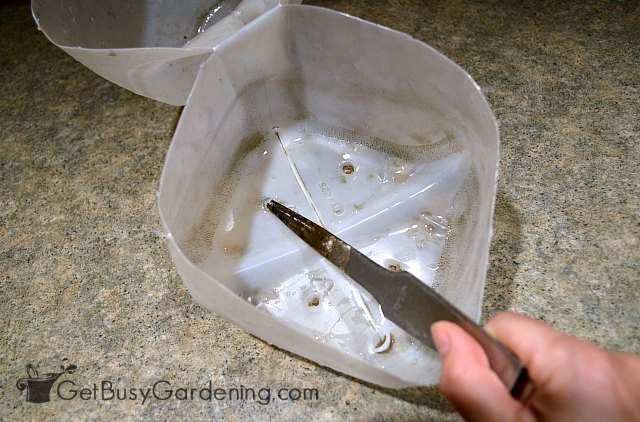
Step 2: Prepare the mini greenhouses – If you’re using a tall, narrow container, like a 2 liter bottle or milk jug, first cut it in half using a pair of scissors.
Then poke holes in the bottom for drainage, and also in the top for ventilation. Use a drill to make the holes, or a hot knife to melt them into the plastic. Learn exactly how to prepare winter sowing containers here.
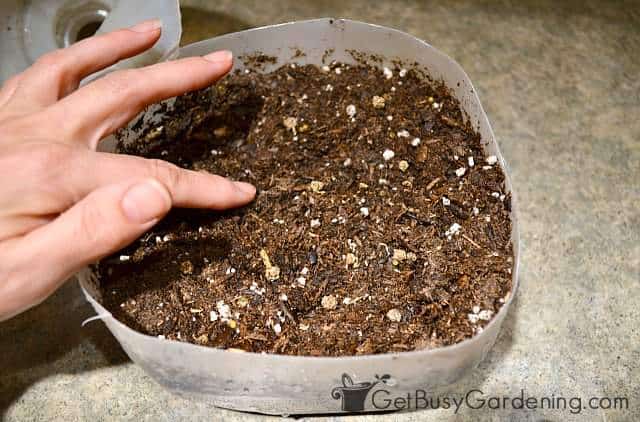
Step 3: Add the soil – Fill the bottom of your mini greenhouse with 3-4 inches of potting soil or a seedling mix. If it’s really dry, you may want to wet it down a bit.
Step 4: Plant the seeds – The number of seeds you use is up to you. But I prefer to space them out to make it easier to transplant the seedlings later on. If they’re too crowded, it will be difficult to separate the seedlings.
Step 5: Label your winter sowing – When you sow your seeds in the dead of winter, you will forget what’s in the containers by spring – trust me on this one. So you’ll definitely want to label them.
There are a few ways you could do that. Some people write on masking or duct tape, and others write directly on the top of the container.
However, if you use a permanent marker on top, the writing will fade in the sun, and could be unreadable by spring.
I recommend using a paint pen to write on the top. If you use tape, put it on the bottom of the container so the writing won’t fade.
My preferred method for labeling my containers is to use plastic plant markers, and writing on them with a pencil. Then I push the marker into the soil, and I have never had one of them fade.
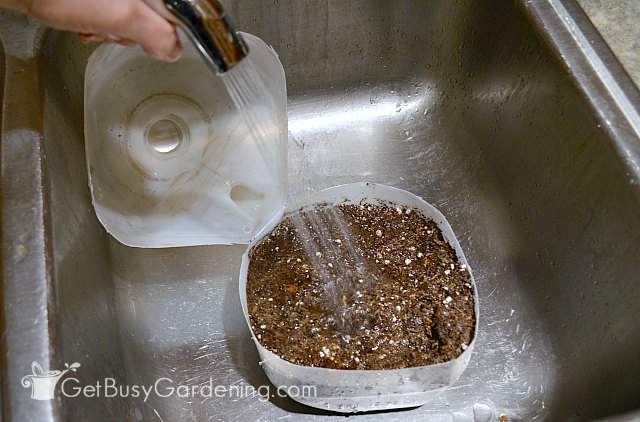
Step 6: Water the soil – After you’re done planting the seeds, water the soil thoroughly, and allow it to drain before moving them outside.
I give mine a light shower with the sprayer in my kitchen sink because it won’t displace the seeds. If it is really dry, then water it a few times to make sure it’s evenly moist.
Step 7: Put the lids on – The details for this step depend on what type of container you used. If the lid snaps on and fits tight, then you’re done.
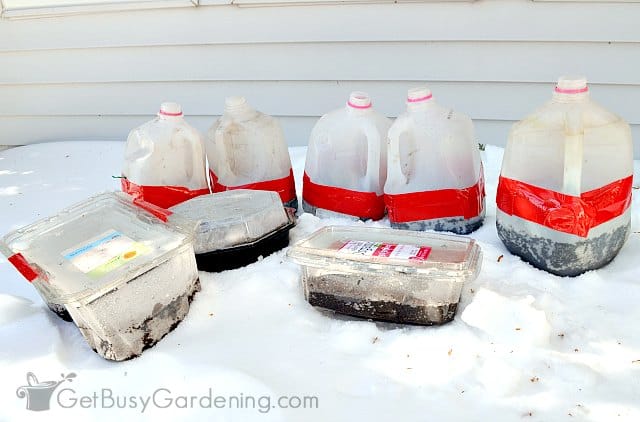
If you used something tall that you had to cut in half (i.e.: milk jug, 2 liter bottle… etc), then you can use duct tape (or other heavy duty tape) to attach the lid back on (but leave the caps off).
You can tape any of the lids on if they don’t fit tightly. Just make sure you don’t completely cover the transparent parts of the container, or the holes you made back in step 2.
Step 8: Move them outside – Move your winter sown containers outside to a spot where they are protected from heavy wind, but will get moisture and full sun.
If you have pets or children, put your containers on a table, or other spot where they will be out of reach.
Step 9: Forget about them until spring – Once you’ve moved them outside, you can pretty much forget about them until spring. Don’t worry, it’s OK if they’re completely covered by snow for a few months. Just leave them be.
How Long Do Winter Sown Seeds Take To Grow?
The seeds will start germinating at their own pace, and the timing can be different for each one.
Some may start sprouting before the snow even melts off the containers. While others won’t start growing until the weather gets warmer in the spring. On average, mine usually start popping up in early March… but I’m in Minneapolis zone 4b.
If you live in a warmer zone, you’ll start to see sprouts much earlier. Oh, and it can also vary year to year, depending on the weather.
The best thing to do is peek at them regularly for any signs of sprouts. Start checking them as the weather begins to warm up in the late winter/early spring. The hardiest seeds will germinate first.
Monitoring & Maintaining Your Containers
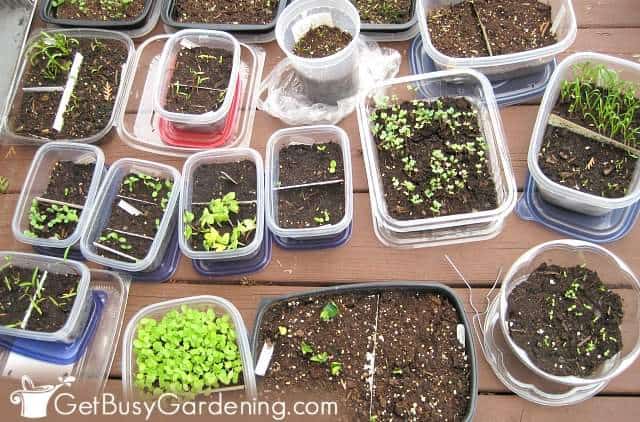
The only maintenance you have to do in the spring is to make sure your seedlings don’t overheat, and that the soil doesn’t dry out.
Those mini greenhouses can get pretty hot inside in the sun, so you may need to vent them more. You can vent them by cracking the lids open, or making the holes in the top larger.
Once the seedlings get tall enough and are touching the top of the inside of the container, it’s time to remove the lids.
The soil can dry out pretty quickly once you take the lids off, so check them at least once a day, and water if necessary.
Once the lids are off, keep an eye on the weather report. If there is a chance for freezing temperatures, cover your seedlings with a sheet or blanket to protect them overnight.
Planting Your Winter Sown Seedlings Into The Garden
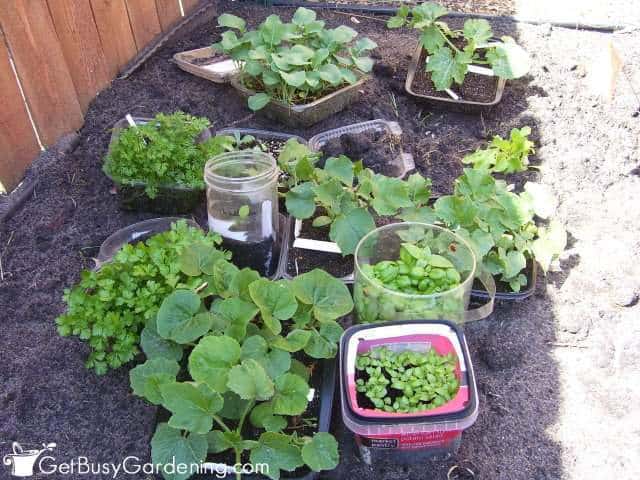
Once your seedlings are tall enough, and have their first few sets of true leaves, it’s time to plant them into your garden.
There’s no need to harden them either, since they’re already growing outside. You can simply plant them directly into your garden as soon as the ground is workable in early spring.
Related Post: How To Harvest & Collect Seeds From Your Garden
Winter sowing is a great way to grow some of the seeds for your garden every year. You can do it at your own pace, and there’s minimal care involved.
If you want more help, grab a copy of my Winter Sowing eBook. It’ll be your essential guide that will walk you through every step of the process in detail. Download your copy today!
If you want to learn how to easily grow all of your plants from seeds, then my Online Seed Starting Course is perfect for you. It is an in-depth online training that will walk you through everything you need to know about growing all types of seeds, step-by-step. Enroll and get started right away!
More Posts About Winter Sowing
- Winter Sowing Questions & Answers (FAQs)
- Tips For Winter Sowing During A Mild Winter
- How To Grow Seeds: The Ultimate Seed Starting Guide
Have you tried winter sowing yet? Share your tips or experiences in the comments section below.


Marilyn says
We had a snow storm recently which buried my winter sowing containers, so I had to dig them out, but they seem to be ok after being under the blanket of snow. Getting ready to sow some more.
Amy Andrychowicz says
Oh, you don’t have to worry about digging your winter sown containers out from under the snow. You can just leave them there, and forget about them until spring. Once the snow starts melting, they will eventually be uncovered, and the seeds will start growing when they’re ready. So, no extra work needed on your part – that’s the beauty of using this method! 🙂
copie says
This is my first year winter sowing! I learned about it a few months ago. I have finally got the vegetable seeds I ordered and in the next week plan to get them planted. I have about ten containers that I have saved up. I was pleased to see that you are also from Minnesota!
Amy Andrychowicz says
Another fellow Minnesotan, that’s awesome! Hope you enjoy winter sowing, and that everything will grow great for you!
emeli212 says
Winter sowing is so fun. Im so hooked. Its great because you dont have to harden off veggies and it doesnt take up space in the house. So great i will never go back to traditional methods.
Amy Andrychowicz says
Yes, those are some of my favorite benefits of winter sowing too! <3
Tat says
I just started winter sowing this year. I have 14 gallon (distilled water & milk) jugs already sown with perennials. I have several more jugs waiting on me! I can’t wait to see some sprout! Thanks.
Amy Andrychowicz says
It’s so exciting, isn’t it!? Good luck, I hope all of your containers will sprout come spring!
Lady Bug says
Hi Amy – Just wondering what your plans are for planting out all your winter sowing. When do you wait until? Some of my seedlings are over 3 inches tall waiting to leave their little containers.
Amy Andrychowicz says
You can start planting out cold hardy seedlings as soon as the soil is workable in the spring (usually mid-April for us here in zone 4b). You’ll need to wait to plant the non-hardy ones (anything that can’t handle frost) until after all chance of frost is gone (usually late May for us).
Cindy Brooke says
Just wondering as I am new to winter sowing. Planted many containers from late January to mid March. Have not seen any germination at all and getting a little concerned. Is this usual for April 3rd in zone 4/5 in central Ontario, Canada? I can’t imagine a complete bust but think I should have seen something by this time. Thanks!
Amy Andrychowicz says
I would expect that you should be seeing sprouts by now, especially if it’s been as warm in Ontario this spring as it has been here in MN. Don’t give up yet though, it depends on which types of seeds you winter sowed. Some are slower to germinate than others. Also, make sure they are sitting in a spot where they get some direct sunlight, at minimum in the morning and evening. If they’re getting too much shade, they may not be warming up enough to germinate.
SueOB says
I did the winter sowing methods last year and my results were quite good. I could hardly wait to do it this year. I started in February… although I may not have been as smart about which to plant. But it was a mixture and I know I had success with them last year. It is now April 6 and I went out to look at them. I do not have a single thing sprouting in any container (about 25 containers). A few of them had gotten dry, so that was probably the reason for those… but the others have a nice condensation on the inside of the lid. I put holes in top and bottom, used new seeds and a combo of potting soil/seed starting medium. I thoroughly wet the soil before putting them out and they were on the east and south sides of the house. Here is my question. Could anything still possibly work… or should I just fold it up. Actually, now that I have some perennials beginning to come up, the containers look pretty dumb out in the garden. I have no idea what to do. I am in the Twin Cities.
Amy Andrychowicz says
I’m sorry to hear about your frustration, but please don’t panic. 🙂 I only have three containers that have tiny sprouts out there right now. It’s three weeks later than I saw my first sprouts last year… but remember, last year we had an unseasonably warm spring. Spring has been much colder this year, and we’ve only started to have consistently warmer temperatures in the last few days.
Hang in there. I have a feeling you’ll start seeing sprouts within the next few days. We have a solid 5 weeks before we can safely plant anything in our gardens here in zone 4. That should give the seedlings plenty of time to grow. Just keep them watered, and out the full afternoon sun (I’m worried about the ones you have on the south side of the house, you should verify that those aren’t getting any afternoon sun).
Meredith says
Hi Amy, This is my second time winter sowing and this year, I have done 26 containers and few of them have sprouted already (March 19th!!). I’m in zone 4… North Central Minneapolis.
Amy Andrychowicz says
Awesome! It’s so fun to see a fellow Minneapolis winter sower! How exciting that your seeds are starting to grow! Most of my containers area already germinating too. What a crazy early spring we’re having!
Colleen says
I just winter sowed 7 jugs of tomatoes this weekend. I think we’re done ws-ing (for now!), but I have a question for you. I also have sprouts in my other milk jugs, what should we do if it gets back to below freezing temps for a few days? Should we be tossing a blanket or sheet over the containers? Or should I not be worried?
Amy Andrychowicz says
Wow, 7 jugs of tomatoes, that’s a ton! You must have a huge vegetable garden. 🙂 That’s exciting that your ws seeds are starting to grow, woohoo! If freezing temps return, be sure to put the tops back on the containers. Cold weather/hardy seedlings will be fine. It’s the tender warm weather ones that you have to worry about, the ones that aren’t frost hardy (like tomatoes). Yes, I just toss a blanket over them if it’s going to get below freezing. Then I remove the blanket once the sun hits the containers in the morning, which will warm them up fast. Easy peasy. You could also bring them into a garage or porch if that’s more convenient for you. You shouldn’t have to worry too much though. I’ve been winter sowing for 5 years, and have only lost a few tender seedlings to freezing temps when I didn’t cover them. All the other ones were fine with just the lids on, and no extra protection.
Gardener Lisa says
I am a 2nd year winter sower and currently have 249 containers… yes – a whopping 249 containers sitting on my deck, with over 50 that currently have sprouts!
Amy Andrychowicz says
WOW, 249 ws containers SO FAR?!? That’s awesome – you go girl! Congrats on all your germinating containers! You must be in a warmer growing zone than I am. Sprouting containers in January would not be a good thing here in MN. LOL!
valerie says
Hi Amy,
I winter sowed sweet peas and poppy two weeks ago in mid-March and I don’t see any progress. I have a ton more to plant this week, but am somewhat discouraged. Any ideas?
Thanks!
Amy Andrychowicz says
Oh no, don’t feel discouraged! My peas haven’t started to grow yet either. In fact, a majority of my winter sown seeds haven’t germinated yet. Just make sure the soil is still moist, and hasn’t dried out. Some seeds take longer to grow than others. And, since it’s still cold outside (at least it is here in MN), the soil is probably too cool for them to germinate (especially the pea seeds). Hang in there. Once you start seeing green in your containers, you’ll be encouraged again! Good luck!
valerie says
Thanks Amy! Should I keep the lids on when they are in the sun? I’ve been removing the lids and replacing them when I put them into the shade.
Amy Andrychowicz says
You don’t need to move them at all right now. The best thing to do is to put them in the sun, and leave the lids on them until you start to see sprouts. If it’s hot where you are, then you can keep the containers in a spot where they get morning sun only, and keep them out of the hot afternoon sun.
Rainbow Bright says
I have seedlings! Hoping that this latest frigid snap doesn’t hurt them. 🙂 Thanks of your information and encouragement and postings about winter sowing. They help, particularly here, where spring fever is rampant and spring is oh so slow in arriving. Mother Nature has been quite fickle this year!
Amy Andrychowicz says
Woohoo!! I’m so excited for you, and thrilled to hear your winter sown seedlings are growing! Congrats!
Terri Althouse Ness says
Just found your blog. I have not had success with winter sowing, but my neighbor has and i’m trying to follow him. My seedlings get too leggy. With I would have found you sooner! Thanks!
Amy Andrychowicz says
Sorry to hear you haven’t been successful with winter sowing yet. If your seedlings are getting too leggy, that means they aren’t getting enough sun. Once they start growing, I like to take the tops off my containers and put them into the full sun. Try that next time, and your seedlings won’t grow leggy.
LilBlossom says
This is my 3rd year wintersowing. Previous years I’ve been a bit overwhelmed, so this year, I’m much more organized. But even so, last year I had great success with tomatoes, chard, all the herbs I winter sowed, beans (though I need to sow MORE) and other plants.
Amy Andrychowicz says
I totally get how you could become overwhelmed by winter sowing. But it’s nice since there’s plenty of time all winter to get it done. 🙂 Glad to hear you were able to get organized this year, hope that helps!
Eco says
I began winter sowing this year and so far so good… Anxious for my early morning peeks at my seedlings to see what has transpired overnight!
Amy Andrychowicz says
It is so exciting to check the for sprouts every day, isn’t it! Hope your winter sown seeds will grow well for you!
Chelle says
I am in love with winter sowing! I’ve been doing it for 3 years now. I started after multiple failed attempts indoors, and all of my seedlings damping off. 🙁 Nothing worse than weeks of work and they all die. I don’t go too crazy with containers as I use gallon size milk jugs. I have 10 this year. Got them in rather late, but I have in the past at without any problems. Probably 4-6 seeds in each. Cukes, peppers, lots of tomatoes, herbs and flowers. I’m in WI 5a. We’ve had such a goofy weather here in WI (prob you too) this winter.
Amy Andrychowicz says
I am in love with winter sowing too! 🙂 I agree, it is so much easier than starting them indoors. Yes, we’ve had goofy weather here in MN this year as well.