Preparing your containers and getting them ready for winter sowing seeds is easy, and it doesn’t take much time.
In this post, I will show you exactly how to do it, with detailed step-by-step instructions. I’ll also share some tips and hacks that will help you get the job done faster.


One of the things that I like the most about winter sowing is that it takes the bulk of the work out of growing seeds.
Instead of fussing with a bunch of equipment, you use mini greenhouses made of recycled plastic containers.
But making all of those mini greenhouses does take some time. I also get tons of questions from newbies about exactly how to do it.
So I thought it would be a good idea to show you how to properly prepare your winter sowing containers, and give you some tips that will help speed things up for you.
Preparing Winter Sowing Containers Step-By-Step
The steps for preparing your winter sowing containers are basically the same no matter which kind you choose to use.
As I said above, it’s not hard work, but can take some time. Making an assembly line really helps to speed things up. So, get all of your tools and supplies ready, and lay everything out before you start.
Supplies Needed:
- Winter sowing containers
- Scissors
- Drill & drill bit, knife, or other sharp object
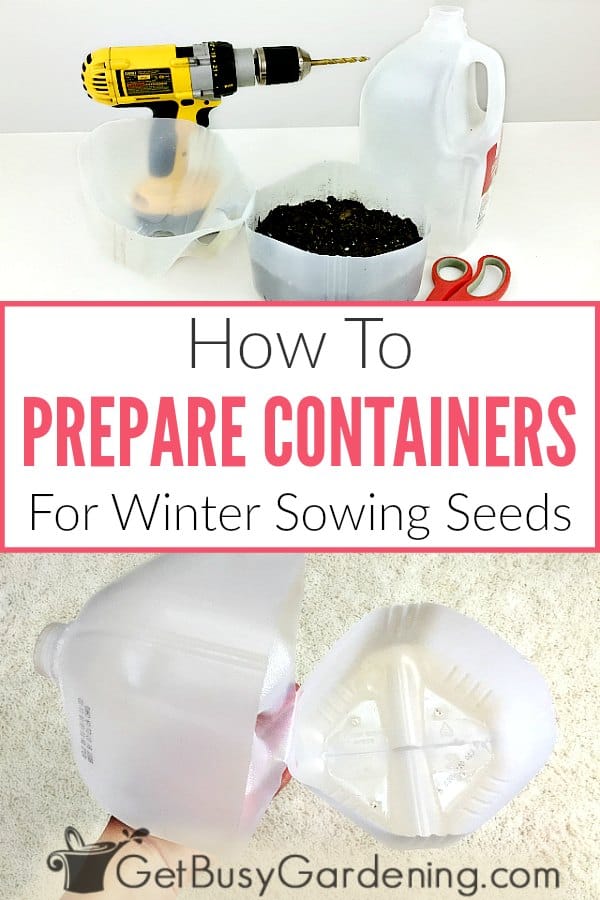
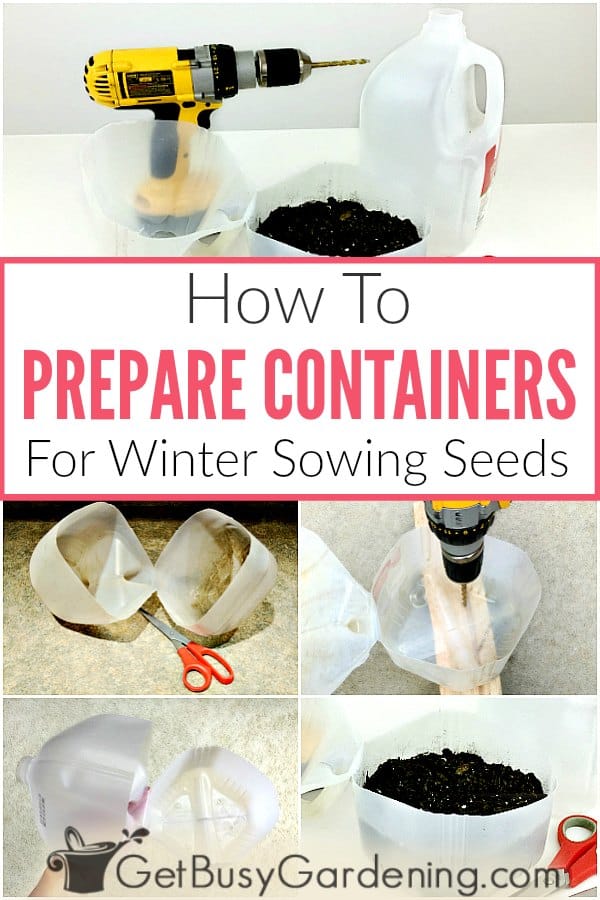
Step 1: Cut tall containers in half – This step is only necessary for containers that don’t have a removable top (for example, soda bottles and milk jugs).
Use a sharp pair of scissors to either cut them completely in half, or leave a small section attached so they will open on a hinge.

Step 2: Clean the containers – Most of the time you can simply rinse the containers out to prepare them for winter sowing.
But if there’s any caked on food, then wash them with soapy water. There shouldn’t be any food or residues left in there, or it could stink or cause mold growth. Learn how to clean winter sowing containers for reuse here.
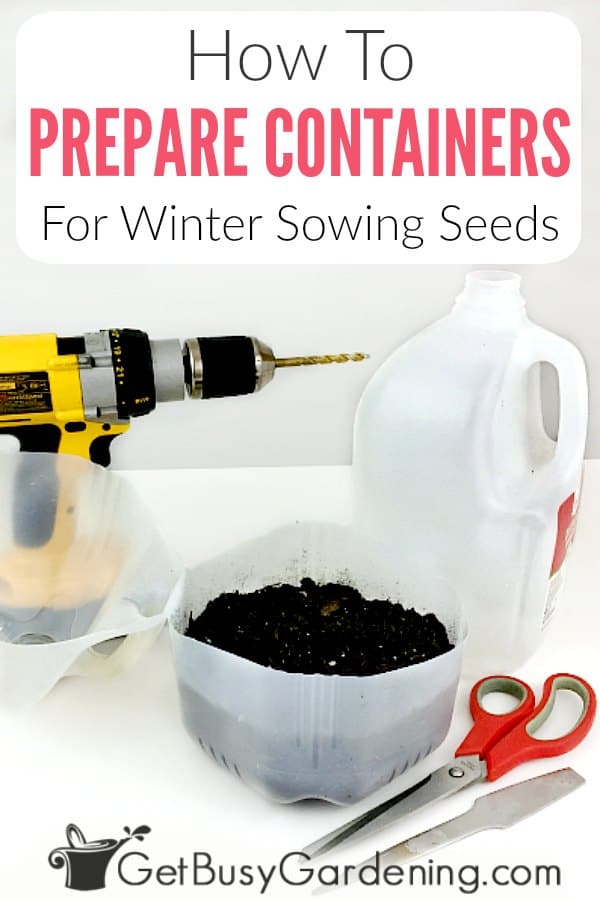
Step 3: Make holes in the bottom – Use a drill, knife, or other sharp object to make the holes in the plastic (more details on this below).
Poke enough holes in the bottom of the container to allow the water to drain out so the seeds won’t drown.
Step 4: Make holes in the top – The holes in the top are there to vent the containers so they won’t overheat, and also to allow rain and moisture in.
If you use milk jugs, juice or soda bottles, you can simply leave the caps off rather than poking holes in the tops. Otherwise, add the same amount of holes in the top as you did in the bottom.

How To Poke Holes In Plastic Containers
There are a few ways you can poke holes in plastic containers to prepare them for winter sowing. In my opinion, using a drill is the fastest and easiest way to do it.
But, you could melt the holes, or use a sharp object to puncture the plastic. Whatever method you use, don’t put too much pressure on the container, or the plastic could crack.
- Drilling holes – To make the perfect sized holes, I use a 1/4″ drill bit. Just be sure to put something underneath that you can drill into. That way you won’t accidentally damage the surface under the plastic. I use a leftover scrap piece of wood. Hold the container firmly as you drill the holes, or it could just spin around on you.

- Puncturing holes – Some people prefer to use a sharp object to poke the holes. For example, hammering a nail through the plastic. But I’ve found that this is hit or miss, and you can easily crack harder plastics. So it’s not my preferred method.
- Melting holes – This is a nice option if you only have a couple of winter sowing containers to prepare. I heat the end of the knife over the flame on my gas stove, and it melts right through the plastic. If you want to try this, be sure to use an old knife. It will turn black over time, and have plastic residue on it.

How many holes should I poke in my winter sowing containers?
The number of holes you make depends on the size of your containers. You should make enough holes so the water doesn’t pool inside, but not so many that it drains too quickly.
Take a look at the bottom of a standard plastic pot, and use that as your guide. Then just keep an eye on how quickly it drains.
If the water is pooling, you can poke more holes in the bottom. If it’s draining too fast, then simply cover a few of the holes with duct tape.
Making Simple Modifications
What if you have an awesome container, but it doesn’t have a lid? No problem! You can make some easy modifications to prepare it for winter sowing.

All you have to do is cover it with a plastic bag, then secure it at the bottom with a twist tie. Make sure to pull the plastic as tight as you can so it won’t blow away. Then poke a few holes in it, and viola!
If your container will fit into the plastic bag, you can put it all the way inside. But make sure that you poke holes in both the top and the bottom of the bag, as well as in the bottom of the container.

Preparing winter sowing containers takes a little bit of time, but it’s easy to do. If you have a lot of them, then create an assembly line to get the job done faster.

If you want to learn exactly how to winter sow your seeds, then my Winter Sowing eBook is just what you need. It has everything you need to know to get started, and be successful. Download your copy today.
Otherwise, if you’re ready to take it to the next level and learn how to grow anything you want from seed, then you should take my Seed Starting Course. It’s a fun and self-paced online course that will make you a seed starting expert in no time. Enroll and start the course today!
More Posts About Winter Sowing
- Winter Sowing Questions & Answers (FAQs)
- How To Choose The Best Seeds For Winter Sowing
- Choosing The Best Soil For Winter Sowing
Share your tips for how you prepare containers for winter sowing in the comments below.

beverly bittarelli says
I am interested in learning more about this winter sowing.
Amy Andrychowicz says
Great! The best place to get started is by reading my quick-start guide here… Winter Sowing Seeds: A Quick-Start Guide
Tracey Riley says
I’m addicted to winter sowing, have about 60 containers prepared and ready to go. So far this year I’ve stalked someone at the recycling machine to buy her soda bottles. Then while preparing my WS containers, I accidentally drilled a hole in my leg… oops!
Amy Andrychowicz says
Oh no! LOL, sorry to hear about the leg injury, ouch! Who knew preparing winter sowing containers could be so dangerous. 😉 Funny about how you were buying soda bottles from people at the recycling center. Haha! That’s pretty darn smart!
Tara says
Hi Amy, I thought I was off to a good start and winter sowed 18 containers last week. Then I ran out of containers. 🙂 I got another little pile, thanks to family and coworkers and can’t wait to do some more.
I wanted to say that using a drill really speeds up the “making holes” process! I don’t know if it was just me, but it was taking forever to make holes in my containers with the knife! I even heated it up like you suggested. So I got out hubby’s cordless drill and used a bit that makes holes. It works really slick, and cuts thorough the plastic with ease!
I really enjoy reading your blog and can’t wait for your next post! You have such helpful information.
Amy Andrychowicz says
Yah, glad to hear the drill worked so well for you to make holes in your containers! Thanks of your nice comment about my blog! So happy to hear you find it useful. 🙂