Propagating plants is fun and rewarding! Once you get the hang of it, you’ll be able to expand your collection of indoor or outdoor varieties, for FREE! In this post, you’ll learn all about plant propagation, and find out how to get started.
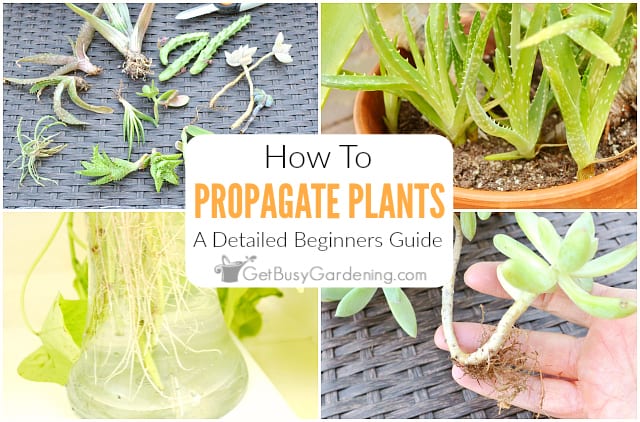
There is a great way to increase your plant collection beyond a trip to the garden center: propagation! Propagating plants allows you to take your existing collection, and grow lots of new little babies.
Plants reproduce and multiply by propagation, so technically you could do it with any that you have in your collection. You are just enhancing what they do naturally.
I propagate a lot of my plants, both houseplants and garden varieties. Not only is it super fun, it saves a ton of money too!
I’ve created entire garden areas using starts that I grew myself, and I’ve expanded my houseplant collection a ton over the years – all for free!
Some plants are easier to propagate than others. In fact, there are ones that can only be done by the pros in labs with lots of expensive equipment. But there are plenty that you can grow at home yourself.
What Is Plant Propagation?
Propagation is a big word, but the definition is simple (well… at least my definition is simple!).
You might even already have a basic understanding of what the word means. But what does it mean when it comes to gardening? Here’s my definition:
Propagation is the process of creating new plants from existing ones.
That’s how I define it, because I like to keep things super simple! But let’s dig a little deeper, shall we?
Benefits
By propagating plants you already own, you have unlimited potential to expand your collection, and fill your home and gardens with as much green as you want.
Here are a few other benefits of learning how to reproduce plants:
- Free plants – Have a new garden area or containers you want to fill on a tight budget? You can do it for free by multiplying the plants you already have.
- Trade for new varieties – Get new varieties by swapping cuttings, seeds, or starts with neighbors and friends.
- Overwinter cuttings only – Keep your favorite tropicals and annuals by overwintering the cuttings or small divisions, rather than bringing the whole container into the house.
- Gift giving – Give indoor or garden plants away as presents (they make great housewarming gifts)! Your friends will love the thoughtful gift, and they’ll never know it was free for you.
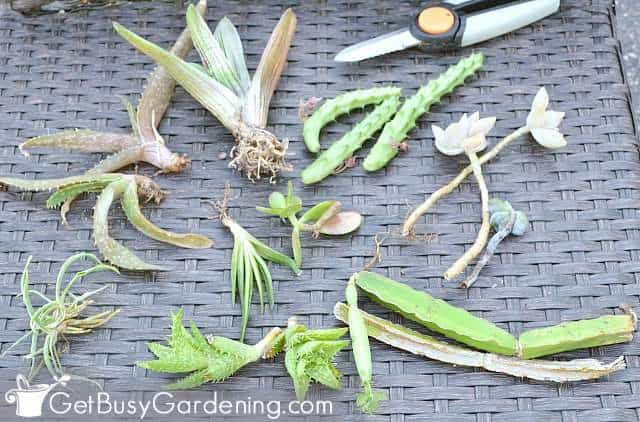
Common Plant Propagation Methods
There are a few different methods for propagating plants. Heck, you’ve probably already got some experience without even knowing it!
Many species can be multiplied using more than one method, and it’s fun to experiment to see what works the best for each type you have. Here are a few of the most common methods to try…
Sexual Plant Propagation
The primary reproduction method for most plants is sexual – through the pollination of flowers! As long as they aren’t sterile, most will form seeds after the flowers have been pollinated.
By harvesting the seeds that are naturally produced, you can grow more plants without spending money at the garden center. This is a great choice for prolific annuals and vegetables.
I’m not going to go into great detail about sexual propagation in this post, so start here if you want to learn how to grow seeds.
Asexual Propagation In Plants
Asexual propagation uses already growing plants to create a separate “cloned” baby. Plants have different parts, like stems, leaves, offshoots, or bulbs, that are easy to grow for a fresh, new start.
- Propagating cuttings – Taking precise cuttings from the leaves, stems, or stolons (aka shoots, plantlets, or runners), you can get them to grow their own roots, and eventually mature into a full-sized specimen.
- By layering – In some cases, you can root stems while they are still attached to the mother plant, without severing them first. This way the new start still receives nutrients while it forms its own root system.
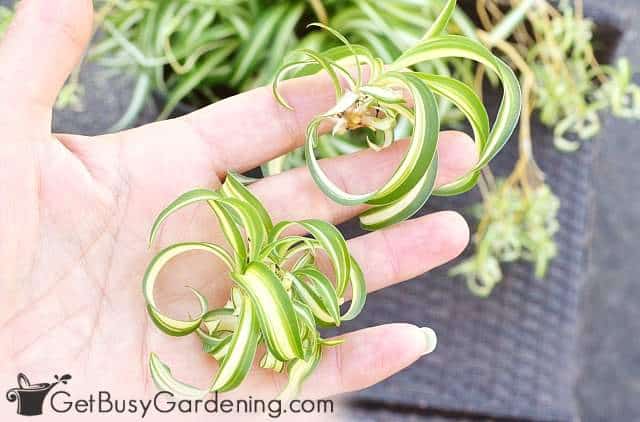
- Propagating by division – Some plants form bulbs, corms, tubers, rhizomes, or offsets (aka babies, suckers, or pups). You can divide these up to multiply them.
Best Time To Propagate Plants
The best time to propagate is in the spring or summer. If it’s humid where you live, you’ll find it much easier to be successful.
Avoid the hottest days of summer, especially in dry climates (unless you plan to do it indoors). Also, don’t try to do it in the fall. That’s when most plants begin to go dormant, and it makes reproducing them much harder.
Easiest Plants To Propagate
While some plants are extremely easy to propagate, others are a bit more challenging. If you’re a beginner, then it’s best to start with something easy.
If you want to try it for the first time, or just want to experiment with new methods, then I recommend choosing something from the list below.
From Cuttings
- Sweet potato vine
- Mint
- Begonia
- Coleus
- Lavender
- Burrow’s tail
- African violet
- Jade plant
- Holiday cactus (Christmas or Thanksgiving)
- Kalanchoe
- Spider Plant
- Ajuga
- Plumeria
- Pothos
- String of hearts
- Wandering jew
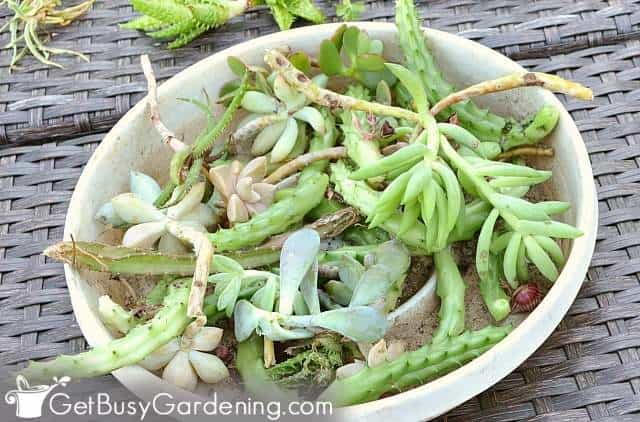
Basic Plant Propagation Equipment & Supplies
Before you can propagate plants, you will need a few supplies. Don’t worry, you won’t need a bunch of expensive equipment to get started.
Heck, you probably already have some of this stuff at home. You can see a more detailed list here… Plant Propagation Tools & Equipment. But I’ll give you a quick list of the basic things you’ll need…
- Propagation soil – I make my own using a mix of perlite, vermiculite, and potting soil – but a nice seed starting mix will work too.
- A container – This can be a fancy propagation chamber, a pot with a clear plastic bag, or you could try to make your own DIY propagation box.
- Rooting hormone – To make it faster and easier to root slips and pieces, I highly recommend using rooting hormone. It’s inexpensive to buy, and totally worth it to increase your success rate.
- A cutting tool – For taking cuttings you’ll need to use a sharp, sterile pair of clippers, micro snips, bonsai shears, or a knife.
- Bottom heat (optional) – Using a heat mat can help the cuttings root faster.
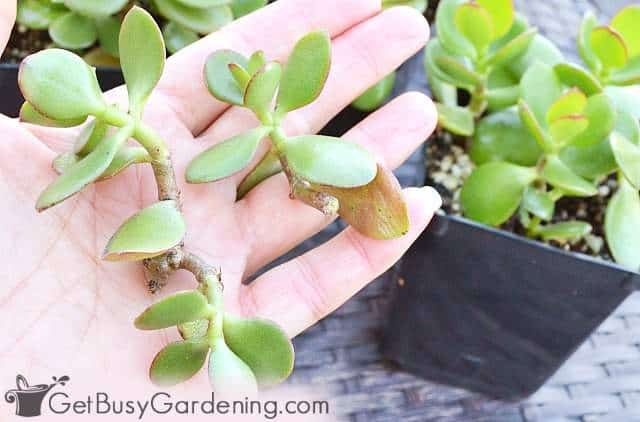
How To Propagate Plants Step By Step
Before getting started, make a list of plants that you’re interested in propagating. I recommend choosing from one of the lists above if you’re a beginner.
Keep in mind that it takes much longer to get a mature specimen from leaves or seeds than it does from division or stem cuttings.
So if you want to have mature plants faster, then your best bet is to propagate them from stem cuttings, layering, or by dividing them.
Propagating Plants By Division
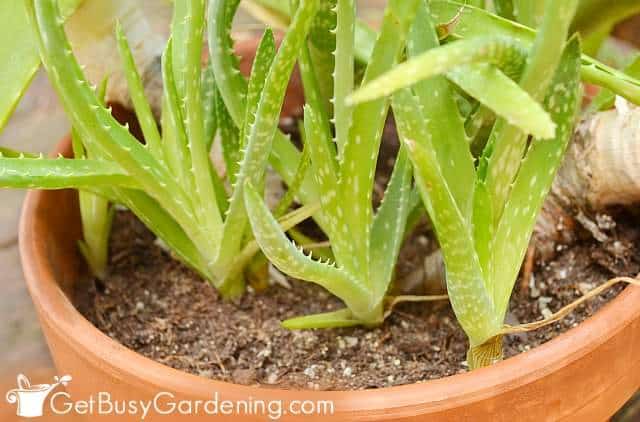
Many plants make it easy for you to multiply them from the new growth (known as babies or pups) they regularly produce from their roots. All it takes to divide them is a delicate touch, and some patience.
- Step 1: Carefully slide the entire rootball out of the pot.
- Step 2: Brush the soil away from the base of the pup that you want to remove to make sure it has roots of its own.
- Step 3: Gently tease them apart, slowly untangling the roots of the pup from those of the mother plant. Take care not to break any of the baby’s roots.
- Step 4: Use a sharp pair of clippers to sever the connection, and remove the pup from the mother.
- Step 5: Pot up the baby at the same depth it was growing in the original container.
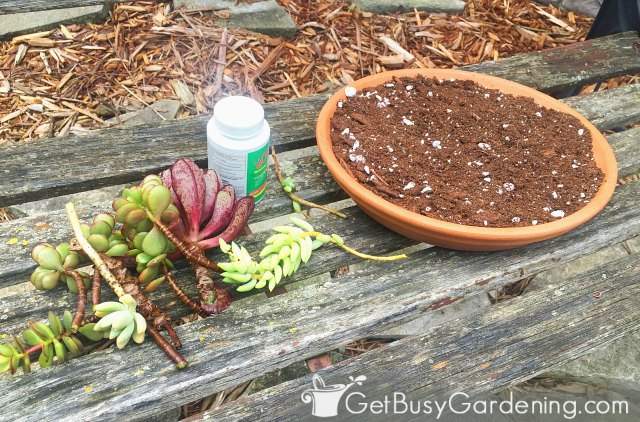
Rooting Plant Cuttings
Rooting plant cuttings is where propagation becomes really comprehensive. There are a lot of varieties that you can grow from severed stems or leaves without having to wait for seeds and sprouting.
- Step 1: Dip the base of the stem or leaf in rooting hormone before sticking it into the medium.
- Step 2: Keep the rooting medium moist but not soggy, and never allow it to dry out completely.
- Step 3: Place the cuttings in a spot where they’ll be out of direct sunlight. An area near a sunny window inside the house is perfect. Outside, put them in the shade.
- Step 4: Cuttings will root faster in higher humidity. You can mist them regularly, or put a humidifier in the room to raise the moisture level.
- Step 5: Use bottom heat to facilitate the rooting process. In the winter, you can place your cuttings on a heat mat or near a vent (be careful, because the air from the heat vent will cause the soil to dry out faster).
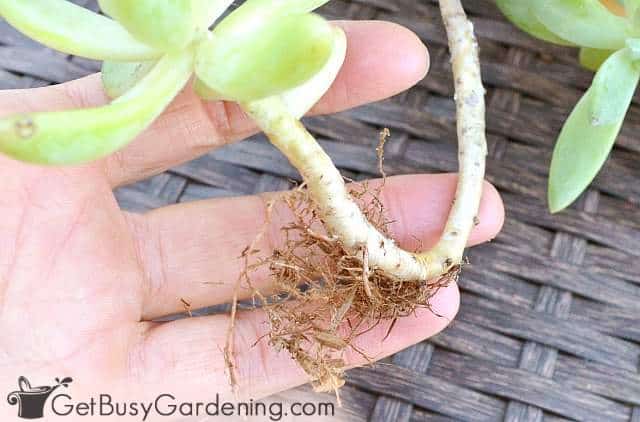
- Step 6: New growth is usually the first sign that a cutting has rooted. Once that happens, gently brush the medium away from the base to check for roots.
- Step 7: Pot up the rooted slip into its own container. Place it at the same depth it was growing in the propagation tray.
Air Layering
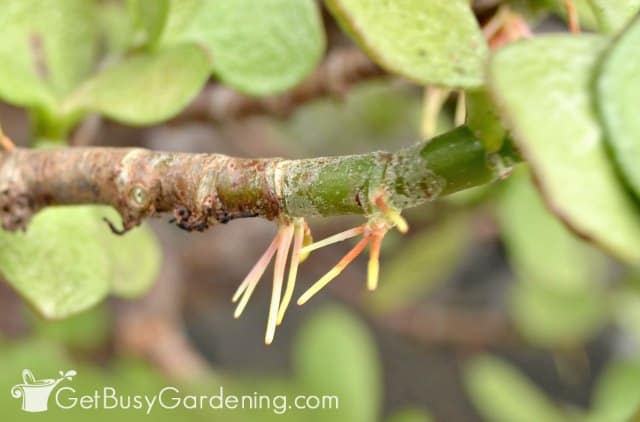
Rather than dealing with severed cuttings, many times you can root the stems while they are still attached to the mother. Sometimes plants will air layer themselves, but we can help them by following these steps.
- Step 1: Carefully make a slice in the stem with a sharp knife to make a wound.
- Step 2: Prop the wound open using a small piece of wood or plastic, or with a toothpick.
- Step 3 (optional): Dust the cut part of the stem with rooting hormone to speed things up, and give you a better chance of success.
- Step 4: Wrap the cut section of the stem with damp sphagnum moss.
- Step 5: Cover the moss with plastic wrap or use a Root Pod to keep it in place.
- Step 6: Tie both ends of the plastic to secure it to the stem, and hold in the moisture.
- Step 7: Once you see new roots growing out of the moss, sever the stem just below the roots, and pot up your new plant.
Compound Or Tip Layering
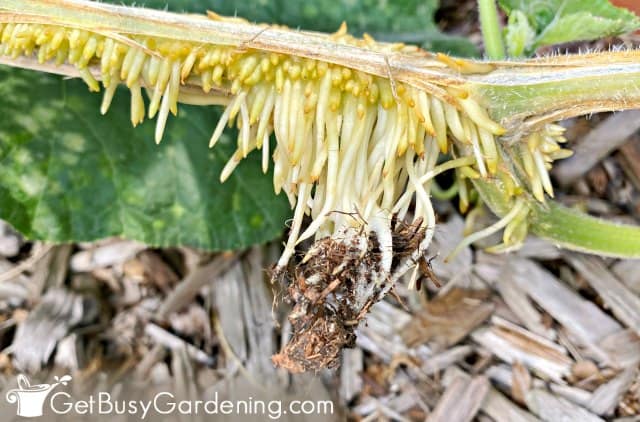
Many plants will naturally form roots at the point where their stems touch the soil. By burying the stem, we can encourage the plant to propagate itself. Then come back to cut and transplant the new start later on.
- Step 1: Carefully bend the stem so that it’s touching the dirt.
- Step 2: Dig a shallow hole at the point where the stem touches the soil.
- Step 3 (optional): Make a small wound in the stem with a sharp pair of clippers.
- Step 4 (optional): Dust the wound with rooting hormone to help speed up the process.
- Step 5: Cover the part of the stem that is in the hole with soil. If the stem won’t stay put, you can tack it down with a paperclip that’s been bent into an upside down U shape.
- Step 6: Moisten the soil, and don’t allow it to dry completely.
- Step 7: When the buried stem has formed roots, then you can remove it from the mother plant, and repot it.
Troubleshooting Common Propagation Problems
There’s nothing more frustrating than spending all the time propagating, only to have problems. So in this section, I’ll list a few of the most common problems you may run into, and give you tips for how to fix them…
Leaf drop
Cuttings will go into shock when you root them, so leaf drop is fairly common. But sometimes it can mean the piece died or rotted, so check the stem if leaves start to drop.
Cuttings Rotting
If your cuttings rot, that means they are getting too much moisture. Try allowing the soil to dry out more, and venting the plastic.
Mold Growth
When mold starts growing either on the soil or on the cutting, it’s another sign that there’s too much moisture. Vent the plastic, and let the soil dry out a bit between waterings.
Bugs
If you find bugs on your leaf or stem slips, or see gnats flying around the propagation box, then it’s best to start over.
They will only spread to other cuttings, or contaminate your sterile medium. Dump out everything, thoroughly clean the container, then start over with fresh, bug-free cuttings.
Cuttings Shriveling
It’s common for cuttings to droop for a day or two, but if they start to shrivel, it means they aren’t getting enough moisture. Increase the humidity around them.
FAQs
In this section, I’ll answer some of the most frequently asked plant propagation questions. If you can’t find what you’re looking for here, then ask your question in the comments below.
Can you propagate any plant?
Yes, any type of plant can be propagated… but some are much, much more difficult than others.
What is a plant propagator?
A plant propagator is a box or chamber that is used to root cuttings. At minimum, it will have a tray and a plastic domed lid. Fancier propagators can come with heat mats, lights, and ventilation built into them.
How long do plant cuttings take to root?
It depends on the type of plant, and also the environment. The warmer and more humid it is, the faster the cuttings will root.
Do cuttings root in water?
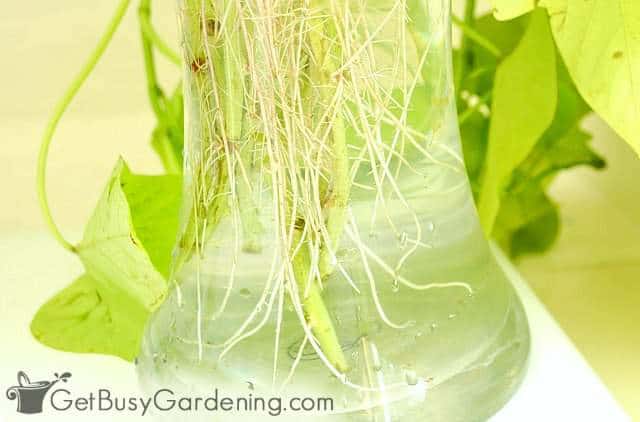
Yes, many types of cuttings can root in water. It doesn’t work for all of them though. Also, cuttings rooted in water have a harder time becoming established in soil once they are potted up. So the survival rate can be much lower when rooting in water vs soil.
Whether you want to increase your own collection, or give the personalized gift of one of your babies, propagating plants can be fun and rewarding. Set yourself up for success by starting with one of the easy varieties above, and grow lots of new plants for free!
Do you want to learn how to multiply all of your plants? Then my Plant Propagation eBook is for you! It will show all you need to know to get as many new plants as you want from your existing ones. Grab your copy today!
More About Plant Propagation
- Propagating Succulents During The Winter
- How To Propagate Basil – A Step By Step Guide
- Propagating Rosemary By Rooting Cuttings In Water Or Soil
- How To Propagate Succulents From Cuttings
- Propagating ZZ Plants From Cuttings Or Division
- Propagating Peperomia In Water Or Soil
- Rooting Aloe Vera Cuttings Step By Step
Share your tips for propagating plants in the comments section below!


Hector Calderon says
Hello, I just discovered this web page with the various tips on propagations. I have a few plants and I am constantly trying to master propagation. I have been at my hobby for a couple of years and try to propagate when I can. I have learned to be more patient and let mother nature take over. I have lost many plants due to over hovering and watering. One issue that is a constant frustration for me is propagating stem cuttings in soil. I have followed all of the rules to a “T” but they always end up shriveling up and falling over I have pretty good luck with stems in water on most but there are a few plants like Mandevilla and Petunias that do best in soil but not for me. I would appreciate any helpful hints. I live in Los Angeles area zone 11.
Thanking you in advance for your time
Hec
Amy Andrychowicz says
In order to successfully root cuttings in soil, the air around them needs to stay very humid, and the soil should stay moist (but not soggy) at all times. This is usually fairly easy to achieve when you use a propagation box (aka propagator). Have you ever tried using one of those? I have great success with the one I made myself, and it’s a very easy little project… A Cheap & Easy Propagation Box For Rooting Cuttings.
Benjamin Barungi says
I love to know more about leaf propagation and the plants that under go the propagation
Amy Andrychowicz says
Some types of plants can be propagated by only a leaf, while others cannot. So it totally depends on the type of plant.
Tesla says
I propagated our Mulberry Tree for the first time. I started with 30 cuttings, and 9 lived. STILL worth the effort by far, next time I’ll get better at it.
I gave the new baby trees to my family. They each wanted 3 trees, some even 6 trees!! Not enough to go around. They live beside Pikes Peak in Colorado -big time tree country, and they were almost fighting over them; my mother was the worst! Too cute.
Amy Andrychowicz says
Oh how fun! Glad you were able to get so many of your cuttings to root, even though it was a lower success rate than other plants. I love that your family is fighting over them, LOL! Sounds like you’re going to be busy propagating more!
cheyenne says
i really enjoyed reading this. i personally start plants from clippings all the time and never knew there was an official term for it. thanks for the great tips about the shady outsides and the humidity! also thanks for your soil secrets, i can’t wait to try it out!
Amy Andrychowicz says
Awesome, glad you enjoyed the guide, and learned about the term plant propagation! You’re welcome, and have fun!
Margaret says
I love propogating my garden plants. One of my favorites to propogate are mums. I usually cut them back by about 1/2 in early spring (to have them bloom a little later). When I do that, I never throw out the cutting and just stick them into the ground. By fall, I have a new batch of mums with a nice root system that allows them to overwinter in my zone 5. I’ve also propogated tons of sedum this year..just love it! And I discovered by accident how easy coleus is to propogate by cutting too. I accidentally broke a stem of a large coleus that I had and just figured I’d try and stick that into the ground too..and it rooted so easily. LOL…I love propogating! 🙂
Amy Andrychowicz says
Awesome! Yes, propagating plants is so much fun (and it’s addicting too!). I’ve tried it with pretty much every plant I own, LOL!