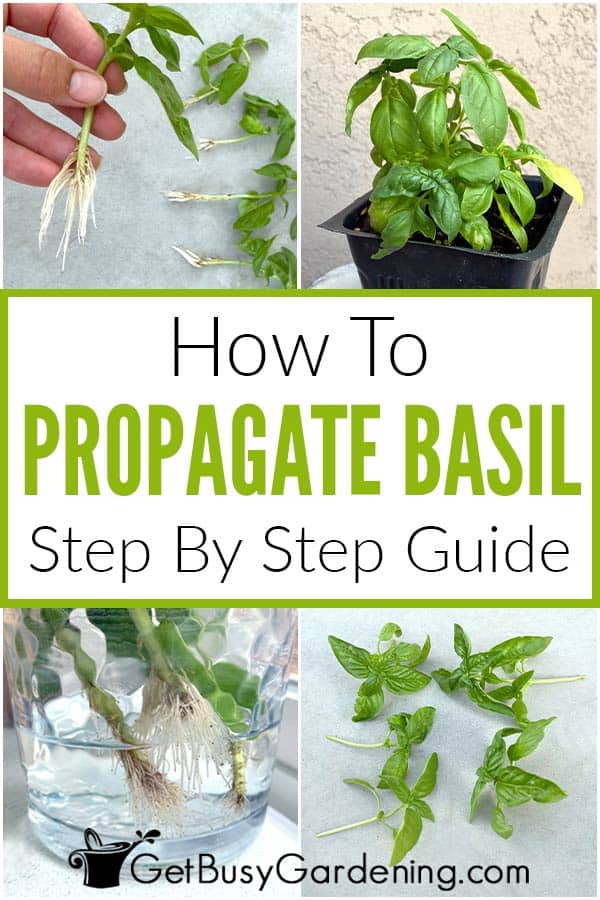
Propagating basil is a great way to multiply your supply and get even more of your favorite herb. In this post, I’ll share the most common methods to try, and show you step by step how to propagate basil by cuttings or division.
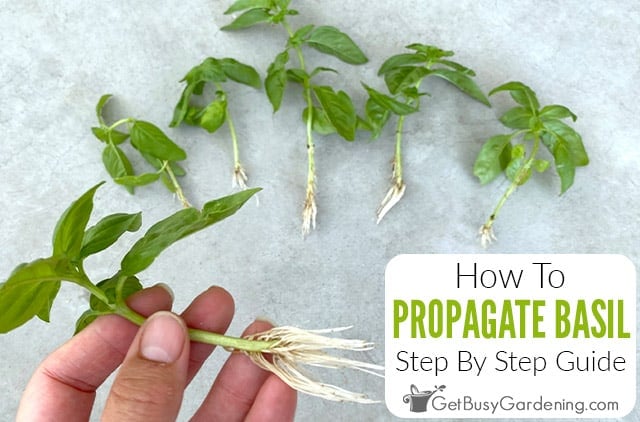
Whether you’re a beginner or an experienced gardener, learning how to propagate basil is a great way to ensure you always have it when you need it.
There are even a couple of techniques you can try, so you’re sure to find one that will work best for you.
In this guide I will show you all you need to know about propagating basil, and give you step by step instructions for each method.
Don’t worry, it’s very easy. In fact, if you’ve never tried plant propagation before, this is the perfect one to start with.
Basil Propagation Methods
There are three different ways to propagate basil, and these techniques work for any type that you have.
So, whether it’s Thai, holy, lemon, or the most common sweet basil (Genovese), you can use the methods below to multiply them.
1. From Cuttings
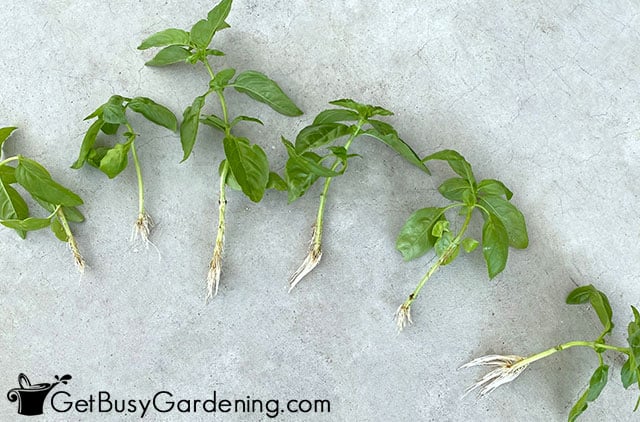
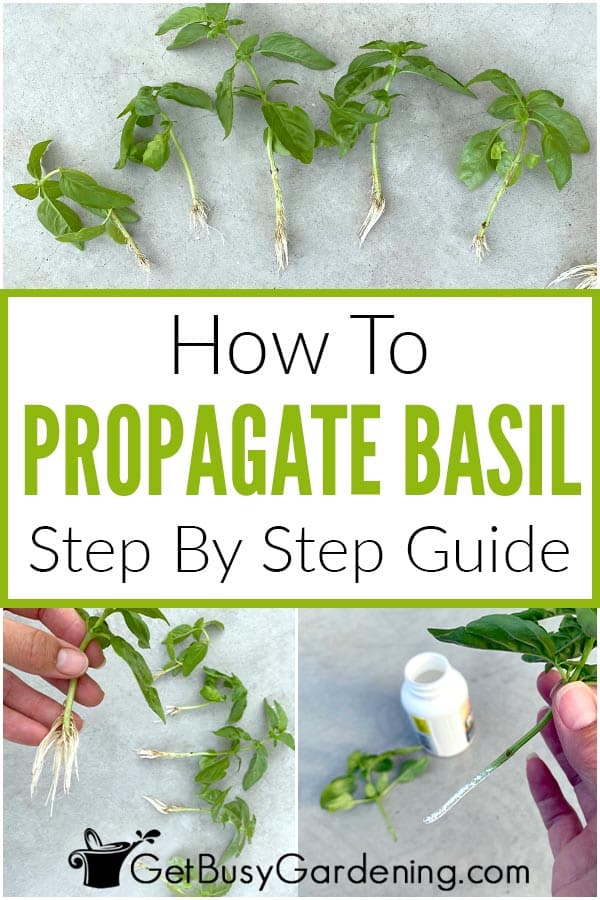
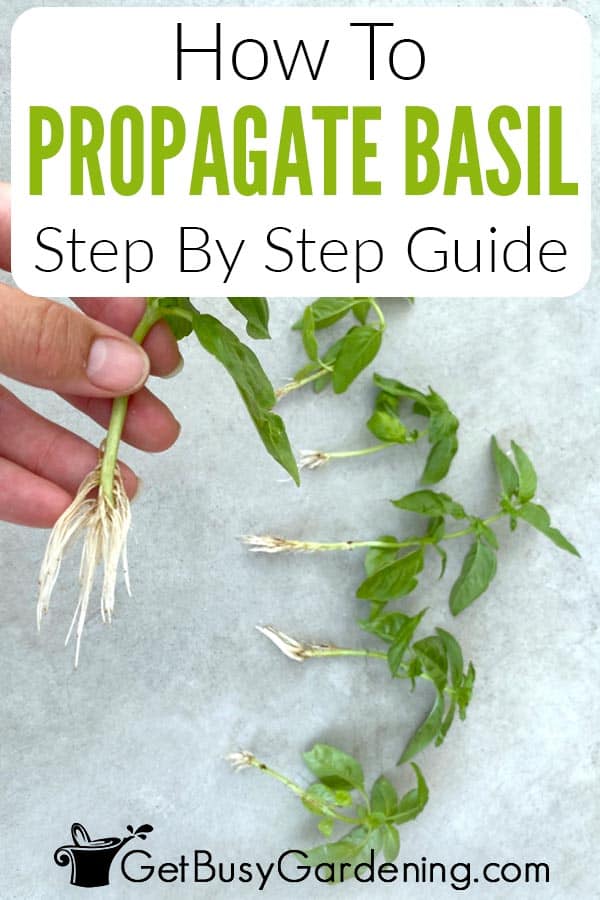
Rooting stem cuttings is the easiest and most popular way to propagate basil. You can even choose to root them in either water or soil.
Sadly you cannot root the individual leaves, this will only work with the stems. But don’t worry, taking stem cuttings is simple, and will give you a mature plant much faster than leaves would.
2. By Division
Plants that have more than one stem coming out of the soil can be divided and replanted to increase your production even faster.
Separating them is by far the quickest way to get a new plant, but also the most labor intensive. It’s better to do this with young plants than it is with larger and more mature ones.
3. From Seeds
You can also propagate basil from seeds, which you can gather yourself if you let them flower. Depending on your climate, this could happen anytime from mid to late summer.
When the spent blossoms turn brown, simply shake them over a container to capture the seeds. Learn all about how to grow basil from seeds here.
When To Propagate Basil
The best time to propagate basil is in early summer before it bolts (goes to flower). Flowering requires a lot of energy, and we want to direct that toward new root production instead.
Division can technically be done anytime. But, since they are annuals, it’s best to do it while the plants are young and have ample time to produce more leaves, rather than trying to divide a mature plant later in the season.
Supplies For Propagating Basil
Before you get started, I recommend having your tools and supplies ready to go so you can work fairly quickly. Here’s a list of the things you’ll need, but some items are optional.
- Basil cuttings or a young plant
- Rooting medium or water
- Propagation chamber (optional, if rooting them in soil)
- Glass jar or cup (for the water method)
- A clean pair of micro snips or precision pruners
- Potting soil
- Container for potting them up
Propagating Basil From Cuttings
First I’m going to show you how to propagate basil from cuttings, since it’s the most popular method most people like to use. In order to have the best success, first let’s talk about how to take and prepare your clippings.
How To Take Cuttings
Since they will root from anywhere on the stem, you really can’t go wrong here. But, there are a few things to keep in mind when taking your cuttings.
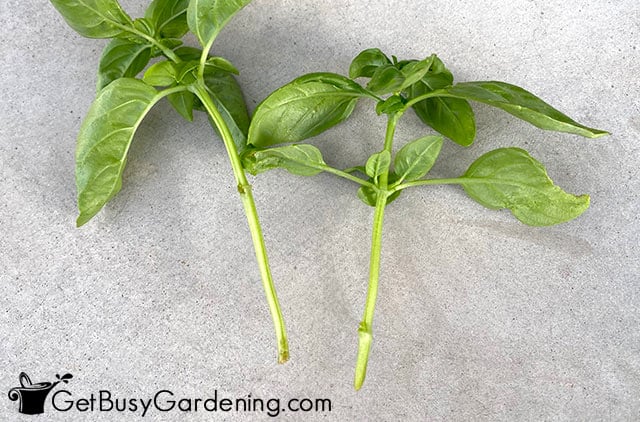
First, find a stem that is at least 3-4” long. You could try using one that is shorter. But the longer they are, the easier this process will be.
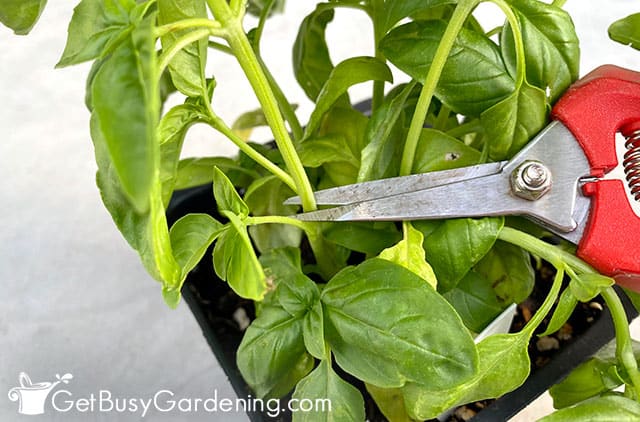
Next, use a sharp, clean pair of micro snips or precision pruners to cut it just above the next lowest leaf node.
It won’t come back above the cut, so this way you won’t have a bunch of empty stems sticking out of your plant.
Related Post: How To Prune Basil The Right Way
Preparing The Cuttings For Propagation
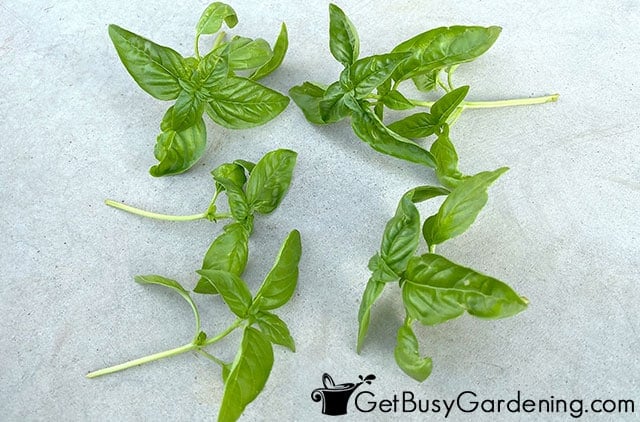
To prepare your cuttings, remove the bottom leaves by pinching or trimming them off. You’ll want to work fairly quickly here so that it doesn’t start to droop.
If it begins to wilt or dry out, it can be much harder to root. So only take your clippings when you’re prepared to get them into the medium or water right away.
How To Root Basil Cuttings
When you’re ready to propagate your basil cuttings, follow these simple step by step instructions to root them in either soil or water.
Steps For Rooting Basil Cuttings In Soil
Rooting basil cuttings in soil rather than water produces stronger starts, and also helps reduce the risk of transplant shock later on.
Step 1: Prepare your medium – My preferred and recommended medium is either a seed starting mix, or a homemade one. I use a combination of equal parts coco coir (or peat moss), perlite (or pumice), and vermiculite.
They also love humidity, so it can be helpful to have a propagation chamber ready to use. You can make your own, purchase one, or simply tent a plastic bag over the top of a small pot.
Step 2: Grab a container – Use a clean 3”-5” nursery pot or grab your propagation box. You could also use biodegradable peat pots, which are a great way to save time transplanting later.
Step 3: Add the rooting medium – Fill your container with 3-4″ of medium and wet it down. Hydrate it to the point of being moist, but not sodden.
Step 4: Place stems into the container – Make a hole in the medium with your finger or a pencil, then stick the stems of your cuttings into it. Gently pack it around the base so it has good contact with the stem.
Step 5: Cover them with plastic – Place the lid on your propagation chamber, or tent a plastic bag over the top of the pot. It’s very important that none of the leaves are touching the plastic, or they will turn brown and rot.
Step 6: Add bottom heat (optional) – The cuttings normally root very quickly. But if your home is cool, or you want to speed things up, bottom heat can encourage them to develop faster. Simply place the container on top of a heat mat.
Step 7: Place in bright, indirect light – Choose a spot that will give the cuttings plenty of bright light and warmth for best results. But keep them out of the direct sunlight or they might end up cooking.
Step 8: Keep the soil moist – Take care to maintain the soil moisture so it doesn’t dry out, but avoid making it soggy. A good way to do it is to place a tray underneath the pot, and water from the bottom.
Steps For How To Grow Basil In Water
Propagating basil in water is a popular method because it’s very easy, and it’s fun to watch the process as it happens.
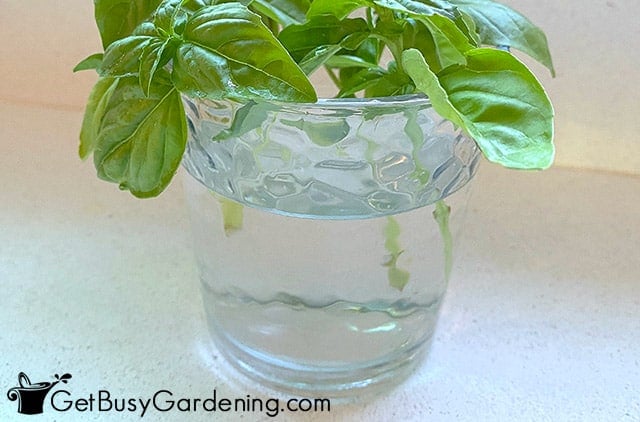
You can use any type of vessel that holds water, but I like to use a clear, clean glass or jar so I can watch the roots forming.
Step 1: Fill a glass ¾ full – Always use tepid or lukewarm water to fill your vase or jar.
Step 2: Place stem cuttings in – Place only the stems into the water, and ensure no leaves are in contact with it or they could rot.
Step 3: Put in a sunny location – They like direct, warm sunlight, so place the jar or glass in a bright windowsill for best results. If they start to wilt, move them out of the hot sun.
Step 3: Keep the water clean – If it gets cloudy or evaporates, refresh it with new water. Murky or stinky water is a sign of rot, so make sure to check the stems and leaves if this happens.
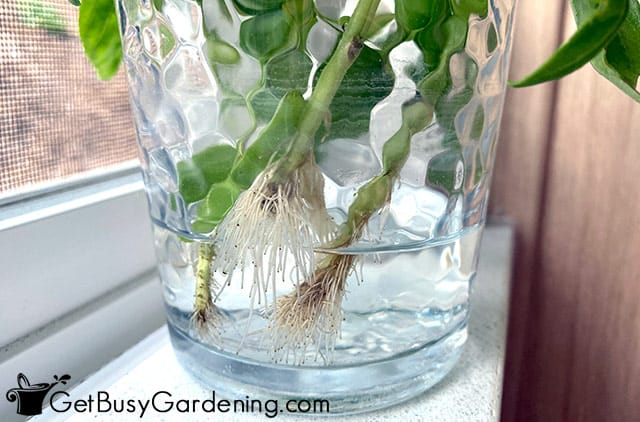
Step 4: Allow the roots to reach 2” long – They’re ready to be potted up into soil once the roots are at least 2” long.
Don’t let them go much longer after this point. The more they sit in water, the harder time they’ll have adjusting to being in soil.
Related Post: How & When To Harvest Basil Leaves
How To Propagate Basil By Division
Follow these steps for propagating basil by division if you have a young plant that has more than one main stem coming out of the soil.
The best time to divide them is when they are small, and it will give you the longest season to enjoy them.
Steps For Dividing The Rootball
While this method is fairly easy, it requires the plant to have more than one main stem. Often, the young starts sold at grocery stores or garden centers contain multiple starts, and are ideal candidates for division.
Step 1: Prepare a new pot – Fill a 5″ deep pot with an all-purpose mix and moisten it. Alternatively, you can prepare a garden spot for them.
Step 2: Gently divide the rootball – This is usually pretty simple to do. Remove the whole thing from the pot, and gently tease the roots apart until they separate. Work slowly and try not to break off any of the tender roots.
Step 3: Pot up or replant them – Whether you’re putting them into a pot or the garden, bury them at the same depth as they were in the original container, and gently pack the soil around them.
Step 4: Lightly water – Keep the soil moist, and you should begin to see new growth quickly.
How Long Does Basil Take To Grow From Cuttings?
Basil is very fast to grow from cuttings. In ideal conditions, roots will start to form in only 7-10 days. However, it can take 2-3 weeks for them to get long enough for repotting.
Using bottom heat and keeping them in a bright location with plenty of humidity will help them root faster.
You can watch them develop when you put them in a clear container of water. Otherwise if you used soil, you’ll know they have roots when you see new leaves coming in on top.
Why Is My Basil Not Rooting?
There are a few reasons why your basil is not rooting. The most common causes are rot, lack of light, heat, or humidity, and dry or wilting cuttings.
It’s important to keep the leaves out of the water or prevent them from touching the plastic to prevent rot.
Also, make sure to gather your tools and supplies beforehand so the cuttings don’t have a chance to wilt or dry out. Then keep them somewhere humid, and in a warm, bright location while they’re rooting.
How To Care For Basil Cuttings
Caring for basil while it’s propagating is very simple. They like bright light and moist soil or clean water.
If they start to droop or wilt, they may be getting too hot, so move them away from the sun. If you notice blackening of the leaves, they’re too cold, or they’re touching the water or sides of the plastic.
How To Transplant Basil After Propagation
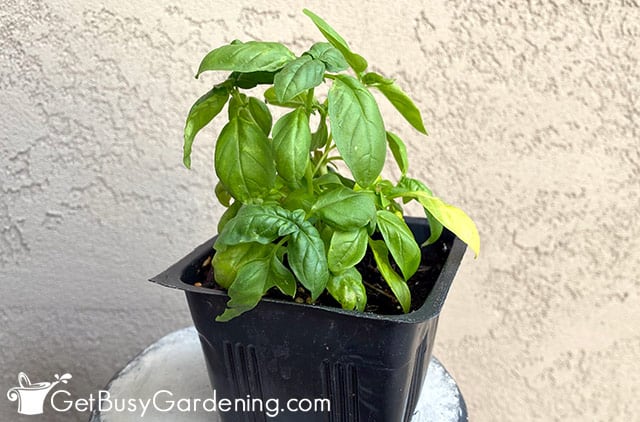
Once the roots are 2” long, or you see new leaves coming in on the top of the cutting, you can transplant it into a larger container or your garden.
For a container, use a general purpose soil. Bury them enough to completely cover the roots, and moisten the soil.
If you’d like to transplant them into your garden, harden them off before moving them outside.
Slowly increase exposure to the wind and sunlight over the course of several days before planting them in your chosen spot.
Next up: Learn all about how to grow and care for your basil plants.
Basil Propagation FAQs
Below you’ll find the most commonly asked questions about basil propagation. If I haven’t answered yours yet, ask in the comments section below.
Can basil be rooted in water?
Yes, basil can be rooted in water, and it is very easy to do. Simply place the stems into a vase or jar like you would a bouquet of flowers. You’ll start to see roots forming in as little as 7-10 days.
Can you propagate basil from the grocery store?
You can propagate basil from the grocery store as long as it is fresh, and not droopy or dehydrated. Wilted cuttings may not root.
As you can see, basil is extremely simple to propagate. Whether you opt for the water, soil, or division method, it’s fun to turn them into a bounty of new plants.
If you want to learn how to propagate all of your plants, then my Plant Propagation eBook is for you! It will show you how to create new plants from any of the ones that you already have, step by step. Download your copy today!
More About Plant Propagation
- Propagating Mint Plants From Cuttings Step-By-Step
- How To Propagate Lavender Plants From Cuttings
- How To Propagate Banana Plants
- How To Propagate Aloe Vera By Division
- Propagating Rosemary By Rooting Cuttings In Water Or Soil
Share your tips for propagating basil in the comments section below.



JUSTIN says
How long b4 basil leaf turns to plant. I rooted the leaf stem then planted its very healthy but just not growing new plant yet. I’ve rooted clippings as well and those have taken off
Amy Andrychowicz says
The smaller the cutting, the longer it will take to get a full-sized basil plant. Give it plenty of warmth and sunlight, and that will it grow faster. Here’s my complete basil care guide for more details.