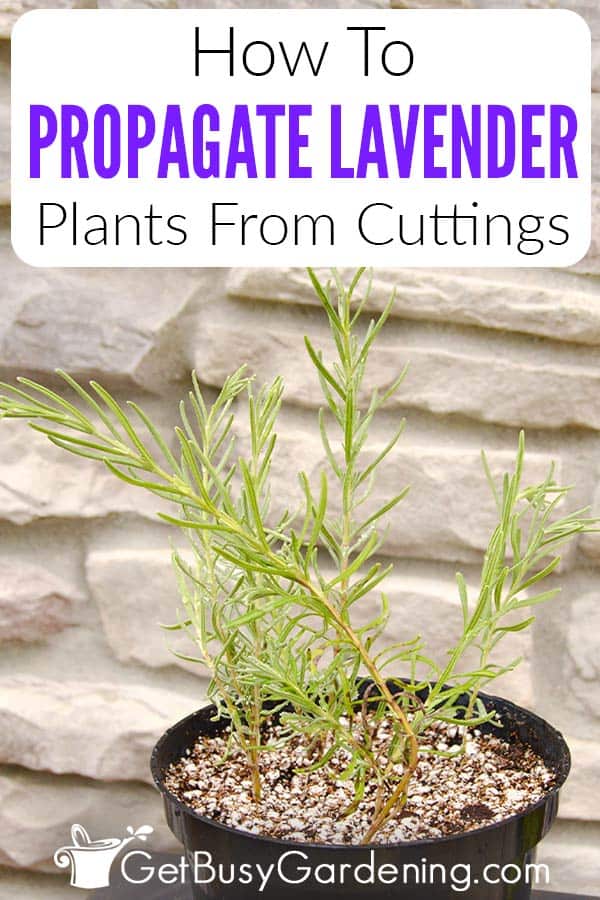
Propagating lavender isn’t difficult, and it’s a fun way to get more plants for your garden. Plus you can share them with your friends and family.
In this post, I’ll show you everything you need to know, including the different methods you could use, when is the best time to do it, and how to take and prepare your cuttings.
Then I’ll give you the detailed step by step instructions for exactly how to propagate lavender in either soil or water, with care and transplanting tips too.

Lavender Propagation Methods
There are two different ways you could propagate your lavender plants: by rooting cuttings, or from seed.
- Rooting cuttings – This is the most popular and fastest method, and the one I will focus on in this guide.
- From seed – You could also try growing your lavender from seeds, though it is a bit more difficult and it will take longer to get sizable plants.
When To Propagate Lavender
The best time to propagate lavender is in the mid to late summer during their active growing season, and when it’s warm and humid outside.
If you take cuttings too late in the summer, or in the fall when the plant is starting to go dormant for the winter, they may not root.
Propagating Lavender From Cuttings
Before you get started, make sure that you gather all of your equipment and prepare the soil or vase of water first.
You should get them going right away so they don’t dry out or shrivel before you have a chance to propagate them. Below I’ll show you the correct way to take and prepare your cuttings.
How To Take Cuttings
For the best success, there are a few things you need to look for before you take cuttings from your lavender plant. Here are some pointers:
- Look for branches that haven’t flowered yet. Flowering takes a lot of energy, and you want your cuttings to put all of their energy into growing new roots rather than blooming.
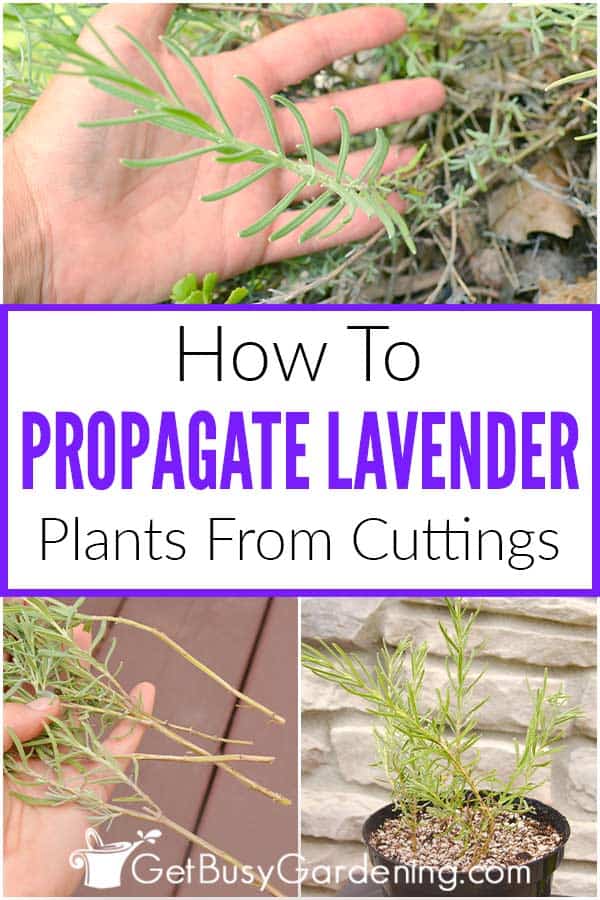
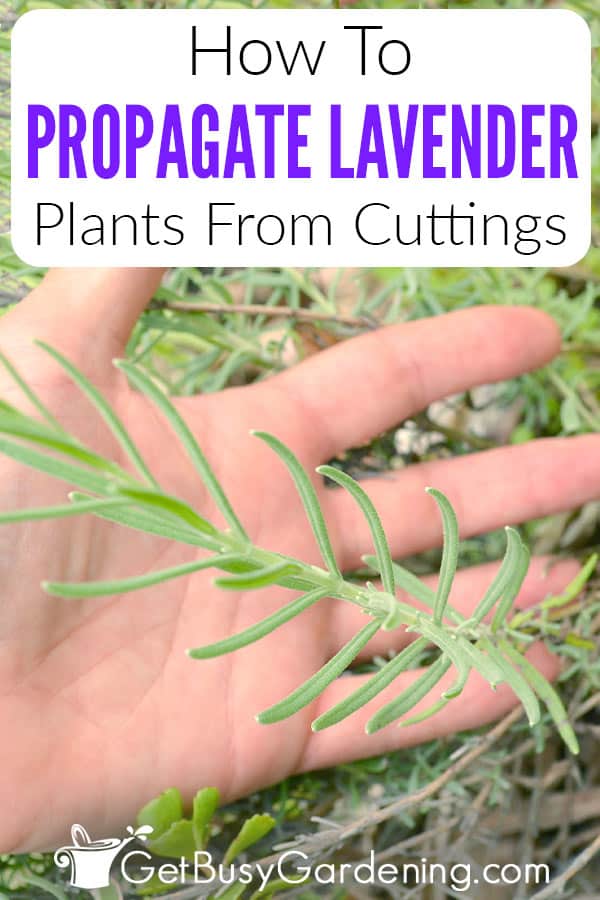
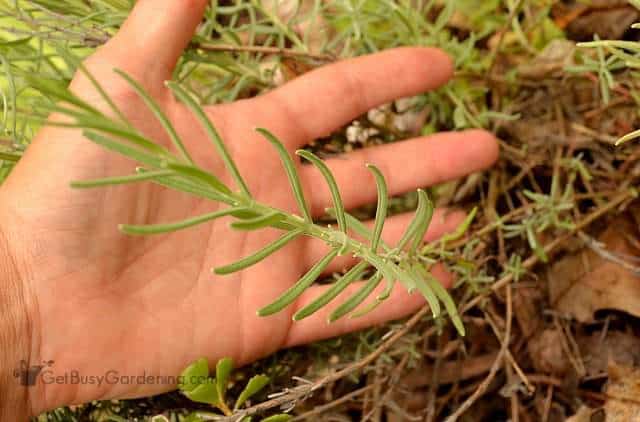
- Use fresh, tender new stems that are above the old hardwood. Softwood cuttings are much easier to root.
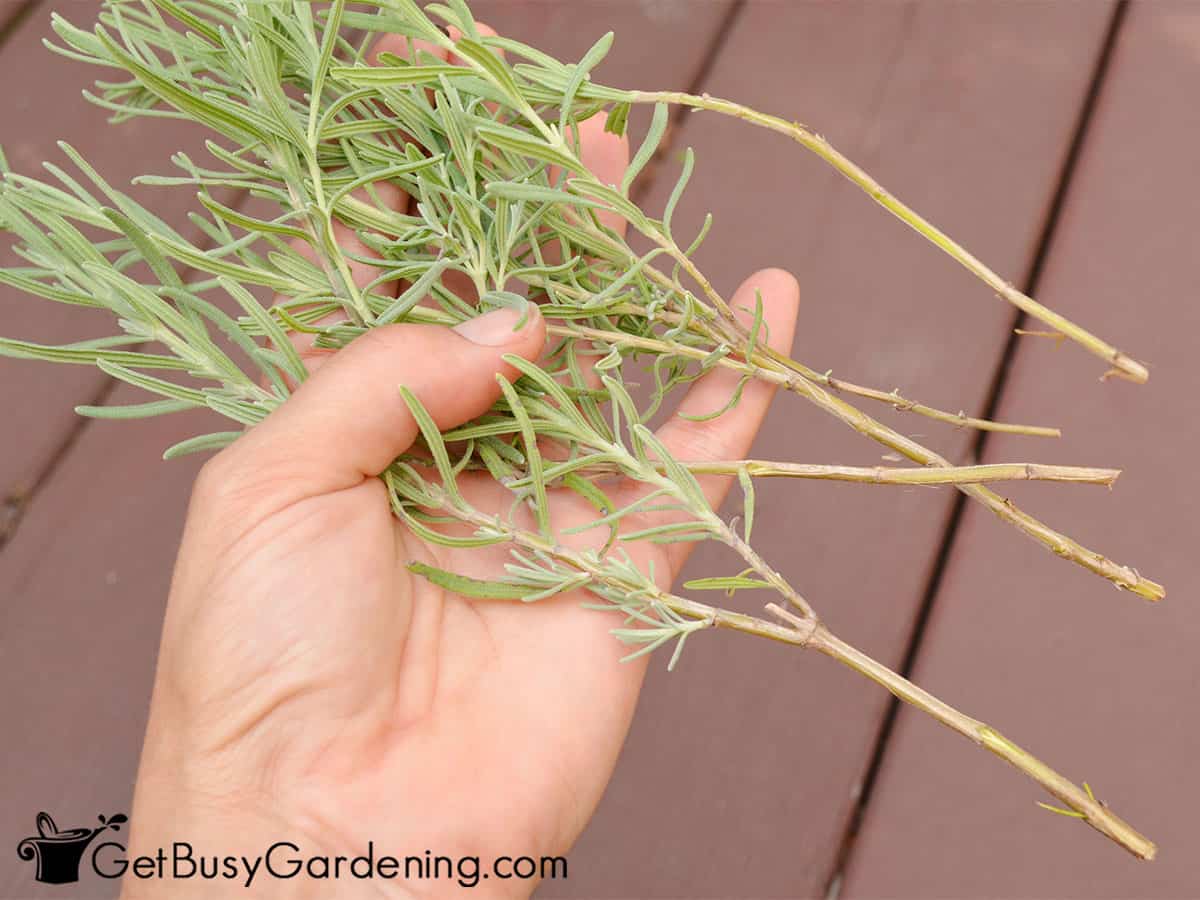
- Each stem you remove should be several inches long with 3-5 leaf nodes at the bottom, and plenty of leaves on top.
- Longer stems make it easier to propagate lavender plants because there will be more area to stick into the growing medium, which gives them a better chance of rooting.
Related Post: How To Prune Lavender Plants
Preparing Your Cuttings For Propagation
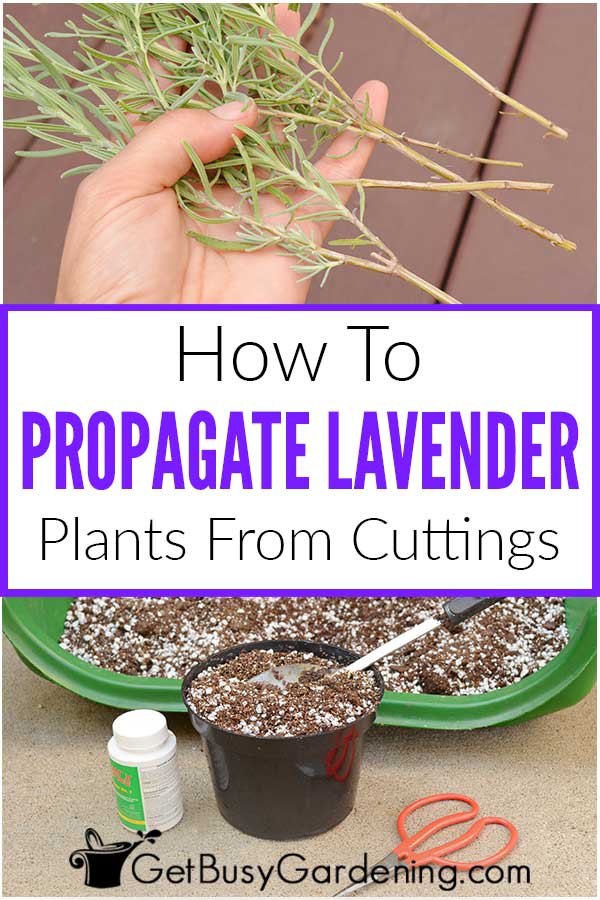
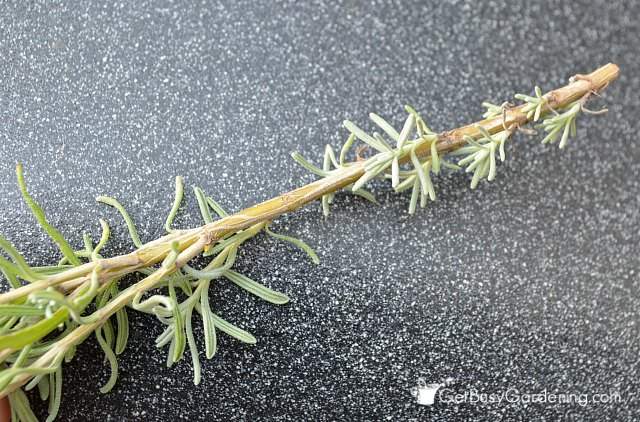
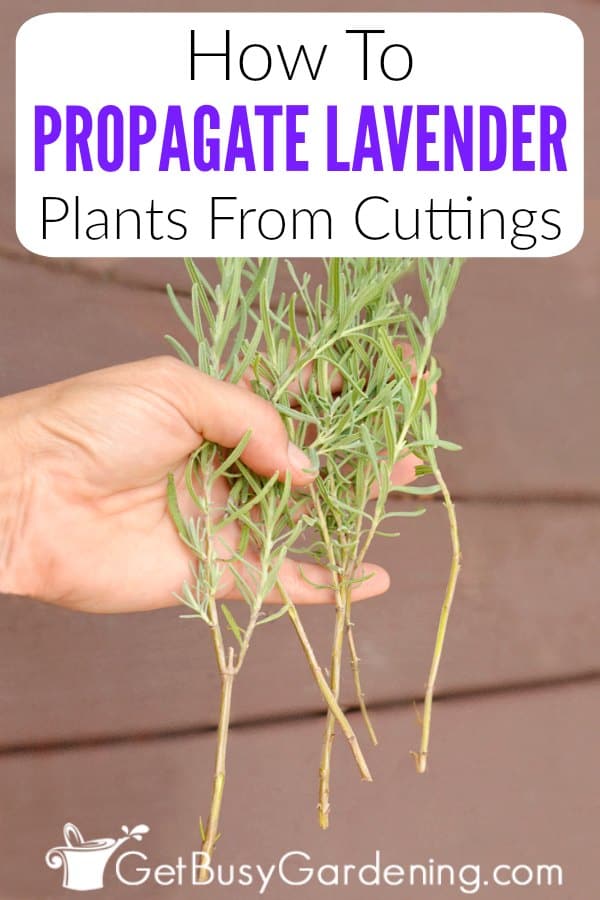
After taking cuttings from your lavender plant, remove the bottom 3-5 sets of leaves from the stem. You can pinch them off with your fingernail, or use a sharp pair of clippers.
Stripping the bottom leaves will create small wounds (or nodes), and that’s where the roots will grow out of.
If any of the stems have already started budding, simply snip off the flower spike to give it a better chance of rooting.
How To Propagate Lavender Step-By-Step
Below I will walk you through how to propagate lavender step by step. I’ll give you the instructions for how to do it in soil first, then I’ll list the steps for rooting them in water. They are a bit different for each, but neither method is complicated.
Steps For Propagating Lavender In Soil
Gather your supplies before you get started to speed up the process. Don’t worry, you won’t need a bunch of expensive equipment – and you probably already have some of this stuff on hand.
Supplies Needed:
- Prepared lavender cuttings
- A pot and a plastic bag
- OR a propagation chamber
- Propagation soil
- Hand trowel
- Heat mat (optional)
- Moisture gauge (optional)
- Grow light (optional)
See my detailed list of the best plant propagation tools & supplies here.
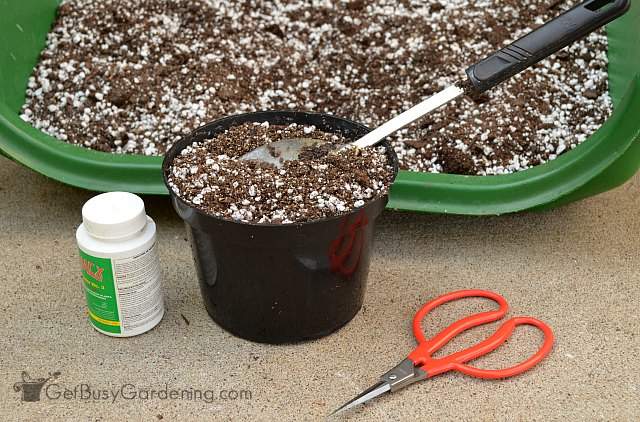
Step 1: Prepare the soil – Use a good quality well-draining mix, like seed starting soil, or make your own by combining half regular potting soil with half perlite. Moisten it lightly before filling your container.
Step 2: Fill the container – Use your hand trowel to fill the pot, leaving about 1 inch of headspace below the rim. Or add 3-4” of the medium into the bottom of your propagation chamber.
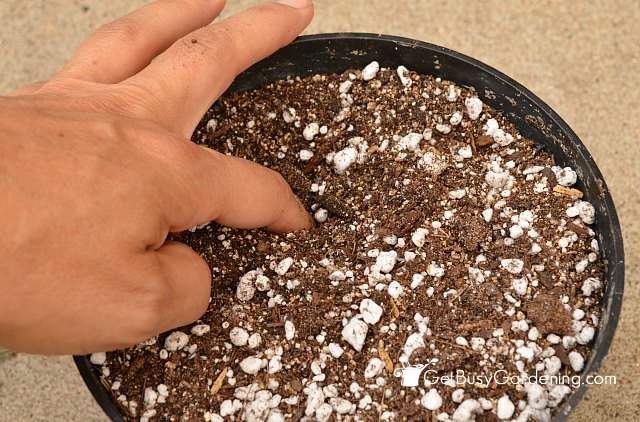
Step 3: Make a hole – Before sticking your cutting into the soil, poke a 2-3″ deep hole with your finger. That way you won’t accidentally break the delicate stems when you plant them.
Related Post: How To Harvest Lavender Fresh From The Garden
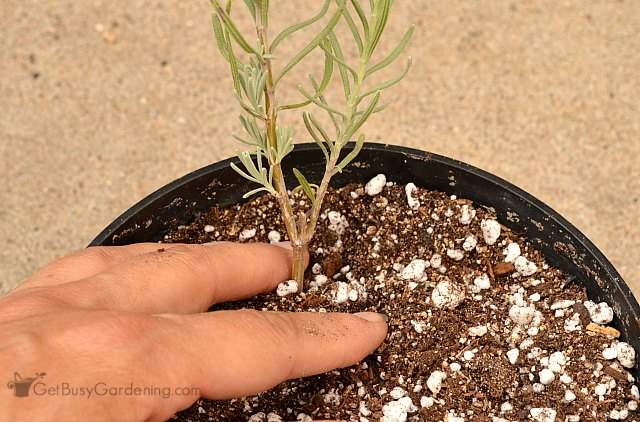
Step 4: Plant the stem – Stick the leafless part of the stem into the hole that you made. Then gently press the soil around it so the cutting stands up on its own, and the medium comes in good contact with the stem.
Step 5: Add the rest of the cuttings – You can put several into one large pot or your propagation chamber. But space them apart far enough so they don’t touch each other. This will ensure adequate airflow, and help to avoid mold or rot.
Related Post: How To Collect Lavender Seeds From Your Garden
Step 6: Cover the container – If you’re using a propagation box, then simply put the lid on it. Otherwise, tent a plastic bag over the entire pot to help provide extra humidity. Make sure the plastic is not touching any of the leaves.
Step 7: Put it in a warm spot – Outdoors, place the container in a warm location where your lavender cuttings will be protected from direct sunlight, wind, and heavy rain during propagation. Indoors you should use a grow light if it’s dark, and a heat mat if it’s cold.
Step 8: Monitor soil moisture: Keep the soil evenly moist, but not wet or soggy. Check daily to make sure that it never dries out completely. Use a moisture gauge if you struggle with this.
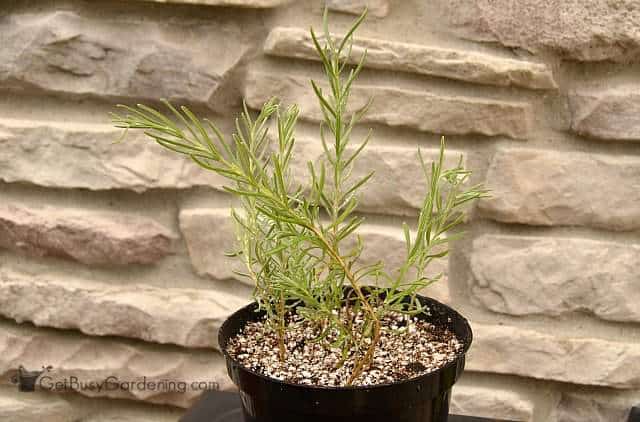
Step 9: Watch for roots: You’ll know your lavender cuttings have started rooting when you see new leaves growing on the top. They also won’t move when you gently tug on them.
Related Post: How To Dry Lavender From Your Garden
Steps For Propagating Lavender In Water
Propagating lavender in water is another option, BUT there is a downside. The roots tend to be weaker, which means the cuttings can suffer from severe transplant shock. So they may have a lower survival rate with this method.
Supplies Needed:
- Prepared lavender cuttings
- Vase
- Tepid water
- Decorative rock (optional)
- Grow light (optional)
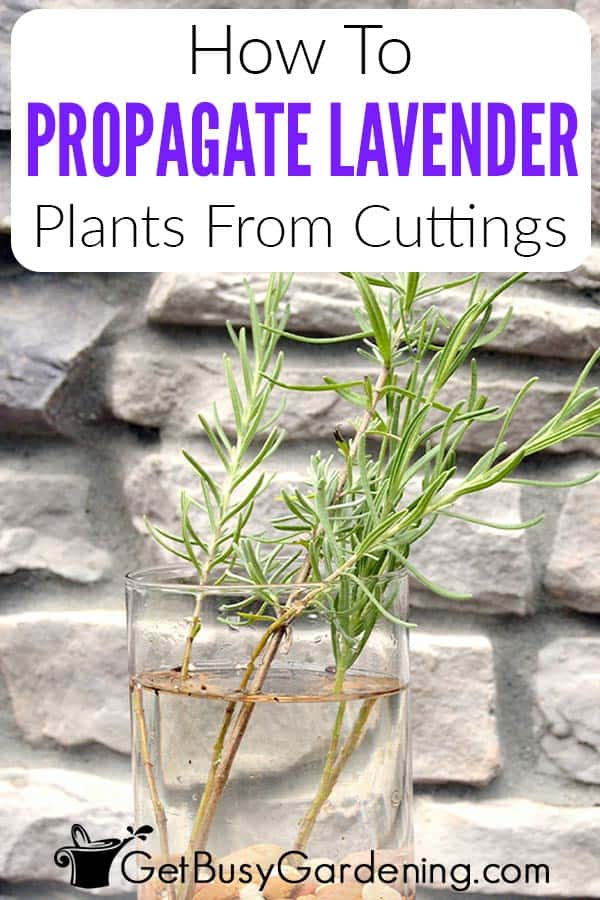
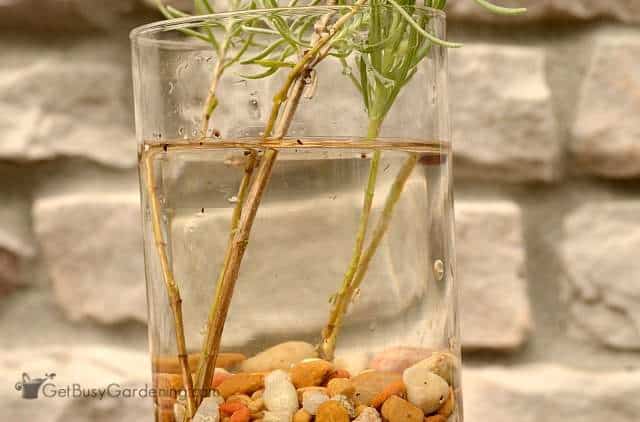
Step 1: Put decorative rock in bottom of vase (optional) – I like to put an inch or so of decorative rock into the bottom of my vase. That will make it more sturdy, and looks nice too. It’s totally optional though, and won’t help the cuttings root any faster.
Step 2: Fill the vase – Pour room temperature (tepid) water into the vase until it’s about 1/2 – 3/4 full. I prefer to use filtered, distilled, or rainwater, but you can use tap water if that’s your only option.
Step 3: Add the cuttings – Put your lavender stems into the vase just like you would with fresh flowers. Make sure none of the leaves are touching the water though, or they may rot or mold.
Step 4: Place in a warm, bright location – Keep the vase somewhere that is warm and receives plenty of indirect sunlight. If you don’t have a sunny spot, then add a grow light.
Step 5: Monitor the water – Check the water level regularly to make sure it stays clear and doesn’t evaporate. Refresh it if it drops below the roots or appears murky, to prevent your cuttings from drying out or rotting.
How Long Do Lavender Cuttings Take To Root?
It can take anywhere from 3-6 weeks for roots to develop on your lavender cuttings. The warmer and more humid it is, the faster they will root.
They may start forming a little faster in water than in soil, depending on the humidity and heat levels. Wait until there are several thick roots that are at least 3-4 inches long before you attempt to pot them up.
Why Won’t My Lavender Propagate?
Lavender cuttings won’t root if it’s too cold or wet for them, and it can be more difficult to propagate them in water than it is in soil.
For the best and quickest results, keep the air humid and warm, and make sure the soil is never saturated or soggy.
Tips For Transplanting Rooted Lavender Cuttings
Once the roots are established, it’s time to transplant your lavender starts into their own pots. If you propagated them in soil, you can leave them in the container until they’re ready to go into the garden.
Remove the plastic cover, and move them into the sun. You should also allow the soil to dry out a bit between waterings.
Once they’re ready to go into the ground, I recommend planting them on a shady day, or in the early evening after the intense heat of the sun has passed. Learn more in my comprehensive lavender plant care guide.
Propagating lavender is pretty darn easy, and it’s rewarding too. Once you get the hang of it, you’ll have tons of babies to share with friends and family, or to fill your garden beds.

Do you want to learn how to multiply all of your plants? Then my Plant Propagation eBook is for you! It will show all you need to know to get as many new plants as you want from your existing ones. Grab your copy today!
Share your lavender propagation tips in the comments section below!

Jeanie says
Question: I am rooting my lavender in water. So how many stems do I transplant to make a new plant, is it just one rooted stem per plant, or do I plant several in the same few inches of soil? Thank you for your advice!!!
Amy Andrychowicz says
You can do it either way. Planting multiple rooted stems into one pot will give you a fuller lavender plant. But if you want several of them to transplant around your yard, then you can pot up each of the cuttings into individual containers.
Patty says
hi Amy
i live in southeast MI. I plan to propogate lavender mid august and transplant to larger 3″ pots by end of Sept. Should I keep those new plants in 3 ” pots indoor over winter, then plant in ground next spring?
if so, what conditions are best to grow indoor over winter?
Thank you,
Patty
Amy Andrychowicz says
Yes, you can grow lavender indoors over winter. Put it in a bright, sunny window and allow the soil to dry slightly between waterings. Watch out for bugs, and if it starts reaching for the window, add a grow light. Good luck!
Annie Burke says
i live in northeast Florida and have ONE Lavender plant that came back this year. I would love to propagate from that plant. As you probably know everything here blooms early so what some gardeners do in Virginia or Canada don’t work here because of the timing.
I have taken some cuttings and done both ways to propagate, dirt and water, Am I too late to do this.
Also the main plant is already turning brown on the main stalks. Today is July 7th.
Is there a particular lavender plant that does well in hot humid weather?
Amy Andrychowicz says
Yes, my guess is that you’re trying to propagate your lavender too late in the season. I would try it in the spring next year in Florida. Spanish and French varieties do better in warmer climates – but there are lots of hybrids on the market these days. So, I would check with a local garden center to see what varieties they recommend for your specific climate.
Sam says
I’m wanting to plant fields of lavender. If I propagate mid summer and then plant late summer will my plants survive the winter in the field? I live in zone 6a with first frost normally September 15.
Amy Andrychowicz says
Yes, as long as your lavender cuttings have a good root system before you plant them into the ground, they should survive just fine. English lavender are cold hardy, so the first few light frosts in the fall won’t hurt them. But I would plant them at least a month or more before the ground freezes. Also, I recommend you root them in soil rather than water for the best success.
Sarah Cox says
Should I follow the same instructions for living in the Languedoc in southern france
Amy Andrychowicz says
As long as you wait until summer when it’s warm and humid, you should be able to propagate your lavender following these instructions no matter where you live. 🙂
K Jackson says
Hi Amy
You mix your own propagation soil, such is perlite, vermiculite and potting soil. Would you please tell us the radio? If you already did, please excuse me. Thank you!
Amy Andrychowicz says
For general use, my ratio is 4 parts peat moss, 4 parts perlite, 1 part vermiculate. But many times, lavender cuttings will root in just a general purpose potting soil with some added vermiculite and/or perlite.
Maria says
How do you keep mold from growing in water propagation? My first try had white fuzz on the end of the cutting after being in water for a week and a half… I’ve tried before in soil and failed, I think due to the mix I used but I’m trying again with water.
Amy Andrychowicz says
When mold grows on lavender seedlings that are in water, it’s usually because they are either dead, overcrowded, or aren’t getting proper air circulation. Try putting less cuttings in a vase at a time, and make sure there’s plenty of ventilation (you could run a fan gently over them to help with this).
Violet Gibson says
I live in Ontario Canada. This is my second year with lavender. I do want more plants, so I just read your Article and the Q/A on how to make my own plants from cuttings. It is too late for me to do it this year, I think. I will be doing it next year. Thank you for all the advice.
Amy Andrychowicz says
Yes, I would definitely recommend waiting until next year to try propagating your lavender cuttings. The best time to do it is in the summer. Fall is too late.
Marie says
Hi! This article is very helpful! I have several lavender cuttings that are currently sitting in soil in a small pot. That said, the soil has started forming mold. Should clean everything up and repot? Or are they doomed? It’s only been 2 weeks. Thanks for your response in advance!
– Marie
Amy Andrychowicz says
If there’s mold growing on the soil, then that means your lavender cuttings are getting too much moisture. Allow the top of the soil to dry out between waterings, and give them more ventilation. If they are kept too wet, the cuttings will only rot.
Judith says
How can l trim my lavender when it’s covered with bees? They are not honey bees, they are a little larger and are black. There are so many l can’t get near the plants! Thanks for your information and help.
Amy Andrychowicz says
You can do it either in the very early morning before the bees are out, or in the late evening after they leave your lavender plants for the night.
James MacIntyre says
I am a newbie to this and the article seems EXTREMELY straight forward thanks! Question … Once Step 6 is done and they are “growing”, how many do I plant together for the future? i.e., does one cutting make a bush, or do you group them together to make a bush? Thanks!
Amy Andrychowicz says
Each lavender plant cutting will grow into a single bush. So space them accordingly.
Michael Mallari says
Hi. Great article! May I know what you mean by cuttings rooted in water have harder time being potted in the soil? Do they have less chance of surviving once transferred into pot? Am actually experimenting it now, and it’s about 5 days already. I live in the Philippines and it’s summer here now. Should I transfer the water cuttings directly to soil pots once it rooted?
Amy Andrychowicz says
Yes, cuttings rooted in water have a hard time being transitioned to growing in soil, and a lower survival rate. The best methods to use for propagating lavender cuttings is rooting them in soil rather than water. But it’s fun to experiment with the two methods, so you can see which works best for you! 🙂
Tim says
Hi, i have a big lavender hidcote at the front of my property thats obviously been there a few years. I am in town north east of england and it been a very extreme summer sun one day rain the next, i had taken 3 cutting but 2 died and the 3rd grow 4 inches but wouldn’t root. After seeing a lot of new growth amd some heavy rainy periods i took 18 more. But the problem is the had grey mold and it spread thru them in the propagation chamber and all had to be disposed of. Now the plant still has some healthy growth. But i am just wanting some more advice on how to get it right this time. Its been a very humid summer and i am finding it hard too get the condition right. If i don’t water my lavender cuttings they die. and if i do they rot. What should i do?
Amy Andrychowicz says
When mold grows in the propagation chamber, that means it’s too wet inside. Try venting the lid to give it more air. For rooting lavender cuttings, you want the soil to stay moist, but never wet or soggy. You could try misting the cuttings rather than watering them. I would also recommend dumping out the soil, and disinfect your propagation chamber to get rid of the mold spores before trying again with fresh soil.
Chris Davis says
I live in Alabama (zone 8) and it gets hot and humid here in the south east. I grow them in pots and most Lavenders do well in my area except for the English Variety. The trick to growing them here with the humidity in mind, is to space them a couple of feet apart for air circulation to keep the foliage dry. Well draining soil is a must and I use 75% course sand with 25% coconut coir which is perfect for drainage. I am still experimenting with cuttings on my Lavandens (Grosso, Edelweiss, etc.), Phenominal, Silver Frost, and similar others. I haven’t gotten down the nack for rooting the cuttings before they end up dead or rotting but I am constantly working on it!! Just remember, don’t kill your Lavender with too much attention! They truly thrive on neglect!! Another thing, you need to prune the bushes now and then to prevent them from being tall and spindly!! After trimming, they will start to spread out a little and grow into a bush instead of the ugly non kept looking Lavender we do not really want to look at!!
Amy Andrychowicz says
Sounds like you’ve been busy experimenting with propagating lavender, and really getting the hang of it! Thanks for sharing all of your tips with us.
Gilmour, Deanna says
It sounds so easy to grow from clippings but I haven’t had any luck. They just die after a few weeks. They get moldy and die. I used hormones, put them in sand, covered with plastic wrap and kept them near a window. It was obvious that they were not doing well so I re-cut the stems higher up where it looked alive, used hormone again, bought a gro light ($200) and put them in a closet with a light bulb to keep them warm. I don’t know if this will work or not. I could start with new clippings? The plants are in Michigan and I could still take some if it’s not too late in the season?
Amy Andrychowicz says
Sorry to hear you haven’t been successful with propagating your lavender plant cuttings. It’s definitely best to take the cuttings in the spring or summer, rather than in the fall. Also, be sure your cuttings have a few leaf nodes exposed on the stem. Try both hardwood and softwood cuttings too, cause the hardwood cuttings can be more challenging to root. You could also try making your own propagation box to see if that helps. You say they are molding, so it sounds like maybe the soil is too wet. The soil should be moist, but not wet or soggy. And don’t water it until the cuttings show signs of new growth.
DEANNA R GILMOUR says
Thanks, I will try that.
Amy Andrychowicz says
You’re welcome. Good luck!
Sandra Stanley says
If growing lavender in pots make sure your drainage holes don’t become blocked with roots etc. This will drown your plant.
Amy Andrychowicz says
Great tip, thanks for sharing!