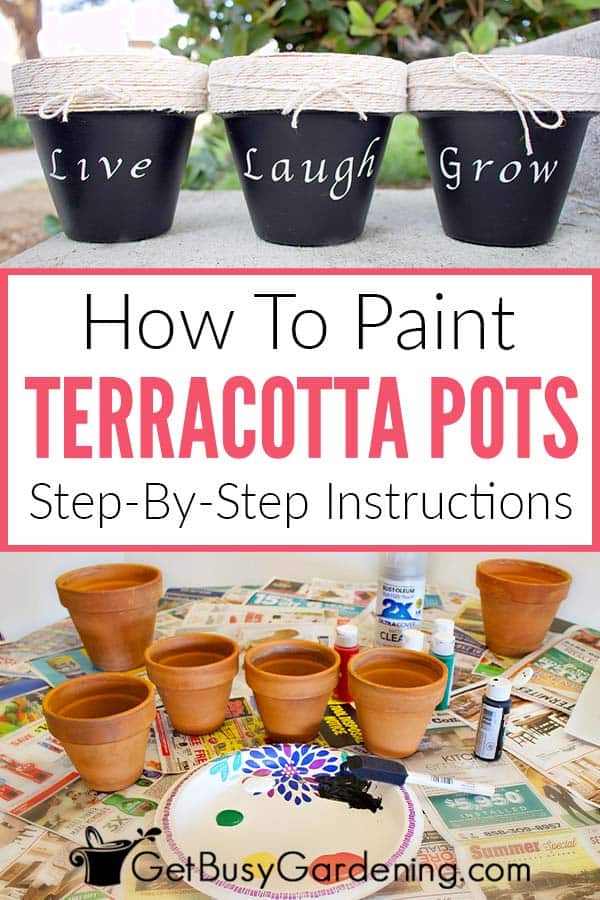
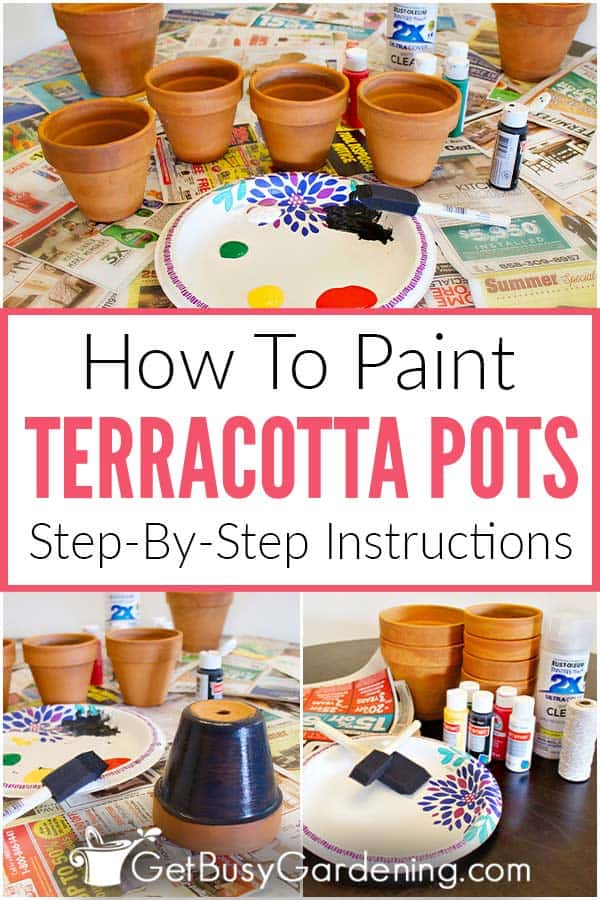
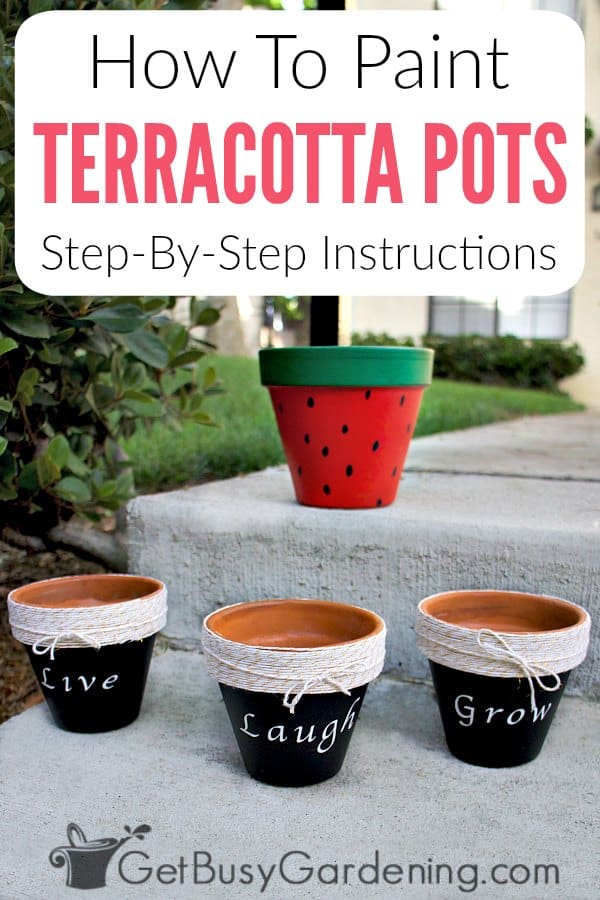
Painting terracotta pots is a fun way to add color to your home and garden, or to give someone a thoughtful handmade personalized gift.
The best part is that you can do whatever your creative mind thinks up. The options and possibilities for decorating them are endless. Plus this is a budget-friendly project for you or the kids.
In this tutorial you’ll learn what type of paint to use, how to prepare your terracotta pots beforehand for the best results, and how to seal them afterward so your design will last as long as possible.

What Kind Of Paint To Use On Terracotta Pots
I’ve used either acrylics or regular spray paint on my clay pots, and they both work great. In my experience, if you choose to use acrylics then it’s best to seal the pot, or the paint will probably blister or peel.
- Acrylics – These are the easiest to work with and most precise, and you can use regular paint brushes or your fingers to apply them.
- Spray paint – This tends to create a stronger bond on terracotta pots, works great as a base layer, and you can easily use stencils to spray on your design.
How To Prepare Terracotta Pots For Painting
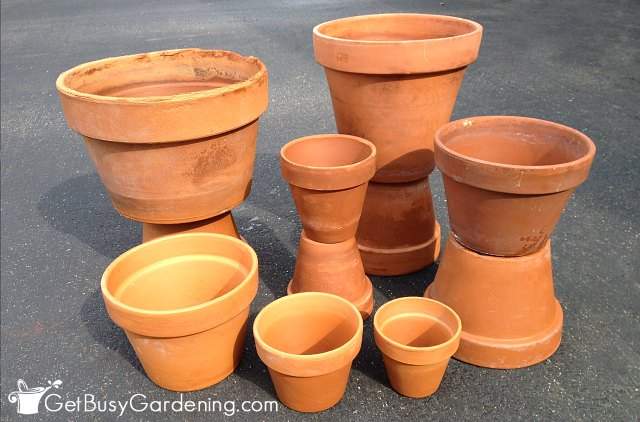
The first thing to do before painting your terracotta pots is clean them, even if they are brand new. If there’s any sticky, oily, or powdery residue on the clay, the paint may look lumpy or it might not stick in some spots. Here are tips for prepping them:
- Brand new pots – If you’re going to paint brand new clay pots, wash them with soap and water, and scrub them with either a cleaning brush or a pot brush to remove any oil or powder first.
- Used pots – If you want to paint old, previously used clay pots, you need to remove all of the caked on dirt and grime first. So be sure to take an extra 20-30 minutes to follow my tutorial for how to clean terracotta pots.
- Ensure they are dry – After washing them, you should make sure the pots are COMPLETELY dry before painting them. Terracotta clay soaks up moisture, so it may take a day or two for them to dry. You can set them in the sun to help speed up the process.
Do You Need To Seal Terracotta Pots Before Painting?
You do not need to seal your clay pots before painting them, this is an optional step. It depends on how you want your finished product to look, and how long you want the paint to last. Here are your 3 options:
1. Waterproofing – Using a waterproofing sealer will help the paint last the longest, but it will also affect the breathability of the clay. This means that the terracotta will not wick moisture away like untreated pots do, so the soil won’t dry out as quickly.
2. Priming – Rather than sealing them, you could use a water-based paint primer instead. It won’t completely seal the pot, which will allow the clay to breath better. Primer can also help the paint last longer, but your pots will still get the aged look over time.
3. Skip it – The easiest option of course is to simply skip this step and leave your terracotta pots untreated. This is great if you want them to get that nice aged look faster, or if you don’t care about the longevity of the paint.
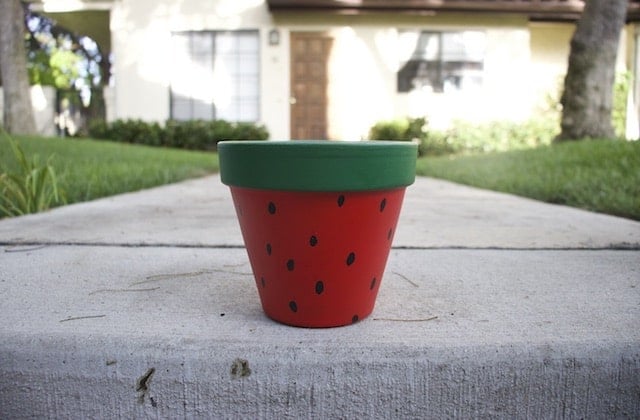
How To Paint Terracotta Pots Step By Step
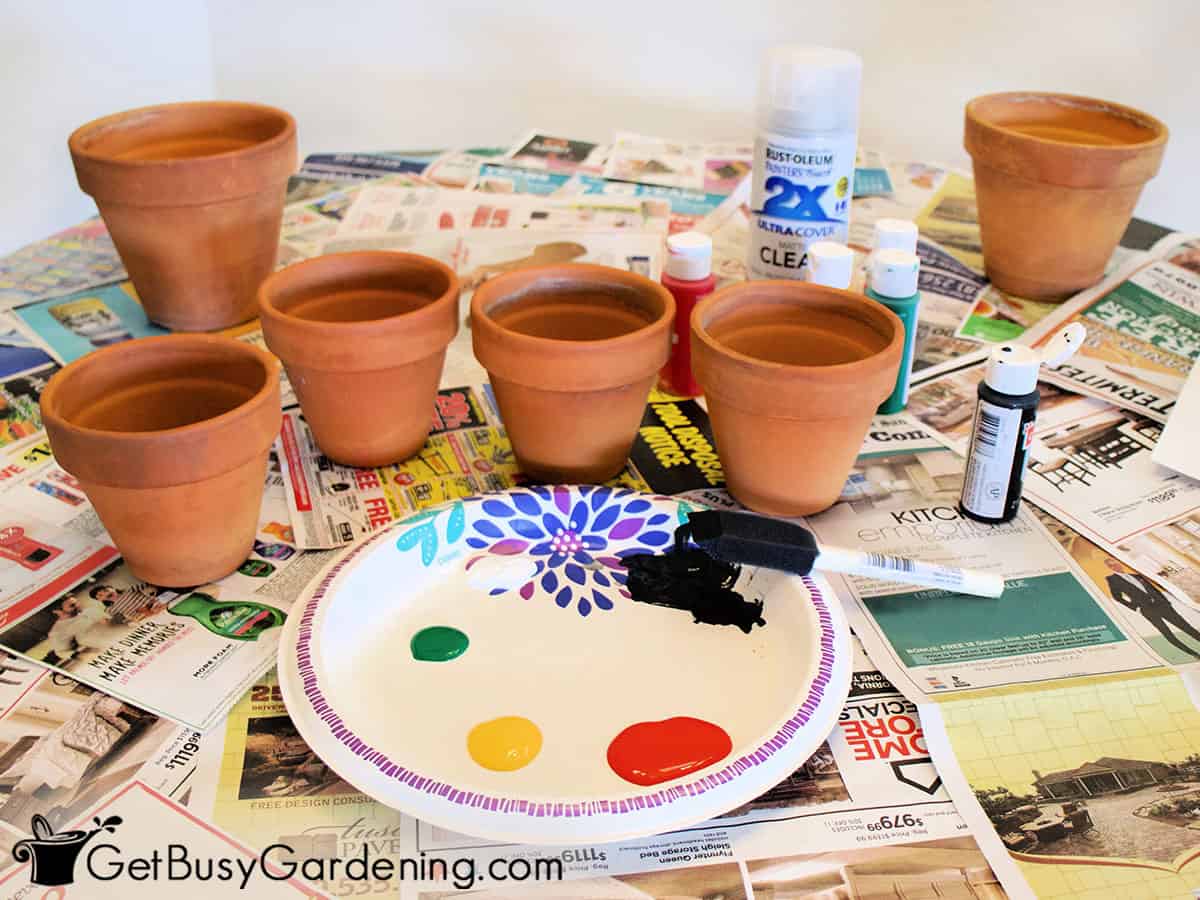
Ok, now let’s jump into the steps for painting terracotta pots. Figure out your design and then gather everything you need ahead of time to speed things up.
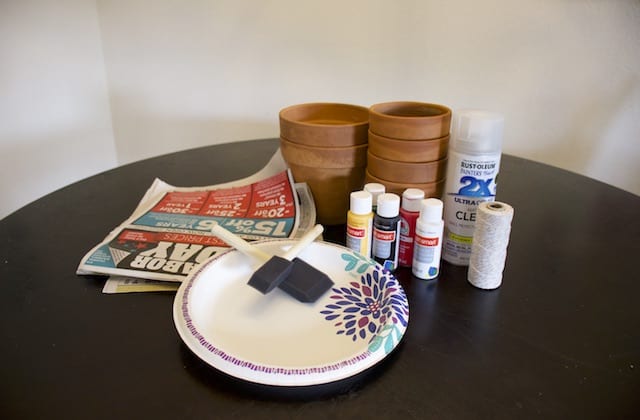
Materials Needed
- Clean terracotta pots, sealed or unsealed
- Foam sponge brushes
- OR regular paint brushes
- Assorted acrylic paint colors
- Drip cloth or newspaper
- Paint pallet or paper plate
- Water (optional)
- Decorations (optional)
- Spray sealer (matte or glossy – optional)
Steps For Painting Clay Pots
Total Time: 30-90 minutes (not including dry time)
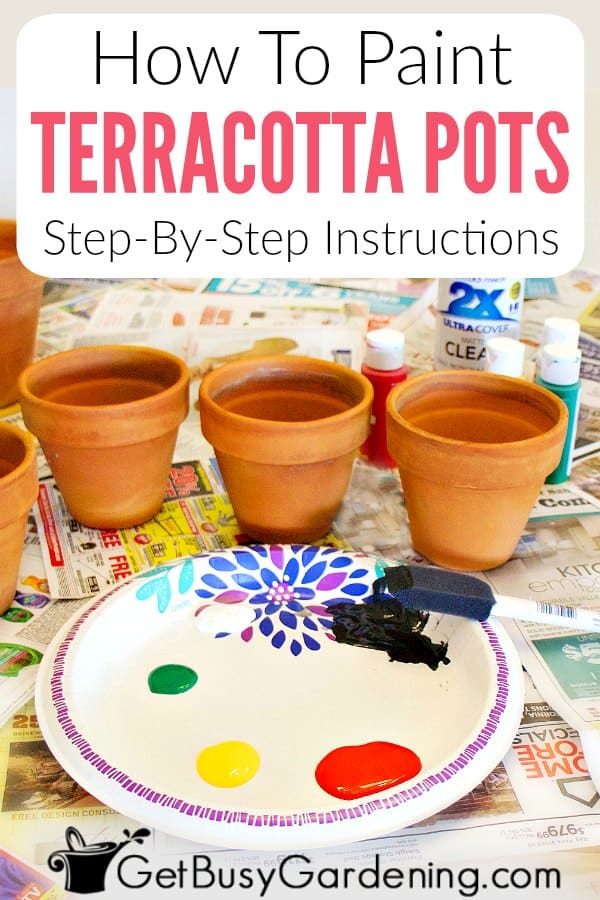
Step 1: Set up your workspace – Lay down a drop cloth or spread out some newspaper over your workspace. This will protect the surface of your table from any accidental drips, and also help to keep the pots clean while the paint dries.
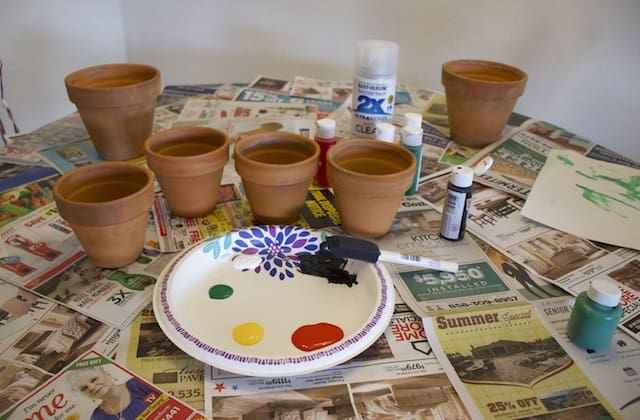
Step 2: Thin the base layer paint (optional) – If your pot is unsealed and you would like to apply a base layer before adding your design, then thin your acrylic paint with a little water first.
Unsealed terracotta tends to soak up the paint very quickly, and thinning it for the first layer makes it much easier to spread it on quickly and evenly using a foam sponge brush.
PRO TIP: You don’t need to paint the very bottom of your pot or the entire inside, since nobody will see those once you have a plant in there. But you might want to paint the top inch or two of the inside rim that won’t be covered by soil.
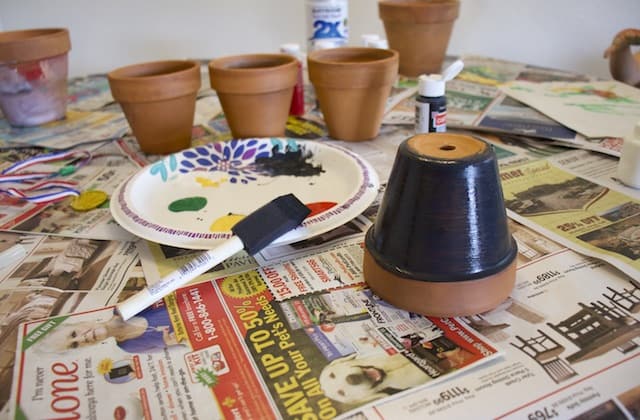
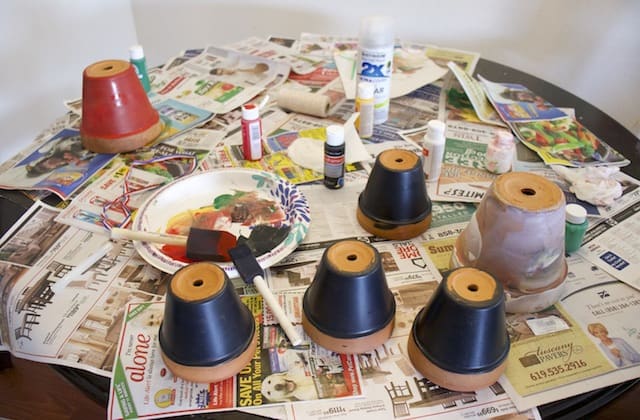
Step 3: Finish your base coat – Use non-thinned paint to finish applying the rest of your base coats until you achieve the opacity and color that you like.
The exact number of coats you use on your pot will depend on the color and quality of your paint, and whether or not you want the terracotta showing through.
You don’t have to wait for the paint to dry completely between coats. But it should be at least 75% of the way there before you add another layer. It can be tacky or sticky to the touch, but not wet.
Related Post: How To Plant A Mum In A Pumpkin Step By Step
Step 4: Decorate your pots (optional) – This is where the project gets really fun. From using stencils or hand-painting a pretty design, to gluing on cute accessories – there are tons of things you could do to jazz up your pots.
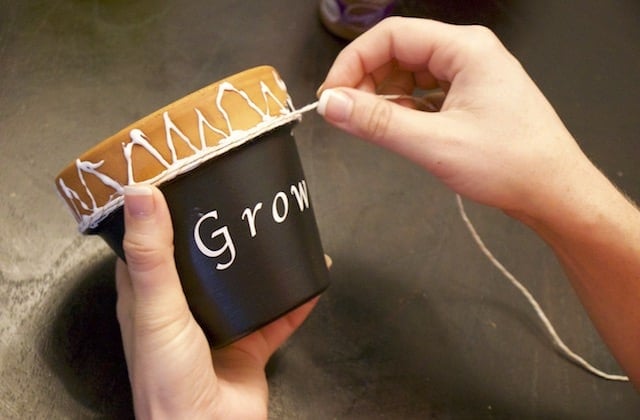
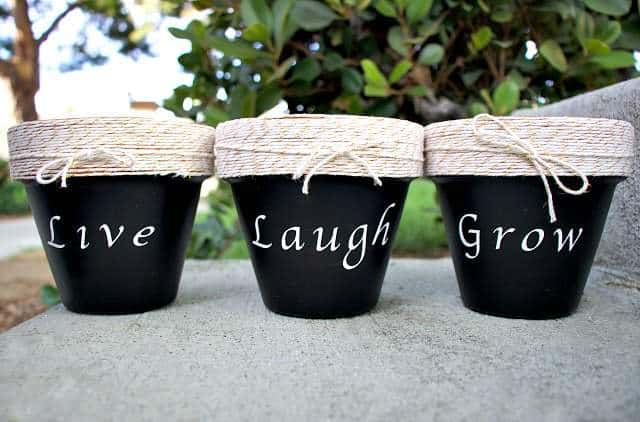
I added some decorative twine around the top of mine for a little texture, and adhered it onto the pot using all-purpose crafting glue.
Then I cut out some vinyl letters using my Cricut machine (a hobby/craft machine that cuts materials like paper, leather, and more) and glued those on too.
Step 5: Let them dry – Once you’re done painting and decorating them, it’s very important that you let your terracotta pots dry completely before moving to the next step. They should not feel sticky or tacky at all.
This might take longer than you think, so give them at least 24 hours before you decide they are dry. The thicker the paint, the longer it will take.
Related Post: How To Make DIY Scented Pine Cones
Step 6: Seal the paint (optional) – It’s a good idea to seal your painted terracotta pot once it’s dry so your design will last longer, and it won’t easily chip or scratch.
I used a matte spray to preserve mine, but you could use one with a glossy finish if you like the shiny look better. Spray the pot according to the directions on the can, and be sure to cover your entire design.

If you want to learn all there is to know about maintaining healthy indoor plants, then you need my Houseplant Care eBook. It will show you everything you need to know about how to keep every plant in your home thriving. Download your copy now!
More About Container Gardening
- How To Make An Easy DIY Tiered Planter
- How To Preserve A Carved Pumpkin & Tips To Make It Last Longer
- How To Make A Concrete Block Planter
- How To Install A DIY Drip Irrigation System For Potted Plants
- 17 Top Container Garden Flowers For Stunning Summer Pots
Share your tips or ideas for painting terracotta pots in the comments section below.

Helen Szafran says
Once the pot is sealed, can a child decorate with marker? I want the children to decorate the pot after I paint them. They will also put a plant in them for Mother’s Day. Thank you for any advise!
Amy Andrychowicz says
Yes, you can decorate your terracotta pot after it’s been sealed. However, I wouldn’t use plain or even permanent markers, as they can fade pretty quickly. I would recommend using paint pens or a paintbrush. To help the decorations last longer, apply sealer over the top once they are dry.
Deb says
I chose to seal my clay pots and now the paints don’t adhere well to them. Is there a way to remove the sealer? Any other ideas that may help? Thanks!
Amy Andrychowicz says
Using a primer on top of the sealer will allow the paint to stick to it much better.
Christal says
Do you paint the inside as well?
Amy Andrychowicz says
You can paint and/or seal the inside of the pot if you want, it’s optional. Sealing the inside will make it more water-tight, which can make the paint last longer. But it also means the clay won’t be able to breath, so the soil will retain more moisture. So it’s a bit of a trade off. 🙂
Batel Amir says
Hello, if after all of these steps, bubbles started to appear on my tarracota, what is the reason for that???
Amy Andrychowicz says
When the paint bubbles, it means that the pot wasn’t dry enough or that it wasn’t sealed properly, so moisture is getting into the clay. It’s important to make sure the terracotta is completely dry before painting the pot, and that you seal it well afterward.
Milly says
Going to use this grateful advice. I love painting on pots. Thanks I’m going to try.going on pension in 2 years and very nice hobby to do
Anna says
Thank you!
Amy Andrychowicz says
You’re welcome
H.R. says
Hello! Nice tutorial. I wonder if I use my clay pot sealer only, is it necessary to prime the planter? I want to use decoupage with a stamper that I have plus some paper. I’d like to keep it transparent. It’ll show the aging of the pot. Additionally if I do the same step with the clay sealer can I use the paint on top and then seal it.
Your article may have stated that but I wanted to be clear. Thanks so much!
Amy Andrychowicz says
I have never tried decoupage on a clay pot before, but it sounds like fun! I would think that if you seal the pot first, and then seal it again once you’re done with your decoupage, it should work. It would be a good experiment. 🙂
H.R. says
Thank you!!!
Amy Andrychowicz says
You’re welcome!
jake says
I have used a number sizes of clay pots, I just clean them, make sure they are dry, Buy paint in the spray can Krylon, Start with a light coat, they have a paint that looks like clay.,
H.R. says
Thanks for the advice! I’m going to look for that product.
Jane says
Hello,
So I want my clay pots and plants outside for Summer. Do I seal both inside and outside to avoid water seeping to outside acrylic paint design? Is acrylic paint ok or do I want all/multi surface or patio paint by Deco?
Thank you!
Jane
Amy Andrychowicz says
I haven’t tried the specific type of paint you’re asking about, so I can’t say for sure if that would be better than regular acrylic paint. However, if it’s made for use outdoors, then I would think it would work great. If you seal both the inside and outside of your pot, then yes, it will make the paint design last longer. However, just keep in mind that when you completely seal a clay pot like that, it will hold more moisture in the soil longer. So you won’t have to water as often.
Leslie Diiulis says
I have sealed the insides of all my 50 taracotta pots with flex seal sealer…….not the outside…… did I do the right thing?
Amy Andrychowicz says
Sealing the insides of the pots will keep the water from seeping through from the inside, but it can still be soaked up on the outside of the clay pot if you don’t also seal that. I would recommend you also seal the outside of your terracotta pot to help the paint job last longer.
Brian Potter says
Hi sadly acrylic paint being water based is effected terribly by moisture. Even the garden ornaments I lacquered. I have a water feature waterfall outside the front of the house which I placed Gnomes fairies Animals etc on.. I painted them all to amuse the children as they walk past the house last Feb / March last year. Today I decided to try and sort them out as they all look terrible with paint peeling off. The only garden ornament that has survived the winter was a fourteen inch high flower girl painted with Humbrol enamel and lacquered. The Gnomes and the toadstools all look terrible. I primed, undercoated, painted and lacquered all of them. I am going to seal the clay with something this time and fill the hollow ones with concrete to prevent moisture getting to the paint from inside. This time I will make sure the clay is sealed well and only use enamel. I do not need the porous side of things so I can discount that. I hope this might help those that aren’t growing plants but wish to paint terracotta or clay for other reasons.
Amy Andrychowicz says
Thanks for sharing your experience with painting your terracotta ornaments/statues. Yes, I think that if you seal them on the inside, it will definitely help the paint last longer. I would also recommend moving them indoors during the winter. I always move my pots into the garage, and they have lasted for years.
Ailsa says
Is it possible to use fence paint?
Amy Andrychowicz says
I’m not sure what “fence paint” is. If it’s latex paint or a wood stain of some kind, then no, that will not stick well to the terracotta pots.
Hayley says
Are you able to seal the inside and out to stop any bubbles?
If you spray the inside will this effect the plant? Thanks
Amy Andrychowicz says
You can seal your terracotta pots before and/or after painting them. See the sections above titled “Do You Need To Seal Terracotta Pots Before Painting?” and “Sealing Terracotta Pots After Painting” for details. Sealing them won’t affect the plants, but it can affect the breathability of the pots. When they are tightly sealed, they hold more moisture in the soil, so the plants won’t need to be watered as much as they would in an unsealed clay pot.
Blu skinner says
I would like to paint the outside upper band a different color using acrylic paint. If I tape over the already painted part, will the paint peel when i remove the tape?
Amy Andrychowicz says
Sounds like a cute idea! Allow the paint to dry completely before taping over it. Then make sure you use painters tape, that way it won’t stick or peel the paint off. Have fun!
Shel Prior says
I’ve made different color rims and stripes using both spray paint and acrylic outdoor paint. As long as you give plenty of time for the paint to cure – I let it sit for a couple of weeks believe it or not because a couple of days wasn’t sufficient – it will be ok. I use painter’s tape peeling off carefully. I do my painting in the garage and have been told not to paint when it’s raining or high humidity as it will affect the curing process.
Francis Ellis says
I have sealed a large terracotta pot with 2 coats of yaht varnish, will this be ok to paint over and if so which type of paint is recommended, T I A
Amy Andrychowicz says
I’m not sure what yaht varnish is, so I can’t say for sure if that will work or not. See the section above titled “What Kind Of Paint To Use On Terracotta Pots” to answer your second question. 🙂
Jerry Chong says
Hi Amy,
Thanks for the brilliant article and invaluable tips on terracotta-pot painting. As a watercolour artist having migrated to using acrylic on canvas recently, and on parallel currently into urban sketching using a digital pen on tablet, I found your article very inspiring – it is a wonderful departure from painting on traditional rectangular canvases.
You have simplified for the novice, the appreciative and engaging art of painting, surely.
Amy Andrychowicz says
Wonderful, so happy to hear you found the article helpful and easy to understand. Enjoy your new hobby of painting terracotta pots! 🙂