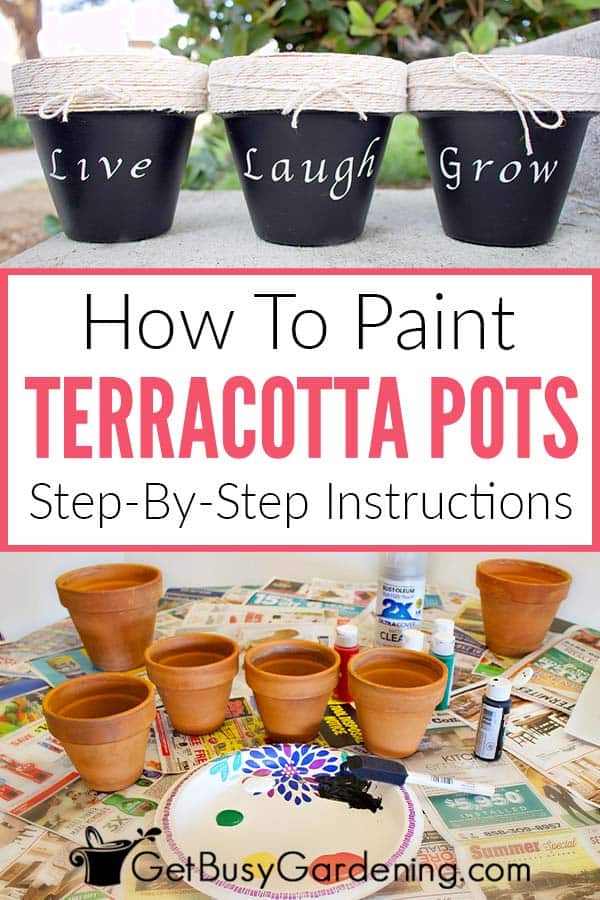
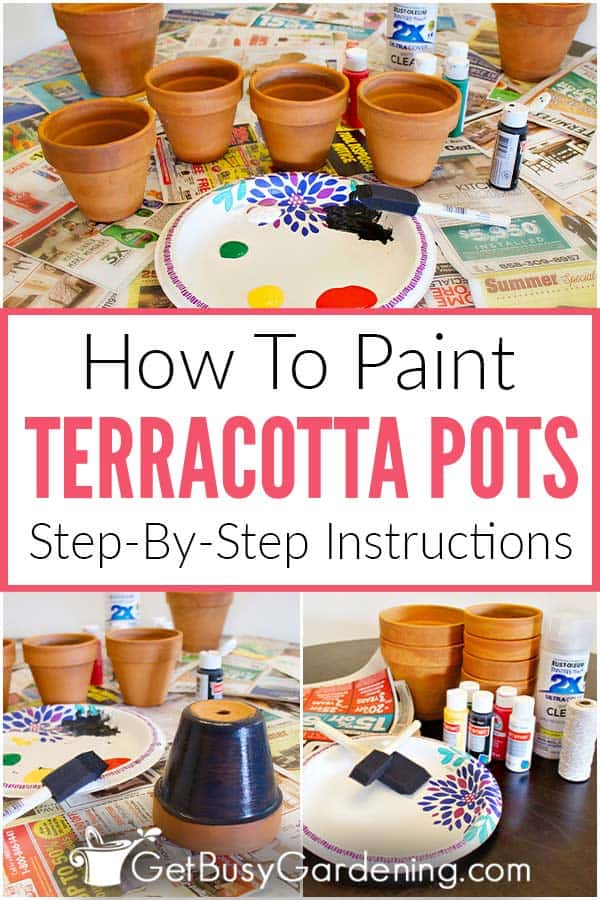
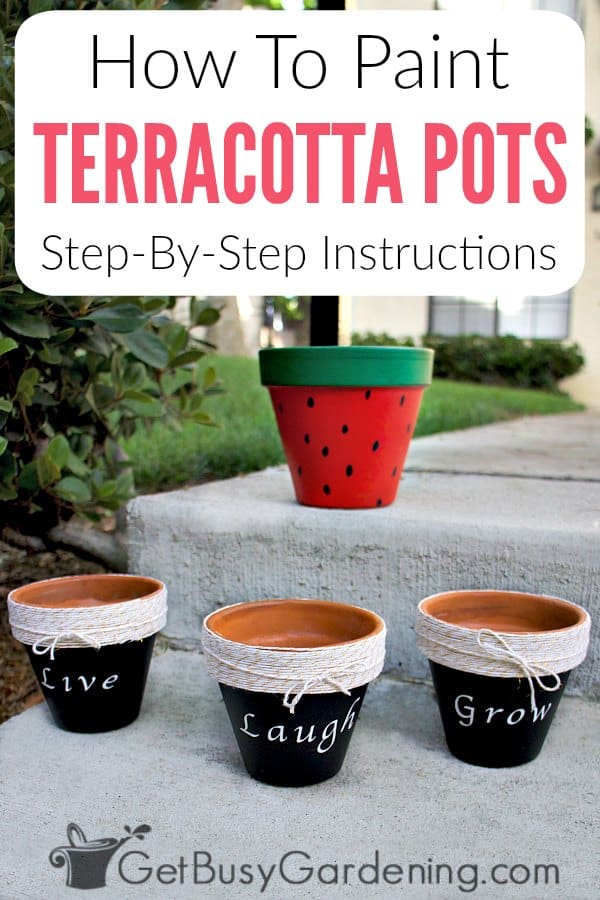
Painting terracotta pots is a fun way to add color to your home and garden, or to give someone a thoughtful handmade personalized gift.
The best part is that you can do whatever your creative mind thinks up. The options and possibilities for decorating them are endless. Plus this is a budget-friendly project for you or the kids.
In this tutorial you’ll learn what type of paint to use, how to prepare your terracotta pots beforehand for the best results, and how to seal them afterward so your design will last as long as possible.

What Kind Of Paint To Use On Terracotta Pots
I’ve used either acrylics or regular spray paint on my clay pots, and they both work great. In my experience, if you choose to use acrylics then it’s best to seal the pot, or the paint will probably blister or peel.
- Acrylics – These are the easiest to work with and most precise, and you can use regular paint brushes or your fingers to apply them.
- Spray paint – This tends to create a stronger bond on terracotta pots, works great as a base layer, and you can easily use stencils to spray on your design.
How To Prepare Terracotta Pots For Painting
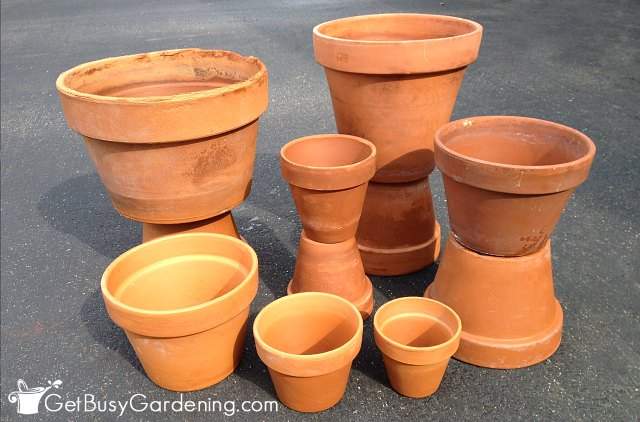
The first thing to do before painting your terracotta pots is clean them, even if they are brand new. If there’s any sticky, oily, or powdery residue on the clay, the paint may look lumpy or it might not stick in some spots. Here are tips for prepping them:
- Brand new pots – If you’re going to paint brand new clay pots, wash them with soap and water, and scrub them with either a cleaning brush or a pot brush to remove any oil or powder first.
- Used pots – If you want to paint old, previously used clay pots, you need to remove all of the caked on dirt and grime first. So be sure to take an extra 20-30 minutes to follow my tutorial for how to clean terracotta pots.
- Ensure they are dry – After washing them, you should make sure the pots are COMPLETELY dry before painting them. Terracotta clay soaks up moisture, so it may take a day or two for them to dry. You can set them in the sun to help speed up the process.
Do You Need To Seal Terracotta Pots Before Painting?
You do not need to seal your clay pots before painting them, this is an optional step. It depends on how you want your finished product to look, and how long you want the paint to last. Here are your 3 options:
1. Waterproofing – Using a waterproofing sealer will help the paint last the longest, but it will also affect the breathability of the clay. This means that the terracotta will not wick moisture away like untreated pots do, so the soil won’t dry out as quickly.
2. Priming – Rather than sealing them, you could use a water-based paint primer instead. It won’t completely seal the pot, which will allow the clay to breath better. Primer can also help the paint last longer, but your pots will still get the aged look over time.
3. Skip it – The easiest option of course is to simply skip this step and leave your terracotta pots untreated. This is great if you want them to get that nice aged look faster, or if you don’t care about the longevity of the paint.
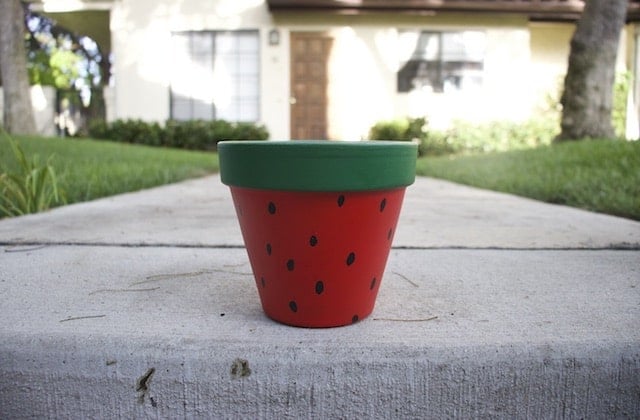
How To Paint Terracotta Pots Step By Step
Ok, now let’s jump into the steps for painting terracotta pots. Figure out your design and then gather everything you need ahead of time to speed things up.
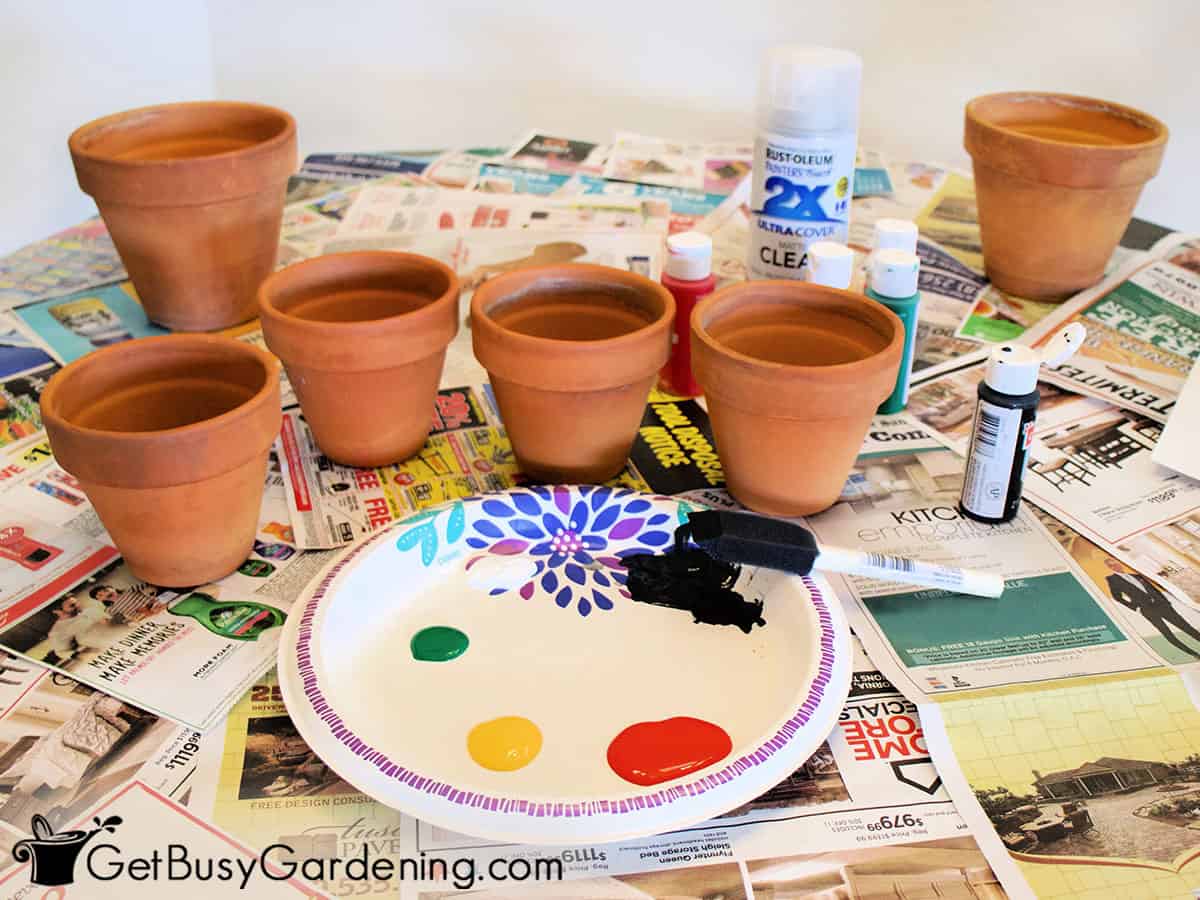
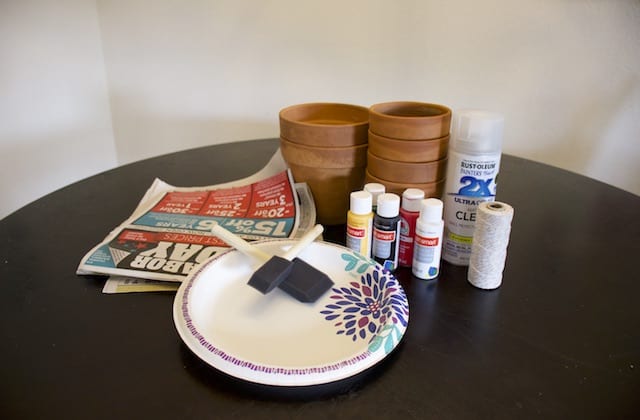
Materials Needed
- Clean terracotta pots, sealed or unsealed
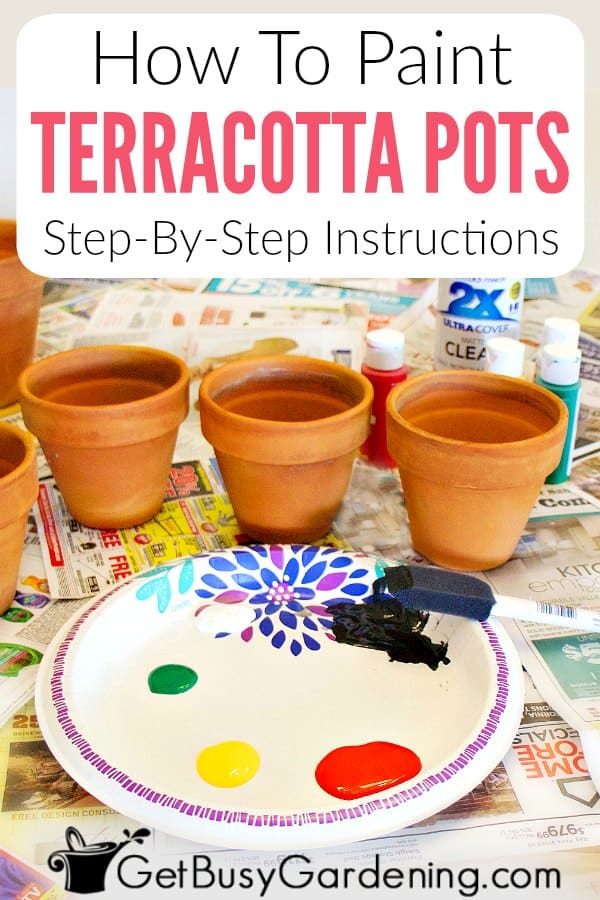
- Foam sponge brushes
- OR regular paint brushes
- Assorted acrylic paint colors
- Drip cloth or newspaper
- Paint pallet or paper plate
- Water (optional)
- Decorations (optional)
- Spray sealer (matte or glossy – optional)
Steps For Painting Clay Pots
Total Time: 30-90 minutes (not including dry time)
Step 1: Set up your workspace – Lay down a drop cloth or spread out some newspaper over your workspace. This will protect the surface of your table from any accidental drips, and also help to keep the pots clean while the paint dries.
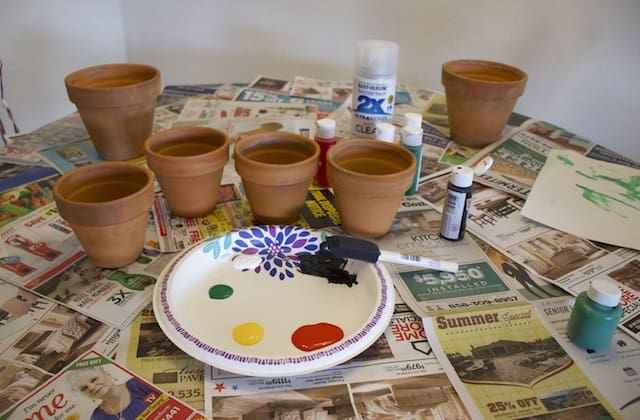
Step 2: Thin the base layer paint (optional) – If your pot is unsealed and you would like to apply a base layer before adding your design, then thin your acrylic paint with a little water first.
Unsealed terracotta tends to soak up the paint very quickly, and thinning it for the first layer makes it much easier to spread it on quickly and evenly using a foam sponge brush.
PRO TIP: You don’t need to paint the very bottom of your pot or the entire inside, since nobody will see those once you have a plant in there. But you might want to paint the top inch or two of the inside rim that won’t be covered by soil.
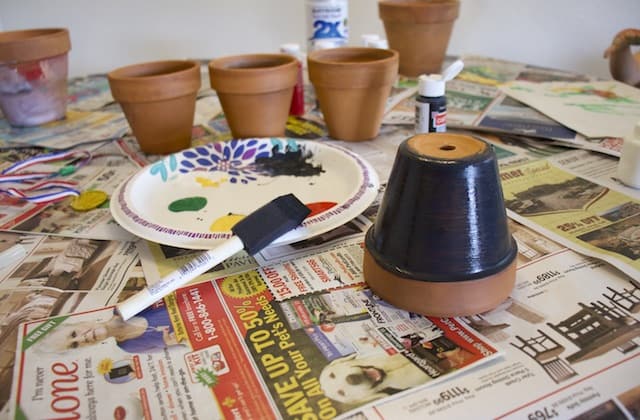
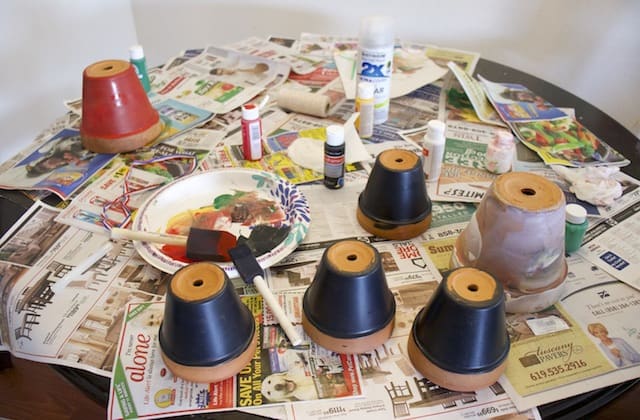
Step 3: Finish your base coat – Use non-thinned paint to finish applying the rest of your base coats until you achieve the opacity and color that you like.
The exact number of coats you use on your pot will depend on the color and quality of your paint, and whether or not you want the terracotta showing through.
You don’t have to wait for the paint to dry completely between coats. But it should be at least 75% of the way there before you add another layer. It can be tacky or sticky to the touch, but not wet.
Related Post: How To Plant A Mum In A Pumpkin Step By Step
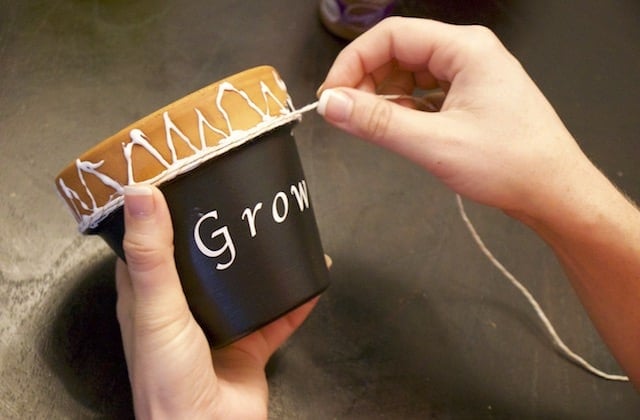
Step 4: Decorate your pots (optional) – This is where the project gets really fun. From using stencils or hand-painting a pretty design, to gluing on cute accessories – there are tons of things you could do to jazz up your pots.
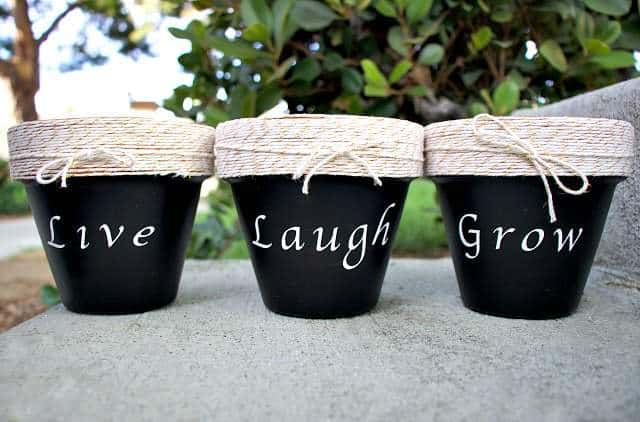
I added some decorative twine around the top of mine for a little texture, and adhered it onto the pot using all-purpose crafting glue.
Then I cut out some vinyl letters using my Cricut machine (a hobby/craft machine that cuts materials like paper, leather, and more) and glued those on too.
Step 5: Let them dry – Once you’re done painting and decorating them, it’s very important that you let your terracotta pots dry completely before moving to the next step. They should not feel sticky or tacky at all.
This might take longer than you think, so give them at least 24 hours before you decide they are dry. The thicker the paint, the longer it will take.
Related Post: How To Make DIY Scented Pine Cones
Step 6: Seal the paint (optional) – It’s a good idea to seal your painted terracotta pot once it’s dry so your design will last longer, and it won’t easily chip or scratch.
I used a matte spray to preserve mine, but you could use one with a glossy finish if you like the shiny look better. Spray the pot according to the directions on the can, and be sure to cover your entire design.

If you want to learn all there is to know about maintaining healthy indoor plants, then you need my Houseplant Care eBook. It will show you everything you need to know about how to keep every plant in your home thriving. Download your copy now!
More About Container Gardening
- How To Make An Easy DIY Tiered Planter
- How To Preserve A Carved Pumpkin & Tips To Make It Last Longer
- How To Make A Concrete Block Planter
- How To Install A DIY Drip Irrigation System For Potted Plants
- 17 Top Container Garden Flowers For Stunning Summer Pots
Share your tips or ideas for painting terracotta pots in the comments section below.

Himani says
Which color i should use on plastic pot for outdoor purpose in affordable price…
Amy Andrychowicz says
You can use whatever color paint you want! 🙂
Mallory says
Once sealed after painting, when watering the plants does the water affect the paint on the pot?
Amy Andrychowicz says
Sometimes water can be absorbed by the terracotta and get under the paint, causing it to peel or bubble. This is more common over time, as the painted pot ages. But, if it has been properly sealed, then you shouldn’t have to worry about it for a long time. 🙂
Nash says
What to do when it bubbles
Can i apply varnish over it?
Amy Andrychowicz says
If the paint bubbles, that means the terracotta pot wasn’t dry enough when you painted. I would sand down the bubbles, make sure the clay is bone dry, then repaint it.
Laura O says
I have 8 very large pots I am considering cleaning and painting rather than buying new colorful pots. Do you think you can use indoor latex paint? I plan to seal them before and after, but using indoor paint would be more cost efficient than craft or spray paint. Thoughts?
Amy Andrychowicz says
As long as you seal your terracotta pots after painting, then I would think indoor latex paint would work fine.
Denise says
Can I paint the inside black and then seal it would that help and what kind of sealer do I use ..after painting the outside can I use modge pod spray or does it have to be a sealer
Amy Andrychowicz says
Definitely use a sealer that’s made for sealing paint.
Laura says
Hi! Firstly thank you so much for your clear instructions. I followed them and have painted and sealed three pots this weekend – love them!
I have sealed them several times…I can’t believe that if it rains this will protect them! Is there anything Else I can do to ensure they are properly water right?
Thank you!
Amy Andrychowicz says
Oh how fun! Glad to hear you love your newly painted terracotta pots! The sealer should do the trick to help the paint last longer. If you want them to be water tight, then you should have sealed them before painting them, and then again after. The sealer on the outside will help protect the paint, but won’t necessarily make them water tight.
Kate says
I don’t get it. All this sealing and priming is going to lessen the effect of what a terra cotta pot is supposed to do which is maintaining moisture so you don’t have to water as much. Why can’t you just paint it and let it cure naturally like that and then spray it with some clear coat varnish?
Thanks
Amy Andrychowicz says
You certainly can use that method for painting terracotta pots. Some people prefer to seal the pots completely so that they hold moisture better. Totally just a personal preference. 🙂
Patricia Bentley says
Love your blog, do you have a YouTube Channel as well?
Amy Andrychowicz says
Thanks! I do have a YouTube channel, but I’m not very active there yet. A long-term goal for sure! 🙂 Here’s a link to it if you want to check out the few videos I have.
Shaun says
If I am only painting pots to use for a lighthouse, do I need to seal first? I understand dealing after but wasn’t sure about first too since pots will be stacked upside down and contain no soil/plants.
Amy Andrychowicz says
Since your painted terracotta pots won’t be used for plants, then you could probably get away with not sealing them first.
Barbara Schoen says
I am going to use the dirty pour method on my terracotta pot and the dirty pour has Floetrol added to the paint as well as a few drops of silicone oil. Will this work ok after I have primed it inside and out?
Amy Andrychowicz says
I’ve never tried using the dirty pour method for painting terracotta pots before, so I can’t speak from experience. Just be sure to allow the primer to dry completely before you paint it. And then once the paint is completely dry, I would seal it to give it extra protection.
Neha Sundariya says
Hi,
I stay in hilly area and it rains a lot here and it’s difficult for my pots to dry early. So please suggest what kind of paint and seal should I use.
Amy Andrychowicz says
The paints and sealants listed here should still work for your terracotta pots. You’ll just need to make sure to allow them to dry longer between steps. Bringing them indoors will definitely help your painted pots dry better.
Shelley Van Hoy says
I enjoyed your article very much. I started painting terracotta pots about a year ago. I’ve experimented with various paints, brushes, techniques, and processes for producing pots that are colorful and somewhat long-lasting. The process I’ve ended up with is sealing the pot with stone sealer (inside and out is important), priming the pot with Rustoleum gray spray primer. I let the pots set several days to cure. I then paint the pots with a satin or gloss spray paint – usually two coats. The pots then cure again for a couple of weeks before I finish them off with clear enamel spray (couple of coats). Because I want to sell the pots at a local store on consignment, it’s important that the paint is fully cured – especially if having to mask for adding additional colors for stripes or whatever. I’ll buy the tiny terracotta pots and use those for trying various color combinations before tackling my large expensive pots. I also use acrylic craft paint for different texture and appearance and finish off with a couple coats of polyurethane.
Thanks very much for the decorating ideas. The string was especially interesting and clever.
Amy Andrychowicz says
Wonderful, thanks so much for adding your tips for painting terracotta pots! I’m glad you liked my decorating ideas, you’re welcome. 🙂 It’s so much fun to get creative with it, and the possibilities are endless!
Anastacia P. Bunte says
What do you recommend for drying times? I live in CO so it is pretty dry here. After I wash the post I wait 24 hours before painting. After painting I wait 48-72 hours before sealing. Then I wait 2 weeks before plating in the post. Is this time sufficient?
Thank you!
Amy Andrychowicz says
Yes, your drying times sound perfect! The longer you allow your terracotta pots to dry, the better. 🙂
Anastacia P. Bunte says
Thank you for your input!
Amy Andrychowicz says
You’re welcome!
Jamie Crumpton says
I want to have a group of my friends autograph the pot using acrylic pens. Can they autograph after the paint and before the sealer? I don’t want the autographs to run
Amy Andrychowicz says
Yes, I would wait until the paint is completely dry before having your friends autograph the pot. Then again, wait until the writing is completely dry before sealing over the paint on your pots.
Alanna Gilmore says
I pained my pot with acrylic straight onto the unprimered surface. Is it too late to seal? Should i seal the inside of the pot?
Amy Andrychowicz says
You could seal the outside of your terracotta pot to protect the paint and make it last longer. If you want, you could also seal the inside of the pot, which should help make the paint last longer too. Just remember that sealing the entire pot means the terracotta will lose it’s breathability. So, the soil won’t dry out as fast as it does in a unsealed pot. Not a big deal, but something to be aware of when you’re deciding whether or not to seal it.
Planter says
Hi,
I have these nice big pots outside my front door that I would like to paint but they already have soil and plant in it. What method can I use to paint the outside of the pot when it still has the soil and plant in it. Will it dry off well?
Amy Andrychowicz says
Unfortunately, painting terracotta pots that have plants growing in isn’t ideal. The moisture from the soil will keep the paint from curing correctly. Which means it won’t last as long, and will likely start peeling or cracking. Sealing it after you paint it should help the paint last a bit longer. But if you don’t mind repainting it, then you sure could give it a try. But, just know that you may need to repaint it, or touch up the peeling paint every few years.
Cleo says
Sorry, but this will lead to the paint peeling off. If you paint the outside and then seal it the moisture from the soil will eventually cause the paint on the outside to blister and peel….much like a wall that has an air leak (moisture) behind it.
Debra Gardner says
I sealed my pot but it still blistered. How do I stop this from happening again? Can I not plant a real plant in it?
Amy Andrychowicz says
You need to make sure that the clay pot is completely dry before painting it. Also, if you want to try painting it again, then you can also seal the inside of the pot to make the paint last longer.
Laura says
Hello,
After I use watered-down paint primer for the base coat and add 2 additional coats without water, can I use tempera paints to paint designs and then seal it with a glossy clear coat spray? I’m not sure if you can use tempera paint over the water-based primer paint. Tempera paint is cheaper to buy for a class of 23 students. I need a quick response if possible please.
Thank you
Amy Andrychowicz says
Humm… I’ve never tried using tempera paint on my terracotta pots so I’m not sure. Sorry.