
If there’s one thing I’ve learned over my decades of gardening, it’s this: fertile, nutrient-rich soil is the secret to healthy and highly productive vegetable plants. That’s why it’s so important to take the time to properly prepare it before planting.
Skipping this step is one of the biggest mistakes that beginners make—and it can lead to a season full of problems, frustrations, and disappointing harvests.
In this post, I’ll show you exactly how to prepare your vegetable garden soil for planting, following the same steps I use in my own beds.


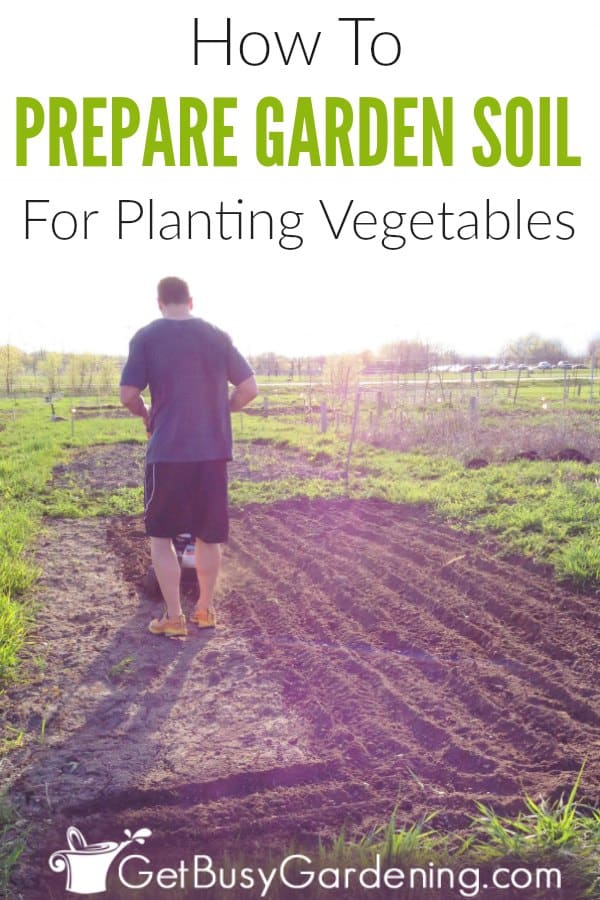
A few years ago, I took over a community garden plot that had been used the previous season. It wasn’t in terrible shape, just a little tired.
I didn’t have to start from scratch, but I did use my full soil prep routine to wake it up and get it thriving again. I created this tutorial to show how to prepare an existing veggie garden plot before planting.
But if you’re starting from scratch, or if your garden is currently covered in grass or weeds, I recommend using the no-dig gardening method instead.
Related Post: How to Make a Raised Garden Using Cinder Blocks
Timing Tips:
- For colder climates (i.e. zones 1-5): Wait until the soil has thawed and is dry enough to work with, or about 2-3 weeks before your last frost date.
- For milder climates (zones 6-9): Start prepping your veggie beds as soon as the ground is workable in early spring. Just make sure it’s not too wet, otherwise it can cause compaction.
- For warmer climates (zone 10+): Prep your soil in the fall or late winter, but avoid working it when it’s soggy, as this can damage the structure.
Common Soil Prep Mistakes (and How to Avoid Them)
Before we dive into the steps, let’s talk about why they matter. A solid routine helps you avoid common mistakes that cause poor growth, pest problems, and mediocre harvests.
- Starting when it’s too wet: Wet soil compacts easily, which blocks drainage and harms root growth. Wait until it’s slightly dry and crumbly, not sticky, before prepping it.
- Not testing your soil: Skipping this step means you won’t know if you need to adjust pH, nutrients, or texture—which are all super important for growing healthy crops.
- Skipping organic matter: Vegetables need lots of nutrients to grow well. Organic matter like compost helps improve soil structure, holds moisture, and boots the nutrients.
- Overworking the soil: Tilling too much can damage the soil and harm beneficial organisms. It can also lead to compaction, which makes it harder for your plants to thrive. So don’t overdo it.
- Ignoring drainage: Vegetable plants don’t grow well in soggy soil, and poor drainage can lead to waterlogged roots. Add organic matter or build raised beds to help improve drainage.
- Starting too late: Prepping your garden right before planting doesn’t give the soil enough time to settle. Try to get it done at least 2–3 weeks ahead of time.
Step-By-Step: How To Prepare Soil For Planting Vegetables
Preparing your soil for growing vegetables in an existing garden plot is simple and straightforward. Follow these steps to get your beds ready for planting.
Tools Needed:
- Shovel
- Garden gloves
- Compost or well composted manure
- Bow rake
- Weeding tool (optional)
- Cultivator or tiller (optional)
- Soil test kit (optional)
- Amendments (optional)
Instructions
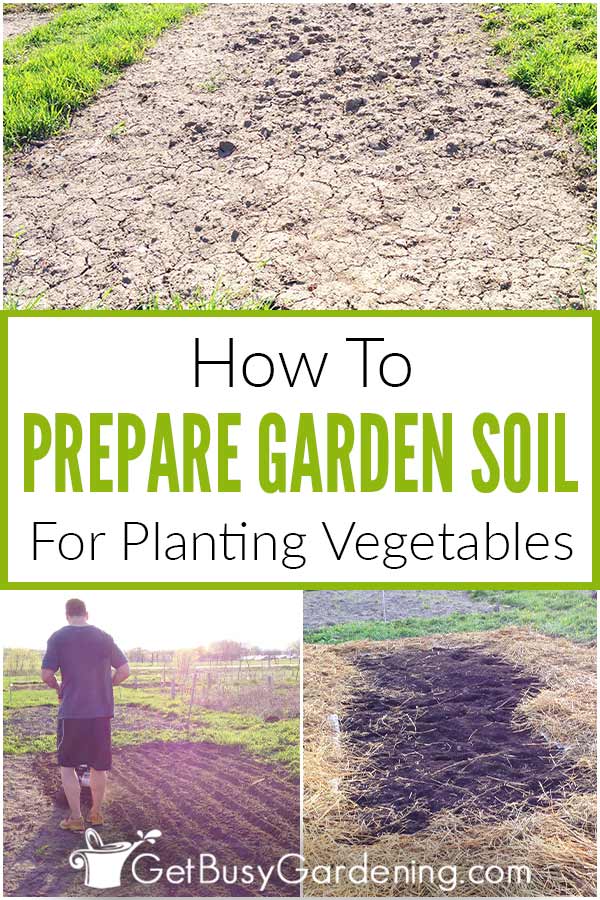
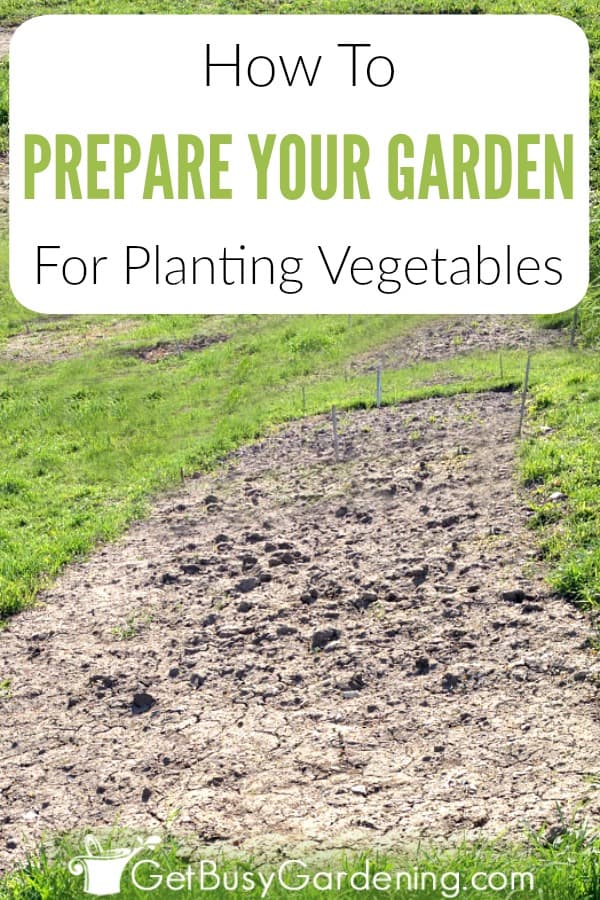
Step 1 – Remove Weeds and Grass: To make it easier to pull out the grass and weeds, use a shovel to loosen up the soil and cut around the garden edges. Don’t worry about removing every tiny little weed, just pull the largest ones.
Related Post: How To Clean Up Your Garden In The Spring

Step 2 – Turn the Soil (aka Cultivating): The goal here is to break up the crusty top layer that formed over the winter. This will soften the soil, make it easier to plant your veggies, and help small starts and seedlings become established faster.
For small beds, use a shovel, pitchfork, or handheld garden claw. For larger plots, a small cultivator will make the job much quicker.

Step 3 – Test the Soil (Optional): While testing your soil is optional, I highly recommend doing it, especially if you haven’t in a while (or ever). This will tell you exactly which amendments your garden needs to thrive.
At the very least, I recommend that you check the pH level. Vegetables do best in slightly alkaline soil, so it’s important to know if yours is too acidic for them. You can check it easily with a simple probe tool or an inexpensive pH test kit.
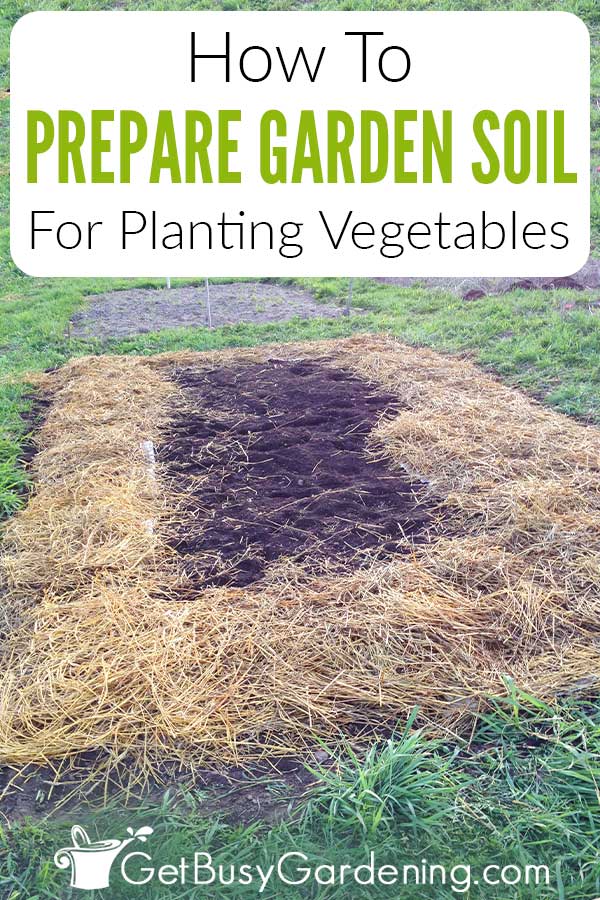
Step 4 – Add the Amendments: I recommend adding a layer of compost or well-rotted manure to your beds every spring. It’s one of the easiest and most effective ways to improve your soil and get it ready for planting vegetables.
Start with 1-2 inches, or go up to 3-4 if your soil needs more help. For reference, I used one yard of compost to cover our 10′ x 20′ community garden plot. Once that’s down, you can sprinkle any other amendments right over the top.

Step 5 – Turn the Soil: After spreading your compost and amendments over the bed, mix them into the soil by tilling or turning it again.
You can just repeat Step 2 to cultivate the bed a second time. Once everything’s blended, use a bow rake to smooth out the top so there are no big mounds or holes.
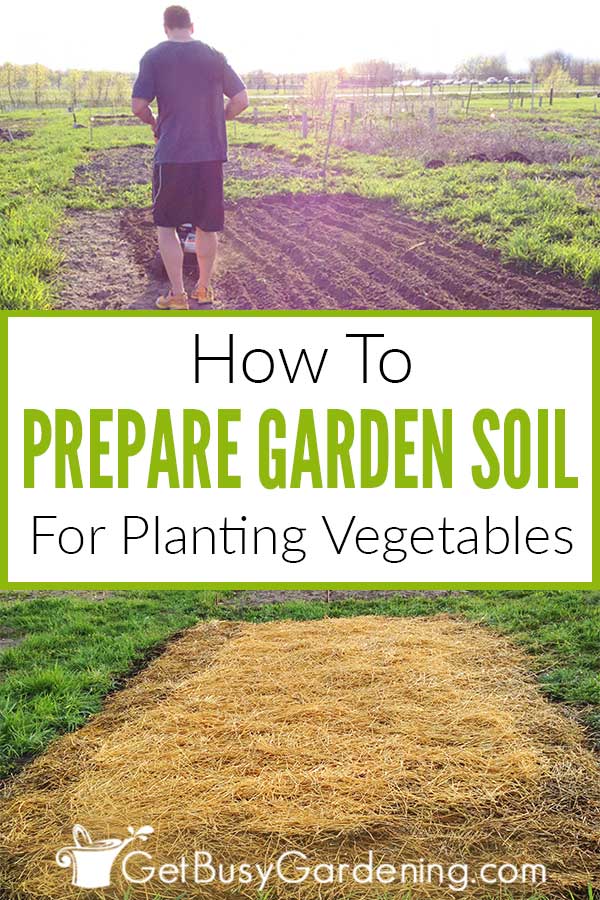
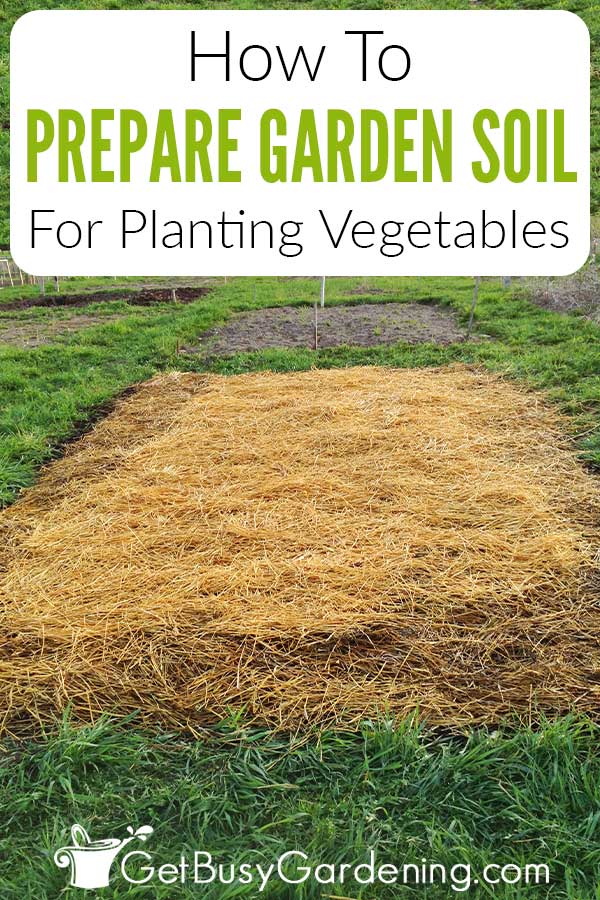
Step 6 – Add a Thick Layer of Mulch: Mulch helps keep weeds down and holds in the moisture longer, so you won’t need to water as often.
Plus it adds even more nutrients to the soil as it breaks down, helping to build rich, fertile beds over time.

Before mulching your vegetable garden, you can lay down a thick layer of newspaper first for extra weed control if you’d like.
I use straw because it’s cheap and easy to find in my area, but you can use leaves or other types of mulch for your beds.
That’s it—your veggie garden soil is prepped and ready for planting!
Related Post: When to Rake Your Lawn in The Spring

Adding compost, cultivating, and mulching are key steps to get your garden beds ready for planting veggies. Once it becomes part of your yearly routine, soil prep gets quicker and easier.
If you’d like to learn how to make the most of your space and get as much homegrown food as possible, then my Vertical Vegetables book is perfect! It will teach you all you need to know, has tons of gorgeous photos, and includes 23 DIY projects you can build for your own garden. Order your copy today!
Learn more about my Vertical Vegetables book here.
More Posts About Growing Vegetables
- How To Fertilize A Vegetable Garden
- How To Design A Vegetable Garden Layout
- A Beginner’s Guide To Companion Planting
- Lasagna Gardening 101: How To Make A Lasagna Garden
What’s your go-to method for preparing your veggie garden soil before planting? Leave your tips, tricks, or questions in the comments—I’d love to hear from you!
Printable Instructions
Preparing Vegetable Garden Soil For Planting
Follow these 6 quick and easy steps to prepare your soil and get your vegetable garden beds ready for spring planting.
Materials
- Compost or well-rotted manure
- Additional amendments (see notes below)
- Mulch
Tools
- Shovel
- Garden gloves
- Bow rake
- Weeding tool (optional)
- Cultivator or tiller (optional)
- Soil test kit (optional)
Instructions
- Remove weeds and grass: Pull or dig up all established weeds and any grass that’s creeping into the beds.
- Turn the soil: Break up the crusty top layer using a shovel, a pitchfork, or a handheld garden claw. For larger beds, use a small cultivator or a tiller to save time.
- Test the soil (optional): Use a simple home test kit to check nutrient levels and pH—especially if you haven’t tested in a while. At the very least, use a simple probe tool or a pH test kit to measure the acidity.
- Add amendments: Spread a 2-4” deep layer of compost or manure over the bed. Then sprinkle on any soil amendments that your vegetable garden needs.
- Mix everything in: Till or turn the soil again to mix in the compost and amendments. Use a bow rake to level the surface so there aren’t any large mounds or holes.
- Add a thick layer of mulch: Cover the bed with a generous layer of lightweight mulch, like seedless straw, to help retain moisture and suppress weeds.
Notes
Here are a few optional amendments to improve your veggie garden soil, depending on what it needs:
- Natural organic matter (weed-free grass clippings, dry leaves, etc.)
- Worm castings
- Slow-release granules (my favorites include: organic fertilizer, these natural granules, or all-purpose pellets.

Kathleen says
Hi,
can you tell me the purpose of preparing a garden bed in advance? Lots of websites say to prepare the bed in advance (e.g., a week) but I’m not sure why – why can’t you just mix up the soils/composts/perlite and whatever else you’re using and plant the same day?
Amy Andrychowicz says
You certainly don’t need to prepare your veggie garden bed in advance, you can do it the same day as you plant it.
bob clark says
My tomato plants produce fruit about chest high, but the plants grow to 7’ or higher, but no tomatoes in the top 3 to 4 feet.
Amy Andrychowicz says
The key to getting the most from your tomato plants is to prune them regularly throughout the summer. Here’s my step by step guide for more details.
Beren says
Hello,
Thank you very much for this article.
I want to start my garden and I’m gonna start it like this. But I have a question… when? What is the best time to prepare the surface?
Thank you very much
Beren
Amy Andrychowicz says
Wait until the soil is completely thawed and no longer sticky before preparing your beds for planting in the spring. To know for sure that it’s workable, grab a handful of soil and squeeze it into a ball in your fist. If it sticks together, then let it dry out more. If the soil crumbles apart and won’t stay in a ball, then it’s ready to be worked.
Amanda says
I feel like this may be a dumb question but… Can you direct seed an area that’s already covered in mulch? It seems that if the mulch’s purpose is to prevent weeds, then it may prevent your seeds from sprouting as well? I could always plant seeds and mulch once the plants grow but it seems so much easier to mulch first as you’ve done in your pics. Thanks!
Amy Andrychowicz says
Yes, you can just move small areas of the mulch aside to make room for planting. That will prevent the weeds from growing in the majority of the garden, but still allow for planting after mulching. Just make sure to leave the spot where you planted the seeds uncovered so they can grow.
Lakeshia Davis says
I covered my garden with leaves for the winter. Now that I’m ready to plant my vegetables, do I remove the leaves or mix them into the soil?
Amy Andrychowicz says
You can mix the leaves right into the soil. They are a wonderful, natural fertilizer, and excellent for a vegetable garden!
Carol Anne says
Where do you buy compost? I compost at home, but won’t have enough for all my beds.
Amy Andrychowicz says
You can buy compost anywhere you buy mulch. If I only need a little bit, I buy it in bags at my local home improvement story or nursery. If I need a lot of it (like I did for this garden), we buy it in bulk at the local organics recycling facility or landscaping materials company. They dump it right into your truck for you. Just search “buy compost [your city]” in Google and you should find places in your area. But check with your city first, because many cities give compost away for free to their residents.
Kirsten says
I have read that it’s a good idea to get your soil tested for nutrient deficiency. Do you think for a small vegetable garden (4′ x 8′) that it’s really necessary to do that? Or does just adding a layer of compost give the soil enough nutrients?
Amy Andrychowicz says
It’s always a good idea to test your soil, but certainly not required. Adding rich, organic compost is definitely a great way to add nutrients to the soil, and all types of plants will benefit from that! But testing your soil is easy to do yourself with an inexpensive kit, here’s a post I wrote about that… How To Test Your Soil At Home Using A Soil Test Kit
Laura @ Raise Your Garden says
Our big step this year was adding compost to our beds. What a difference! Like you said, it’s really cheap in bulk and we even had some extra for our flower beds after we added it to all our raised veggie beds.
I went for the whole optional tilling deal this year, just didn’t have time to till! Still, I think the gardens ok.
Amy Andrychowicz says
Great! You definitely don’t have to till the soil, your vegetable garden will be fine for sure. 🙂
Amy
Stan Smith says
I took over a weed infested garden this year and the part I tilled early in the season for potatoes had more weeds come back than the part where I simply poured the compost on top after weeding it. There’s a third section that is so over grown I didn’t even plant it this year. I covered it in cardboard and have been dumping my grass clipping on top to smoother them … seems to be working well so far this season.
Amy Andrychowicz says
Yes, the method of smothering weeds is much easier for completely overgrown gardens. I also prepared a garden area that was completely overgrown with weeds, and here’s the post about that… How To Start A No Dig Garden