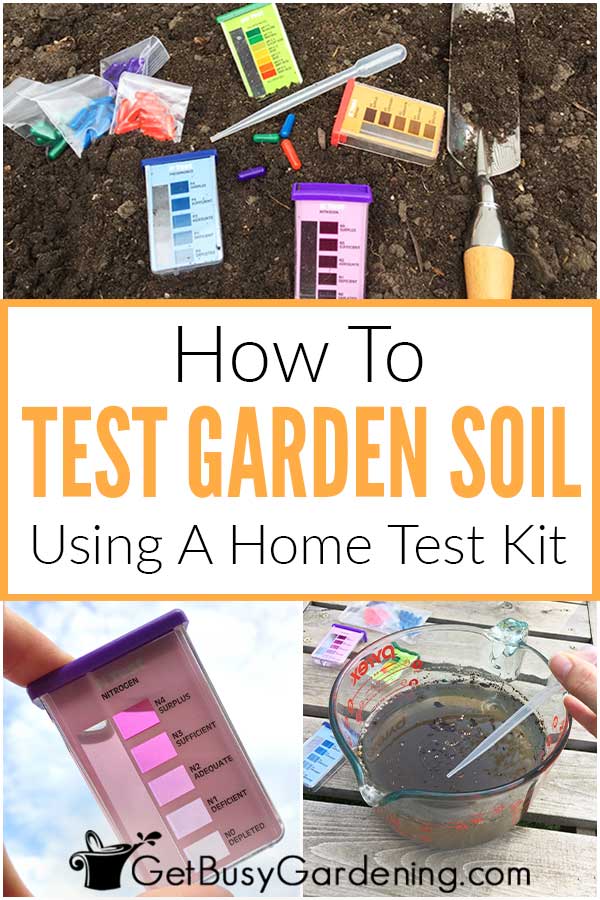
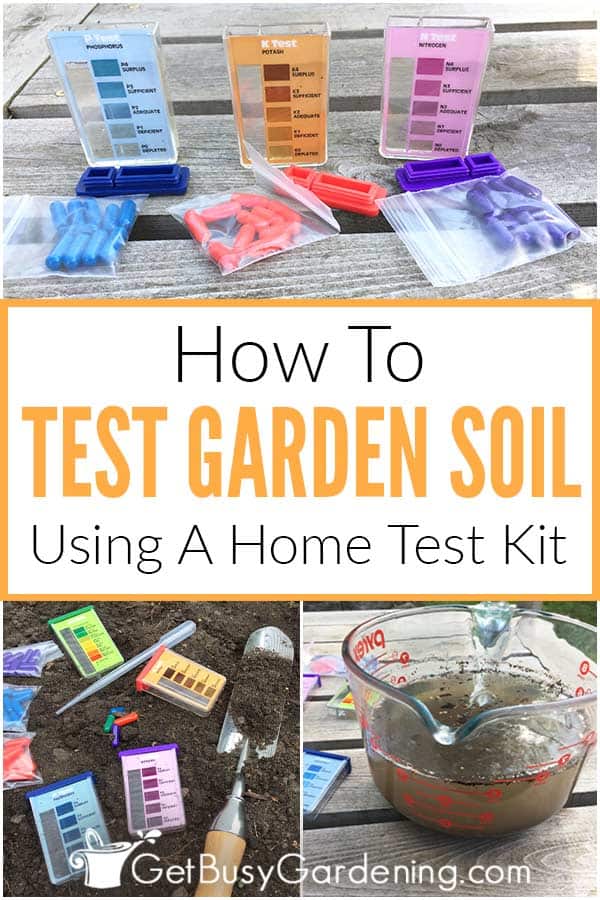
Testing your own garden soil at home might sound intimidating at first, but it’s actually quick, affordable, and super simple. You don’t need to send samples to a lab or spend a bunch of money to get accurate results.
In this post, I’ll walk you through the entire process step-by-step. Once you know what your soil is lacking, you can add the right amendments to give your garden the best possible start.

Why Testing Your Garden Soil Matters
All plants need nutrient-rich, fertile soil to grow their best, stay healthy, and produce tons of flowers and vegetables for you to enjoy.
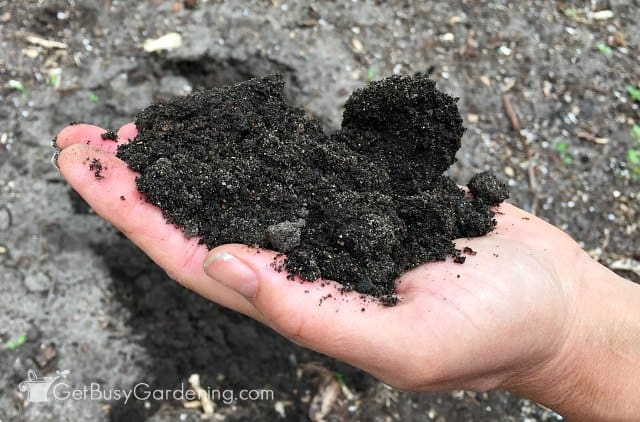
But here’s the thing – it’s impossible to tell if your garden soil is healthy just by looking at it. You have to test it to know for sure.
A quick DIY test will show you exactly what your soil has too much of and what it’s missing, so you can add the right amendments to fix it.
When to Test Your Garden Soil
The best time to test your soil is in the fall, at the end of the gardening season. That way, you’ll have plenty of time to add any amendments before spring rolls around.
You can also test it in early spring to see if the soil has improved or if it needs a little extra help before planting.
How Long Does an At-Home Soil Test Take?
The time it takes to get your results depends on the type of test you’re doing. But either way, it’s the prep work that takes the longest. Here’s a breakdown of what you can expect:
- pH test: This one is the quickest, and the total time is about 10 minutes. After collecting your soil sample and preparing the test container, it only takes about one minute to get the results.
- N-P-K tests: These 3 tests are a little longer, and the total time can be up to 24 hours. It takes some time to prepare your sample (especially if you have clay soil), but once it’s ready, the results show up in about 10 minutes.
Everything You Need for a Simple Soil Test
Your soil test kit should come with instructions for use. So make sure you review those first, because they might be slightly different than my steps below.
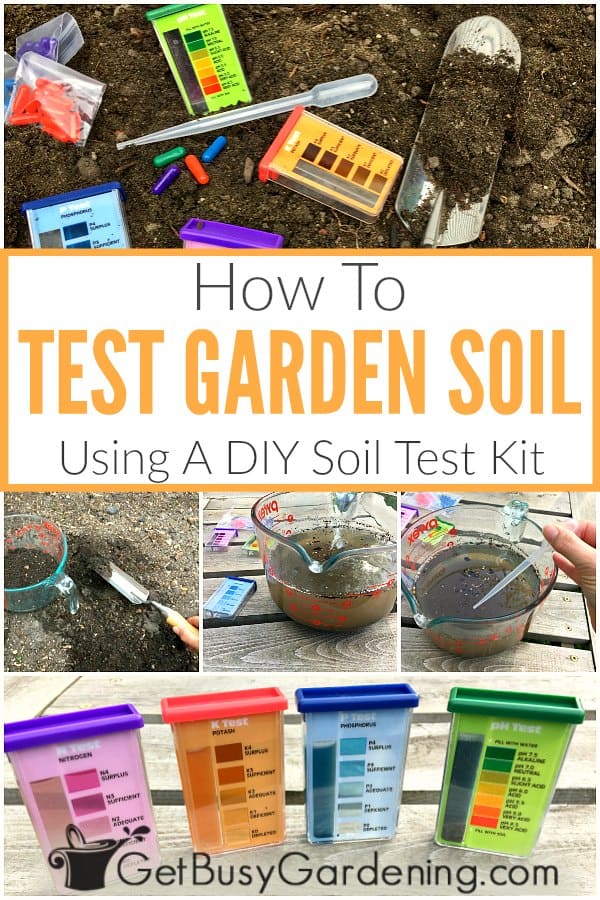
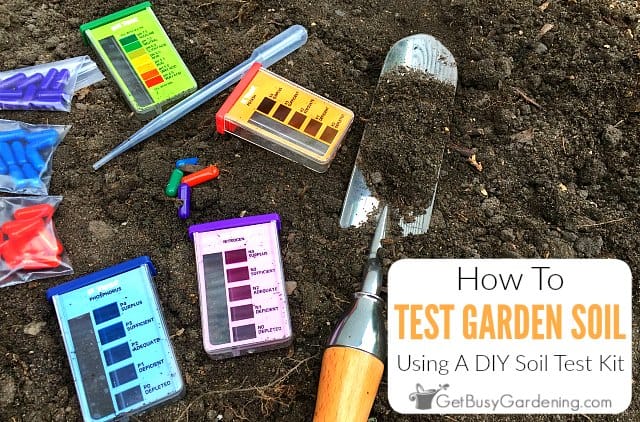
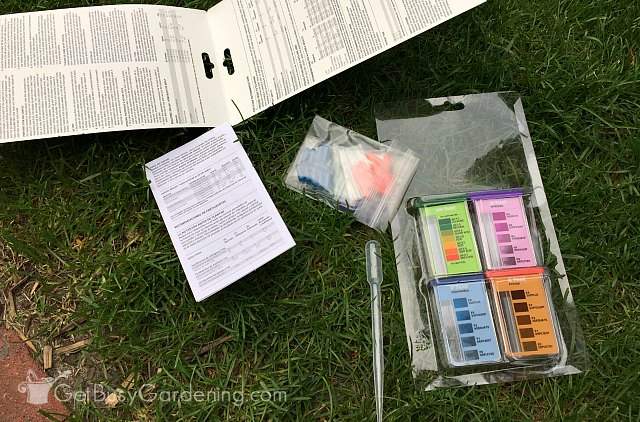
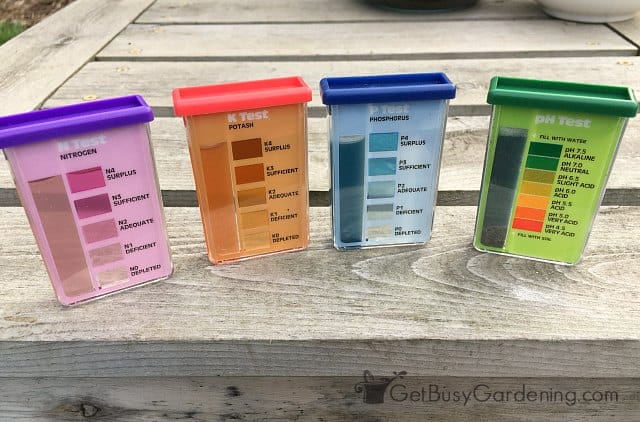
My kit came with four different color-coded containers for testing each of the main nutrients. Pink for nitrogen (N), blue for phosphorus (P), orange for potassium (aka: potash) (K), and green for pH.
In addition to your kit, you’ll need a few other supplies before you get started:
- DIY soil test kit
- Clean container (I used a kitchen bowl)
- Clean garden trowel or large spoon
- Distilled water
- Measuring cup (1 cup)
How to Take a Soil Sample
The first step for all four of the tests is to take a soil sample. Taking the sample is really easy, but make sure your tools are clean first.
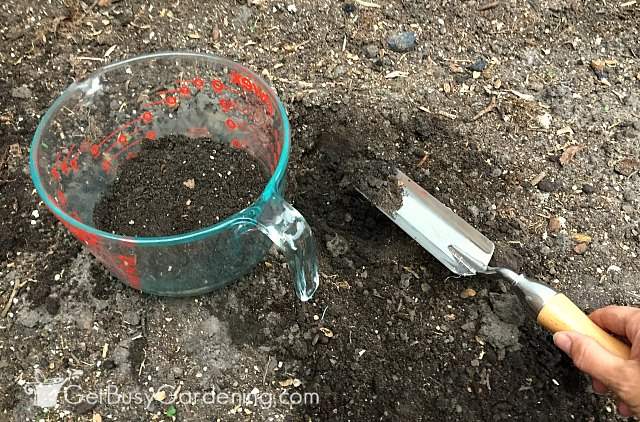
Use a garden trowel or large spoon (don’t use your hands), and also grab a large bowl or other container to put it in.
Remove any mulch or debris from the top of a small area of the soil, then dig down about 3-6 inches to take your sample (the garden bed in the photo below is new, so there isn’t any mulch on top yet).
If you want to do all four tests in the kit, you’ll need a little more than one cup of soil (one cup for the N-P-K tests, and less than one teaspoon for the pH).
How to Test Your Soil at Home (Step-By-Step)
The process for testing each of the 3 main soil nutrients (N-P-K) is pretty much the same, while the pH steps are slightly different – so I’ll walk you through each.
I’ll start with the pink, blue, and orange containers, so set your green pH test aside for now.
1. Testing Soil Nutrients (N-P-K)
Before jumping into the steps for testing the N-P-K, I wanted to give you a heads up that it takes a little longer to check these values than it does for the pH level.
That’s because the soil needs to settle in water (sometimes overnight). So keep that in mind so you can plan accordingly. Ok, now on to the steps.
Step 1 – Mix your soil sample with water: In a clean bowl, mix one cup of your soil sample with five cups of distilled water.
It’s important to use distilled water rather than tap water to ensure your test results are accurate (tap water contains chemicals and minerals that can skew the results).
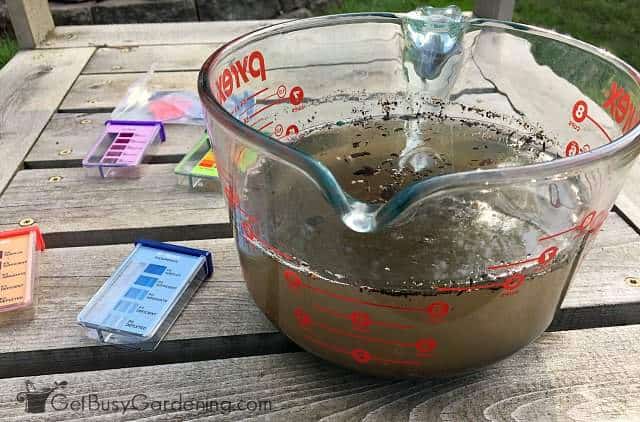
Step 2 – Let the soil settle: Stir or shake your soil and water mixture for about a minute, then let it sit until everything settles and the water clears.
Clay soils can take up to 24 hours to fully settle, while sandy soils clear faster. Don’t rush this part – the clearer the water, the more accurate your results. I usually let mine sit overnight.
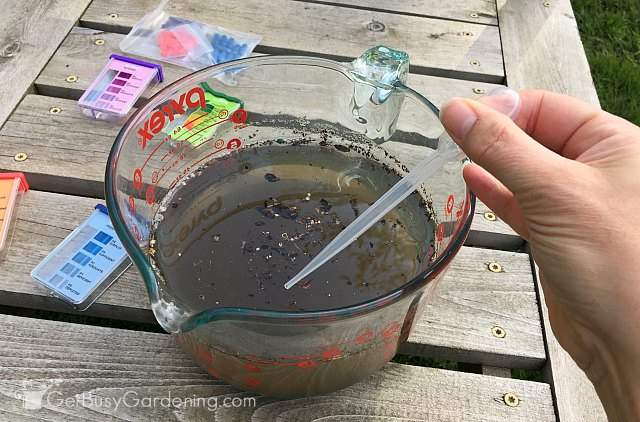
Step 3 – Fill the test containers: Once everything has settled, make sure you don’t move the soil sample/water mix, or disturb the muck at the bottom. You’ll only be using the water for these tests.
Fill both chambers of the N-P-K testing containers with your sample water up to the line towards the top. Your kit should come with a little dropper to make it super easy.
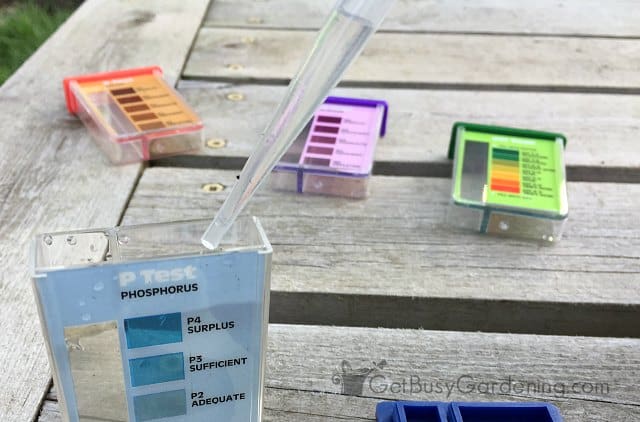
Don’t fill the containers all the way to the top though, you’ll need a little bit of headspace to shake them up after you add the test powder in step 4.
But make sure water level is above the colored boxes (it’s really hard to see, but there is a very faint dotted line at the top of left chamber to indicate the water level).
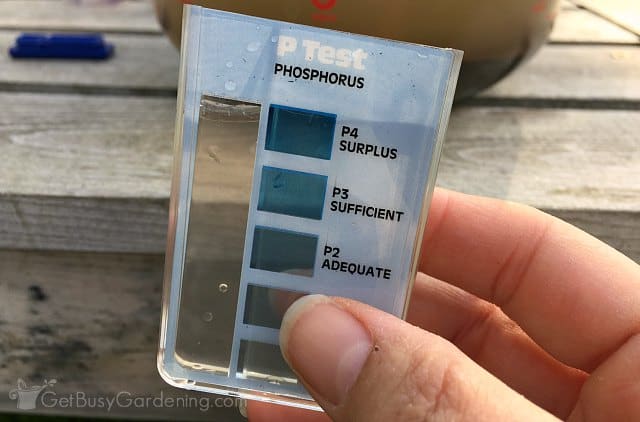
Step 4 – Add the test powder: The capsules that come with the kit are color-coded to the respective containers. So grab the one that matches your test container.
I recommend doing this next part in an area where there’s no wind. Also, be careful not to inhale the powder or get any of it in your eyes or mouth.
Pull apart the capsule and pour the powder (not the entire capsule) into the left chamber only. Don’t get any powder into the right side compartment, that water should stay clear for comparison.
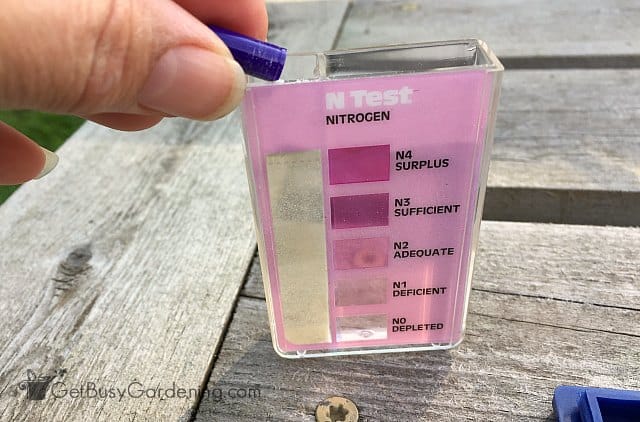
Step 5 – Mix and wait: Snap the lid on tightly, then shake the container to dissolve the powder. The water may change color right away or it may happen gradually. Either way, let it sit for about 10 minutes before checking your results.
2. Testing Soil pH Levels
The pH test works a bit different from the N-P-K ones, and it’s much faster. You’ll need less than a teaspoon of soil.
But make sure to follow the same method to take your sample as I described above (no hands, clean tools, etc.).
Follow the steps below to test your soil using a pH using the DIY kit. (If your kit didn’t come with the green container, you can buy a separate pH test kit or use a pH probe).
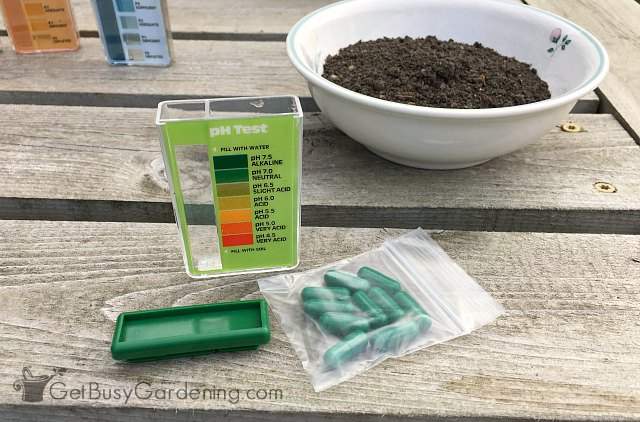
Step 1 – Put your soil sample into the test container: Add a small amount of your sample soil to the left side chamber to fill it to the line (it’s really just a tiny bit).
I tried using the dropper thingy for this, but that does not work, so don’t do that. I found it easier to use a small spoon to get the dirt in there.
You don’t have to be too fussy or worry about getting dirt into the right side compartment. And if you accidentally fill it above the line, then you can just pour out the extra. No biggy.
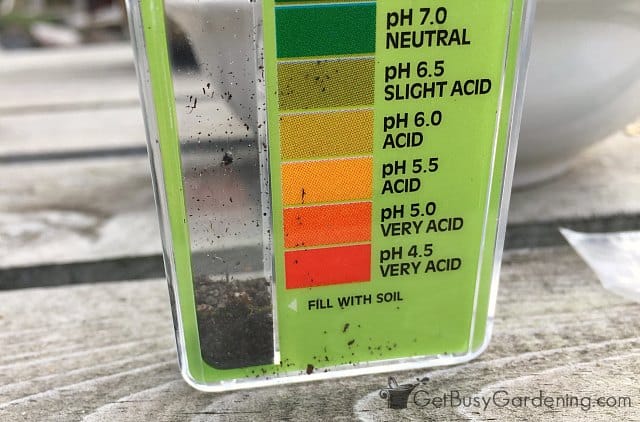
Step 2 – Add the test powder: Grab a green capsule (or whichever one came with your kit) and carefully open it. Then pour the powder into the left chamber, right on top of your soil sample.
Again, I recommend doing this in a spot where there’s no wind. You don’t want the powder blowing away, or getting into your eyes or mouth.
Step 3 – Add distilled water: Fill the rest of the left side compartment with distilled water up to the indicator arrow (this is where you can use the dropper thingy). Leave the right side of the container empty for this test.
It’s best to use distilled water for your pH test, just in case there are chemicals in your tap water that will skew the results.
Step 4 – Shake and wait: Snap the lid tightly on the container, then shake the heck out of it to mix the soil, powder, and water together. Let it sit for about one minute before reading the results.
How to Read Your Soil Test Results
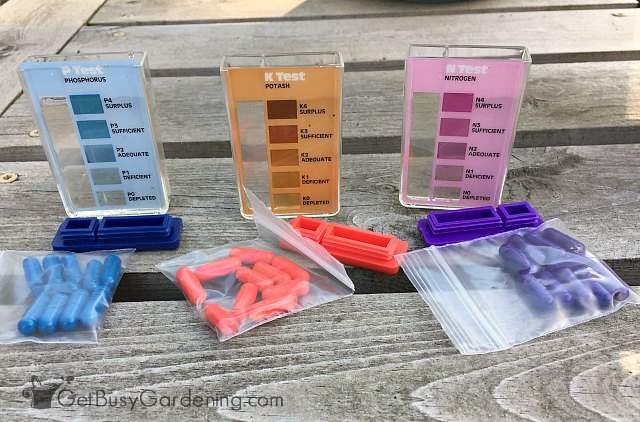
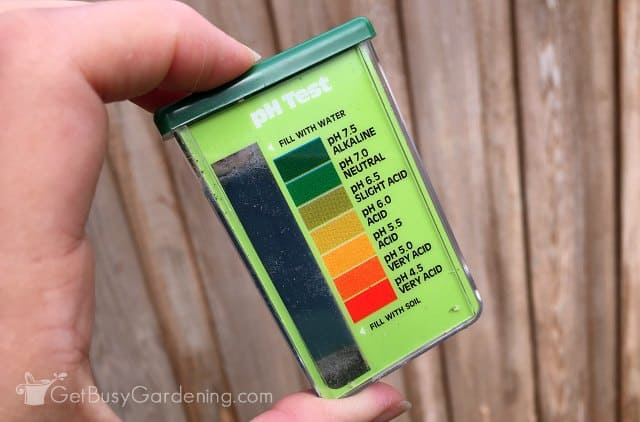
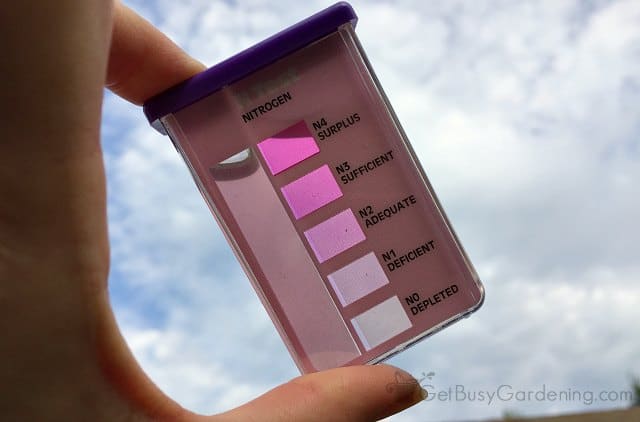
To read your results, hold the test container up to natural light (but not direct sunlight). Then, compare the color of the water on the left side to the color chart on the right.
If your soil is really lacking in one or more of the N-P-K nutrients, you’ll notice that the water on the left will be almost colorless. On the other hand, the darker the color on the left side, the higher the nutrient level in your soil.
You can see from my N-P-K tests (photo below) that my soil is deficient in nitrogen (pink), sufficient in potash (orange), and has a surplus of phosphorus (blue).
Same idea for the pH soil analysis: Simply compare the color of your sample on the left to the chart on the right. The color chart will show you how acidic or alkaline your soil is.
You can see from the results of my pH test (the green one on the right), that my soil is alkaline.
Blog Post Summary
Soil testing is a game-changer for gardeners at any experience level, and a DIY test kit makes it so easy to do it yourself. Once you understand your soil’s N-P-K and pH levels, you’ll have all the info you need to improve it.
More Posts About Garden Soil
- How To Fertilize A Vegetable Garden
- How To Prepare A Garden Bed For Planting Vegetables
- How To Make A Cheap DIY Compost Bin
- How To Fertilize Your Flower Garden Beds
- Lasagna Gardening 101: How To Make A Lasagna Garden
Share your tips or questions about testing your garden soil in the comments below.

Jim says
Our N test came out white cloudy. What does that mean?
Amy Andrychowicz says
A cloudy soil test result could be caused by a few things. Mainly it’s from either using unfiltered tap water rather than distilled, not letting the water/soil mixture settle long enough before running your test, or perhaps you soil is lacking nitrogen and the test couldn’t register it. I would try testing your soil again to see if you get the same results, especially if you used tap water, and let your sample water settle for 24 hours this time.
Sarah Ann says
The instructions for the rapid test say to shake the phosphorus sample after the 10 minutes. Do you do the same with the potash. My potash all showed it was depleted to adequate after the ten minutes but when I shook it the potash measures sufficent to surplus.
Thanks for your help.
Amy Andrychowicz says
I shake up my soil tests right after adding the powder, and keep shaking them until the powder has completely dissolved. If you missed that step, then I can understand why the test results changed after you shook it up. I would go by whatever the test results said after you shook it up.
Peggy Chandler says
My pH test came out purple . That color is not on the scale, so what does that mean?
Amy Andrychowicz says
Are you certain you used the correct capsule to test the pH? I would retest it to make sure.
Eilleen says
Our ph test came out muddy grey, with a very
slight green tint. Mostly grey. So what does that mean?
Amy Andrychowicz says
It sounds like your soil is alkaline to me. The darker the water is inside your soil test kit, the less acidic the soil is.
Shabir Ahmad Pala says
Very nice i need a soil test kit and separate soil PH tester