Canning cherry tomatoes isn’t difficult, and it’s a great way to use them throughout the year. Once you learn how, you’ll have plenty on hand whenever you need them.
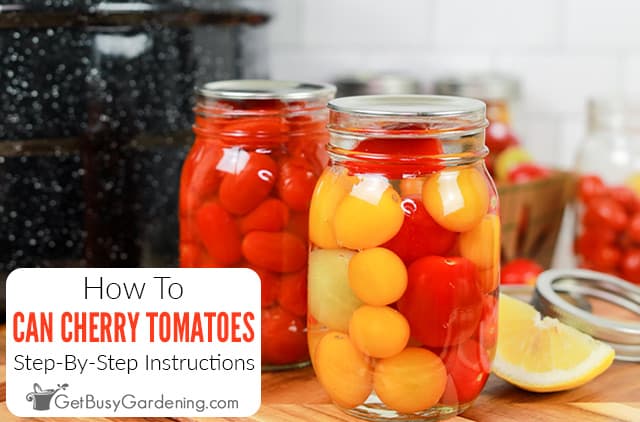
Learning how to can cherry tomatoes is an important skill, especially for gardeners, since they are so prolific.
That way you can use them up without any waste, and enjoy them year round. There are many recipes you could add them to, or you can simply eat them right out of the jar.
It’s a great way to lock in that “fresh off the vine” flavor, and make use of your bounty. Or you can use ones that you buy at the grocery store or Farmer’s market.
In this article I am going to show you two ways to can cherry tomatoes, with or without a pressure canner.
Preparing Cherry Tomatoes For Canning
To prepare your cherry tomatoes for canning, simply remove the stems, then rinse and dry them off.
You don’t need to cut them up or peel off the skins. But you could if you prefer, or depending on how you plan to use them.
As an additional preparation step, be sure to clean and sterilize the jars, and also get the water boiling in your canner or pot before getting started.
Related Post: How To Grow Tomatoes At Home
Methods For Canning Cherry Tomatoes
There are two ways to can your cherry tomatoes, either hot or raw packing. Each will give you a different result.
The one you choose will depend on how you intend to use them, and the amount of time you have. Try both to see which one works best for you.
Hot Packing
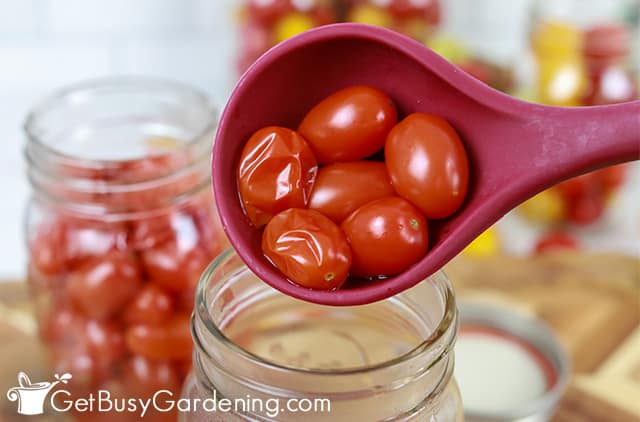
Hot packing your cherry tomatoes before canning will help to soften them, and allow you to fit more into the jars.
This method is great when you want to use them to make recipes such as marinara, marinades, or purees.
To use the hot packing technique, add 5 cups of cherry tomatoes to 1 cup of water in a large pot. Then let them boil over high heat for 5 minutes before putting them into the jars.
Related Post: When To Pick Tomatoes & How To Harvest Them
Raw Packing
Raw packing takes less time, since you don’t need to boil the cherry tomatoes before canning them.
They will also hold their shape better, and are great for use in recipes such as chunky soups and sauces.
But it will take up more space in the jars, which means you won’t be able to fit as many in.
Related Post: Sun Dried Cherry Tomatoes: An Easy Homemade Recipe
Processing Canned Cherry Tomatoes
Once you’ve raw or hot packed your jars it is time to process them. You can do it using either a pressure canner or water bath. Below are the pros and cons for each.
Canning Cherry Tomatoes With A Pressure Canner
Using a pressure canner can help to ensure a tight seal of the jar lids. It’s also a bit faster than the water bath method, so it’ll save you some time.
But of course it’s a more expensive item to buy. So you may want to wait to make the purchase, or borrow one from a friend to see how you like it first.
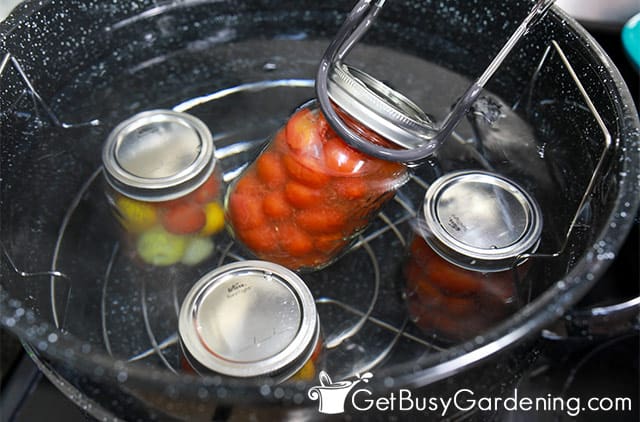
Canning Cherry Tomatoes With The Water Bath Method
If you don’t have a pressure canner, the water bath method will create a similar effect, but takes a bit more time.
For this you’ll just need a large pot or water bath canner, which is less expensive to purchase.
Though you can’t use this method for canning everything, it’s safe for cherry tomatoes since they are acidic.
Related Post: Quick & Easy Pickled Green Tomatoes Recipe
Tools & Equipment Needed
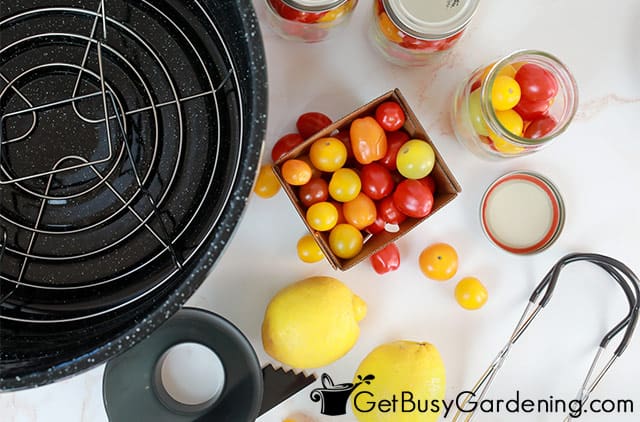
Below is a list of the equipment and tools you’re going to need. Collect everything before you begin to speed things up. You can see my full list of tools and supplies here.
- Pressure canner OR a water bath
- Pint canning jars OR use quart sized jars
- New jar lids
- Ladle
- Measuring spoons
- Canning funnel
- Bubble remover tool
- Jar lifting tool
- Dissolvable labels
- OR Permanent marker
How To Store Canned Cherry Tomatoes
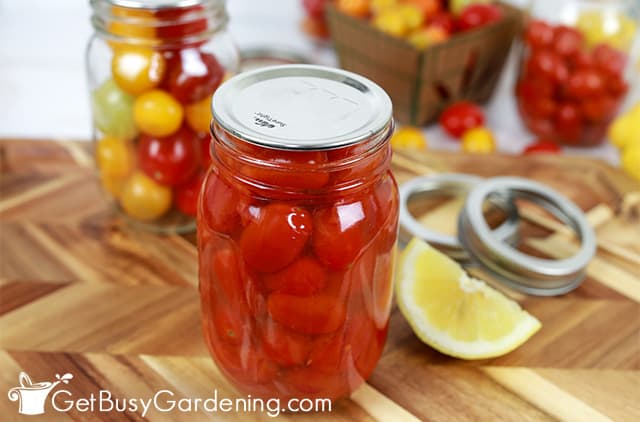
Before storing your canned cherry tomatoes, ensure that each lid has sealed. You’ll know a proper seal is in place when you push on the center of the lid and it does not move at all.
If any of the lids did not seal, then you must refrigerate them and use them up right away.
Otherwise, store them in a dark, cool place. A pantry, cupboard, or basement shelf are wonderful spots to keep them.
Be sure to write the date and name on each jar so you know when they’ll expire. You can either use disposable labels, or simply write on the top with a permanent marker.
How Long Do Canned Cherry Tomatoes Last?
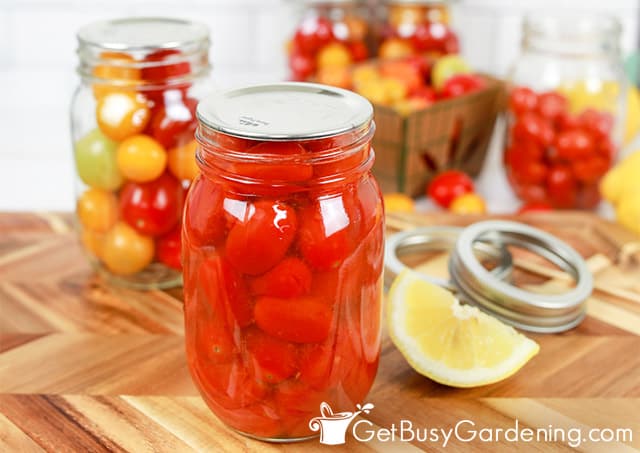
When properly sealed and stored, canned cherry tomatoes can last up to 18 months. Always check each one to ensure the lid is still sealed before using them.
FAQs
In this section I’ll answer some of the most commonly asked questions about canning cherry tomatoes.
Can cherry tomatoes be canned with skins on?
Yes, cherry tomatoes can be canned with the skins on. But of course, if you prefer, you can remove them first.
Is it safe to can cherry tomatoes without a canner?
Yes it is safe to can cherry tomatoes without a canner, because they are acidic. The benefit that a pressure canner brings is that it is faster, and helps to ensure the seal on the lids. But if you don’t have one, you can use the water bath method instead.
By canning cherry tomatoes, you can keep them on hand and ready to enjoy whenever you like. With just a little bit of effort, you’ll be able to enjoy them all year long.
If you want to learn how to train vegetables vertically, then you need a copy of my book Vertical Vegetables. In it I teach you all you need to know, so you can have both a beautiful and bountiful veggie garden. Order your copy today!
Learn more about my Vertical Vegetables book here.
More Food Canning Posts
- Free Canning Labels To Print For Mason Jars
- How To Can Beets
- How To Can Green Beans
- How To Can Pears
- How To Can Peppers
- How To Can Apples
- How To Can Apple Butter (With Recipe!)
- How To Can Pumpkin
- How To Can Green Beans
Information About Tomatoes
- How To Grow Tomatoes In Pots
- How To Prune Tomatoes For Maximum Production
- How To Grow Tomatoes From Seed & When To Start
- Tomatoes Not Turning Red? Try These 5 Tricks…
- How To Make Sturdy DIY Tomato Cages From Wood
- How To Tell Determinate vs Indeterminate Tomatoes
Share your tips for canning cherry tomatoes in the comments section below.
Recipe & Instructions
How To Can Cherry Tomatoes

Canning cherry tomatoes is fairly easy and doesn't take much time. Follow the steps below to either hot or raw pack them. Then process them using either a pressure canner or the water bath method.
Ingredients
- 6 pounds cherry tomatoes (about 14 cups)
- 4 cups water
- 7 Tablespoons lemon juice
Instructions
Packing Steps
- Fill the jars - For the hot packing method, use your canning funnel and a ladle to scoop the cooked cherry tomatoes and their juices into the jars. Otherwise place them in there raw, and pack them tightly, taking care not to squish them. Gently tapping the jar on the counter will help them settle so you can fit more in.
- Add lemon juice - Using your measuring spoons, add 1 tablespoon of lemon juice for each pint jar, or 2 tablespoons for each quart.
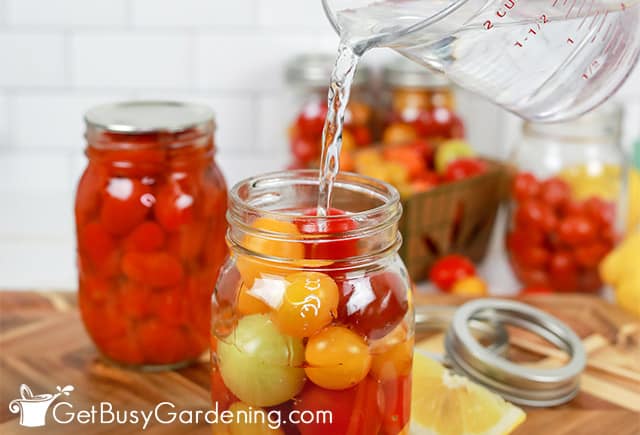
- Add boiling water - Once all of your jars are packed, fill them up using any remaining cooking juices, or plain boiling water, leaving ¾” to 1” of headspace on top.
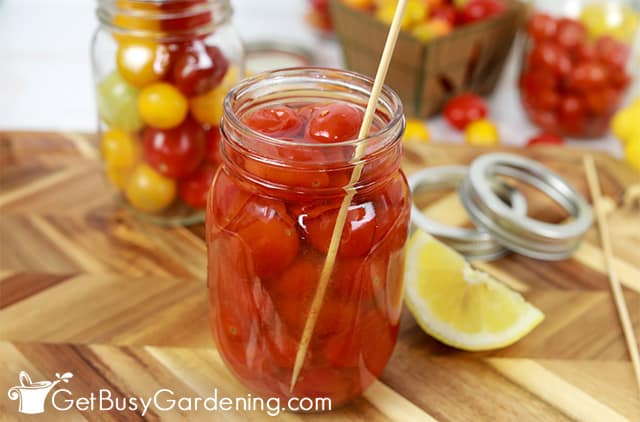
- Remove air bubbles - Remove any air bubbles from the jars using a wooden skewer or bubble popper tool. Do not use anything metal for this, or it could scratch the glass.

- Put the lids on - Put brand new lids and then your bands on the jars, fastening them just enough to secure them. Take care not to over tighten.
- Choose your processing method - Now you can either use a pressure canner or the water bath method to process them. Follow instructions below for whichever one you prefer.
Processing Steps
Using A Pressure Canner
- Add water to the canner - Put 2” of hot water in the bottom of the pressure canner. Then use your lifter tool to place the jars inside.
- Lock the lid in place - Put the pressure canner lid on tightly, lock it into place, then bring it to a boil.
- Process the jars - For a dial gauge, process the jars for 25 minutes at 11 PSI, or 40 minutes at 6 PSI. For a weighted gauge, process them for 25 minutes at 15 PSI, or 40 minutes at 10 PSI.
- Remove the jars - Once the pressure has released and the canner has cooled, open it and remove the jars. Allow them to cool completely before taking the bands off.

Water Bath Canning Cherry Tomatoes
- Boil the water - Fill your water bath canner half full and bring it to a boil.
- Add the jars - Submerge the hot jars in the boiling water. Add more water if necessary so the jars are covered with at least 2”.
- Bring water to boil - Allow the water to return to a full boil. Then process pints for 35-40 minutes, and quarts for 40-45 minutes.
- Remove the jars - Use your lifter tool to remove the hot jars from the boiling water, and allow them to cool completely before removing the bands.

Notes
- It's important to keep the jars hot at all times. So plan ahead and boil the processing water before filling them, then place them in there as soon as they are packed.
- Also, be sure to work fairly quickly to pack your jars so they do not cool down before processing them.
- Don't be alarmed if you hear the random pinging sounds as the jars cool, it just means the lids are sealing.
- Be sure to put the date on your cherry tomato jars using either a permanent marker or dissolvable labels so you know when you canned them.
- If you live at an altitude higher than 1,000 feet above sea level, then you'll need to adjust your pressure pounds and processing time. Please see this chart for the proper conversions.
Nutrition Information:
Yield:
14Serving Size:
1 cupAmount Per Serving: Calories: 35Total Fat: 0gSaturated Fat: 0gTrans Fat: 0gUnsaturated Fat: 0gCholesterol: 0mgSodium: 12mgCarbohydrates: 8gFiber: 2gSugar: 5gProtein: 2g





Leave a Reply