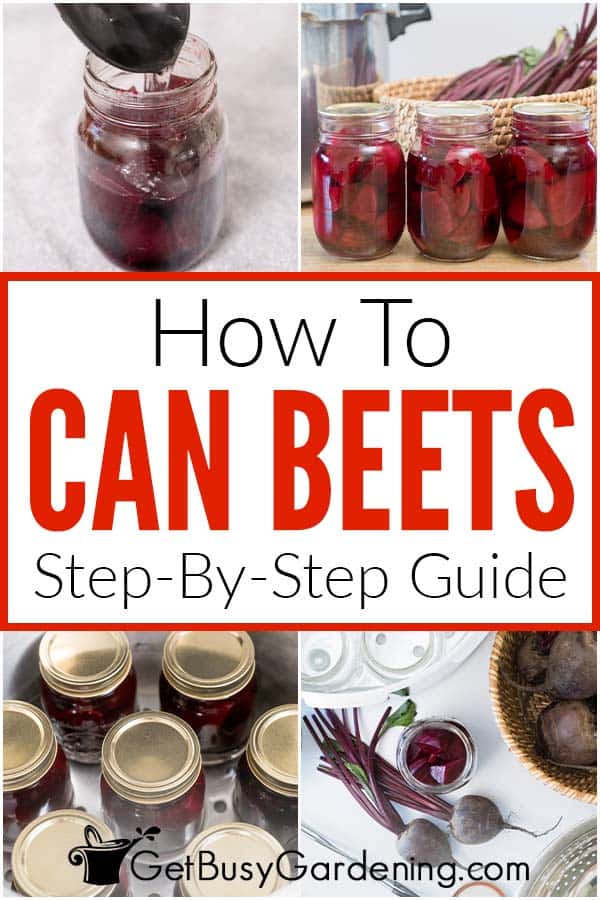

Canning beets is faster and easier than you might think. In this article, you’ll learn how to do it so you’ll always have plenty on hand whenever you need them.


If you love beets you’ll enjoy canning them for use all year round. This is great if you have extra from the garden, or get some from the grocery store.
They’re delicious right out of the jar, and you could use them in smoothies, soups, baked goods, and many other recipes.
Below I’m going to show you all you need to know about how to can beets, with detailed step by step instructions.
Best Types Of Beets For Canning
The best beets for canning are the ones that are about 1-2″ in diameter, with smooth skin, and vibrant leaves.
These will give you the best flavor and texture. Larger ones tend to be more tough and fibrous, which is not ideal for canning.
Red varieties are the most popular choice. The Ruby Queen, which has a mild and sweet flavor, is one of my favorites.
Preparing Beets For Canning
Preparing your beets for canning is easy. First cut the greens off, but leave 1-2” of the stem attached. Then rinse them, rubbing away any dirt and debris.
Next, place them into boiling water, covered, for 15-20 minutes to soften the skins. Take care not to overcook them.
Cool them by placing them in ice water. Then remove the stem fully, and use your thumbs to gently rub the skins off. Lastly, either keep them whole, or cut them into quarters.
You’ll also need to clean and sanitize the jars before using them as a part of your preparation steps.
Related Post: Quick & Easy Refrigerator Pickled Beets Recipe

Pressure Canning Beets
The only safe method for canning beets is using a pressure canner, as it ensures that all harmful bacteria is destroyed.
This is because they’re a low acid food, and have a higher risk of carrying clostridium botulinum from the soil, a bacteria that can be life threatening.
Tools & Equipment Needed
Below is a list of items you’ll need, so take a moment to grab everything before you begin. Doing this will make the process easier. You can see my full list of tools and supplies here.
- Pressure canner
- Pint canning jars OR quart sized jars
- New jar lids
- Ladle
- Canning funnel
- Bubble remover tool
- Jar lifting tool
- Paper towels
- Dissolvable labels
- OR Permanent marker
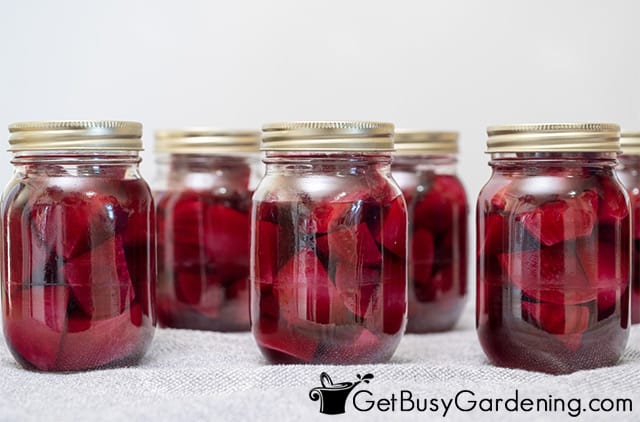
How To Store Canned Beets
Before storing canned beets, press the center of the lid to check that each one has a proper seal. If it moves at all, that means it did not seal.
Don’t worry, you can still eat the ones that didn’t seal. You just need to put them into the fridge, and use them up first.
Otherwise, store them somewhere cool and dark. Places like the pantry, a cupboard, or your basement are all great choices.
How Long Do Canned Beets Last?
Canned beets can last up to 12-18 months, as long as they’re stored properly. Before eating them, always check to make sure the lid is still tightly sealed.

FAQs
In this section, I’ll answer your most frequently asked questions about canning beets.
Can you can beets without a pressure canner?
You cannot safely can beets without a pressure canner. It is essential to use a pressure canner due to the fact that it is a low acidic food.
Can you raw pack beets for canning?
No, you should not raw pack beets before canning. You need to boil them first, and peel the skin off to ensure proper food safety.
Do you have to boil beets before canning?
Yes, you need to boil beets briefly before canning in order to soften the skin, which makes it easy to peel off.
Canning beets is not difficult, and it’s so rewarding. Plus, you’ll be happy you did it when you have them on hand and ready to enjoy whenever you like. Yum!

If you want to have a highly productive veggie garden in any space, then you need a copy of my book Vertical Vegetables. It will show you all you need to know, plus you’ll get 23 step-by-step projects that you can build yourself! Order your copy today.
Learn more about my Vertical Vegetables book here.
More Food Canning Posts
- How To Can Peas
- How To Can Potatoes
- How To Can Pumpkin
- How To Can Green Beans
- How To Can Apple Butter (With Recipe!)
- How To Can Pears
- Free Canning Labels To Print For Mason Jars
Share your tips for canning beets in the comments section below.

Recipe & Instructions
How To Can Beets
Canning fresh beets is easy and doesn't take much time. Follow the step by step instructions below to learn exactly how to hot pack and process them.
Ingredients
- 5 pounds beets
- 5 cups water
Instructions
- Prepare your pressure canner - Place the jar rack into the pressure canner, then fill it with 2-3” of boiling water, per your canners user manual. Different models can vary.
- Pack the jars - Fill the hot canning jars with prepared, peeled beets, and gently pack them in tightly, taking care not to smash them.
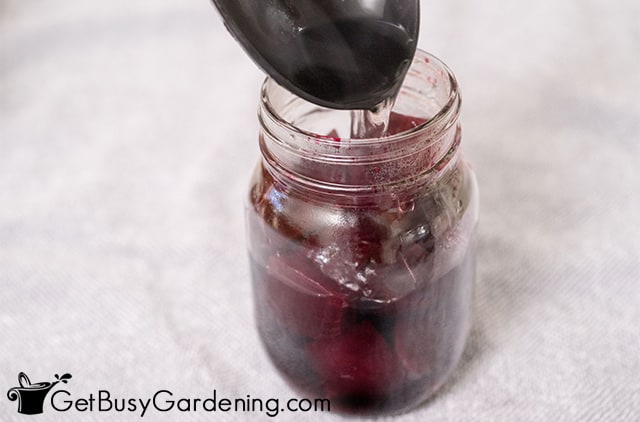
- Add boiling water - Use the canning funnel and large ladle to pour boiling water over the beets to fill up each jar, keeping 1" of headspace on top.

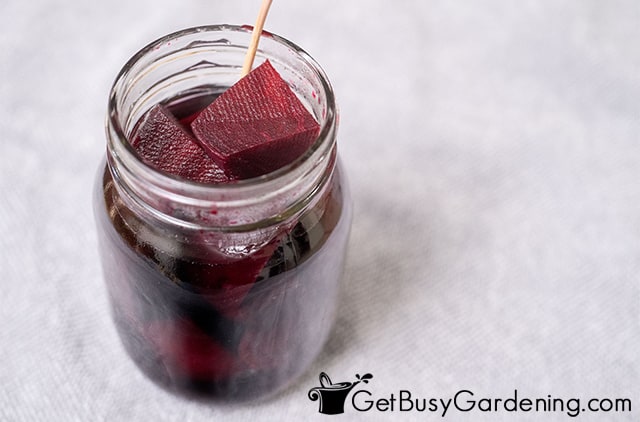
- Remove air bubbles - Use your bubble popping tool or wooden skewer to remove the air bubbles. Don’t use anything metal for this, as it can damage the glass.
- Place the lids and rings on - Wipe the rims with a damp paper towel. Then place a jar lid and ring on each one, and tighten just enough to secure them, while not over tightening.
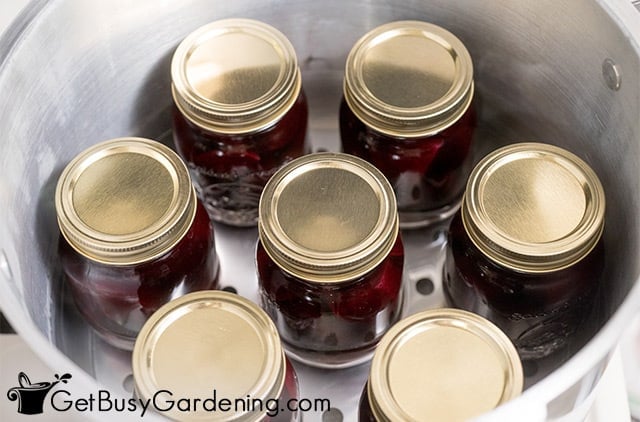
- Put the jars into the pressure canner - Use your lifting tool to carefully place the jars into the canner.
- Lock the lid onto the canner - Place the top on your canner, lock it into place, and bring it to a boil on high heat.
- Process the jars - Let the canner vent for 10 minutes before closing it. Continue heating to reach 11 PSI for a dial gauge, and 10 PSI for a weighted one. Then process the jars for 30 minutes.
- Remove the jars - Turn off the heat and allow the canner to cool completely before opening it and removing the jars.
- Cool and label them - Let the jars sit until they reach room temperature, then remove the bands and label them. You can either write on the tops with a permanent marker, or use dissolvable labels.
Notes
- Because beets are a low acid food, they must be pressure canned. This is the only way to ensure all bacteria is destroyed, and that they are safe to eat.
- It's important to keep the jars hot at all times. So plan ahead and boil the processing water before filling them, then place them in there as soon as they are packed.
- Also, be sure to work fairly quickly to pack your jars so they do not cool down before processing them.
- Don't be alarmed if you hear the random pinging sounds as the jars cool, it just means the lids are sealing.
- If you live at an altitude higher than 1,000 feet above sea level, then you'll need to adjust your pressure pounds and processing time. Please see this chart for the proper conversions.
Nutrition Information:
Yield:
16Serving Size:
1 cupAmount Per Serving: Calories: 62Total Fat: 0gSaturated Fat: 0gTrans Fat: 0gUnsaturated Fat: 0gCholesterol: 0mgSodium: 112mgCarbohydrates: 14gFiber: 3gSugar: 11gProtein: 2g

Betsy Savitz says
What is the cooking recommendation before eating home canned beets?
Amy Andrychowicz says
No need to cook them – you can eat your home-canned beets right out of the jar if you want. Otherwise you can simply heat them up in the microwave or on the stovetop if you prefer them warm.
Linda says
Can I prepare the beets (cooking and cutting) the day before and put in refrigerator. Take out and bring to room temp and then put in hot jars and continue with your instructions
Amy Andrychowicz says
Yes, you could cook the beets the day before canning them, but I wouldn’t do much earlier than 24 hours in advance.
Dana Cruz says
No they do not have to be pressured cooked. I have been doing thsse for years and only use a water bath. Never have I had any problems and no one has ever gotten sick.i learned from my grandmother and aunts who had been doing it lo ger than me.
Amy Andrychowicz says
Canning standards have changed a lot over the years, and the current safety standards do require beets to be pressure canned. It’s always very important to follow the modern canning recipes and safety standards, rather than old, outdated practices.
DEANA says
Absolutely! My grandmother and Mother did not own a pressure canner. everything was canned by water bath and open kettle. I grew up on the foods (even beets) that they canned.
Amy Andrychowicz says
Yes but again, canning safety standards have changed over the years. So what was considered safe 40,50,60+ years ago when our grandmas and moms were canning may no longer be considered safe today. I’m not sure when they changed the recommendation for canning beets, but the current one is to use a pressure canner. 🙂 The only way it’s safe to water bath can them is if you pickle your beets first, that’s because you’re using vinegar for the brine, which adds acidity.