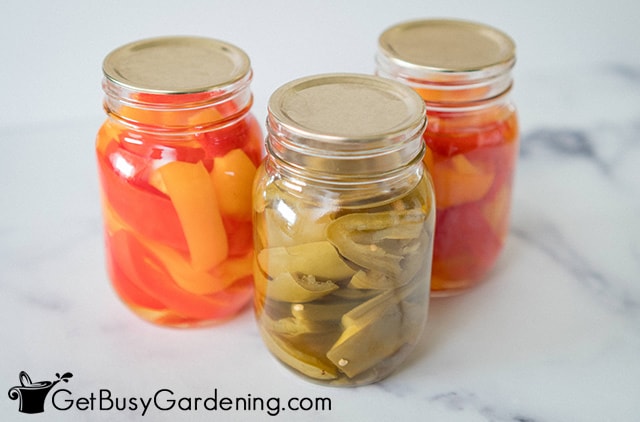
Canning peppers is quick and easy, and you’ll get to enjoy them for several months. In this post, I’ll show you step by step exactly how to do it.
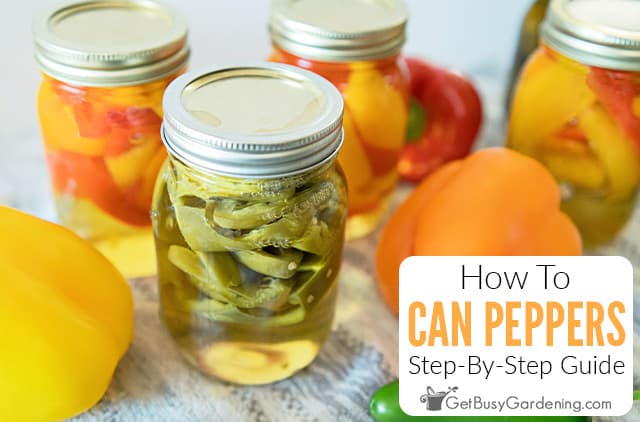
If you love adding peppers to your meals, then this detailed tutorial about canning them is for you.
It’s faster and easier to do than you might think, and it’s a great way to keep the ones you grow in your garden, or preserve grocery store produce so you have it on hand whenever you need it.
Below you’ll learn how to can peppers in a few simple steps, so you can enjoy them in your favorite recipes all year long.
Best Types Of Peppers For Canning
The best types of peppers for canning are ones that are fresh and crisp. You can use any variety, both sweet and hot varieties.
Some great ones to try are green, red, yellow, and orange bells, jalapenos, bananas, chiles, pepperoncini, and pimientos.
Preparing Peppers For Canning
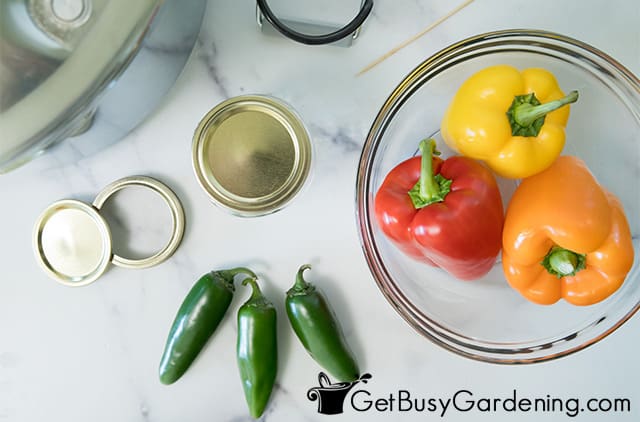
All you need to do to prepare peppers for canning is to rinse them and remove the stem, core, and seeds.
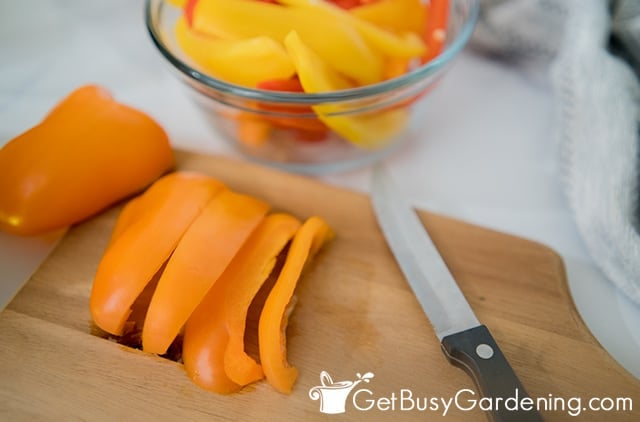
You can leave them whole, or slice them up first. There’s no need to remove the skin, but you certainly could if you prefer.
Just remember to always wear food-prep gloves when handling hot peppers, or the oils will burn your hands and anything else you touch (like your eyes, ouch!).
Also, clean and sterilize the jars as part of your preparation, and keep them hot until they’re ready to go into the canner.
Related Post: How To Make Red Pepper Flakes At Home
Methods For Canning Peppers
Below are a few ways to pack peppers for canning. The easiest one to use is the raw packing method, but you could hot pack them if you prefer.
Hot Packing
Hot packing is where you cook the peppers briefly before canning them. There are two ways to do this.
You can boil them for 2-5 minutes, and then place them into the canning jars.
Or, if you want to peel off the skins, try roasting them in the oven on broil at 400°F for 6-8 minutes. The skins will blister and peel off easily.
Raw Packing
Raw packing is where you place uncooked peppers into the jars. This method is faster and takes a bit less work, since you don’t have to cook them first.
Related Post: How To Dry Peppers (5 Best Ways)
Processing Canning Peppers
You must use a pressure canner to process your peppers because they are a low acidic food. Water bath canning is not a safe method to use for them.
A pressure canner is the only safe way to do it, so that all the harmful bacteria is destroyed in the process.
Tools & Equipment Needed
Below is a list of all the the equipment you’ll need. Gathering everything before you start will help to make the process go smoothly. You can see my full list of tools and supplies here.
- Pressure canner
- Pint canning jars
- OR Quart sized jars
- New jar lids
- Ladle
- Measuring spoons
- Canning funnel
- Bubble remover tool
- Jar lifting tool
- Permanent marker
- Dissolvable labels (optional)
How To Store Canned Peppers
Check the seal of your canned peppers before storing them. You can do this by pressing the center of the lid to ensure each one has a proper seal.
If it moves at all, that means it did not seal. In that case, you just need to put them into the fridge, and use those up first.
Otherwise, store them somewhere cool and dark. The pantry, a cupboard, or a basement shelf are all great choices.
How Long Do Canned Peppers Last?
If stored properly, canned peppers can last up to 3-5 years. Before eating them, always check to make sure the lid is still tightly sealed.
Related Post: How To Preserve & Store Peppers Long Term
FAQs
There are often so many questions when trying to can peppers for the first time. I hope to answer as many as I can in the details below.
Do peppers have to be pressure canned?
Yes, peppers have to be pressure canned because they are a low acidic food. It is the only safe way to do it, as water bath canning does not get them hot enough to kill all of the harmful bacteria.
Can you can peppers without pickling?
Yes, can easily can peppers without pickling them. All you need to do is raw or hot pack them in water, then process them in a pressure canner.
Can you can whole peppers?
Yes, you could can whole peppers, as long as you can fit them into the jars. Though keeping them whole will take up more space, meaning you’ll need to use more jars than you would if you sliced them up first.
How do you keep peppers crisp when canning?
You can keep peppers crisp when canning by adding a little bit of pickling salt into the jars, but it will alter their flavor.
Canning peppers at home is a fun and easy way to keep them for future use. I hope you found this article helpful and encouraging as you venture into trying something new.
If you want to learn all there is to know about growing up rather than out, my book Vertical Vegetables is exactly what you need. Plus you’ll get 23 projects that you can build in your own garden. Order your copy today!
Learn more about my Vertical Vegetables book here.
More Food Canning Posts
- Free Canning Labels To Print For Mason Jars
- How To Can Pumpkin
- How To Can Pears
- How To Can Green Beans
- How To Can Peas
- How To Can Asparagus
More Articles About Peppers
- How To Grow Peppers From Seed: Complete Guide
- How To Dry Cayenne Peppers In 4 Ways For Easy Storage
- How To Overwinter Pepper Plants Indoors
- How To Prune Peppers For Maximum Production
Share your tips for canning peppers in the comments section below.
Recipe & Instructions
How To Can Peppers
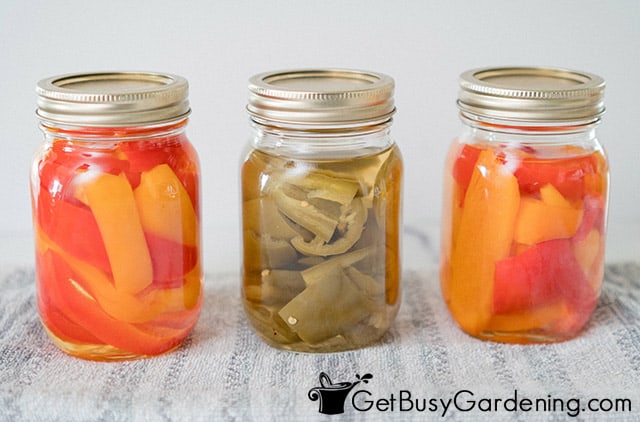
Canning peppers is easier than you think, and doesn't take much time. Below are the simple steps to follow. They are delicious added to fajitas, casseroles, soup, and more.
Ingredients
- 6 pounds peppers (spicy or sweet)
- 4 cups water
Instructions
- Prepare your canner - Add water in the pressure canner according to the user manual, and bring it to a boil. It should be hot when you add your jars.
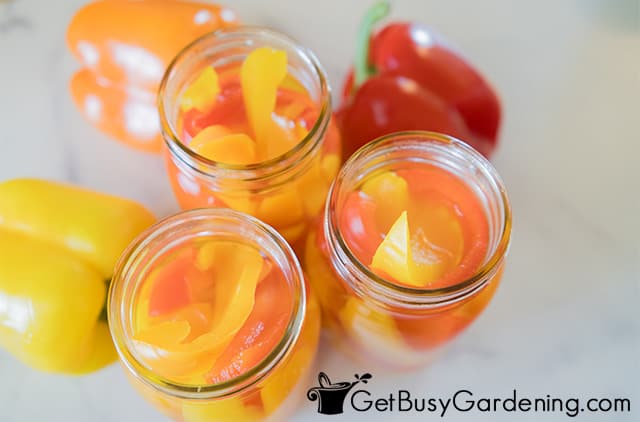
- Pack the jars - Add your pre-prepared raw or cooked peppers to the canning jars. Pack them in tightly, but not so tight that you’re smushing them.
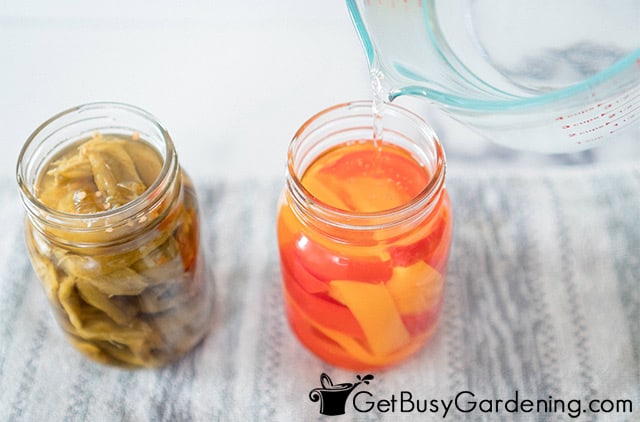
- Add boiling water - Use your ladle and canning funnel to add water to the jars, and leave a 1” of headspace on top.

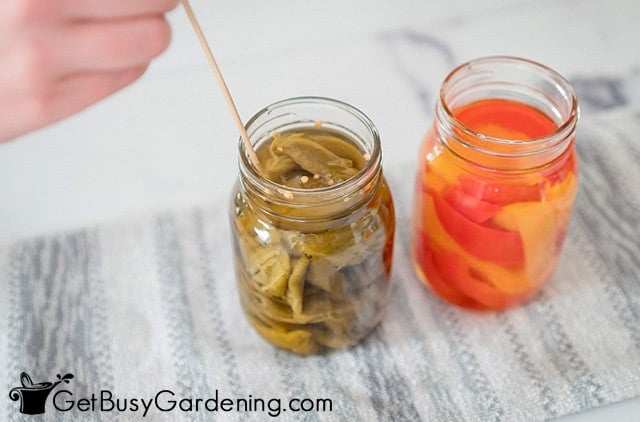
- Remove air bubbles - Use your bubble popper tool to remove the bubbles from the jar.

- Put the lids on - Wipe the jar rim with a damp paper towel, then place a new lid and a ring on top. Tighten just enough to secure, but don’t overdo it.
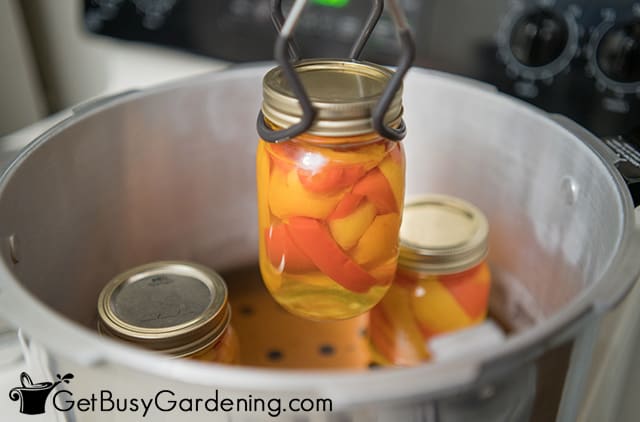
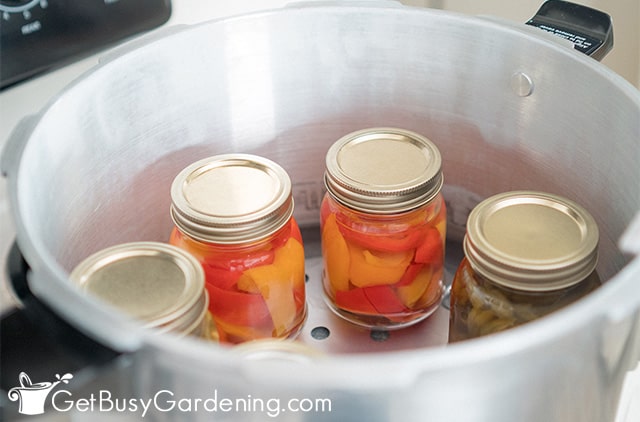
- Put the jars into the pressure canner - Using your lifting tool, place your jars into the canner. Once it’s full, put the lid on the canner and lock it into place, leaving the weights off.

- Process the jars - Let the canner vent for about 10 minutes. Then process the jars for 35 minutes at 11 lbs PSI.

- Remove the jars - Turn the heat off once the processing time is completed. Then allow the canner to cool completely before opening it and removing the jars.
- Cool and label them - Let the jars cool to room temperature for 12 hours before removing the bands. Then use a permanent marker to write the date and type on top, or try dissolvable labels.

Notes
- Because peppers are a low acid food, they must be pressure canned. This is the only way to ensure all bacteria is destroyed, and that they are safe to eat.
- It's important to keep the jars hot at all times. So plan ahead and boil the processing water before filling them, then place them in there as soon as they are packed.
- Also, be sure to work fairly quickly to pack your jars so they do not cool down before processing them.
- Don't be alarmed if you hear the random pinging sounds as the jars cool, it just means the lids are sealing.
- If you live at an altitude higher than 1,000 feet above sea level, then you'll need to adjust your pressure pounds and processing time. Please see this chart for the proper conversions.
Nutrition Information:
Yield:
12Serving Size:
1 cupAmount Per Serving: Calories: 63Total Fat: 0gSaturated Fat: 0gTrans Fat: 0gUnsaturated Fat: 0gCholesterol: 0mgSodium: 8mgCarbohydrates: 15gFiber: 2gSugar: 6gProtein: 2g



Leave a Reply