Bromeliads aren’t difficult to care for, but it’s quite different from other types of plants. Once you understand what they need, you’ll easily be able to keep yours thriving.
In this post I’ll show you everything you need to know to be successful. From watering and humidity, to soil, light, flowering, pruning, fertilizing, pest control, and much more, you’ll find it all right here.


Information About Bromeliads
Like orchids and staghorn ferns, most types of bromeliads are epiphytes. That means they grow on trees, rocks or other plants in nature, and they get most of their water and nutrients from the air rather than the soil.
Some can be difficult to grow as houseplants, because they like humidity and can dry out too quickly in the average home (especially during the dry winter months).

They are slow growing plants, and most of them will only bloom once in their lives because they die after flowering.
Sad I know, but they usually have lots of babies before they die, so you’ll get even more plants out of the deal (but more on that later).

Flowers
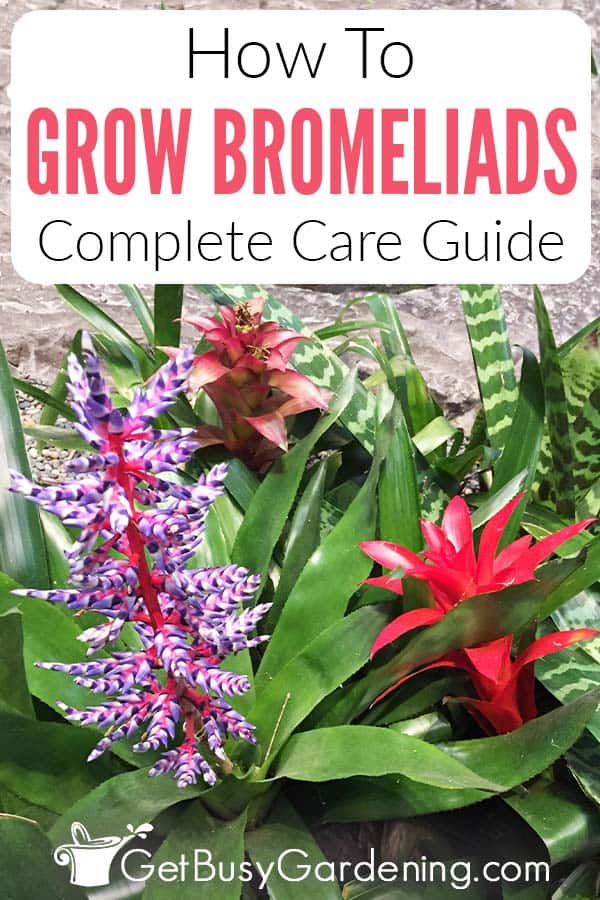
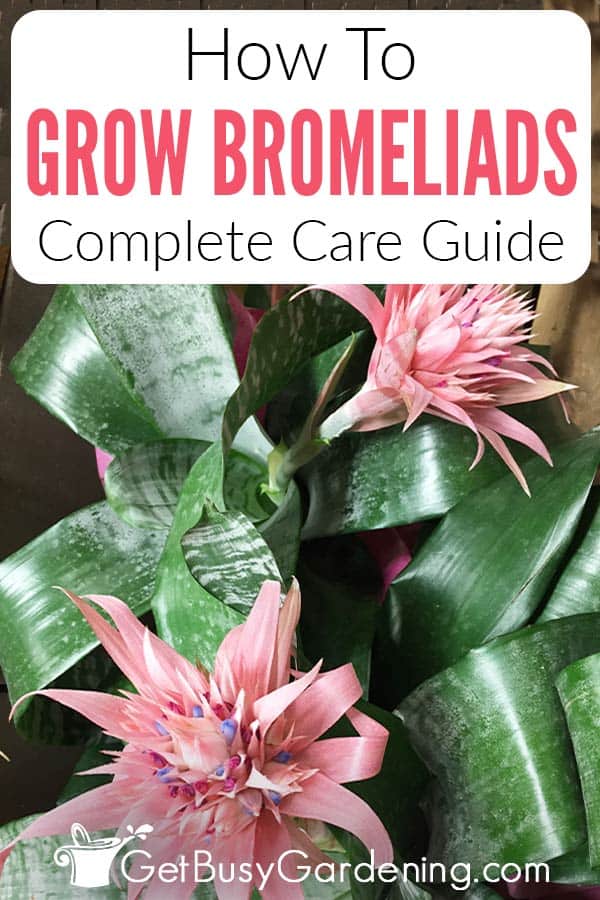
Many people think that the large colorful growth that makes bromeliads so popular is the flower, which is a common misconception. That is actually the bract, and not the flower.
The flowers grow out of the colorful bracts. Some are large spikes, and others are tiny and insignificant. Learn all about bromeliad flowers here, including when, how often, and how long they bloom.

Where To Grow Bromeliads
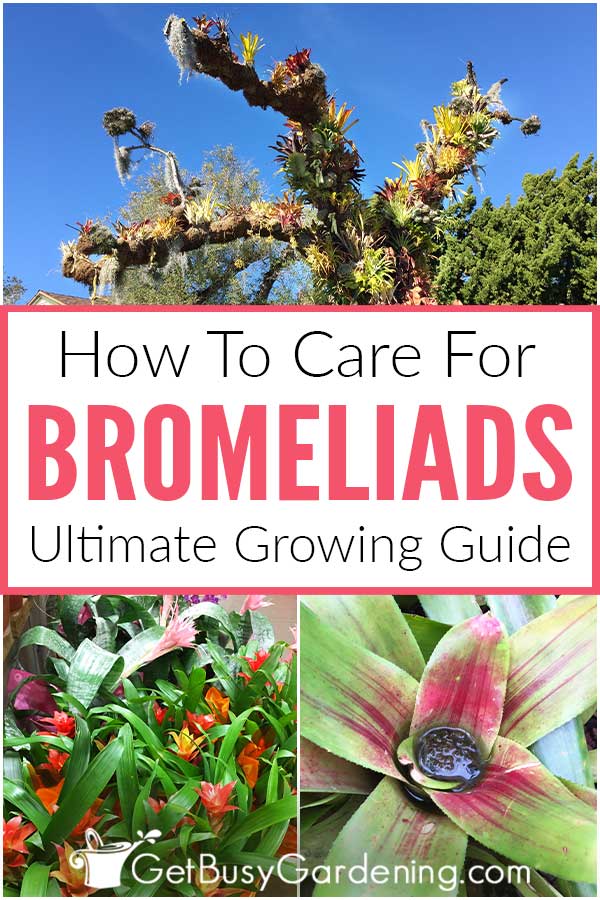
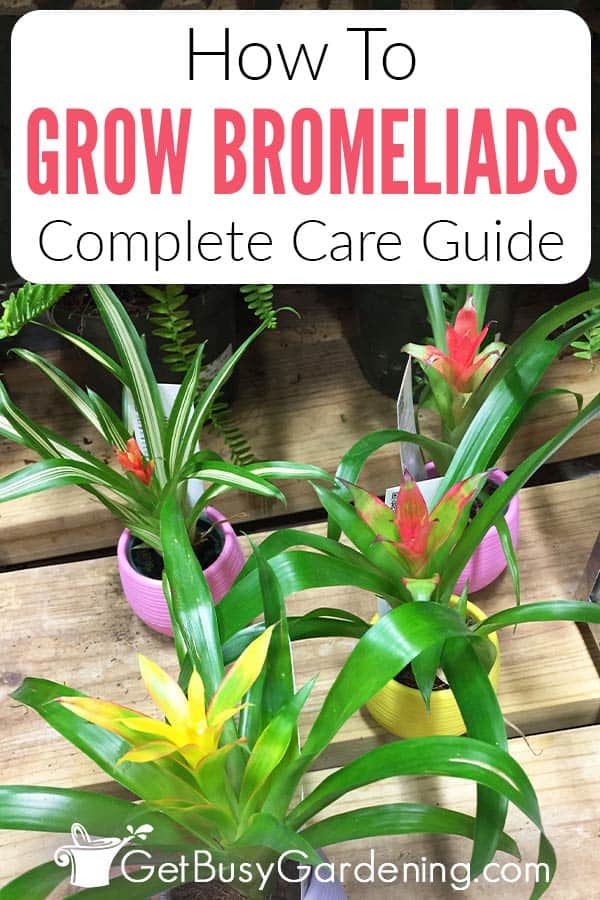
If you’re lucky enough to live in a tropical climate where it never get below freezing, then you can grow bromeliads outside in your garden.
Otherwise they make wonderful flowering houseplants, and are also pet friendly plants that are safe to grow if you have cats or dogs. Woohoo!
Bromeliad Plant Care Guide
If you’re new to growing these tropical beauties, you’ll find that bromeliad care is much different than any other plant you probably have.
Since they absorb nutrients and water through their leaves, you’ll need to take special care in watering, feeding, and potting them.

Proper Watering
One thing that’s different about bromeliad plant care is that you don’t water them via the soil. Instead you should keep their center cup filled, and the growing medium on the dry side.
Indoors, dump out the central vase and refresh it every week or so to keep it from going stagnant. Outdoors, you can flush it regularly to keep it clean, if necessary.
Also, be careful about the type you use, because they are very sensitive to the chemicals in regular tap water. Rainwater, distilled, or filtered are the best. Learn more about exactly how to water bromeliads here for the best success.

Humidity Requirements
Bromeliads like humid air, so they do best in tropical climates. If you live in an arid region, then you should put misters around them.
Indoors you should mist your plant on a regular basis if your home is dry. Or try putting it in a room that’s naturally more humid, like a bathroom or in the kitchen close to the sink.
You could also run a humidifier during the winter to help keep the humidity level consistent in the room. An indoor humidity monitor is handy to help you give your plant the perfect amount.

Light
When it comes to sunshine, bromeliads aren’t super fussy, and they make great low light indoor plants. But direct sunlight can burn the leaves, and they’ll grow leggy if it’s too dark.
For best results, put yours in a spot that gets medium to bright, indirect light. A small grow light helps a ton indoors if you don’t have any sunny windows.
Soil
Technically speaking, bromeliads don’t need soil at all. They don’t get their moisture and nutrients from the soil, they use their roots to attach themselves onto trees, plants, or rocks in the wild.
You can mount yours on a log, wood, or a board, or plant it in a container. If you prefer to grow yours in a pot, you can buy a soil mix that’s specifically made for them, or use an orchid medium.
Otherwise, you can make your own soilless medium my mixing sphagnum moss, bark, perlite and/or other coarse organic materials.

Fertilizer
Bromeliads aren’t heavy feeders, so you don’t need to fertilize the regularly. But, like any plant, they will benefit from the added nutrients – just make sure to feed them sparingly.
Also, it’s important that you always use a natural, organic brand. They are very sensitive to synthetic chemicals, which can easily burn them.
If you’d like to give yours a boost, use a half strength liquid fertilizer or compost tea during the spring and summer months.

Pest Control Tips
While they don’t usually have much trouble with bugs, sometimes houseplant scale or mealybugs can become a problem. So keep an eye out for these pests during your regular bromeliad care routine.
If you find any, don’t use chemical pesticides. I recommend neem oil, which is a natural insecticide, or an organic insecticidal soap to treat them. Always test any product on a leaf before spraying the whole plant.
Pruning
For the most part, you don’t need to worry about pruning your bromeliad plants. You can trim off dead or dying leaves at any time.
Cut off the flower bract after it dies back, but keep the plant growing as long as you can. Once it dies back completely, you can prune it out.

Tips For Propagating Bromeliad Plants
Like I mentioned above, most bromeliads will eventually fade and die after they’re done flowering. This is a sad fact of life.
But the good news is that they usually have lots of babies before they die. As they come to the end of their life, tiny pups will grow around the base of the main plant.
You can remove these pups once they’re mature enough, or just allow them to grow after the mother plant has died back. Get the full step by step tutorial for how to propagate bromeliads here.

Troubleshooting Common Problems
There’s nothing worse than watching your bromeliad plant die, and you have no idea what’s wrong with it. So in this section, I’ll list some of the most common problems, and give you tips to fix them.
Flower turning brown, or the color is fading
Once the flower bract starts to turn brown or the color fades, it’s a sign that the plant is done blooming and is starting to die, which is a normal part of their life cycle.
Unfortunately, there’s nothing you can do to save the plant once it starts dying. But, don’t toss it out! Keep it growing as long as possible so baby pups have time to form and mature.
Leaves Turning Yellow
When the leaves start turning yellow, it means that your plant may be getting too much or not enough light, or because of improper watering.
Keep it out of the direct sun, and water it by filling the center cup, rather than moistening the soil.
Brown Leaves
The leaves may start to look dry and crispy due to a lack of water or sunburn. They will also start turning brown as the plant naturally dies back after flowering.
Ensure it’s getting the right amount of light and moisture. If it just finished flowering, then prune the brown leaves off as they die back, but keep the green ones growing as long as possible to encourage pups to form.

Bromeliads are fun to grow, and it’s not that difficult to care for them. Now that you know all about what they need to thrive, you’ll get the hang of it in no time!

If you want to learn all there is to know about maintaining healthy indoor plants, then you need my Houseplant Care eBook. It will show you everything you need to know about how to keep every plant in your home thriving. Download your copy now!
More Posts About Growing Houseplants
- Rabbit’s Foot Fern Care: How To Grow “Davallia fejeensis”
- How To Care For Rubber Plants
- Complete Tropical Houseplant Care Guide
Do you have any bromeliad plant care tips to add to this list? Please share them in the comments section below.

Leave a Reply