At some point during your gardening journey, you will need to know the best way to transplant your plants. Transplanting is a simple yet important step in the life of a plant, whether you’re moving it from a nursery pot or to a new spot in your garden.
But the process can be hard for them, and most will go into some form of shock once they’re moved to their new home. So it’s important that you take the proper steps to minimize their stress.
In this post, I’ll show you exactly how to transplant a plant, step-by-step, including the best times to do so to help them recover quickly and flourish.

What Is Plant Shock?
When plants experience stress, such as changes in their environment, they can go into shock. This can occur when you move them into a new pot or around your garden. The first sign is wilting, followed by yellowing or rolling leaves.
Some will handle being transplanted better than others. But if you’re not careful, severe shock can kill a plant, so it’s best to take the proper steps to minimize the impact.
To help prevent severe shock, and ensure they’ll make a full recovery, you need to know the best time to move your plants and the proper steps to take to relocate them.
The Best Time To Replant
Timing matters when it comes to replanting. The best time of year to do it is in the spring, before the heat of summer kicks in, or in the fall once the weather starts to cool down.
The best time of day is in the early morning or evening, especially if you’re doing it during the summer. Cool, overcast days when there’s rain in the forecast are even better. Avoid doing it in the afternoon when the sun is at its hottest.
Also, wait until after the plant has finished blooming, as transplanting it right before can cause the buds to drop off, or result in poor flowering.
Transplanting A Plant In 5 Simple Steps
When it comes time to transplant any of your plants, be sure to follow these 5 simple steps to minimize the shock and ensure that they will thrive in their new location.
The basic steps are the same whether you’re moving them into a new garden bed or transferring them from a pot into the ground.
Supplies Needed:
- Spade shovel
- Hose or watering can
- Hand trowel (optional)
- Garden knife (optional)
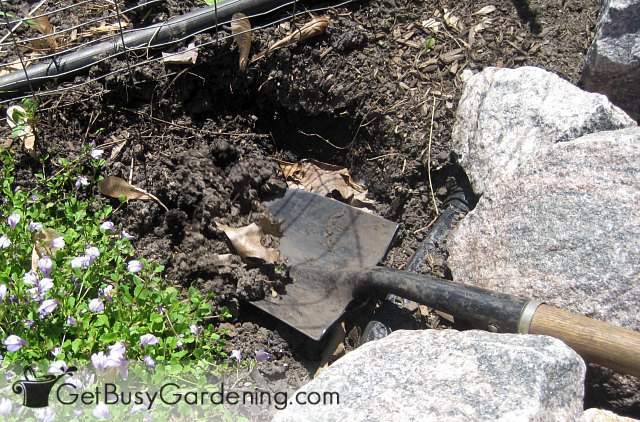
Step 1: Dig the new hole – Before you start digging up your plants, make sure you have a spot picked out, and the new hole is ready and waiting. The faster you transplant a plant into the ground, the less chance there is for it to go into shock.
Dig the new hole larger and deeper than the plant’s rootball or the pot it came in. Doing this will help to loosen up the soil and allow the roots to take hold easier.
Related Post: How To Plant Succulents Indoors Or Outside
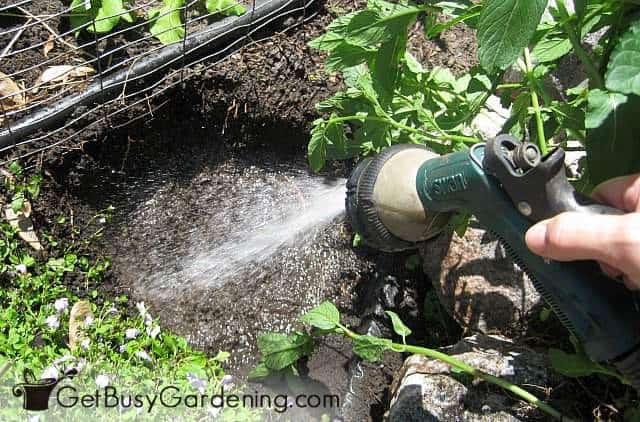
Step 2: Fill the hole with water – Next, fill the new hole with water and give it some time to soak in. If it soaks in really fast, fill the hole again to ensure the soil is nice and damp. This step is very important, as transplanting into a dry hole will put extra stress on the plant.
On the flip side, you don’t want your plant floating on top of the water, otherwise it will sink too deep once it settles. So, be sure most of the water in the hole has been absorbed by the ground first.
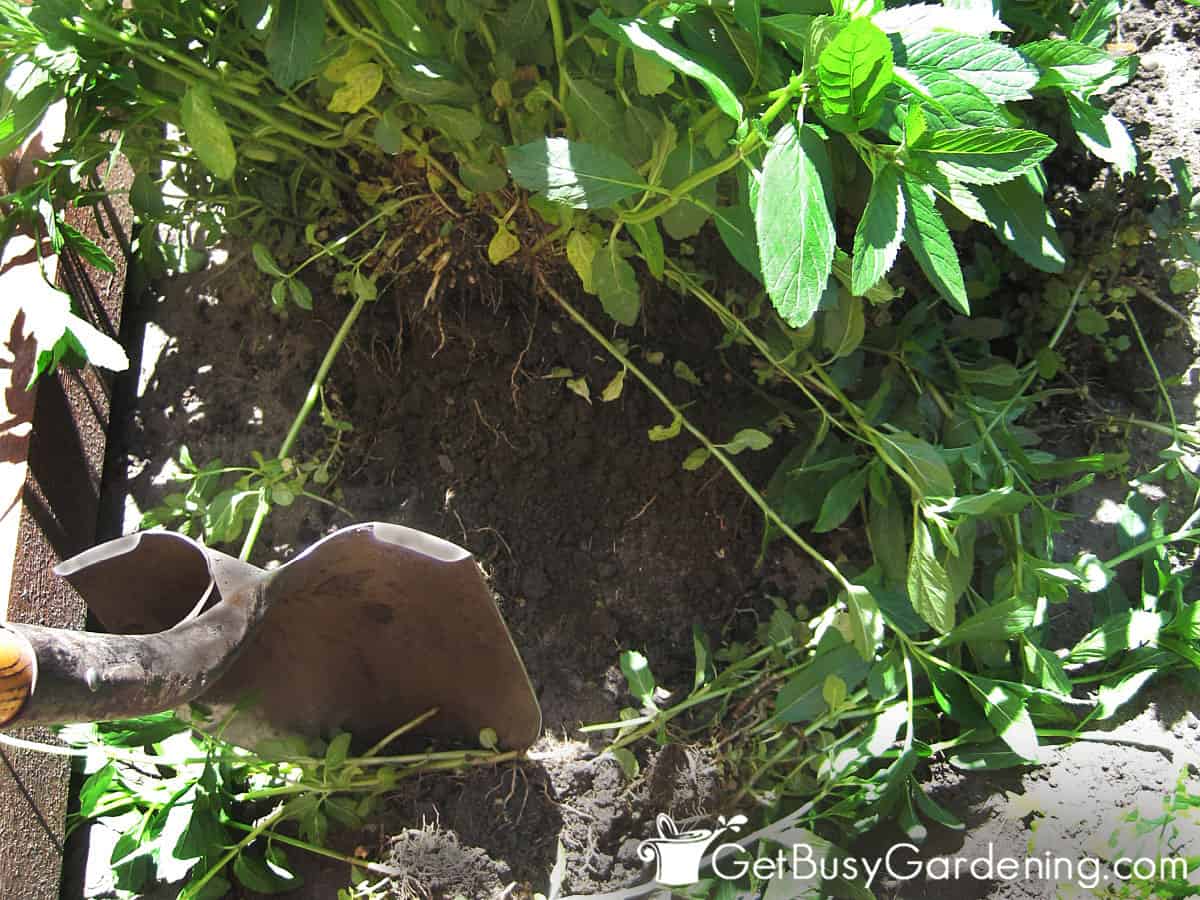
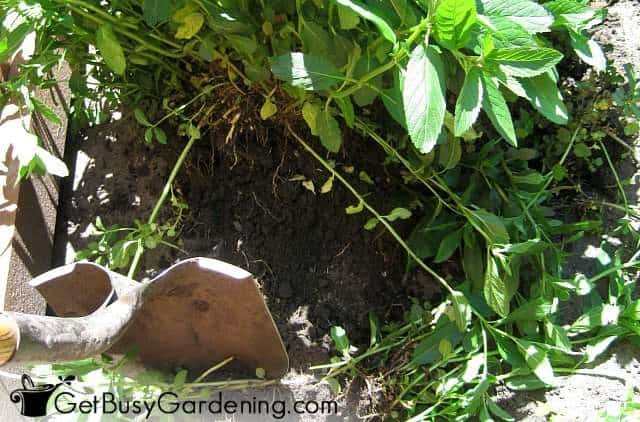
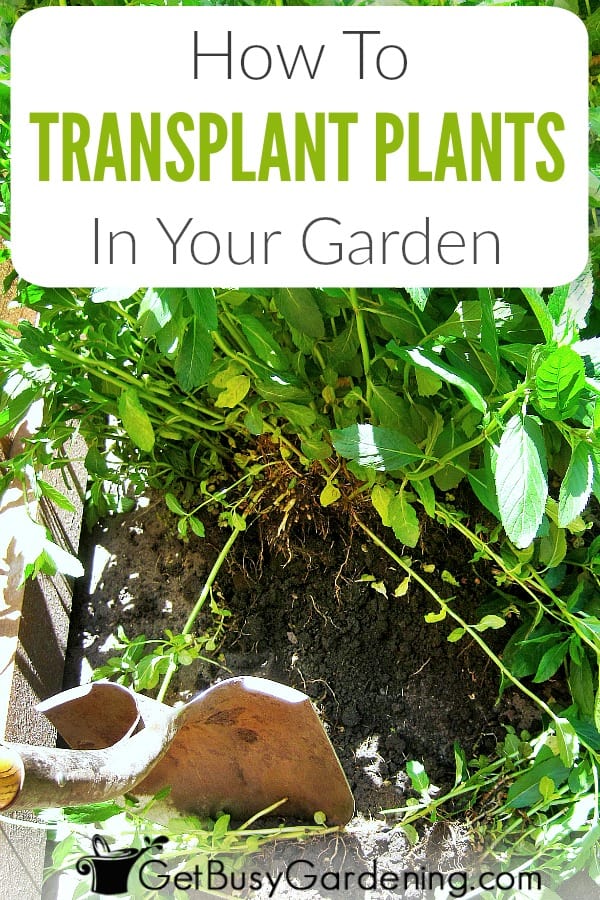
Step 3: Dig up the plant – Start digging several inches away from the widest part of the plant, or just outside of the roots. Make sure to keep your shovel straight up and down, rather than angling it towards the plant, to avoid cutting into the rootball.
If yours is in a pot, flip it over to slide it out without pulling on the stem. If it’s stuck, you can gently tap or push on the pot to loosen up the roots, or run a hand trowel along the inside of the container. If the roots are forming a circular pattern, break them up with a garden knife or your hands to straighten them out.
Step 4: Transfer the plant to the new hole – As soon as you’re done digging up your plant, transplant it directly into its new spot.
Start by placing the rootball into the new hole at the same level it was in the old hole or slightly deeper than the pot. Then, fill the hole with dirt until it’s full and the rootball is completely covered.
Do not leave any part of the rootball sticking out above the dirt, as this can act like a wick and dry it out quickly, further stressing the plant.
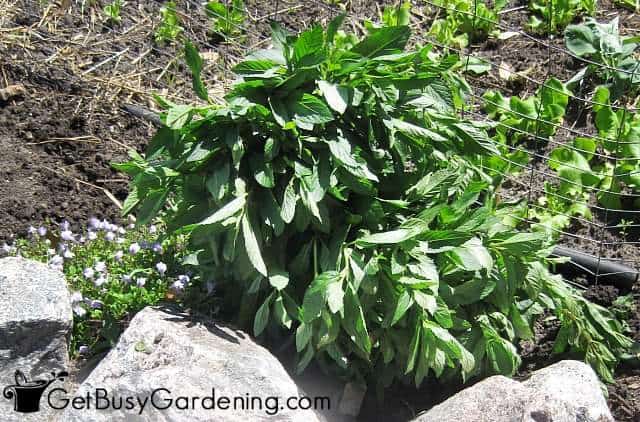
Step 5: Water the plant well – As soon as you’re done replanting, be sure to give it a good drink of water, and then continue watering it well for a few days afterward. Ensuring they have ample water after moving them will help to minimize shock.
Why Do Plants Wilt When Transplanted?
Wilting is the natural reaction that plants have when they are moved to a new location, and it’s the first sign of shock. Most of the time this is normal, and nothing to worry about.
Some simply hate to be transplanted, and they will droop and wilt no matter how well you follow the steps for replanting. While others will handle it just fine and won’t show any signs of stress at all.
Most will pop back to normal within a few days. Just be sure to keep them well watered and avoid fertilizing until your plant has fully recovered.
Related Post: How To Fertilize Your Flower Garden Beds
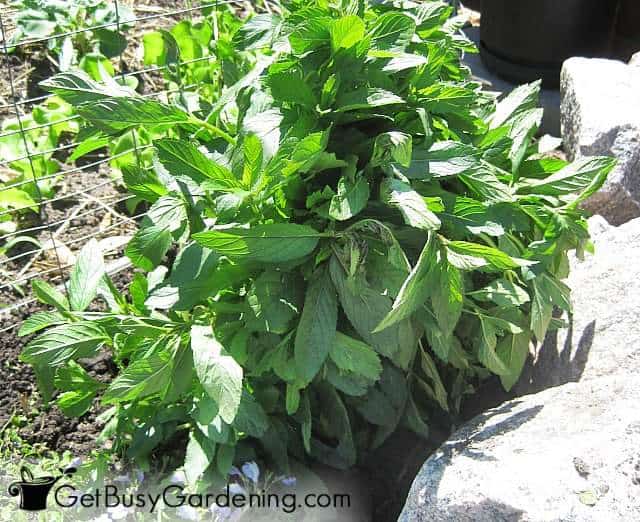
Whether you have a large relocation project planned, or simply want to add a few new annuals or perennials to your garden, it’s important to understand the right way to replant them.
By paying attention to the best times to transplant, and following these 5 easy steps, you’re well on your way to a happy, healthy garden.
More Gardening Tips You Might Enjoy
- Annuals vs Perennials: What’s The Difference?
- How To Determine Sun Exposure In Your Garden
- How To Spread Mulch In Your Garden
- When To Rake Your Lawn In The Spring
Share your tips for how to transplant a plant in the garden in the comments section below.

Jay says
Due to construction…ivre just been told I have to move my beautiful vegtable garden in july…tomatoes,squash ,ect .ANY ADVISE OR TIPS ??
Amy Andrychowicz says
Oh no, that is terrible news! I recommend following the tips in this article for transplanting everything to the new garden plot. Do it on a cloudy/cool day, or in either the early morning or late afternoon/evening when it’s cooler and not so sunny. The evening before a rainfall would be the ideal time. However, some types of veggies, like squash, beans and cucumbers for example, don’t transplant well, and it may end up stunting their growth. So, just do the best you can, and keep that in mind. Good luck!
Vanessa D. says
Like you, I prefer to transplant on cloudy days, it really seems to give the plants a much better start.
Amy Andrychowicz says
Yes, it certainly does! Transplanting is hard enough on plants, and doing it on a hot, sunny day is a recipe for disaster.
gail says
How do you replant glads I'm getting Roofing done and need to move my plants so far 5 of my glads have died out of the 7 I moved I don't know why they are in the flowering stage.
Amy Andrychowicz says
I would transplant your gladiolas the same way as I describe above. Gladiolas like the soil to be on the moist side, so be sure to water them well after transplanting them. Don't allow the soil to dry out. I would check them daily and water deeply every other day until they get over the transplant shock.
Amy Andrychowicz says
I'm glad this blog post could help you out. Filling the hole with water before transplanting garden plants is advice I learned from my dad. It sounds like you have one heck of a big job there moving all those perennials! Good luck with your perennial relocation, and I hope everything will thrive in it's new location. Lucky you to be able to bring some of your perennials with you to the new house! Smart!
Tina @ Playing in the Dirt says
Good post! I'm in the process of moving all my plants from house #1 to new house #2 and I've already experienced some "uho's" with a few perennials. I never thought of filling the hole with water first, maybe it should be common sense but it had never occured to me. Thanks!
Tina