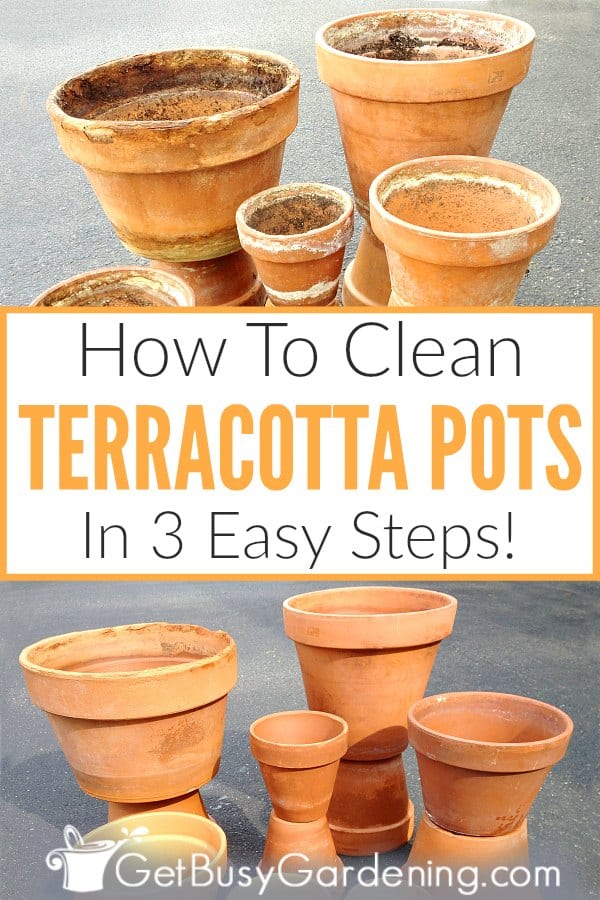
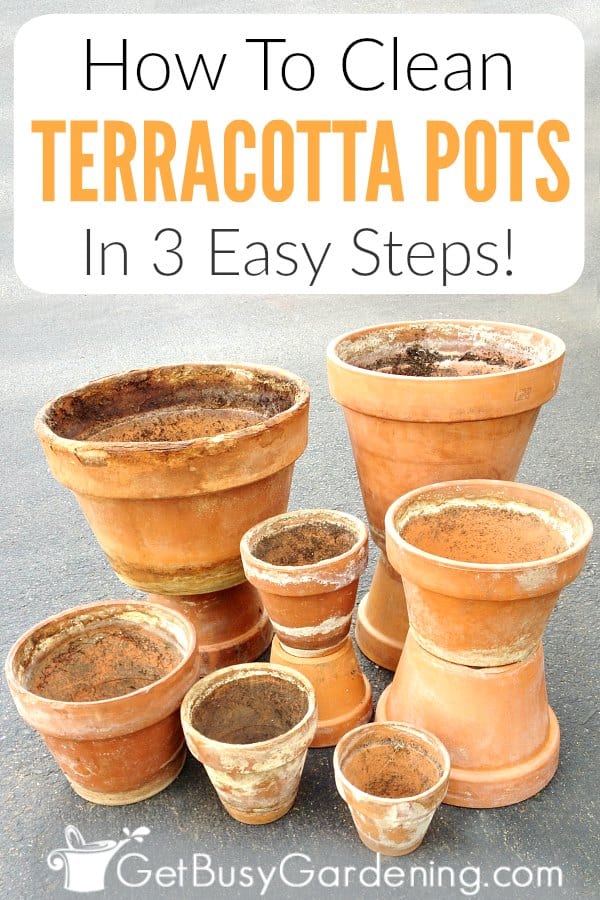
Cleaning terracotta pots is quick and easy, and it doesn’t take much time. A few years ago, I got a bunch of old clay pots from a nice lady down the street. There were about 25 various sizes in total – awesome score, right?!
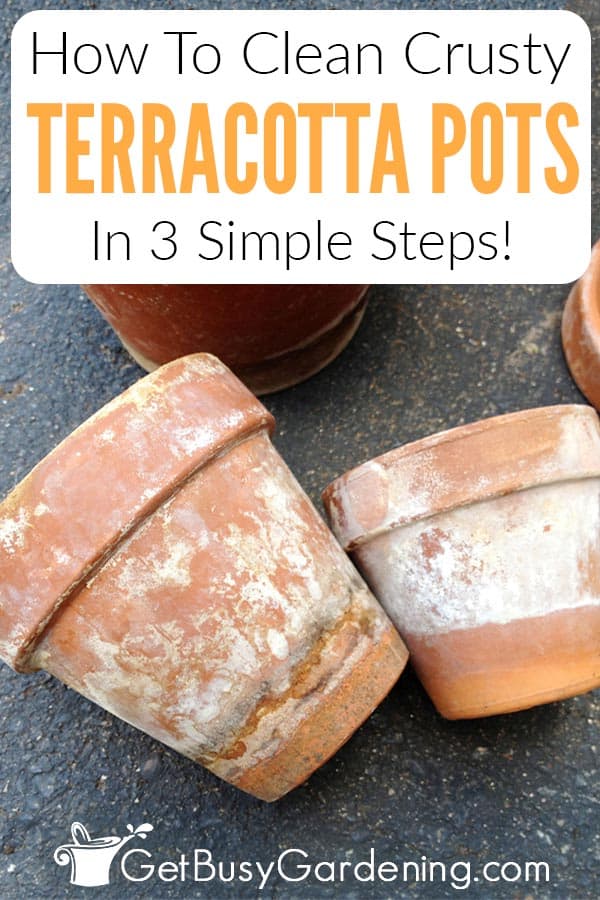
Weeellll…. they were very old and looked nasty (there’s always a catch, right?). But I could see the beauty that was beneath all of that crusted on, chalky grime. So I went right to work to clean them up.
Below I’m going to talk about what that white residue is, and why you should get rid of it. Then I will show you the 3 easy steps for how to clean terracotta pots. Plus I’ll give you tips for cleaning large containers, or ones with plants in them.
")

Over time, they build up and create a crusty or chalky white residue or spots. It’s a common problem, and makes the clay look gross over time. But don’t worry, it’s very easy to clean off the white gunk, and return your pots to their former glory.
You can also prevent it from happening in the future by using rainwater or filtered water on your plants rather than tap, and switching to natural, organic fertilizers in your containers instead of using synthetic brands.

Why You Should Clean Your Clay Pots
Some people really like the patina look on the clay, and don’t want to clean it off. Unfortunately, using dirty containers over and over again can be very unhealthy for your plants.
They can harbor pests and diseases, which is definitely not something you want. Washing and disinfecting them between uses is a habit you should get into – no matter what they are made out of.
If you like the look of the crusty old, then you can paint your terracotta pots to look that way, and still have clean ones.

3 Steps For Cleaning Terracotta Pots
You don’t need any fancy tools or harsh chemicals to clean your clay pots, which is very nice. And you probably already have everything on hand already. Here’s what you’ll need:
Supplies Needed:
- Pot brush
- White vinegar (5% acidity)
- Utility tub (for large planters), or a bucket or sink (for smaller ones)
- Dishwasher (optional)
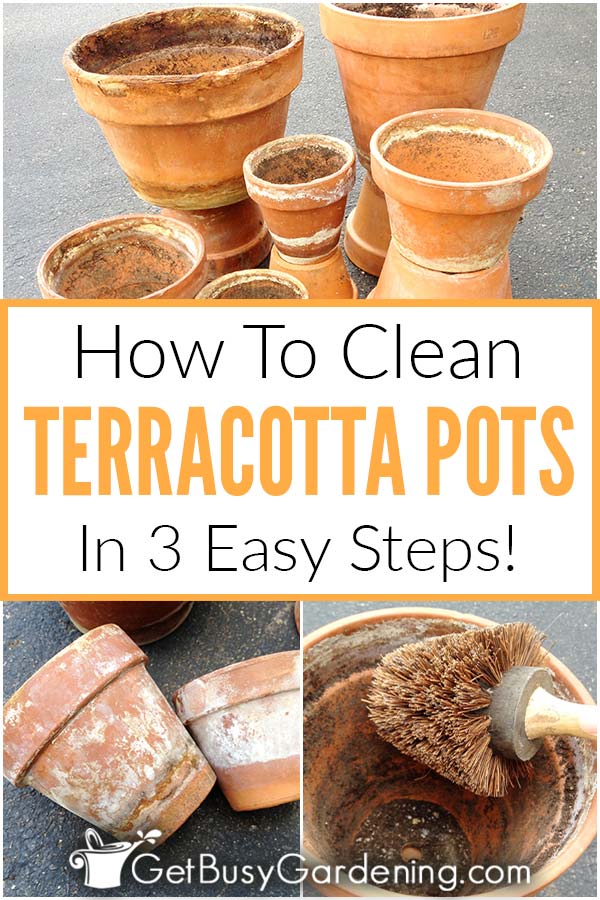
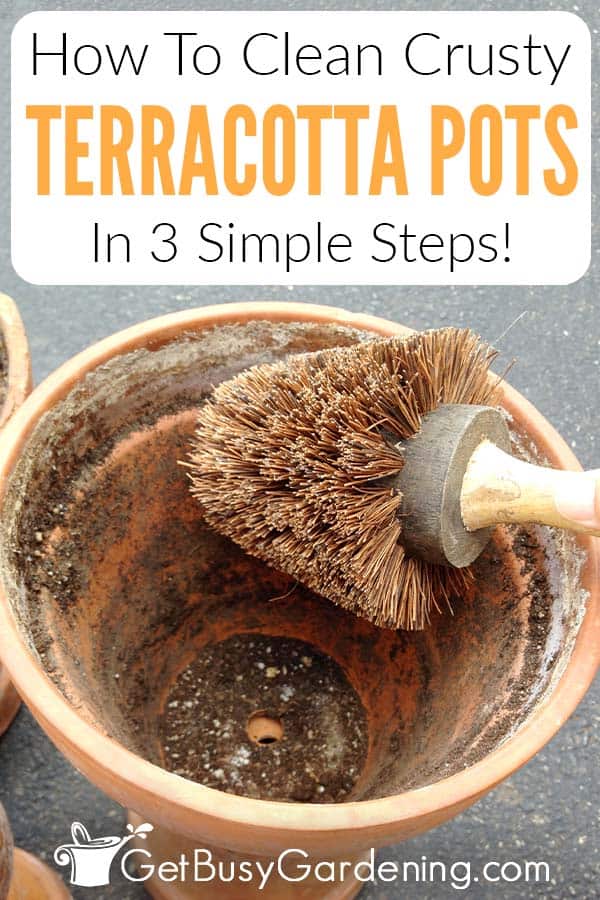
Step 1: Remove any loose dirt – Use your scrub brush to clean as much of the thick dirt as you can off of the terracotta pot. In my case, I also needed to brush off thick cobwebs and other yucky debris (cringe!).
You don’t need to be super fussy here, and you don’t have to get all of the dirt off. Just remove the loose stuff, and any large chunks that might be stuck inside the pot. The rest will come off in the next steps.

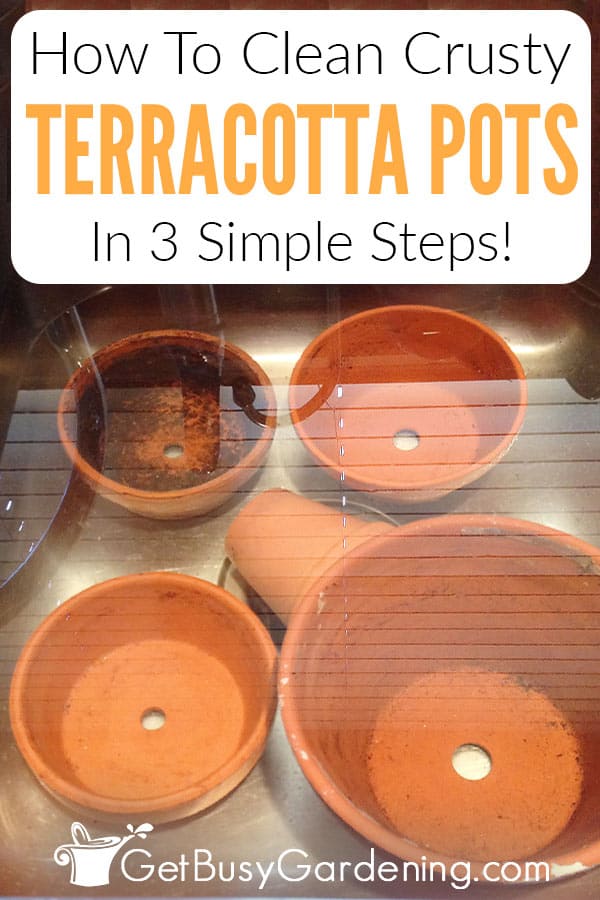
Step 2: Soak your terracotta pots – Ideally, you should use 1 cup of white vinegar for every 3-4 cups of water. The less vinegar you use, the longer you’ll need to soak the pots.
Completely submerge your terracotta pots in the solution. You may hear sizzling sounds or see bubbles. Don’t worry, that’s a combination of the vinegar doing its job at dissolving the crusty buildup, and the clay absorbing the water.
Let them soak for 20-30 minutes. If the buildup wipes or easily scrubs off after that, they’re done. Otherwise, leave them soaking longer. Keep checking every 10 minutes, or so, until all of the residue comes off.

Tip: For really tough buildup, you can soak the pot in pure vinegar (in the photo below, I’m just soaking the rim where the crusty buildup is the worst).
If you soak the entire terracotta pot in vinegar, you should then soak it in pure water afterward to dilute the vinegar that the clay has absorbed.

Step 3: Run pots through the dishwasher. As a last step, I run my terracotta pots through the quick-wash cycle on my dishwasher. This will further clean and disinfect them.
If you don’t have a dishwasher, you can use a little extra elbow grease and scrub the pots in soapy water. That’s it, you’re done! See, I told you it was easy.
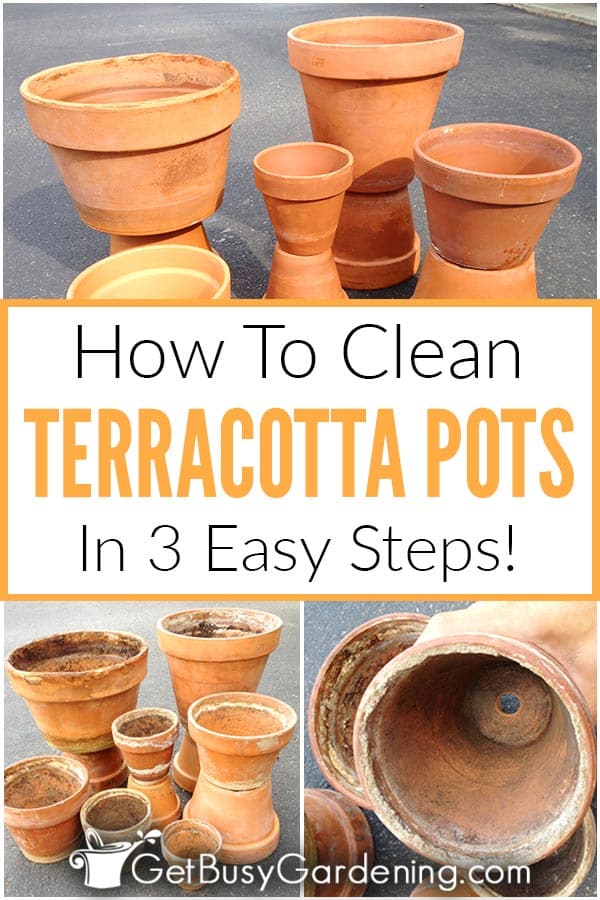
As for those dirty, crusty old clay pots that I got for free… Well, here’s what they looked like after I finished cleaning them…
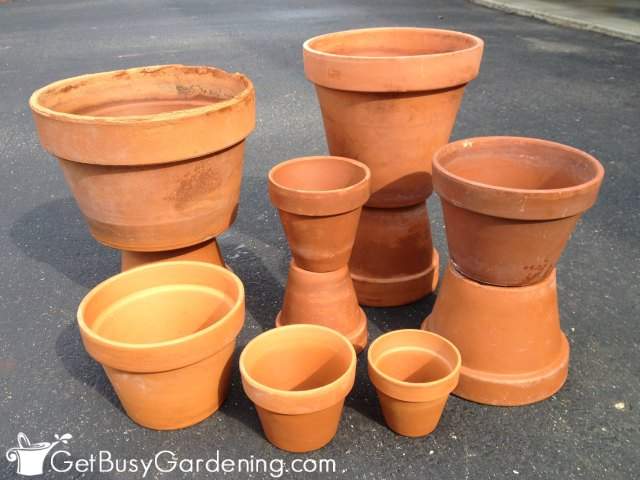
WOW! Can you believe these are the same terracotta pots? Seriously, it took about 30 minutes of my time to clean them.
I’m pretty sure it’s been decades since these have been cleaned (if ever). And now I have a nice collection of what look like brand new clay pots (for free!). Totally worth it!
How To Clean Large Terracotta Pots
If you have large clay garden pots that are too big to submerge in a utility tub, bucket or sink, you can still use this method. Simply soak 1/2 or 1/3 of the planter at a time.
Once you’ve cleaned off all the crusty residue on one side (steps 1-2 above), then flip it over and do the same thing to the other half.
Obviously you won’t be able to run the large ones through the dishwasher. But that’s ok, you can just wash them with soapy water instead.
How To Clean Clay Pots With Plants In Them
It’s much easier to do this with empty clay pots, but you can certainly try cleaning one that has a plant in it. In this case, I recommend mixing equal parts white vinegar and water in a spray bottle, and dousing the outside of the pot.
Let it sit for 15-20 minutes, then use a heavy duty brush to scrub it, and give it a good rinse with water. Repeat these steps until your pot is clean. Be very careful, and take great care not to spray your plant, or the vinegar could damage the leaves – and never soak your potted plant in this solution.
But honestly, if it’s been in the same container for so long that your terracotta pot has buildup on it, then it’s probably time to repot your plant and give it fresh soil anyway. You can pull it out, clean the pot, then put the plant back into the same container with fresh soil.
It doesn’t take much time to clean terracotta pots, or give crusty old ones new life. Now you can shop yard sales and thrift stores to find cheap clay flower pots (or maybe you’ll find a bunch for free like I did!), and make them look brand new.

If you want to learn all there is to know about maintaining healthy indoor plants, then you need my Houseplant Care eBook. It will show you everything you need to know about how to keep every plant in your home thriving. Download your copy now!
Share your tips for cleaning terracotta pots in the comments section below!

Linda McCoy says
I use distilled water on my Schlumbergere and succulents , as recommended, but still get the crusty buildup on the terra cotta it’s. I’m going to try collecting rain water from now on!
Thank you for this information.
Amy Andrychowicz says
You’re welcome! The crusty buildup on your terracotta pots could also be caused by chemical fertilizers or soil that contains fertilizer, so it’s probably not the distilled water that’s causing it.
Beth Wolinsky says
I have huge pots that cannot be submerged. Can I just
rub them with the vinegar and water?
Amy Andrychowicz says
You can try rubbing the crusty spots with a vinegar-soaked rag or spot-spraying your terracotta pots on with vinegar. It may take a little more elbow grease to get them clean without soaking them, but these methods should still work to break up the crust.
Kellie H says
If scrubbing with soapy water, doesn’t the terracotta absorb the soap?
Amy Andrychowicz says
If they do it’s very minimal and not a concern for the plants.
Jacqueline says
Hi, may i know how can i removed old acrylic paint on terracotta pots?
Amy Andrychowicz says
I have never tried getting the paint off of my terracotta pots before, so I’m not exactly sure. But I would imagine the only way to do it would be to scrape or sand it off. Good luck.
Mary Ann says
Hi –
Thanks for the great information! I’ve just discovered you and subscribed to your newsletter. From now on, you’re my go-to for houseplants – which is all I can have in my apartment.
So…I’m cleaning a terracotta pot. It’s soaking and I suddenly realize I don’t know how to dispose of this dirty, pot trash vinegar. How do you dispose of this when you live in an apartment?
Please advise. Thanks for your help.
Amy Andrychowicz says
Thanks, so happy to hear you found this tutorial useful. You can just pour the vinegar down the drain after cleaning your terracotta pots.
Jeanne says
Do you use soap in the dishwasher?
Amy Andrychowicz says
You can if you want, or you can just do the quick-rinse cycle with hot water to sterilize them.
Courtney Williams says
This is wonderful info! I purchased white terra cotta pots from Amazon. The pots were not sealed and absorbed the water which was discolored from the soil, turning the majority of each pot brown. I bought a terra cotta pot sealer spray and a white pot paint. Should I seal the pots before and after painting with the white paint?
Also will the heat from the dishwasher affect the pots? Or is there a certain setting I should adjust? Thank you in advance for your advice!
Amy Andrychowicz says
The heat from the dishwasher won’t harm terracotta pots, I just use the quick wash cycle for mine. But if yours are painted, it could end up peeling of some of the paint, so keep that in mind. Here’s a post that will answer your questions about sealing them… How To Paint Terracotta Pots Step-By-Step.
carole Famiglietti says
I have a plant in my terracotta pot which is large and has been in there at least 15 years. Plant has never been removed and is growing quite well. However the pot is starting to look worn with some white fuzzies on the perimeter. I can not remove the plant and really dont want to because it has been in this pot for so long; soooo any advice on how to keep it looking good?????
Amy Andrychowicz says
Use a scrub brush and soapy water to clean the outside of your terracotta pot, that usually works great. If there are hard crusty spots, then you can try spot-spraying them with vinegar or use a cloth soaked in it to soften them up and wipe them away. That should clean it up nicely.
carole says
Thank you so much for the directions. I will try the soapy water because the vinegar may harm my plant. Thanks again!
Amy Andrychowicz says
You’re welcome! If you use the vinegar to just spot-spray small tough crusty buildup on the outside of the pots, it won’t harm the plants.
Sandy Perry says
Thank you for your reply about the barley straw. The bowls on my cascading fountain are about the size of a cereal bowl so the straw itself really isn’t practical. We have moved the fountain in for the winter but I am intrigued with the liquid form of barley straw which seems to be a better option for us.
Thank you for taking the time to reply!
Amy Andrychowicz says
You’re welcome, and good luck cleaning your terracotta fountain, hope the liquid barley straw will help.
Sandy Perry says
I have a cascading fountain made up of small terra cotta bowls with lips.
Is your vinegar procedure good for this? Over the summer, some algae and even some mold collected at the bottoms of a couple of them.
Amy Andrychowicz says
I have never tried using this method for cleaning terracotta pots in a fountain before, so I can’t say for sure. It certainly wouldn’t hurt to give it a try, since you don’t have any plants or fish in there. You might also want to try using barley straw in your fountain to kill the algae. Here’s how I use it to clear my pond water, so I would expect that it would work just as well on a water feature.
Linda says
Great article. I need to clean 2 or 3 of my pots. When my flowers die this winter I will empty the soil ‘ do it. I live in FL so my flowers last year round.
Amy Andrychowicz says
Sounds like a good plan. I use terracotta pots for many of my houseplants, so mine stay in there for several years too. I always clean the pots whenever I repot a plant. It’s great timing.
Anna says
Hi,
Thanks for the vinegar tip for the crusty white on my terracotta pots.
I have a couple of terracotta pots on my balcony that are starting to disintegrate on the outside. It’s slowly flaking off bits of the pot. Do you know if there is anything I can do to stop this?
Many thanks
Amy Andrychowicz says
You’re welcome! I’m not sure if there’s much you can do to stop the terracotta pots from decaying. You could try painting them or putting on a layer of sealant, and that might help to preserve them longer. However, you’d have to take the plants out and clean the pots before you could do that. Here’s a tutorial about how to paint them, if you’re interested in giving that a try.
~mb says
I have a few terra cotta clay items that are showing the same flaking and disintegration. I live in zone 5/6 and leave them out in the elements year round, snow and all. I could probably have prevented this if I had stored them in the garage over the winter. They also happen to be on a shady, north facing porch that tends to be a moist spot… I am sure that has contributed.
Amy Andrychowicz says
Yes, all very good points! I put my terracotta pots into the garage over winter too, which definitely helps them last longer. I’ve had pots break in the winter before, and that’s not fun!