This DIY compost bin project is cheap and easy, and you only need a few things to make it yourself. Follow these step-by-step instructions to build your very own homemade compost bin for your garden!
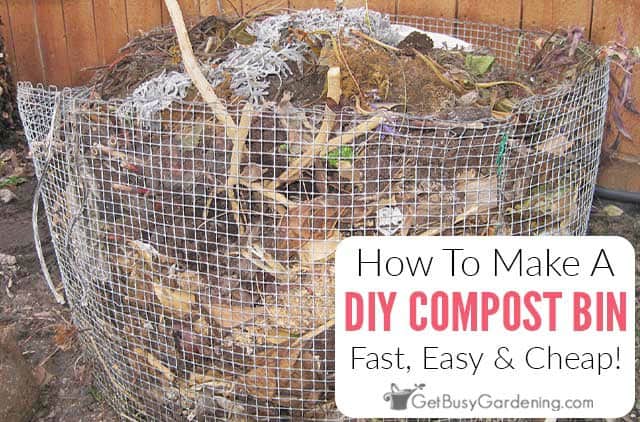
When I first started gardening, I really wanted to try making my own compost, but I didn’t have a lot of money to invest in a fancy bin.
So I made my own DIY compost bin for free using materials I found in my garage, and you can too!
This easy project doesn’t take much time, and will get you set up to start mixing your own black gold right away.
Homemade Easy (& Cheap) DIY Compost Bin
If you’re new to gardening, and want to try composting for the first time, there’s no need to spend a ton of money on a fancy garden compost bin!
Making your own doesn’t need to be a complex project either. You can easily build this one for very little money, and it’s a super quick project to set it up too.
This cheap homemade bin is the perfect way to try out composting, without a ton of risk. If you decide that composting isn’t for you, then you can just pull this out or your garden.
How Much Does It Cost To Make This Cheap Compost Bin?
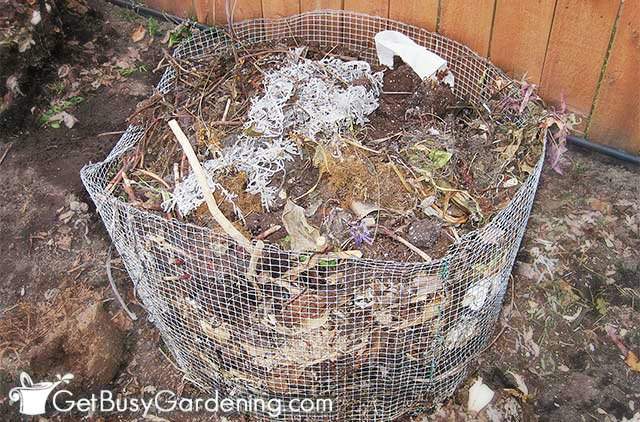
As I’ve already mentioned, this project is extremely inexpensive. My local home improvement store sells small rolls of hardware mesh for less than $20.
At that price, you could create a really nice sized DIY compost bin, and still have leftovers. We had a roll collecting dust in our garden, so I didn’t have to spend any money on my project.
Be sure to check your garage or shed to see if there are any materials laying around in there that you might be able to use.
Related Post: 7 Tips For Winter Composting Success
How To Make Your Own Compost Bin
The best part about this easy DIY compost bin project is that you don’t need very many things to build it. Heck, you’ll probably be able to find most of this stuff lying around the house…
Supplies Needed
Steps For Making A DIY Compost Bin
Before getting started, I highly recommend that you put on some work gloves and safety glasses. The ends of the hardware cloth are very sharp.
Total project time = 20-30 minutes
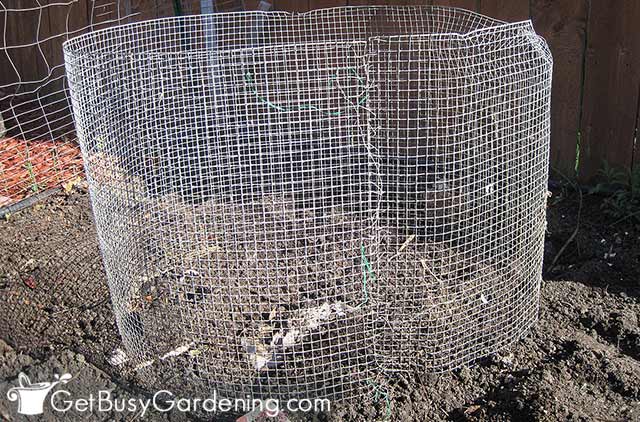
Step 1: Measure & cut the wire mesh cloth – Unroll the hardware cloth, and then figure out how large you want the diameter of your homemade compost bin to be.
Then use the wire cutters to cut the mesh cloth to the desired length. Be sure to wear eye protection while cutting the metal.
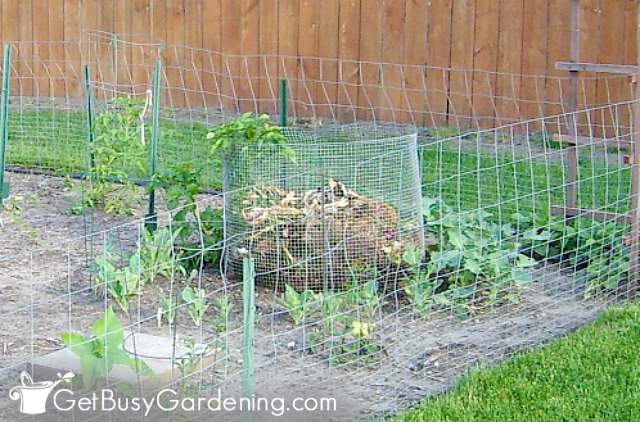
Step 2: Position it in your garden – After cutting the mesh, bring it out to your garden, and set it up in the desired shape.
As you position it into place, just set the wire on top of the ground. Don’t bury it or it will be difficult to open once the compost is ready.
Step 3: Secure mesh into desired shape – Once you have the hardware mesh situated where you want it, and in the shape you like, then secure the ends together with wire ties.
Be sure to secure it along the entire length of the seam. You don’t want it to pop open once it’s full. But keep the ends of the ties facing out so it’s easy to open when it’s time to use your black gold.
Step 4: Support the sides with stakes (optional) – If you made your DIY compost bin very large, and the sides are a bit flimsy, then secure them with a few stakes.
I used the green plastic coated ones, but you could use metal fence posts instead if you want. If necessary, you can use additional ties to attach the wire mesh to the stakes, but that’s totally up to you.
Step 5: Start filling it up – Now that you have your homemade compost bin all set up, you can start using it right away. Simply toss your compostable kitchen scraps, plant material, and yard waste in.
Modifying My Easy Compost Bin Design
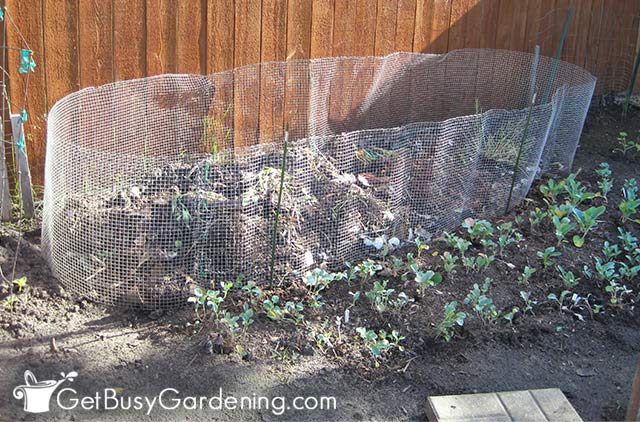
Now that you know the steps for building it, you can modify it to fit your needs, and the size of your garden. Simply modify my design to make yours larger or smaller.
You can build this DIY compost bin to any size you want, it’s completely up to you. But there are a few things to think about when choosing the size.
The smaller it is, the harder it will be to turn the compost. So, I recommend making it a 3′ diameter at the very minimum.
On the flip side, if you decide to build a larger one, then you may need to use stakes to hold up the sides. The longer and wider it is, the flimsier the sides will be.
Related Post: Beginner’s Guide To Gardening On A Budget (19 Cheap DIY Tips)
Like I said, this is super fast and simple to make. But if you’re not interested in putting one together yourself, then you can buy a pretty inexpensive one instead. Here are some good garden composting bins for beginners…
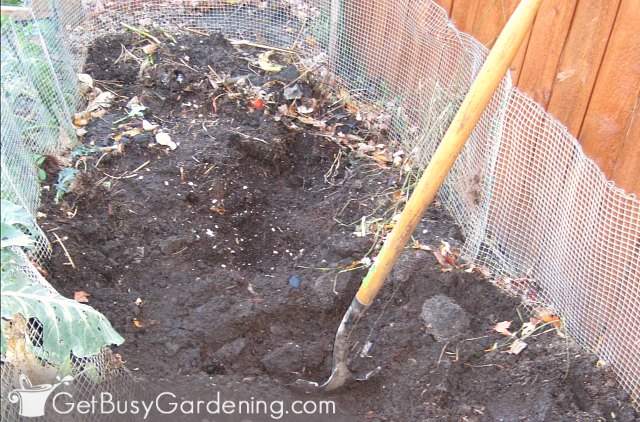
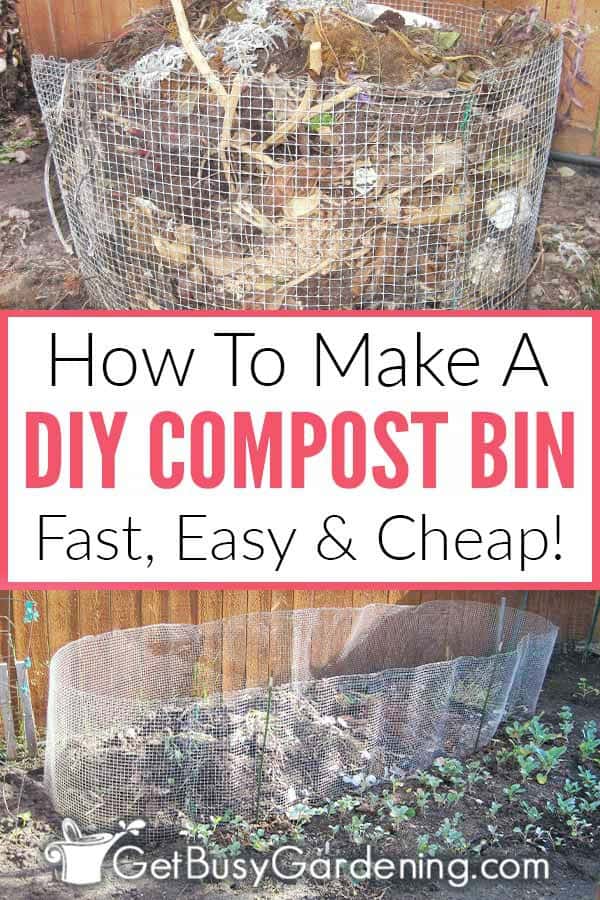
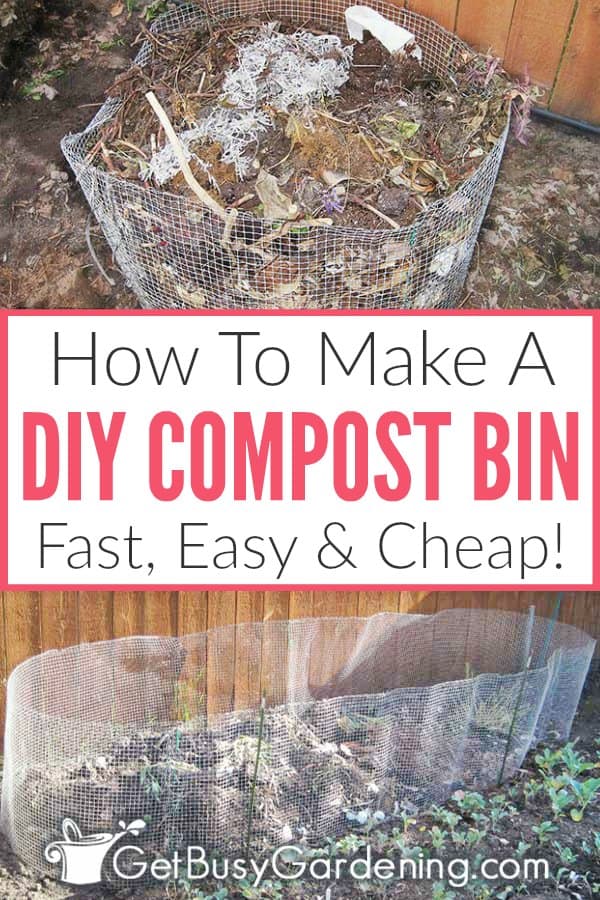
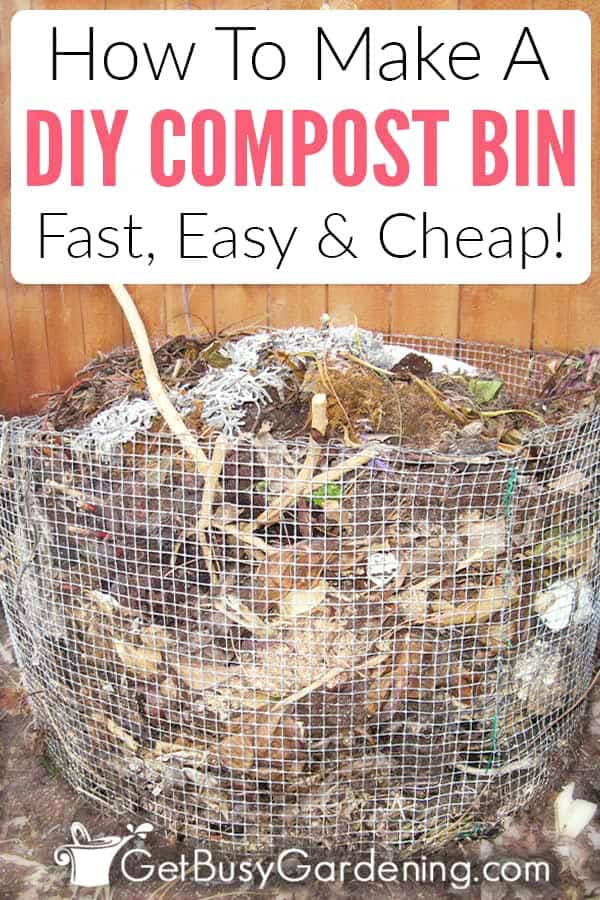
This simple DIY compost bin isn’t only cheap, it’s also a great way to get started with little risk. Plus it’s very fast to build. You can set it up, and begin mixing your own black gold in as little as 20 minutes!
If you’d like to learn how to make the most of your space and get as much homegrown food as possible, then my Vertical Vegetables book is perfect! It will teach you all you need to know, has tons of gorgeous photos, and includes 23 DIY projects you can build for your own garden. Order your copy today!
Learn more about my Vertical Vegetables book here.
More DIY Garden Projects
- How To Make A Raised Garden Bed Using Concrete Blocks
- How To Make A Concrete Block Planter
- How To Build A Pea Trellis Arch
- How To Make A Cattle Panel Trellis
- How To Build A Squash Arch For Your Garden
Share your cheap homemade DIY compost bin design plans in the comments below!


sarah says
I always fret over all of the wasted nutrients from my compost pile going to the nearby tree roots rather than my garden. I have never thought of putting the compost bin right at the top of my garden and letting it all run into my plant roots instead! Plus I won’t have to scrape up the black gold from bottom of heap, just spread it around after removing the uncomposted bits. genius! Thanks!
Amy Andrychowicz says
Yes, it’s awesome! You’re welcome. 🙂
Cherie says
I love that you made the bin yourself! I’ve been looking for a way to compost easily. Still thinking about various ideas.
Amy Andrychowicz says
If you want to start with something easy, this wire bin is IT. If you want a lid, just build a simple box that opens on one side and try that out. I started with this wire bin to try out composting too, and now I’m hooked. It’s SO easy! Good luck!
Michele says
Thanks for posting this, looks like an easy project! I have been trying to figure out what bin or container to use for composting. We live in a neighborhood and our fence is short, so I’m sure nosy neighbors would love to report us for a “pile of yard waste”. I’d love just an enclosure like yours, but I may have to opt for a diy barrel or something. Regards, Michele
Amy Andrychowicz says
You could put lattice around it to hide it better. Also, planting taller stuff around it helps too. I put my DIY compost bin in the back/middle of the vegetable garden, and then surround it with plants. That way, it’s completely hidden around the outside once the plants are mature.
Michele says
That’s such a great idea to hide the compost bin with the lattice, we have some on the bottom of the deck so that would blend in well. I may have to do that. Maybe I could grow some climbers on it. Funny, after I posted, a friend sent me a link to a Sam’s Club basic composter that got decent reviews and was $39. So now we’re in the composting business here!
Amy Andrychowicz says
Awesome, enjoy!
susan morrow says
I made my homemade compost bin from some wooden pallets (freebies) Upright, held together with screws, and made a gate with one side by tying it on with plastic covered wire. I set it up against the back of my greenhouse which gives it extra support.
Nothing like black gold.
Amy Andrychowicz says
Your DIY compost bin sounds awesome! I love the creativity of reusing the pallets that way! Thanks for sharing!
Kirstie says
Hi Amy
I was looking on your blog about composting and thought I would share my review of one of the compost tumblers. My Dad got my the 12 cu foot tumbler. I do love it as I think it really turns the garden and kitchen waste into compost much faster than a traditional compost pile especially during the warmer months. As long as the tumbler isn’t packed to the brim, it is easy to turn and I just give it a turn when I am out there. This particular model does not have a crank but you just give the whole barrel a twirl where the hand grips are. One of the negatives would be that once it gets full of compost it is hard to turn. I just keep adding stuff so it gets full very quick. One positive is that you can get compost pretty quick from it. My April and May garden cleanup can be lovely compost by the end of May! Oh one other negative is the cost… I am way too cheap and would never have spent the money on this composter but Dad gave it to me as a gift for helping him with the gardens so I happily accepted! I guess my overall impression is that if you have a patio type garden or just flowers in pots and things then the tumbler is great. Everything is enclosed and you can put kitchen waste in without worries of critters etc. But for those with big gardens, I think the traditional compost pies are better just because of the amount of stuff that you need to compost! OK… enough rambling about composters… I think i want chickens and goats to be my composters!!
Amy Andrychowicz says
Thanks for sharing your review of the tumbler bin! Really great information here!! This summer, we built a large and fancy compost bin to replace this pile. I am much happier with that!! I read some reviews about commercial bins before investing in materials to build our larger compost bin. What you’re saying is consistent with what I read in the reviews online. There are definitely pros and cons to every type of system!
Very nice of your dad to give you one as a gift, I definitely wouldn’t have turned it down either! That certainly is an impressive turn around time for your compost. I could see using something like that for stuff that breaks down faster and kitchen scraps, and then tossing the bigger stuff into the garden compost bin. Yes, I could definitely see the benefits of having both! Humm… 😉
rmgales says
I have 2 of these wire compost bins going now. How long does it take for your bin to break down? I don’t think my bins will be ready in the fall, possibly in the spring when I till. It’s not heating up very well. Think I need to add an activator. I plan to use fall leaves for compost after the frost.
Amy Andrychowicz says
My compost piles won’t be fully broken down by fall either, but most of the bottom half should be ready. There will still be material on top that’s not broken down that I’ll have to sift through. I dig down and shovel out as much of the composted material as I can in the fall.
I try to stir my compost bin as much as I can (or remember to) during the summer. That helps to break it down faster. Since you have two bins, try rotating the use of them. Wait until one is full before adding material to the other one. This will help you get more compost in the first bin so you don’t have to sift through to remove as many large chunks.
To get your compost bin to heat up properly, you need the right balance of greens and browns (carbon versus nitrogen). Generally, you’ll need a bit more brown material than green. Also, make sure your compost bin doesn’t dry out. Keeping it moist will speed up the process of breaking down the organic material. Hope this helps!