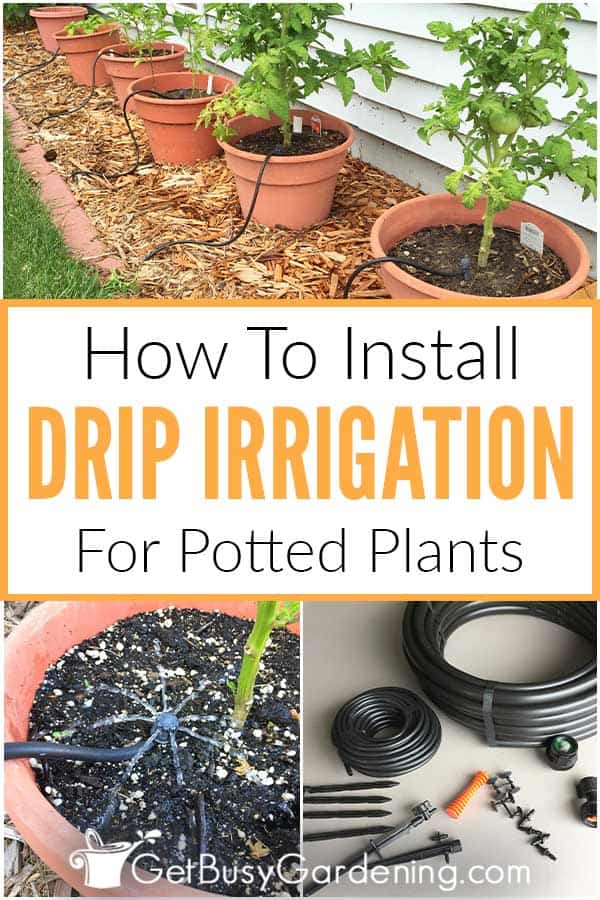
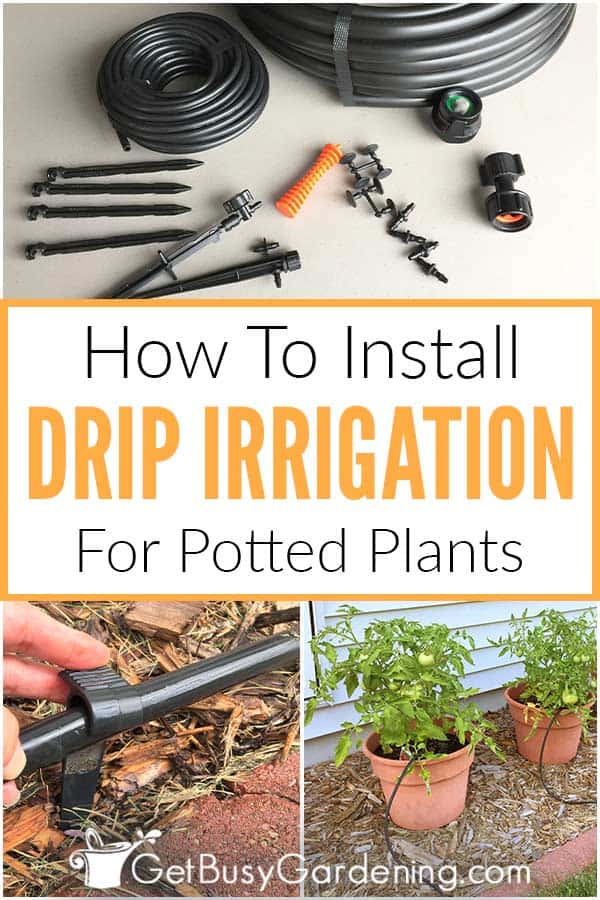
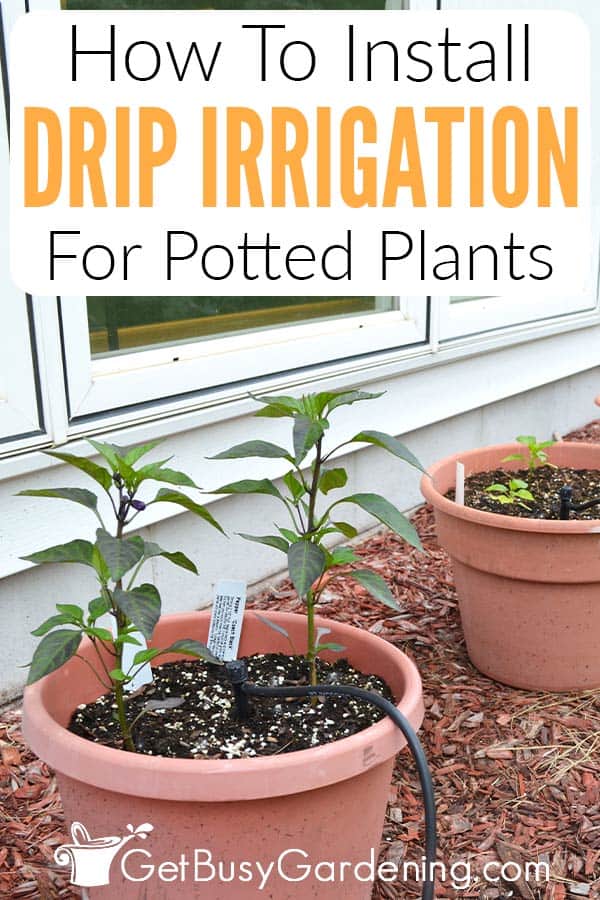
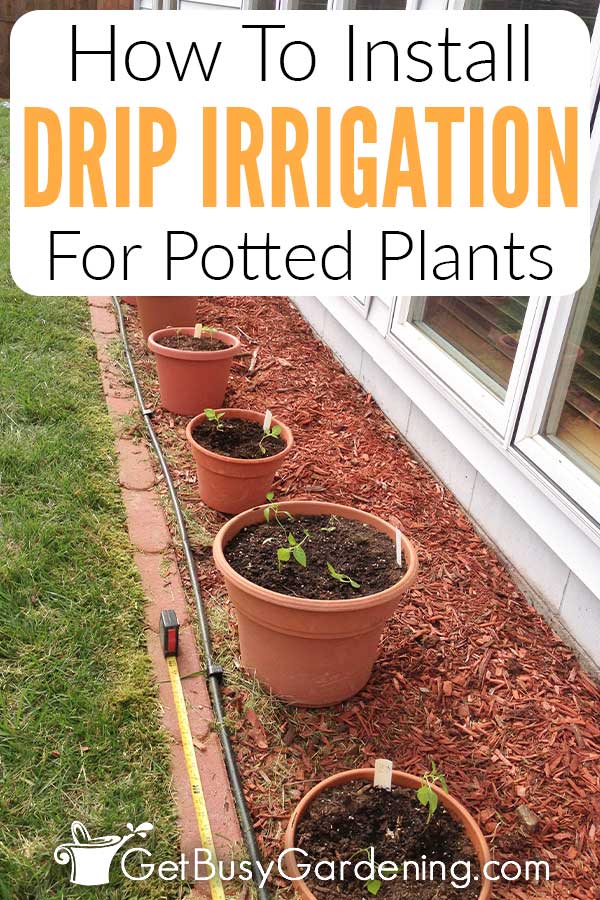
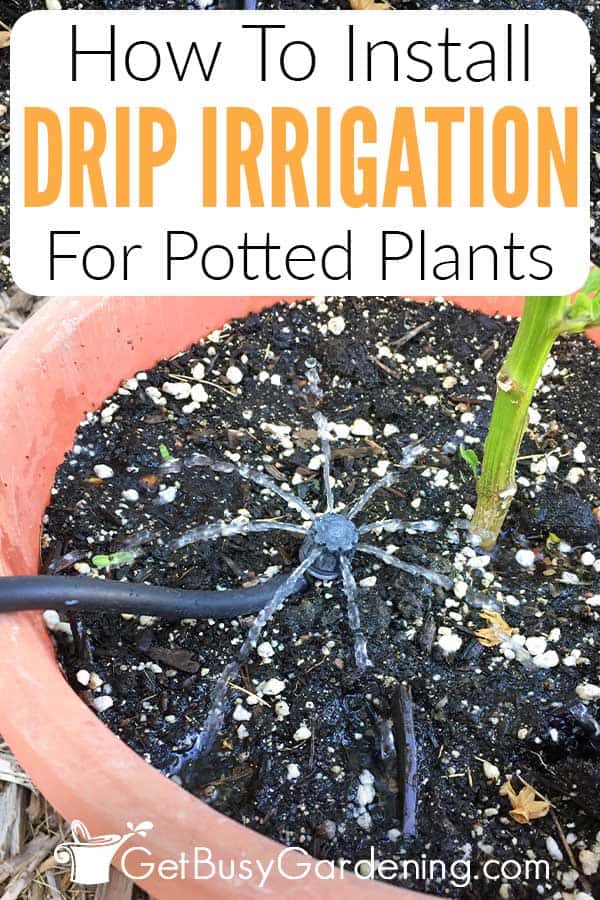
An automatic watering system for outdoor plants makes life easier, and saves you tons of time. It’s also very easy to install your own, and doesn’t take much time (it’s totally worth every second!). Follow these easy step-by-step instructions to install a DIY drip irrigation system for potted plants.
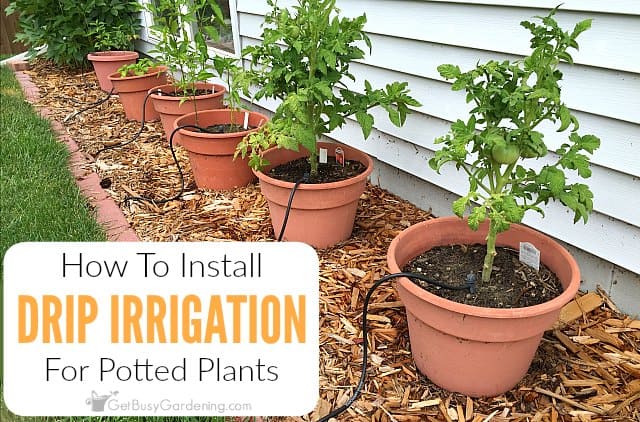

We have an area behind our house that gets full sun that I always thought would be perfect for growing, but it’s under the eaves of the house so it doesn’t get much rain.
My husband put a few pots of peppers there last year, but hand-watering all of those pots became a major chore in the heat of the summer. We were in a drought last year, so we had to manually water these pots a few times a day. Not fun!
My husband told me he wanted to line the area with pots of peppers this year, so we decided to add a drip irrigation system to make watering our container plants easy.
It turns out, putting in a DIY drip system for potted plants is just as simple as it was to add overhead sprinklers to our greenhouse.
Plus we had some of the poly tubing left over from that project, so we were able to use that for this project – bonus!
What Is A Drip Irrigation System?
Think of a drip irrigation system as an automatic watering system for pots and containers. It hooks right into your garden hose or spigot so when it turns on, all of your pots will get watered at the same time.
You could turn the water on manually, or set it up on an automatic timer to create a self-watering system for potted plants (trust me, a timer is totally worth it, and it’s not very expensive to buy yourself one!).
Benefits Of Installing DIY Drip Irrigation For Containers
Installing a drip water system for potted plants has lots of benefits to you, and to your plants. The main benefit is convenience, and let me tell you, an automatic drip irrigation system makes container gardening SO MUCH easier!
Not only do self-watering pots make your life easier, but it’s better for your plants too, and ensures they’re getting exactly the right amount of moisture.
Consistent watering not only keeps your potted plants happy and healthy, it also helps to prevent problems like blossom end rot.
Healthy plants have less problems with pests and diseases, and produce TONS more yummy food for us? What’s not to love?
Drip Irrigation Kits For Potted Plants
Depending on how many potted plants you have, a drip irrigation kit might be all you’ll need in order to install your entire system.
You can buy a smaller kit if you have 8 pots or less, or you can get a larger kit like this one that will work to automatically water up to 20 containers.
Drip irrigation kits are a great way to get started, and will include full instructions for setting everything up. Some kits even come with a timer.
But keep in mind that even when you start with a drip irrigation kit, you might still need to buy a few additional parts (for example, most don’t come with a pressure regulator). So be sure to read the details of what’s included in the kit.
How To Install Drip Irrigation For Potted Plants
Of course, you can also make your own custom drip irrigation system design, which is what we did for our setup since we already had the mainline tubing and a few other parts to get us started.
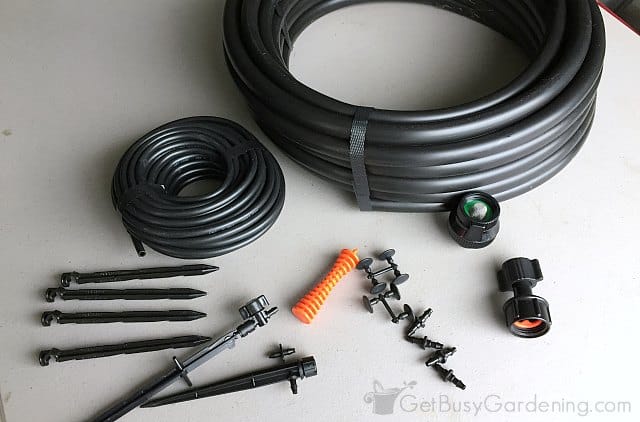
Supplies Needed
- Drip irrigation kit (optional – but if you want to use it to get you started)
- Mainline drip irrigation hose (1/2″ poly drip irrigation tubing)
- Drip irrigation backflow preventer
- Garden hose connector (1/2″ faucet fitting)
- Pressure regulator
- Poly tubing end cap
- Irrigation micro tubing (1/4″ vinyl)
- Irrigation drippers with spikes, one for each pot (we used these 360 degree adjustable drippers)
- Drip irrigation hole punch
- Drip line connectors
- Drip irrigation spikes (1/2″ tubing stakes)
- Drip hose goof plugs (just in case)
- Garden watering timer for drip irrigation
- Garden hose splitter (optional, comes in handy if you want to hook up another hose to the same spigot)
- PVC pipe cutting saw or a PVC cutting tool (for cutting the thicker tubing)
- Tape measure
Step By Step Instructions
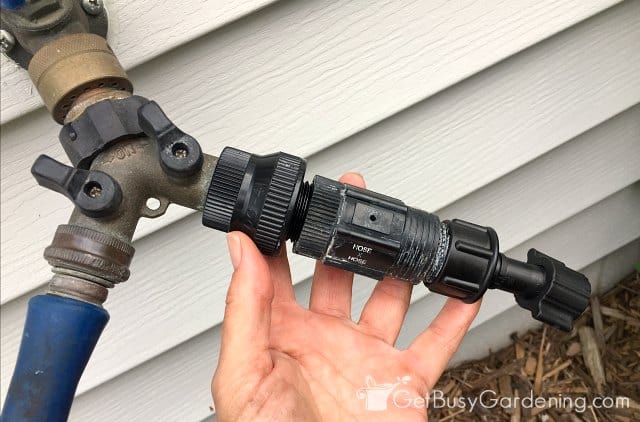
Step 1: Attach connectors to faucet, hose or spigot – It’s easier to hook everything in if you attach the connectors to your hose or spigot first. So grab the backflow preventer, the pressure regulator, and the faucet hose fitting for this step.
Start by attaching the backflow preventer onto your hose or outdoor spigot (it simply screws on). Next, you’ll attach the pressure regulator, and last the faucet fitting (this just screws on too – no tools needed!).
Basically, you’ll end up chaining the garden hose attachments together in this exact order (backflow preventer, pressure regulator, faucet fitting).
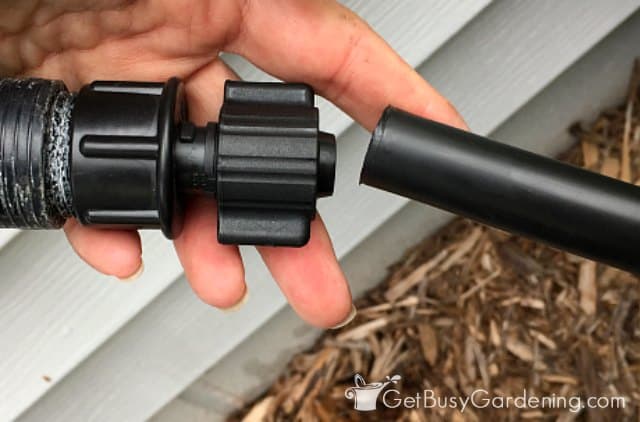
Step 2: Attach the 1/2″ poly tubing to the hose fitting – Take one end of your 1/2″ poly mainline tubing, and push it into the open end of the faucet hose fitting. Once you’ve pushed it in, pull down the collar on the hose fitting piece, and tighten it to secure the tubing.
You might want to kink the tubing and turn on the water to make sure there’s no leaking at this point, otherwise you can wait to test everything later on in step 7.
Step 3: Figure out your drip irrigation system design – The next drip system installation step is to determine how far apart the drip heads will be, so you know exactly where to install the micro tubing.
Figuring out the drip irrigation design sounds hard, but it was actually really easy.
We simply spaced out the pots where we wanted them to be, and then laid down the poly tubing hose in front of them (Tip: let the tubing sit in the sun for a while to warm up first, it’s easier to lay it flat when it’s warm).
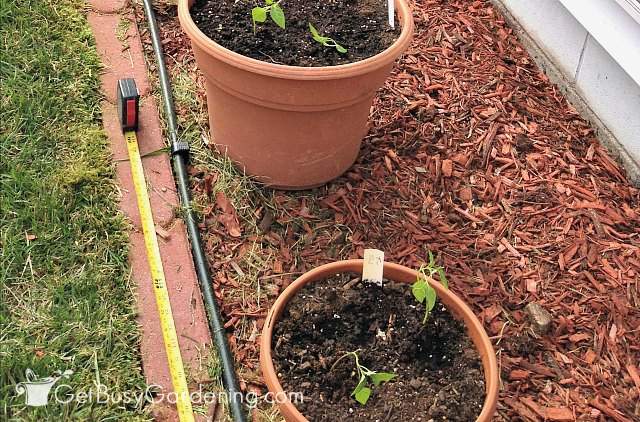
Then we measured where each pot was, and marked the poly tubing where we needed to add the drip tube lines for each of the drippers.
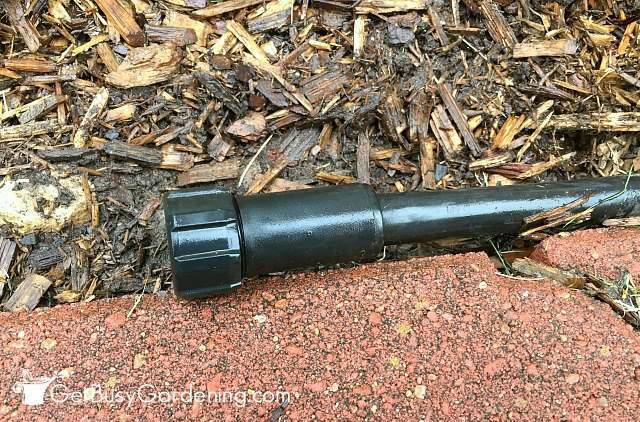
Once we measured it all out, we cut the tubing at the very end using using our PVC cutting tool (you could use a PVC pipe saw to cut the tubing instead), and caped the tube with the end cap.
Step 4: Figure out how long the drip lines will be – Next we measured how long each piece of the micro tubing needed to be for the drip lines.
That’s simply the length from the spot you marked on the mainline tubing, up to the spot where the drip head will be inside the pot.
We added several extra inches to the length of each piece of the micro tubing so it would be loose enough to allow room for us to move the pots around a bit if we wanted to (which we have done, and it works out really well).
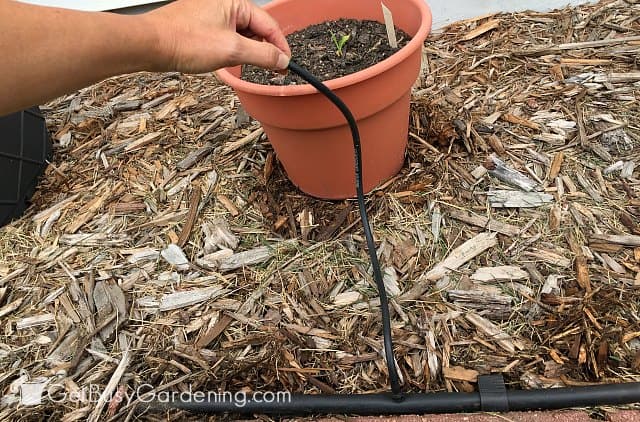
Step 5: Install the micro tubing – It’s easy to add the drip lines and the micro sprinkler heads.
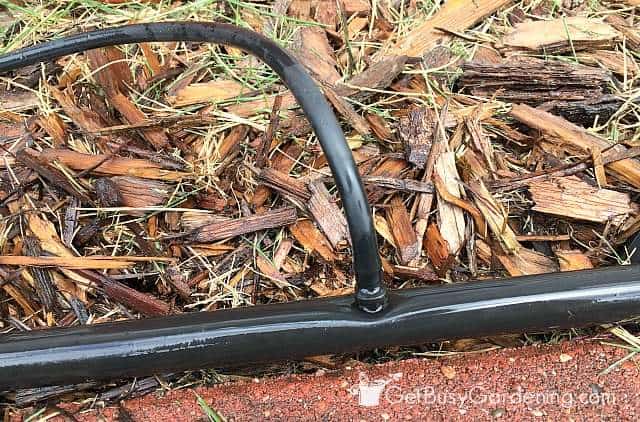
For drip line installation, you simply punch a hole in the mainline poly tubing (using the drip irrigation hole punch) where you want to add the drip lines (these are the spots you marked on the tubing in step 3).
Don’t panic if you punch a hole in the wrong spot. I know that making a mistake isn’t ideal, but if you do end up punching a hole in the wrong spot… well, that’s why they make goof plugs! It’s good to have them on hand just in case.
Next you’ll attach the drip line connector first to the mainline tube, then attach the micro tubing drip hose onto the other end of the connector. Boom!
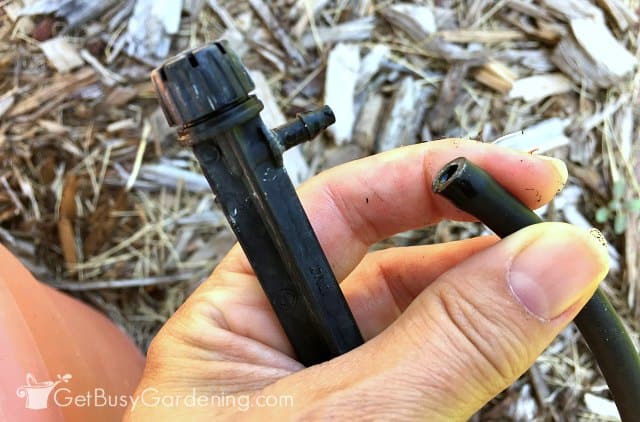
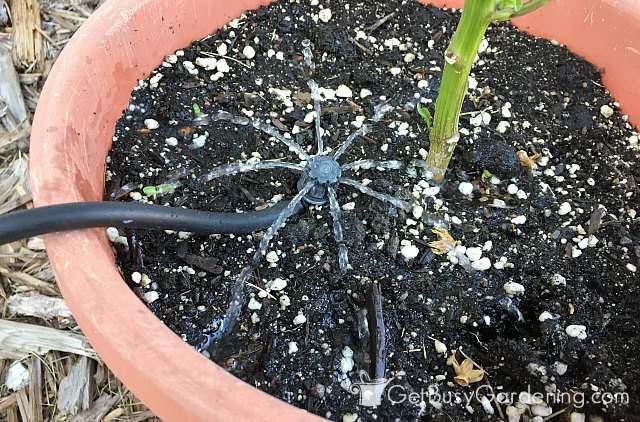
Step 6: Install the irrigation drippers – Installing the dripper heads is super easy too. You basically just plug them into the open end of the micro tubing, and then put them into your container.
Our dripper micro heads came with spikes to hold them in place, so they stay where we put them.
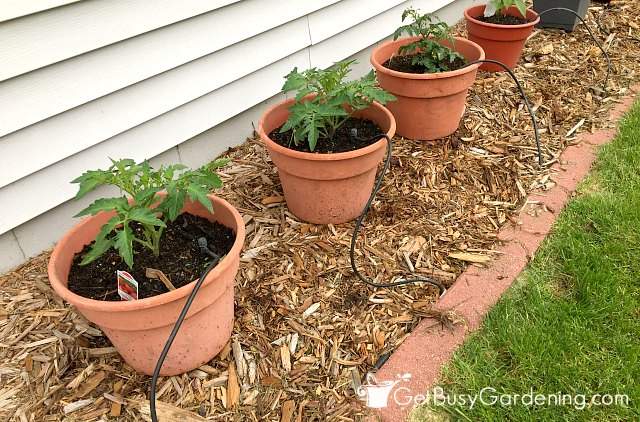
We centered the micro heads in each of our pots, just to one side of the base of the plant(s). Be careful not to damage any tender roots or seedlings when you’re pushing the irrigation spikes into the soil though.
Step 7: Test out your irrigation setup – Before burying the mainline, test everything out to make sure it’s all working with no leaks. You definitely don’t want anything leaking.
At this point it’s also a good idea to adjust the drip heads. The tops of the heads twist so you can control the amount of water that comes out.
We adjusted each one to make sure they weren’t spraying outside the pots, and that they were all working correctly.
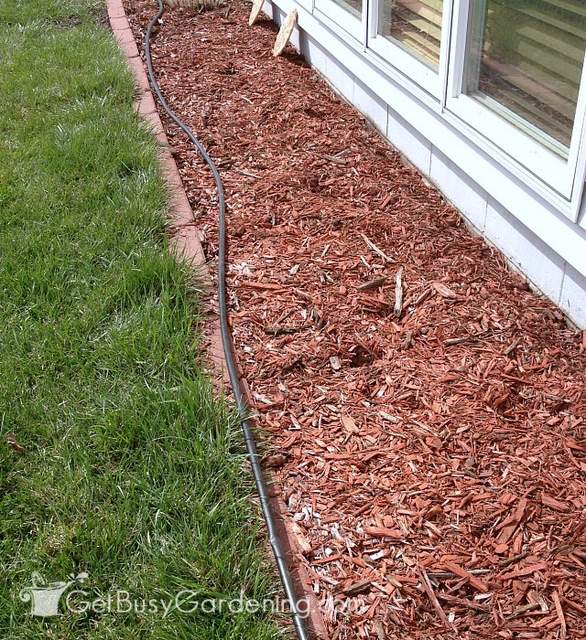
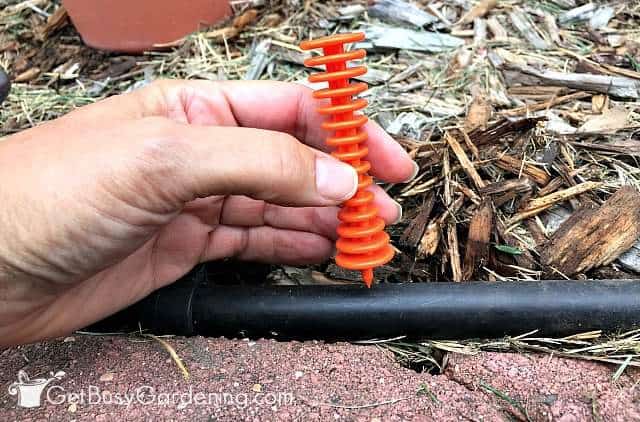
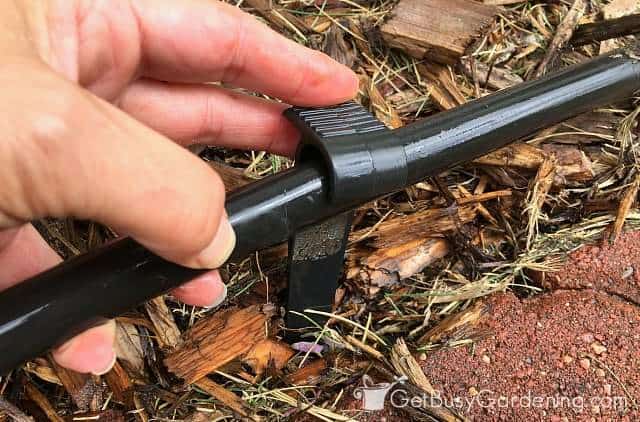
Step 8: Secure the poly tubing – Once everything was installed and tested, we secured the mainline tubing into the ground with some 1/2″ drip irrigation tubing stakes.
The stakes clip onto the mainline tube, which makes securing it easy. Then we simply buried the tubing in the mulch to give it a cleaner look.
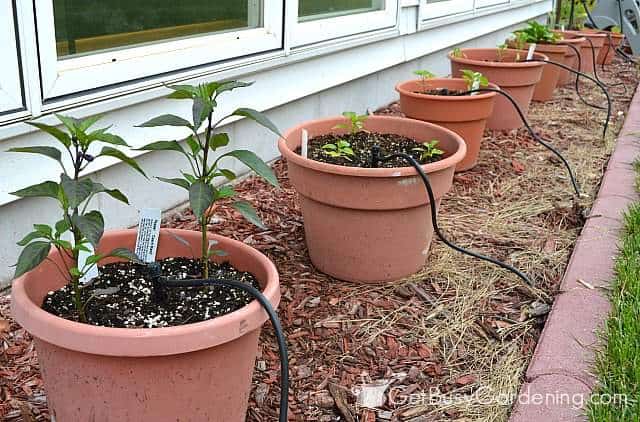
Note, you can install your poly tubing behind your pots rather than in front of them like we did here. That way, the micro tubing will run up the backs of the pots, and won’t be so obvious.
But it’ll work just fine either way. (We just installed ours in front to make it easier to take photos for you)
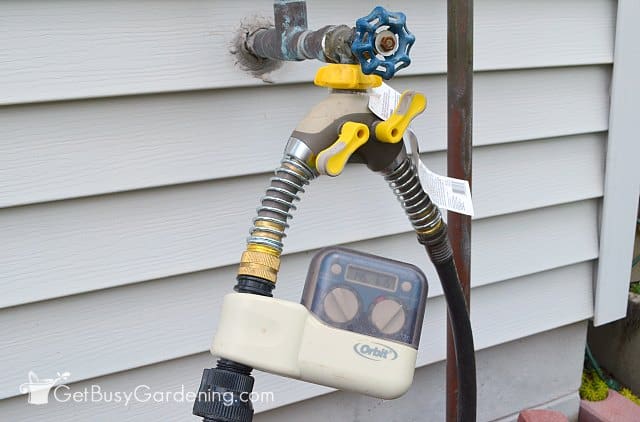
Step 9: Set the timer for automatic irrigation – Last, we set our hose timer to run on a schedule so we never have to worry about watering these pots again (which is especially nice while we’re on vacation!).
Once your automated drip irrigation system is running, I recommend checking on your pots regularly to make sure they are getting the right amount of water. Then you can adjust your timer accordingly to get it just right.
We’ll turn the drip irrigation timer off when we get a lot of rain, and increase the length, or how often the drippers run during dry periods or hot spells.
Not only is this DIY drip irrigations system great so we don’t have to water these pots, but it makes it much easier to ensure our peppers and tomatoes are getting a consistent amount of water.
Hopefully this will help prevent blossom end rot, which was a problem for our container grown peppers last year. Drip irrigation systems are great for potted plants, as well as the garden.
Installing drip irrigation for potted plants is simple, and doesn’t take much time. (It will actually end up saving you a ton of time and effort!) I know it seems like there are a lot of steps involved with drip irrigation installation, but trust me it really is very easy to do! Believe me, if I can do it, anyone can!
More Container Gardening Posts
- How To Design Stunning Container Gardens
- How To Fertilize Outdoor Potted Plants & Containers
- Choosing The Best Potting Soil Mix For Container Gardening
Share your tips and experiences for installing a DIY drip irrigation system in the comments section below.

Yionada says
Great idea I have got to try this. I have flowers all over my yard front/back and side to side in pots and in the ground although I have sprinklers I don’t like wetting the leaves on the roses or other flowers in bloom. I’m going to go for it!
Amy Andrychowicz says
Awesome! I love my drip irrigation system, it’s made keeping my plants healthy a breeze! Good luck, and have fun installing your own!
Linda Davis says
What do you about leaking connections and how do you remove 1/2″ connectors. I have used this system for years and now need to change layout
Amy Andrychowicz says
You can try plugging the leaky holes with the goof plugs and then punching new holes. Otherwise, if that doesn’t work, I would cut out the section of the hose where the leaky connections are, and replace it with a new piece. Use coupling fittings to connect the hoses together after you cut them. You could also look at getting a drip irrigation repair kit. That might be cheaper to buy than getting each piece you need to repair and expand your drip system individually.
BZ says
If I use the smaller kit you linked to, what else do I need? Just a pressure regulator? It comes with a “backflow valve”. Is that the same as a backflow preventer? They also recommend a faucet filter. Is that necessary? Since it uses 1/4″ vinyl tubing, do I cut it with some other tool? Or is there no cutting involved?
Also, where in that chain does the timer go?
Amy Andrychowicz says
Yes, you will need to buy the pressure regulator in addition to this kit. A backflow valve is indeed the same as a backflow preventer, I think the full name is “backflow prevention valve”. Sorry for the confusion there. The filter is optional, but helps to keep any small particles in the water from clogging up the drippers. I don’t have one installed on mine, and haven’t had any issues in the 6+ years we’ve been using it. We have city water though, so if you have well water or some other type hard water it might be a different story. You will likely have to cut the tubing to make it the correct length for your setup. You might be able to cut the 1/4″ tubing with a sharp pair of scissors. The timer goes between the splitter and the backflow prevention valve. (see the photo of the timer to get a visual, you can see the backflow prevention valve in the bottom of the photo)
Nazima says
what about the Drain pipe, if its a hanging planter box
Amy Andrychowicz says
Humm… when you say “drain pipe”, do you mean the mainline tubing? You can run it up along the side of the deck (or whatever you have it hanging on) to hide it. You can use 1/2″ tube straps to attach it to the wood, or use zip ties if that would work better.
CNB says
You guys have done a good job. I have a suggestion though. Rather than puttibg the drip line/ main line from front, it woukd have been astehetically more appealing if it was laid from the backside. So that you won’t see the pipe work and still get your plants watered.
Thank you for sharing your drip irrigation experience.
Amy Andrychowicz says
Thanks for the suggestion. I actually put them in the front like that on purpose, so it was easy to see in the photos for this post. LOL! 🙂
Amanda says
I’ll have to give this a try. Last year I planted tomatoes and peppers in pots and they did not do so well in South Texas. It was so hard to keep them watered.
Amy Andrychowicz says
Yes, this will be much easier for you for sure!
Vanessa D. says
I’m not sure which part to envy the most – the drip irrigation or the greenhouse! Drip irrigation would be a lot easier than dragging 100 feet of garden hose.
Amy Andrychowicz says
Haha, thanks! Yes, having a drip irrigation system has been SO MUCH easier for me!
Alicia Kristen says
How much does this system cost per pot approximately? I currently have two soaker hoses on a timer but the only place in our new rental with sun is a driveway.
Amy Andrychowicz says
If you start with a kit, it will tell you how many pots it waters. I didn’t keep track of the price of ours, but it wasn’t very expensive.
chris says
Why don’t you run the hoses up through the bottom of the pots to make it completely hidden for a even cleaner look
Amy Andrychowicz says
Good idea!
Frank Mosher says
Very good blog!! Well written! Now if you find a way to capture rain water from a greenhouse roof, and then hook up drip irrigation for inside the greenhouse at ground level, I would love to hear any suggestions. Thanks.
Amy Andrychowicz says
That sounds like a great idea! I have heard of people using large tanks buried in the ground to capture rainwater, or even using holding ponds. Then they install a pump to pump the water out. You could then attach that pump to your greenhouse irrigation system. Sounds like a big project, but totally doable! 🙂
Heather says
People used to install reservoirs on their roofs to help with water pressure for indoor plumbing. I don’t see why you couldn’t use a similar technique here.
Install gutters to collect the water and then direct it into a large holding container suspended from the ceiling (perhaps a large plastic bag? You could also use two containers, one for each side of the roof. It depends on how big your greenhouse is and what kind of containers you can buy or repurpose.) This system uses gravity to drain the water through the drip hoses onto the plants. The holding container would be to make sure the water is evenly distributed. I haven’t done this myself, it’s just an idea for how it might be done. You’d have to do some experiments to figure out if the water pressure (which in this case is a factor of how much rain fall and how high above the plants the water tank is) was sufficient to run the system. My guess is that most of the water would come through this way, and the last bits wouldn’t have enough force to come out of the container. If you want to make sure to capture every little bit of rain, you’ll need to set up an alternate storage device for overflow. I think the easiest would be to see where the water flows out of the gutter when the system is over full and put a down spout under that point so that the overflow is directed into a rain barrel or something. This might not be necessary if you don’t get really heavy rain storms. I don’t know if this brainstorming is useful to you, but good luck with your project!
Kara Heiser Hible says
when are you coming to my house to help me set this up?
Amy Andrychowicz says
Haha, good one Kara! 🙂 It’s easy, you can totally do it!
Samuel Thayer says
Thank you so much for posting this and for using some of our products we sell at Lowe’s!
We are a small manufacture in central Florida, yes that’s right a USA Manufacture and we always get so excited when we see someone happy with the results of using our Mister Landscaper irrigation. We are so grateful for your post and thank you!
Sam
Amy Andrychowicz says
You’re welcome. It’s a great product and we plan to add more to our garden this year.
Amy
Carlee McTavish says
Just awesome!
Amy Andrychowicz says
Thanks!
Louise says
I hope to have a drip irrigation and greenhouse one day. Maybe my next house. Blossom end rot is caused by a calcium deficiency. Add lime or even instant non fat dry milk. This will do the trick. Your soil is very important.
Cheers
Louise
To plant a garden is to believe in the future
Amy Andrychowicz says
I hope you get your greenhouse and drip irrigation soon! I amended the soil in the pots. But the plants can't soak up those nutrients if they're not getting enough water, which was our problem last year. We'll see if consistent watering will fix the problem. 🙂
Alison says
I need to do something like this for my pots. I've been lugging waster to them every couple of days, but not consistently. They definitely need more.
Amy Andrychowicz says
That was our problem last year. It gets to be too much when you have to water them twice a day during a drought.
PlantPostings says
Great way to make use of those sunny, dry spaces under the eaves! I went with succulents, so I only have to water them once a week or so. We gardeners have to find ways to be creative, don't we?
Amy Andrychowicz says
Yes! I was going to go with succulents too, but my husband wanted to grow his peppers there. So far, they're doing great.
RandomGardener says
Great idea!
Amy Andrychowicz says
Thanks!