Canning pumpkin is easier than most people realize, and it’s a great way to enjoy them all year long. In this post, I’ll show you how to do it step by step, including lots of tips for the best success.
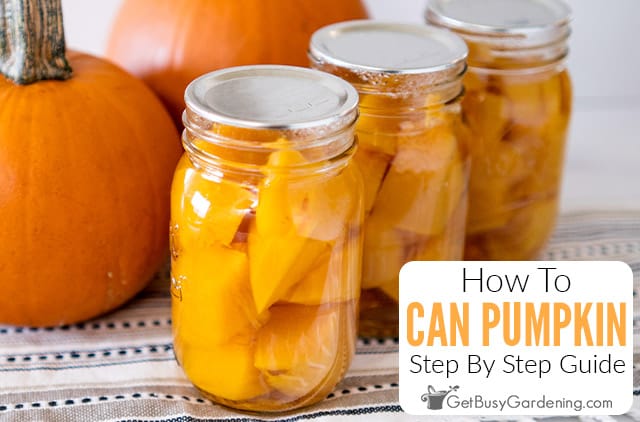
Whether you have extra from the garden or get some from the grocery store, canning pumpkin is a great way to make them last longer.
Canned pumpkin is a nice ingredient to have on hand for making soups, pies, and all your favorite recipes anytime you want.
In this article, we’re covering all you need to know about how to can pumpkin, plus tips and tricks to help you avoid common mistakes.
Best Types Of Pumpkin For Canning
Sugar and pie pumpkins (the small varieties) are the best type to use for canning, because of their natural sweetness, rich flavor, and creamy texture.
Larger more fibrous varieties are less flavorful, and can be quite stringy when cooked.
Preparing Pumpkin For Canning
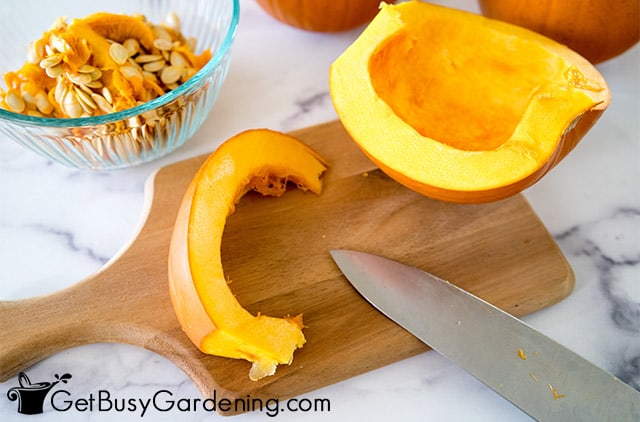
Preparing your pumpkins for canning is easy. First wash them, then cut them in half and scoop out the guts and seeds.
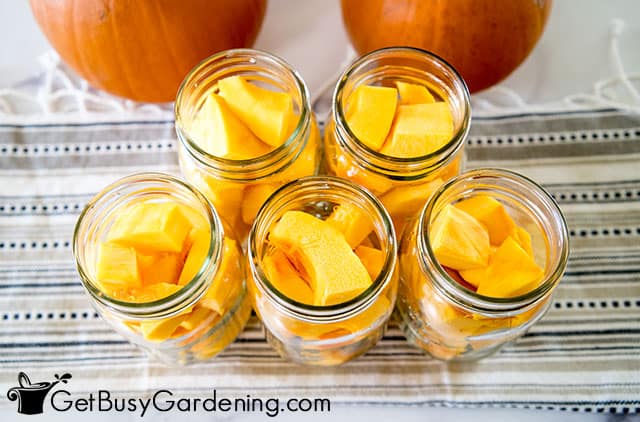
Slice the halves into strips and remove the skin. Then cube each one into bite-sized pieces. Blanch the pieces in boiling water for 2 minutes before hot packing them into your sterilized jars.
One detail to note, it’s only safe to home-can cubed pumpkin. Puree is too dense for the heat to penetrate and kill all potential botulism spores, even with a pressure canner.
Related Post: How To Freeze Pumpkin Chunks Or Puree
Processing Canned Pumpkin
The safest, most reliable way to process your canned pumpkin is using a pressure canner.
Since it’s a low-acid food, water bath canning is not a safe option, because it cannot get hot enough to kill all of the harmful bacteria.
Tools & Equipment Needed
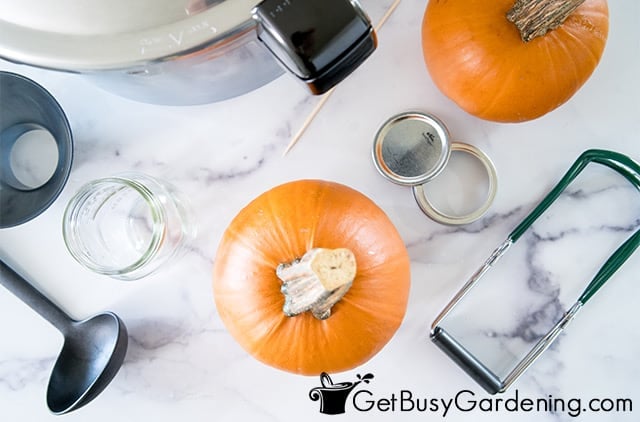
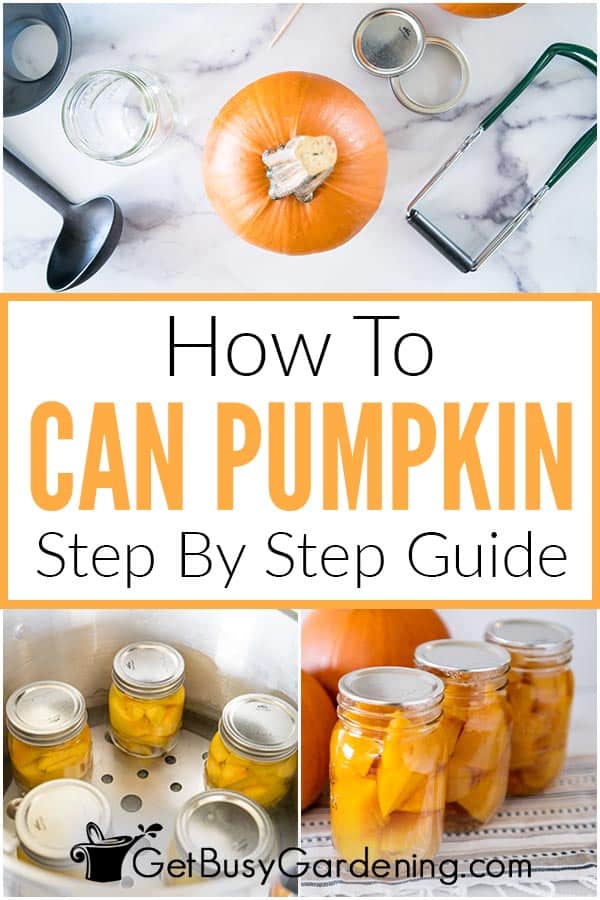
Below is a list of items you’ll need, so gather everything ahead of time to speed up the process and make it easier for you. You can see my full list of tools and supplies here.
- Pressure canner
- Pint canning jars OR use the quart size
- Sharp chef knife
- New jar lids
- Ladle
- Slotted spoon
- Canning funnel
- Bubble remover tool
- Jar lifting tool
- Dissolvable labels
- OR Permanent marker
How To Store Canned Pumpkin
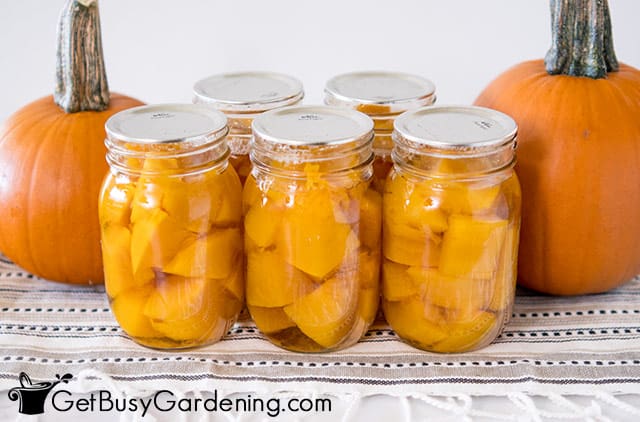
In order for it to last the longest, you should store your canned pumpkin in a cool, dry place away from direct light. A pantry or basement shelf are examples of good spots.
As long as you store them properly, they will last up to 12 months. Always check the lid on each jar before using it, to ensure it is still sealed.
How Long Does Canned Pumpkin Last?
In the right conditions, canned pumpkin can last up to 12 months on the shelf. Be sure to write the date on each jar so you know when they will expire.
Related Post: Free Canning Labels To Print For Mason Jars
FAQs
Have more questions before you’re ready to embark on your first attempt? Here are some of the common ones that others have asked.
Why can’t you can pumpkin puree?
You can’t can pumpkin puree because it is too dense. Home equipment cannot get it hot enough to kill all of the potentially dangerous bacteria.
What’s the best way to can pumpkin?
The best way to can pumpkin is by cutting it into chunks or bite-size pieces, then blanching them for 2 minutes before packing them into the jars and processing in a pressure canner.
Can pumpkin be pressure canned?
Yes. In fact, pressure canning is the best and safest way to can pumpkin.
How do you process pumpkin for canning?
You must use a pressure canner to process pumpkin for canning, it is the only safe way to do it. Water baths won’t get them hot enough to kill all of the bacteria.
Can cooked pumpkin be canned?
Yes, cooked pumpkin can be canned, but it’s not ideal. Blanching it for 2 minutes works well, but when it’s fully cooked it tends to make become mushy and less flavorful.
Enjoy your favorite fall flavor any time of year by canning your own pumpkin. It sounds difficult, but it’s really a simple method with long-lasting, satisfying results.
If you want to have a productive veggie garden in any space, then you need a copy of my book Vertical Vegetables. It will show you all you need to know, plus you’ll get 23 step-by-step projects that you can build yourself! Order your copy today.
Learn more about my Vertical Vegetables book here.
More Food Canning Posts
- How To Can Squash
- How To Can Rhubarb
- How To Can Potatoes
- How To Can Asparagus
- How To Can Pears
- How To Can Beets
- How To Can Peas
Share your tips for canning pumpkin in the comments section below.
Recipe & Instructions
How To Can Pumpkin
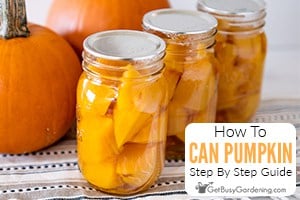
Canning pumpkin is easy and a great way to preserve your fall harvest. Use it in your favorite hearty savory dishes, make fresh puree whenever you need it, or incorporate it into any recipe. Here’s the method you’ll follow to make your own.
Ingredients
- 6 pounds pie pumpkins (about 1 large or 3 small)
- 4 cups water
Instructions
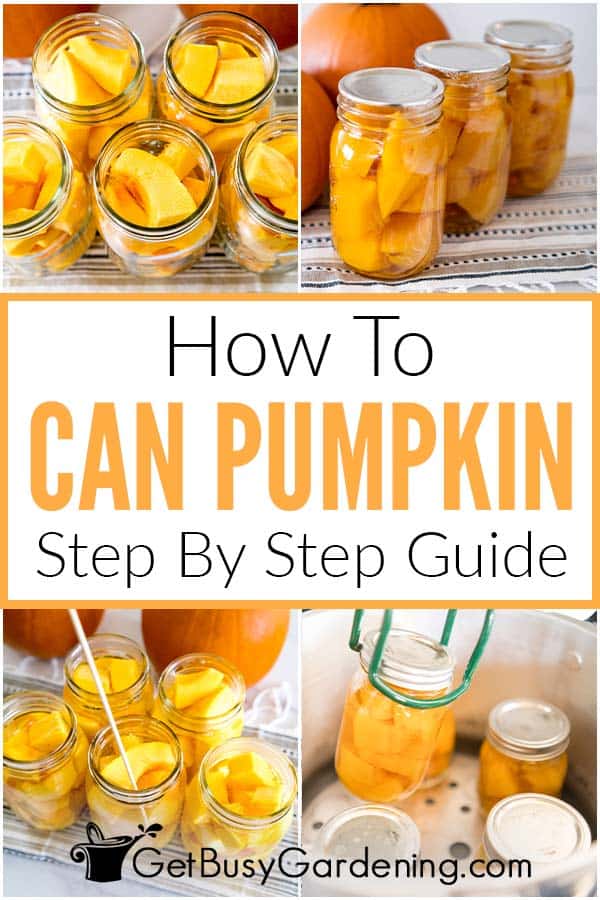
- Prepare the pumpkin - Wash your pumpkins, then cut them in half and scoop out the guts and seeds using a spoon. Slice the halves into strips, remove the skin from each, and cut them into even bite-sized pieces.
- Boil the water - Bring two large pots of water to a boil.
- Prepare the pressure canner and jars - Add water to your pressure canner and place it on the stove on high. You can put the empty jars into the water before it heats up to keep them hot.
- Blanch the pumpkin - Drop the pumpkin pieces into one of the pots of boiling water and blanch for 2 minutes.
- Pack the jars - Remove the pumpkin from the boiling water using a slotted spoon and hot pack them to your jars, leaving 1 inch of headspace. Use a canning funnel to protect the rim of the jar. Discard the blanching water.

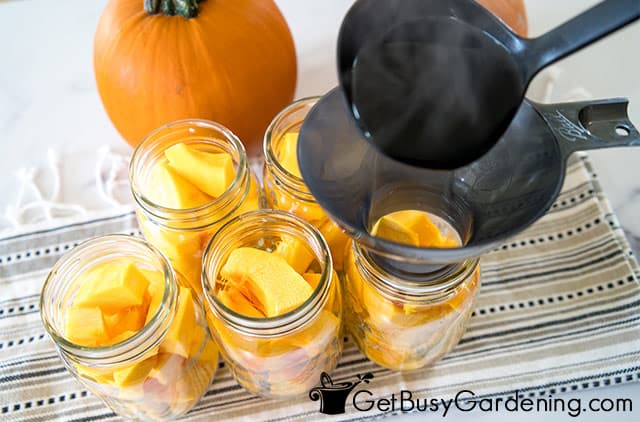
- Add boiling water - Use a ladle to pour clean boiling water from the unused pot into each jar, again leaving 1 inch of space on top.

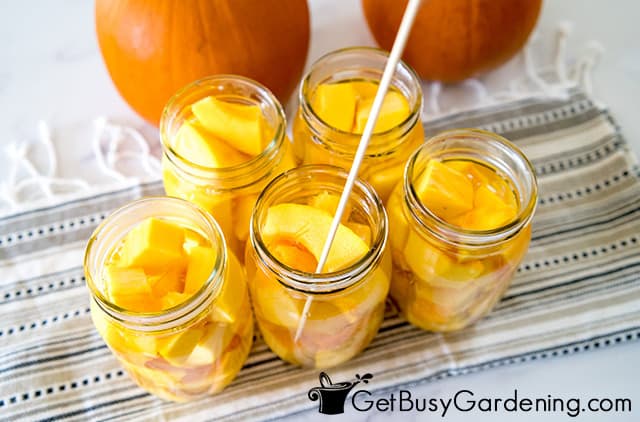
- Remove air bubbles - Use a bubble popping tool to remove the extra air from each jar. You may need to add more water after this step, depending on how many bubbles you release.

- Add lids and rings - Carefully wipe the rim of each jar with a clean cloth, then place the lids on, followed by the rings. Give each a twist until it is secure, but not overly tight (only fingertip tight).
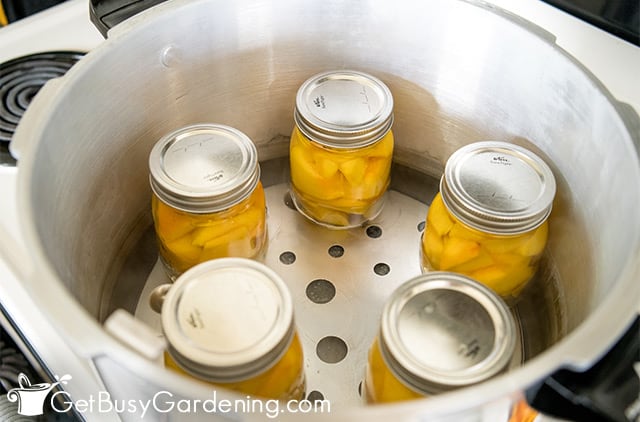
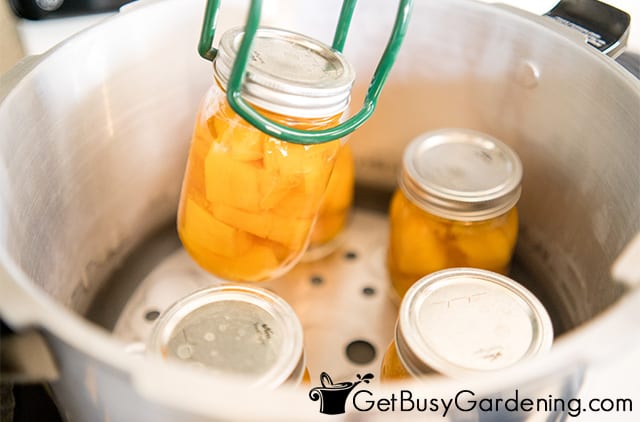
- Put the jars into the canner - Using your lifting tool, carefully place each jar into the canner right away. Never let them cool down.

- Lock the lid - Lock your pressure canner lid and allow steam to vent for 10-15 minutes. Once the steam stops, add the pressure regulator and watch for the vent to pop up.
- Process the jars - Process your canned pumpkin at 11 pounds of pressure. If you are using pints, process them for 55 minutes, or quarts for 90 minutes. Once the proper amount of time has passed, turn off the heat and allow the canner to cool.
- Remove the jars - Wait until the air vent drops, and the pressure has gone down before opening the lid. Leave the jars in the open pressure canner for a few minutes, then remove them using your lifting tool.

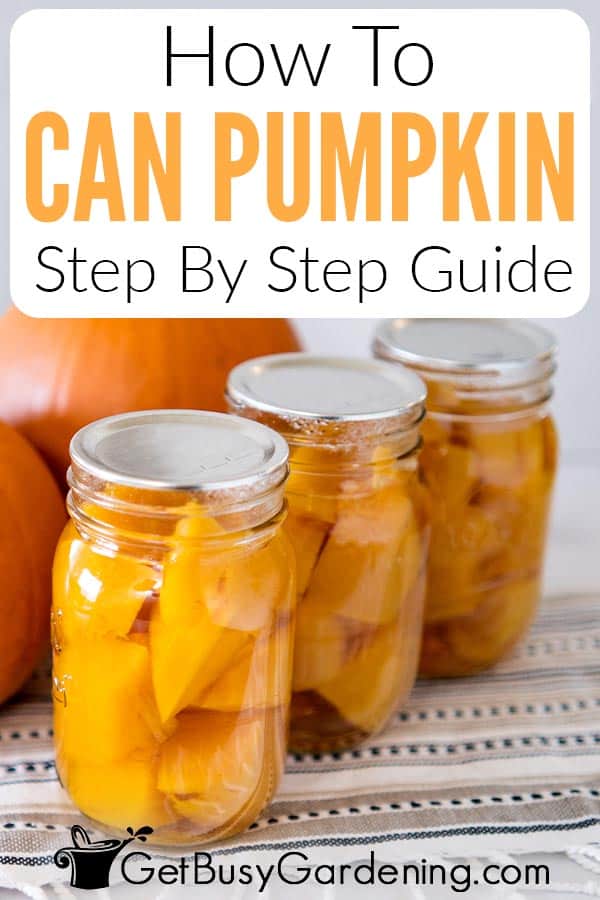
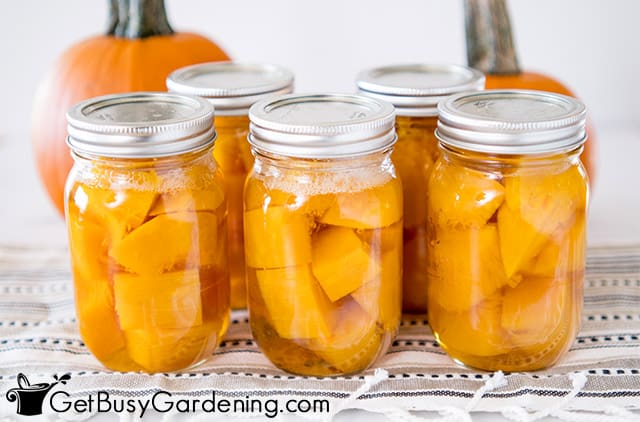
- Cool and label - Once your jars have cooled completely, remove the bands and label them with “Pumpkin” and the date they were canned. You can use a permanent marker to write on the lid, or try dissolvable labels. Store in a cool, dry place away from direct light.

Notes
- Because pumpkin is a low acid food, it must be pressure canned. This is the only way to ensure all bacteria is destroyed, and that they are safe to eat.
- You cannot safely can pumpkin puree at home, even with a pressure canner. Pumpkin must be home-canned in either chunks or slices.
- It's important to keep the jars hot at all times. So plan ahead and boil the processing water before filling them, then place them in there as soon as they are packed.
- Also, be sure to work fairly quickly to pack your jars so they do not cool down before processing them.
- Don't be alarmed if you hear the random pinging sounds as the jars cool, it just means the lids are sealing.
- If you live at an altitude higher than 1,000 feet above sea level, then you'll need to adjust your pressure pounds and processing time. Please see this chart for the proper conversions.
Nutrition Information:
Yield:
12Serving Size:
1 cupAmount Per Serving: Calories: 45Total Fat: 0gSaturated Fat: 0gTrans Fat: 0gUnsaturated Fat: 0gCholesterol: 0mgSodium: 5mgCarbohydrates: 11gFiber: 2gSugar: 5gProtein: 2g


Leave a Reply