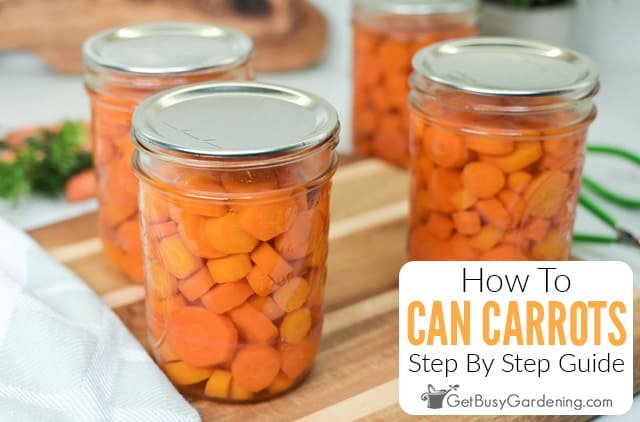
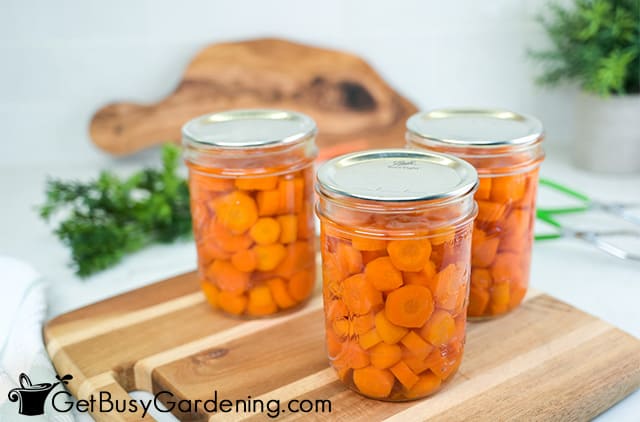
Canning carrots is easier than you might think, and it’s a great way to enjoy your summer bounty all year round.
You can use fresh carrots right from your garden, or stock up on them at the farmer’s market or grocery store.
They make a quick heat-and-serve side dish for any meal, or you can use them in any recipe that calls for cooked carrots.
In this guide I will show you step by step exactly how to can carrots so you can keep them longer.
Best Types Of Carrots For Canning
You can use any type of carrot for canning, but I have found a few varieties that are the best.
Parisian Heirloom Red, Thumbelina, and the Purple Dragon are good for their extra crisp texture and more intense flavor.
Preparing Carrots For Canning
Preparing carrots for canning is simple, but a little time consuming when it comes to all the peeling and slicing.
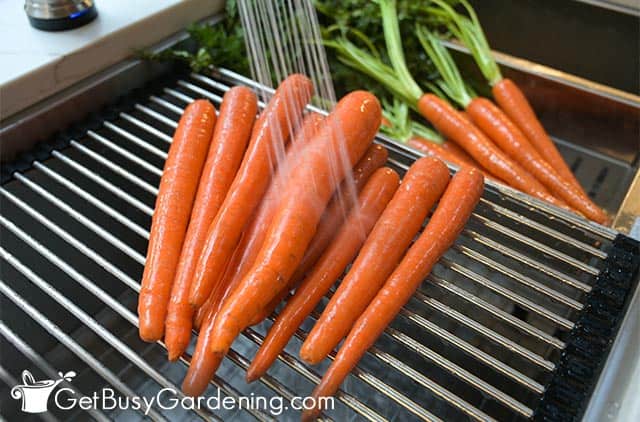
Basically all you need to do is remove the top part with the leaves and wash the carrots, gently scrubbing them with a veggie brush to remove any dirt or debris
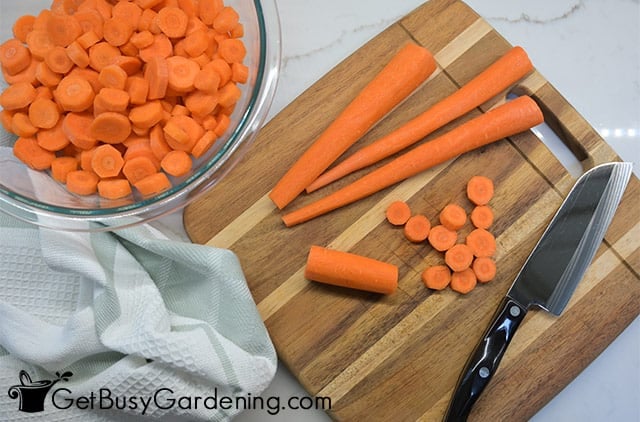
Then peel them with a vegetable peeler, and slice them into ½ to 1 inch rounds. After that you are ready to can them.
Related Post: How To Freeze Carrots With Or Without Blanching
Methods For Canning Carrots
There are a few ways to can your carrots, and the method you choose will come down to how much time you have, and your preference.
Hot Packing
For hot packing, you blanch the carrots in boiling water for 3-5 minutes before packing them into the jars.
The benefit of doing this is that it helps to preserve the color, texture, and flavor. The drawback is that it does take a little extra time.
Raw Packing
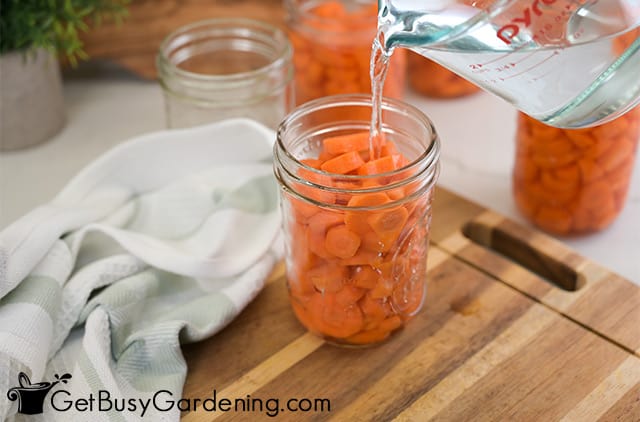
With the raw packing method, you simply fill your jars with the cut up carrots without flash-cooking them first. Then you add the boiling water over the top.
The benefit is that it’s faster to can your carrots. Though the drawback can be that some of the color and flavor can leach out into the brine, and the texture can end up being a bit softer.
Pressure Canning Carrots
Since carrots are a low acid vegetable, it’s essential to use a pressure canner to process your jars. This is the only safe way to ensure all of the harmful bacteria is killed.
Water bath canning in boiling water is not a safe method to use, since it cannot get the carrots hot enough.
Tools & Equipment Needed
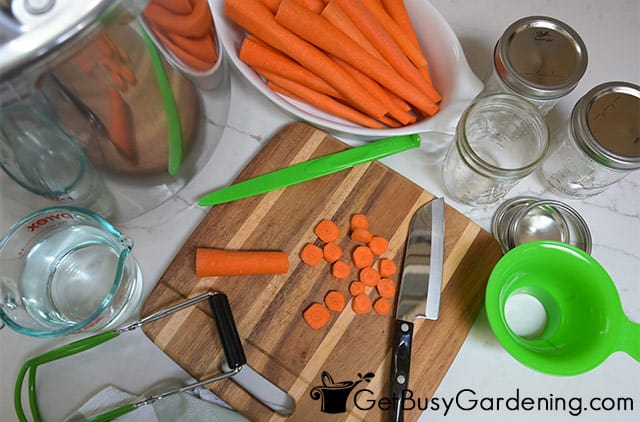
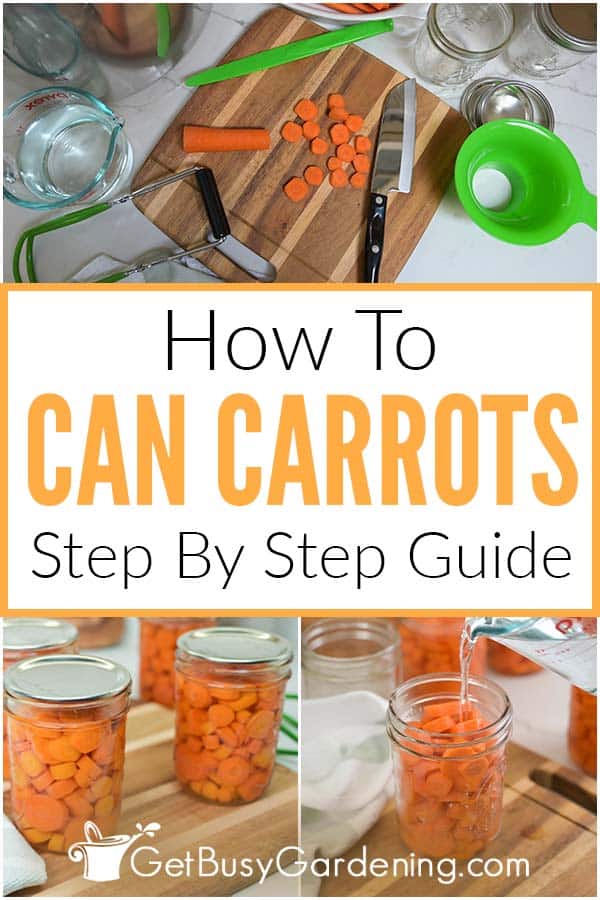
Below is a list of everything you’ll need for canning your own carrots at home. You can see my full list of canning equipment here.
- Pressure canner
- Pint canning jars
- New jar lids
- Vegetable brush
- Knife
- Veggie peeler
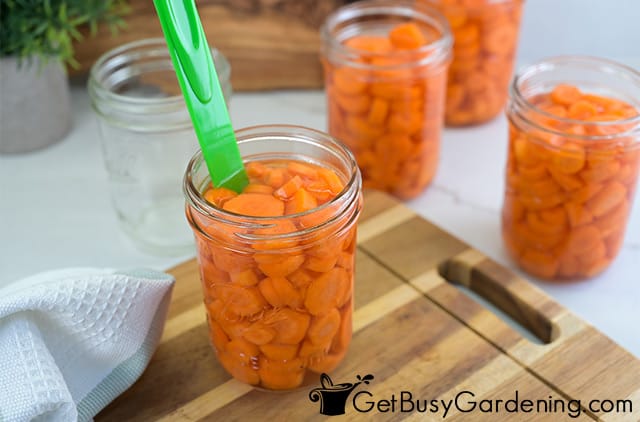
- Bubble remover tool or wood skewer
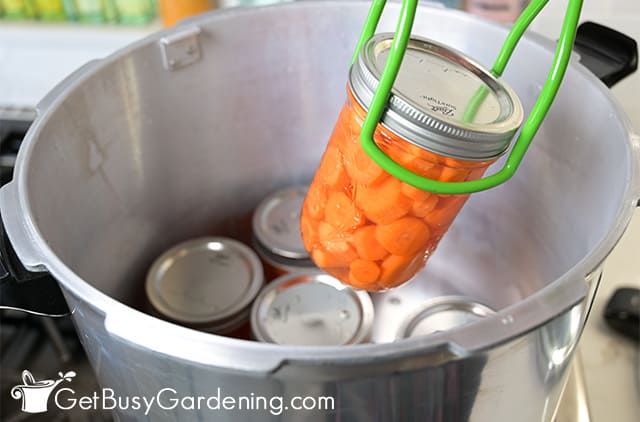
- Jar lifting tool
- Dissolvable labels
- OR Permanent marker
- Ladle (optional)
- Canning funnel (optional)
How To Store Canned Carrots
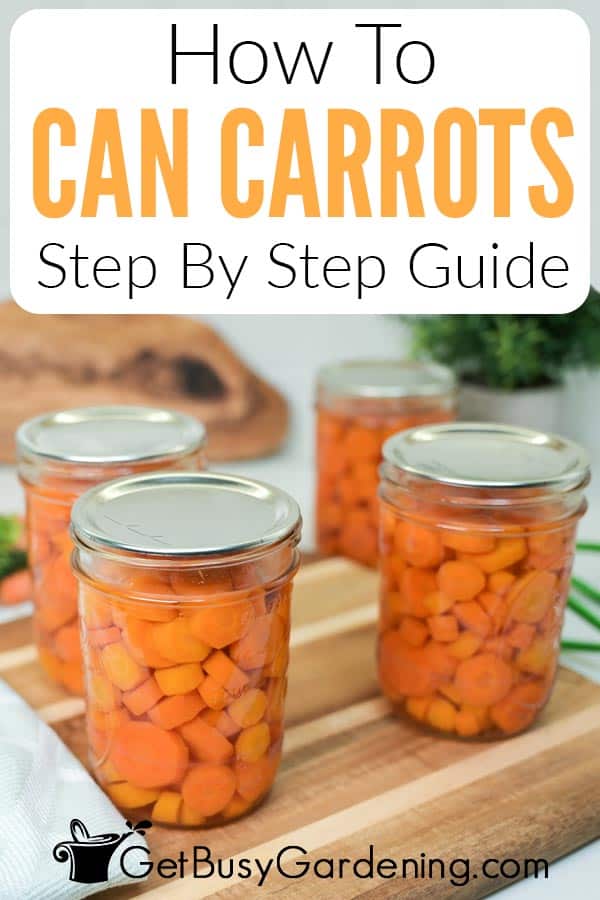
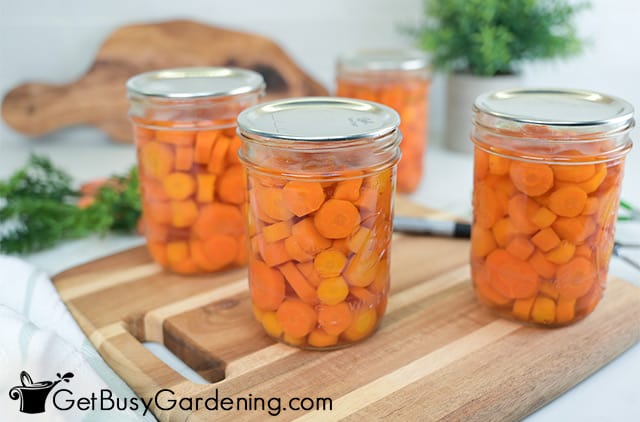
Storing canned carrots is simple. Once your jars room temperature, place them in a cool dry location, such as a pantry or cupboard.
It’s a good idea to check that each of the lids has a tight seal before storing the jars. To do that, remove the band and press on the center of the lid. If it doesn’t move, then it’s sealed.
If the lid moves at all, then place those jars into the fridge and eat them up right away.
Before storing them, be sure to label them with the date using either dissolvable labels, or write on the lids with a permanent marker.
How Long Do Canned Carrots Last?
Canned carrots have a long shelf life, and will last up to one year when properly stored.
Before eating them, ensure the lid still has a tight seal and discard any that have popped.
Once you open the jars you can keep them in the fridge, and plan to use them up within 3-5 days.
Related Post: How To Plant & Grow Carrots From Seed
FAQs
Below are some of your most common questions about canning carrots, along with my answers.
Do carrots need to be pressure canned?
Yes, carrots do need to be pressure canned. They are a very low acidic food, and a boiling water bath cannot get them hot enough to kill all of the harmful pathogens that may be present.
Can you raw pack carrots for canning?
Yes, you can raw pack carrots for canning. This process is easy and convenient and tends to work very well for carrots. Though some of the flavor and color can end up leaching into the brine, and the texture could be a little softer than it would if you blanched them first.
What is the best way to can carrots?
The best way to can carrots is to use a pressure canner. Whether you pack them raw or blanch them first is really up to you, as either method works great. However, flash-cooking them first with the hot packing method can help to preserve the color, flavor, and texture better.
Can you can carrots without peeling them first?
You could can carrots without peeling them first. However, they tend to get stringy, and could also end up with an undesirable flavor if you leave the peels on. Because of this, my recommendation is to always peel them first.
Can carrots be water bath canned?
No, carrots cannot be water bath canned because they are low acid veggies. A water bath canner can’t get them hot enough to kill all of the potentially harmful bacteria.
If you’d like to learn how to make the most of your space and get as much homegrown food as possible, then my Vertical Vegetables book is perfect! It will teach you all you need to know, has tons of gorgeous photos, and includes 23 DIY projects you can build for your own garden. Order your copy today!
Learn more about my Vertical Vegetables book here.
More Food Canning Posts
- How To Can Rhubarb
- How To Can Tomatillos
- How To Can Asparagus
- How To Can Peas
- How To Can Potatoes
- How To Can Onions
Share your tips for canning carrots in the comments section below.
Recipe & Instructions
How To Can Carrots
Canning carrots is such an easy process, and worth the time it takes so that you can enjoy that garden-fresh flavor all year round. They’re great as a quick heat-and-serve side dish to any meal, and could also be used in your recipes.
Ingredients
- 10 pounds of carrots
- 9 cups of water (for filling the jars)
Instructions
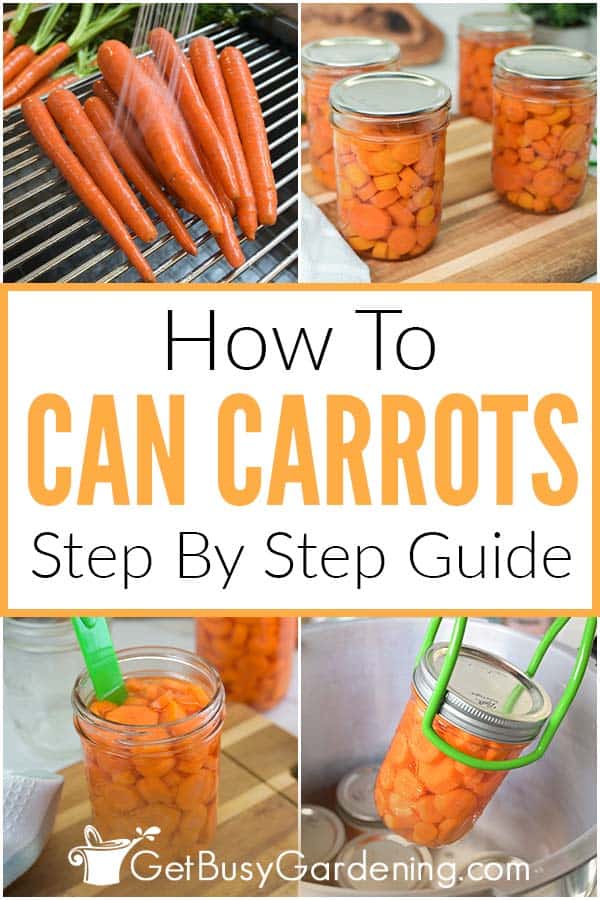
- Prepare the carrots - Remove the tops and leaves and wash your carrots, using a veggie brush to remove any caked on dirt. Then peel them and cut them into ½ or 1 inch rounds.

- Prepare the water - Add 3 inches of water to the bottom of your pressure canner and preheat it to 140 degrees fahrenheit. Fill a separate pot with 9 cups of water and bring it to a boil.
- Pack the jars - Fill your canning jars with carrot slices, leaving a 1 inch headspace on top. Then use a canning funnel and ladle to pour the boiling water from the cooking pot over the top, maintaining a 1 inch headspace.

- Remove air bubbles - Use your bubble remover tool to pop any air bubbles by sliding it down the inside of the jar. Then place a new lid on top followed by a ring, and secure it finger tight.

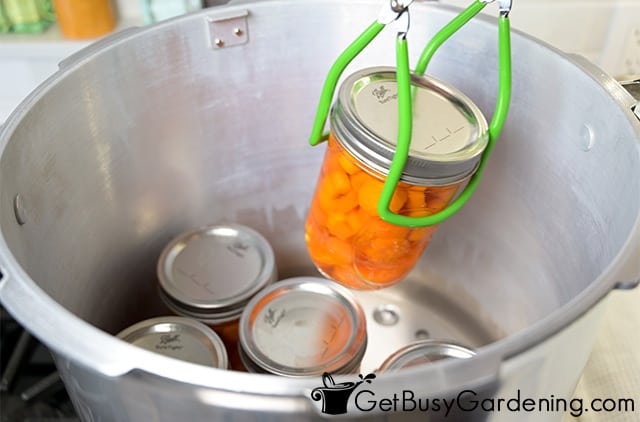
- Put the jars into the canner - Use your canning jar lifter to place the jars into the canner. Then close the pressure canner lid, lock it, and turn the heat up to high.

- Process the jars - Once the canner is boiling, allow it to vent steam through the pressure valve for about 10 minutes before adding the weight and bringing the canner up to 11 psi. Process the pint jars for 25 minutes.
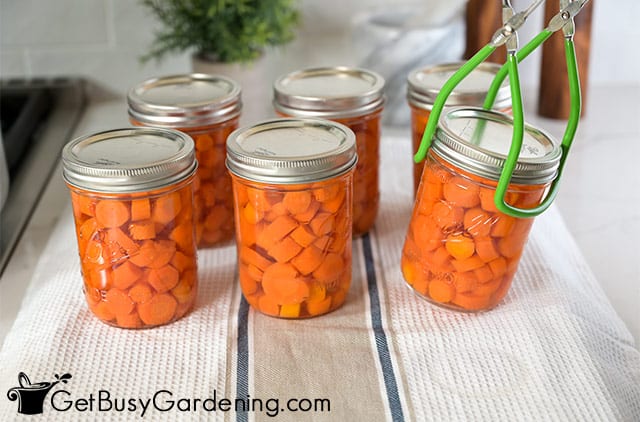
- Remove the jars - Allow the canner to cool completely for 30 minutes before opening the lid. Then remove your jars and put them on a towel on the counter or table.

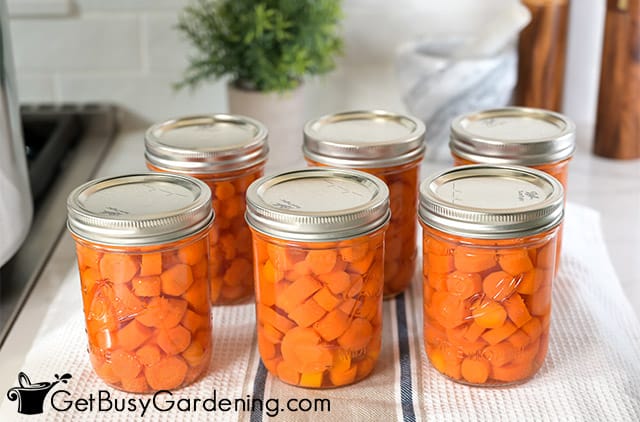
- Cool and label - Let your canned carrots cool to room temperature, then remove the bands and check each jar to ensure the lid has a tight seal. Write the date on top with a permanent marker or use dissolvable labels. Store in a cool, dark place.

Notes
- Because carrots are a low acid food, they must be pressure canned. This is the only way to ensure all bacteria is destroyed, and that they are safe to eat.
- Peeling your carrots prior to canning creates a better end result.
- It's important to keep the jars hot at all times. So plan ahead and boil the processing water before filling them, then place them in there as soon as they are packed.
- Also, be sure to work fairly quickly to pack your jars so they do not cool down before processing them.
- Don't be alarmed if you hear the random pinging sounds as the jars cool, it just means the lids are sealing.
- If you live at an altitude higher than 1,000 feet above sea level, then you'll need to adjust your pressure pounds and processing time. Please see this chart for the proper conversions.
Nutrition Information:
Yield:
18Serving Size:
1 cupAmount Per Serving: Calories: 88Total Fat: 0gSaturated Fat: 0gTrans Fat: 0gUnsaturated Fat: 0gCholesterol: 0mgSodium: 151mgCarbohydrates: 21gFiber: 8gSugar: 9gProtein: 2g


Leave a Reply