Canning pears is a great way to enjoy them through the winter and beyond. In this post, I’ll show you exactly how to do it with full step by step instructions.
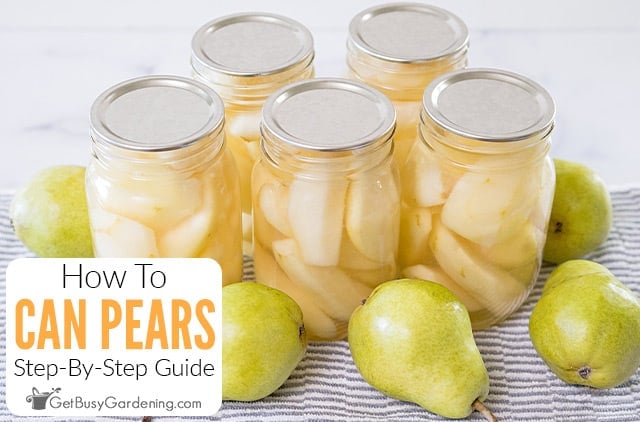
If you have a pear tree or two, you know that there often isn’t enough time to eat all of the fruits before they go bad.
The good news is, canning pears is pretty darn easy, and doesn’t take much time. Plus you’ll get to enjoy them year-round.
In this article, I’ll cover the basics for canning pears, as well as tips and tricks to get the best results.
What Are The Best Pears For Canning?
The best pears for canning are ones that have medium to firm flesh and a juicy texture. Bartlett is the most common variety to use.
But Bosc, Comice, and Anjou are all great options. Smaller types, such as Forelle and Secke work well too.
As you choose which one to use, keep in mind that Asian varieties are not naturally acidic, while European types are.
So, if you have a low-acid variety, you must either increase it by adding lemon juice, or use a pressure canner to safely process them.
Preparing Pears For Canning
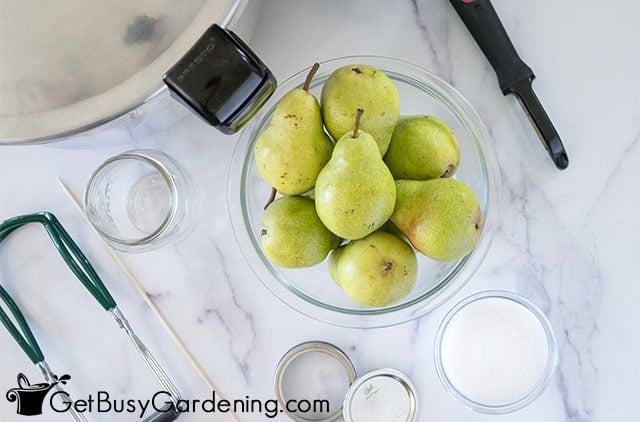
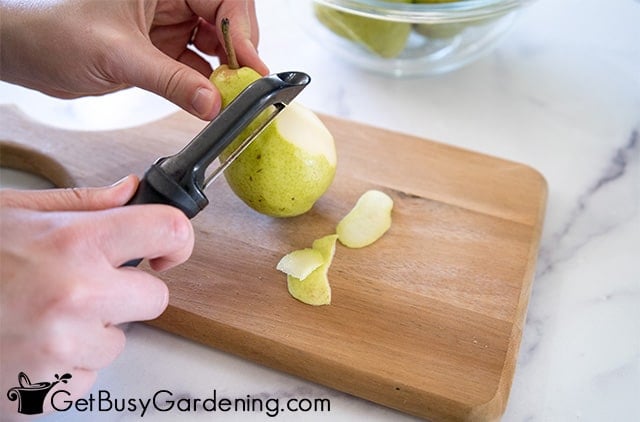
It is important to wash, peel, and core the pears before canning them. You could cut them into halves, quarters, or slices, however you prefer. Expect to use about 2 to 3 pounds for each quart jar.
As you slice them up, drop them in a bowl of water with lemon juice added (1 tablespoon for every cup of water). This helps prevent browning.
Also be sure to wash and sterilize your jars as a part of your preparation, and keep them hot until you’re ready to use them.
Brine Options For Canning Pears
There are lots of brine options you could try. These include using fruit juice or making a simple syrup, both of which enhances the flavor.
Canning Pears In Fruit Juice
Fruit juice is a good option if you want to add a more natural sweetness and flavor, rather than using sugar.
Try white grape or apple juice when you can your pears. Those are both popular choices, and compliment the taste.
Making Syrup For Canning Pears
It’s easy to make a simple syrup to use as your brine, if you want to try that.
For a light syrup, use 1 ½ cups of sugar per 6 cups of water. Heat the mixture in a saucepan until the granules dissolve.
Can You Can Pears Without Sugar?
Yes, you could can pears without sugar or other brine. If you don’t want the extra sweetness, just use plain water.
Methods For Canning Pears
When it comes time for filling your jars, there are two methods you could use, hot packing or raw packing. The one you choose depends on your preference.
Hot Packing
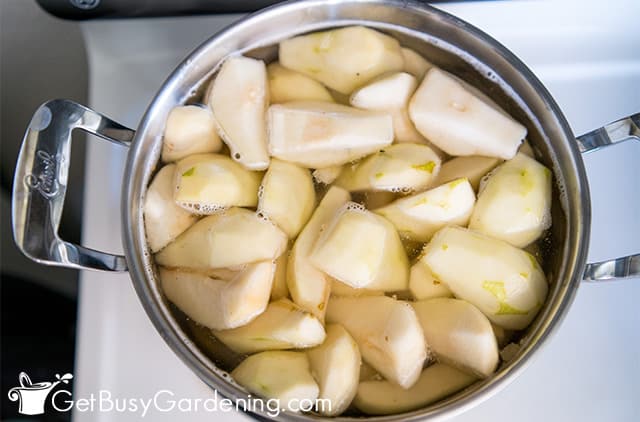
If you’d like to hot pack your canning jars, you need to cook the pears for 5 minutes in plain water or the brine of your choice.
This is my preferred method, because the fruits tend to hold their texture and flavor better after processing.
Raw Packing
For raw packing, you do not cook them first. The benefit is that it’s faster, since you don’t have the added step.
However, the canned pears do tend to be a bit mushier when they are raw packed.
I also find it difficult to pack the jars tightly, because the fruits will float once you start adding the brine.
Processing Canned Pears
How you process your canned pears depends on the variety you have and your equipment. Below I’ll talk about the two options in detail.
Pressure Canning Pears
If you’re canning Asian pears in plain water, then this is the method that you must use.
They are a low-acid food, and a pressure canner is the only way to get them hot enough to kill all of the harmful bacteria.
For this option, process the jars for 15-20 total minutes, adjusting for altitude if necessary.
Canning Pears In A Water Bath
You can safely use a water bath for canning European pears because they are naturally acidic.
However if you want to use this method for Asian pears, you must add 1 tablespoon of lemon juice per pint, or 2 tablespoons per quart to increase the acidity.
The standard processing times are 20 minutes for pints and 25 for quarts, below 1,000 feet in elevation.
Tools & Equipment Needed
Below is a list of items you’re going to need. Gather everything before you start to make the whole process easier. You can see my full list of tools and supplies here.
- Water bath canner OR a pressure canner
- Pint canning jars
- OR quart canning jars
- New jar lids
- Vegetable peeler (optional)
- Paring knife
- Ladle
- Measuring spoons
- Canning funnel
- Bubble remover tool
- Jar lifting tool
- Dissolvable labels OR use a permanent marker
How To Store Canned Pears
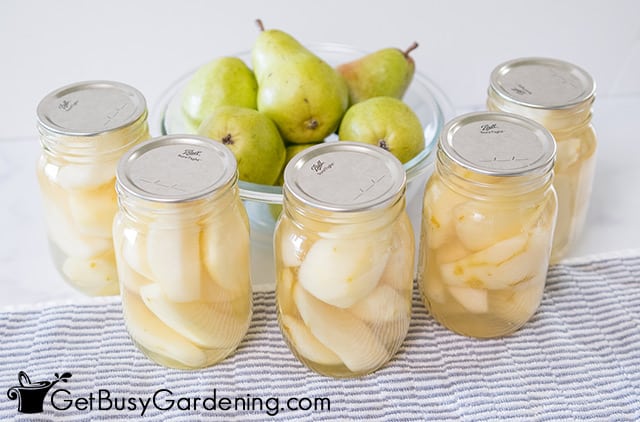
You should store your canned pears in a cool, dry place away from direct light, such as a kitchen cabinet, basement shelf, or cellar.
But first you should check each lid to ensure a proper seal. If any are loose, then put those into the fridge and eat them up within a week.
How Long Do Canned Pears Last?
When stored correctly, canned pears will last for 12-18 months.
Before eating them, always check to make sure the lid is still airtight. Discard any that have lost their seal.
FAQs
Have more questions before you’re ready to get started? Here are some of the most common ones that others have asked.
Can you can raw pears?
Yes, you could can raw pears. However, if you don’t cook them first, they tend to lose their texture and flavor, so they usually end up being a little mushier.
Do you water bath or pressure can pears?
Whether you water bath or pressure can your pears depends on the variety. European types have enough acidity, so you could use either method without worry. However, Asian varieties are not naturally acidic, and must be pressure canned.
Do pears need to be ripe before canning?
Yes, your pears should be ripe before canning them. When they are unripe they will not be as flavorful or have as good of a texture.
Canning pears is a great way to extend the life of your fruits, and enjoy them all winter. They are delicious to enjoy in pies, dessert crisps, and more.
If you’d like to learn how to make the most of your space and get as much homegrown food as possible, then my Vertical Vegetables book is perfect! It will teach you all you need to know, with lots of fun step-by-step projects you can build too. Order your copy today!
Learn more about my Vertical Vegetables book here.
More Food Canning Posts
- Canning Blueberries: Easy Recipe
- How To Can Strawberries
- How To Can Rhubarb
- How To Can Cherry Tomatoes
- How To Can Apples
- How To Can Apple Butter (With Recipe!)
- How To Can Strawberry Jam (With Recipe!)
- How To Can Blueberry Jam (With Recipe!)
Share your tips for canning pears in the comments section below.
Recipe & Instructions
How To Can Pears
Enjoy the delicious taste of pears all year long by canning them. It is simple to do, and will let you savor the fresh flavor whenever you please. They are delicious right out of the jar, or to use in pies, crisps, and many other desserts.
Ingredients
- 6 pounds pears (about 12-16 medium)
- 4 cups water
- 1 ¼ cup of sugar for light syrup (optional)
- Lemon juice
Instructions
These instructions are for using the water bath canning method. You’ll need to adjust the processing times if you choose to use a pressure canner.
- Prepare the canner - Fill your water bath canner and place it on the stove. Bring to a boil.
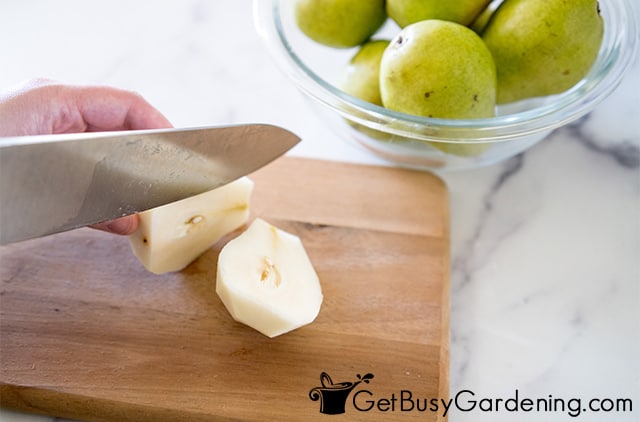
- Prepare the pears - Remove the skins with the paring knife or peeler. Core and cut them into halves, quarters, or slices. Then, place them in a bowl with cool water and lemon juice (1 tablespoon for every cup of water) to avoid browning.

- Cook them - Add your prepared pears to a pot of boiling water for 5 minutes to flash-cook them.
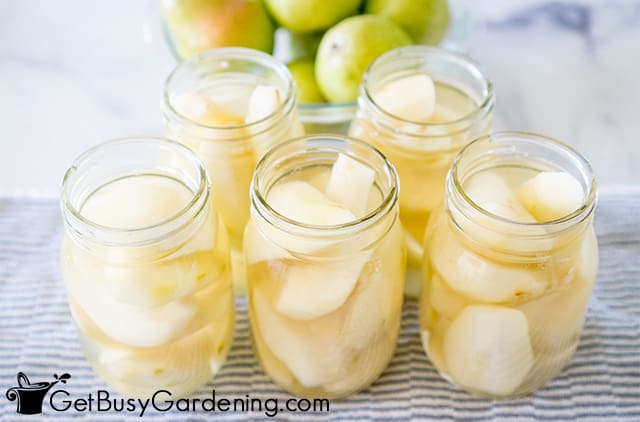
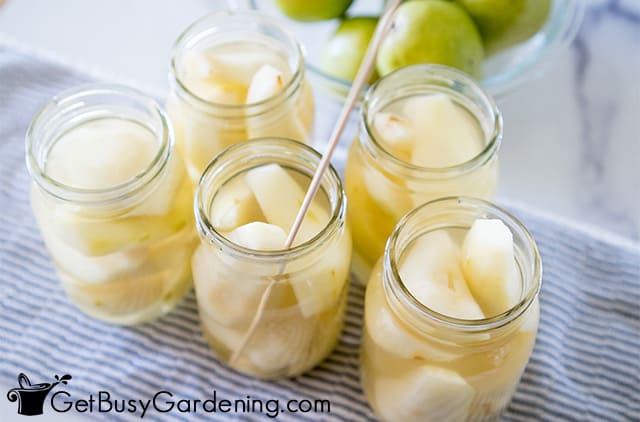
- Pack the jars - Using a slotted spoon, pack the hot pears into the jars.
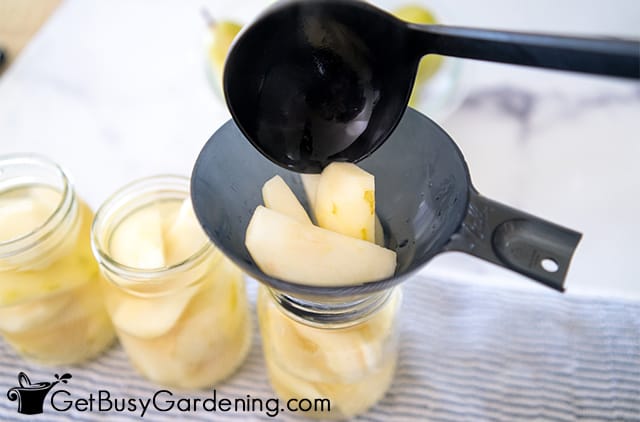
- Add boiling water/brine - Use a ladle and canning funnel to add boiling water to the jars, making sure to leave ½ inch of headspace. Optionally you could use fruit juice or a light sugar syrup brine.

- Remove air bubbles - Use the bubble remover tool to get rid of the bubbles in the jars.

- Place the lids and rings on - Wipe the rims then place a new lid and a ring on top. Secure them so they are only fingertip tight.
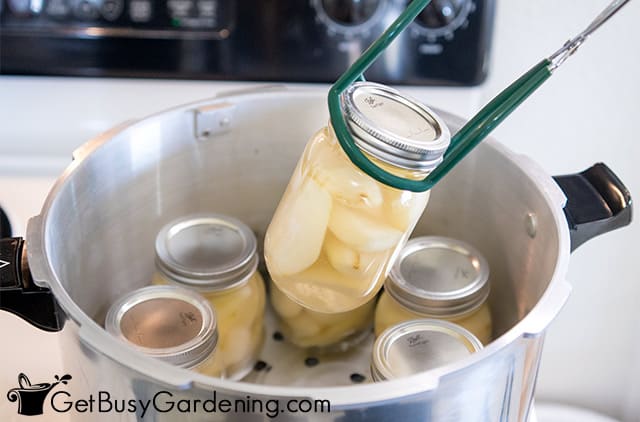
- Put the jars into the canner - Using your lifting tool, carefully place the jars into the water bath, fully submerging them.

- Process the jars - Boil pints for 20 minutes and quarts for 25 minutes, adjusting for altitude.
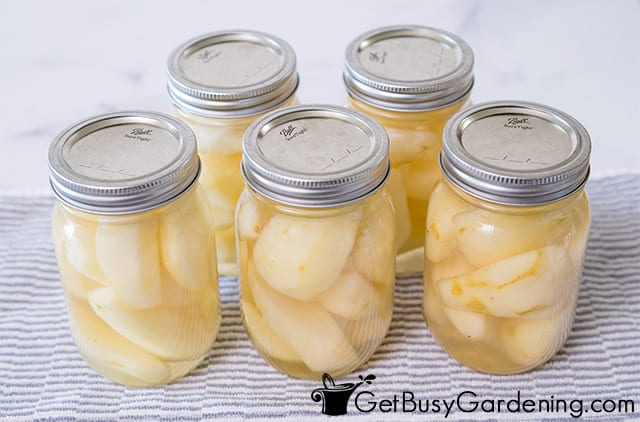
- Remove the jars - Once complete, turn off the burner and remove the jars from the water.
- Cool and label - Allow your jars to cool completely, then remove the bands and label them with the date. You can use dissolvable labels or write on the lids with a permanent marker.

Notes
- Because of their low acidity, the only safe way to process Asian pears is with a pressure canner. European varieties are naturally acidic, so a water bath is safe to use for them.
- It's important to keep the jars hot at all times. So plan ahead and boil the processing water before filling them, then place them in there as soon as they are packed.
- Also, be sure to work fairly quickly to pack your jars so they do not cool down before processing them.
- Don't be alarmed if you hear the random pinging sounds as the jars cool, it just means the lids are sealing.
- If you live at an altitude higher than 1,000 feet above sea level, then you'll need to adjust your pressure pounds and processing time. Please see this chart for the proper conversions.
Nutrition Information:
Yield:
12Serving Size:
1 cupAmount Per Serving: Calories: 145Total Fat: 0gSaturated Fat: 0gTrans Fat: 0gUnsaturated Fat: 0gCholesterol: 0mgSodium: 5mgCarbohydrates: 39gFiber: 7gSugar: 26gProtein: 1g
The nutritional information was calculated with sugar added to the recipe.



Leave a Reply