If you enjoy asparagus, canning it is an easy way to have it all year round. In this article, I’ll show you how to do it with easy to follow instructions.
You’ll be surprised just how easy it is, and it’s a great way to use up your crop from the garden, or stock up from the farmer’s market or grocery store.
Canned asparagus is delicious right out of the jar, or as a quick heat-and-serve side dish. It’s also great in recipes like soups, stews, and omelets.
Below, I’ll show you everything you need to know about how to can asparagus, including some useful tips for the best success.
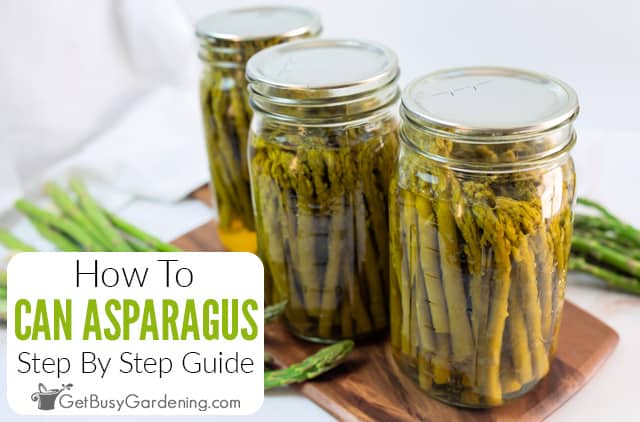
Best Types Of Asparagus For Canning
Some of the best asparagus varieties to use for canning are Jersey Giant, Jersey Knight, and Purple Passion, but you really could use any kind.
Just make sure it’s as fresh as possible, straight out of the garden is best. The crisper it is, the better the texture will be after canning.
Preparing Asparagus For Canning
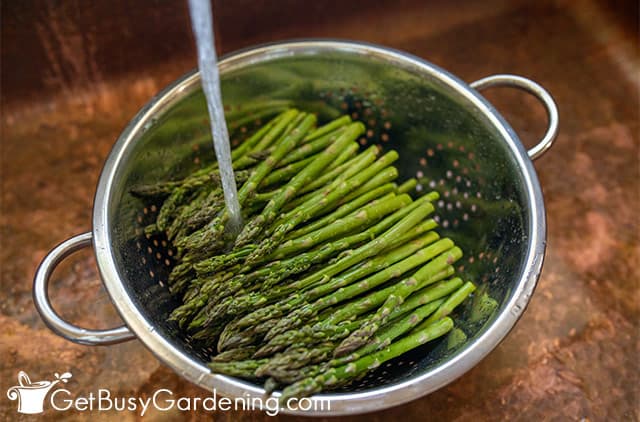
To prepare your asparagus for canning, first give it a quick rinse to remove any dirt or debris.
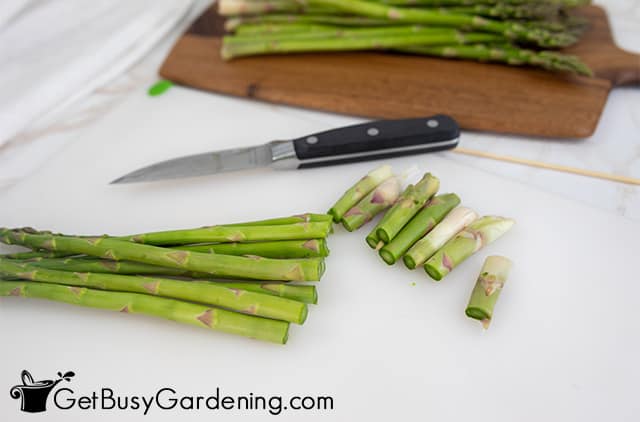
Then, trim off the hard end of the stems and cut the spears into about 4-6 inch pieces, or to the length that fits best in the size of the jars you use.
Be sure to wash and sterilize your jars and keep them hot and ready until it’s time to fill them.
Methods For Canning Asparagus
There are two ways you can pack asparagus into your jars for canning: either hot or raw.
The one you choose depends on the amount of time you have and your personal preference. Try both methods to see which one works best for you.
Hot Packing
Hot packing means that you place the spears in boiling water for 2-5 minutes, and then put them into the jar right after.
This can help preserve the quality of your canned asparagus while it’s stored, but it does add more time to the process.
Raw Packing
Raw packing is the simplest and quickest option because all you do is place the spears into the jars, then add the hot water or brine.
The downside is that the asparagus tends to float when you pour liquid into the jar, which can be frustrating. The workaround is to pack the spears tightly to prevent them from floating.
Related Post: How To Make Pickled Asparagus (With Recipe)
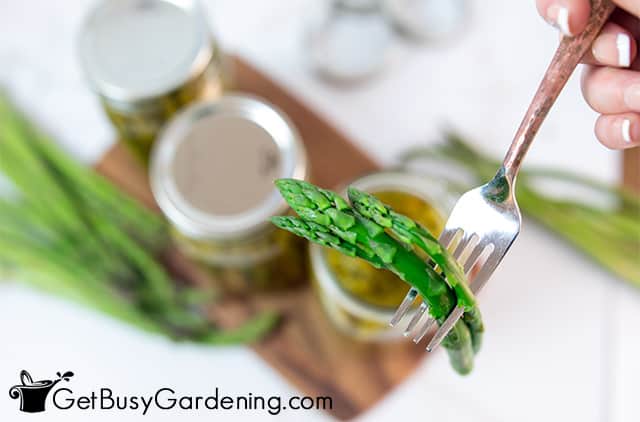
Pressure Canning Asparagus
Because it is a low-acid vegetable, the only safe way to can asparagus at home is by using a pressure canner.
The high heat is essential to kill all of the potentially harmful bacteria, and this cannot be achieved in a hot water bath.
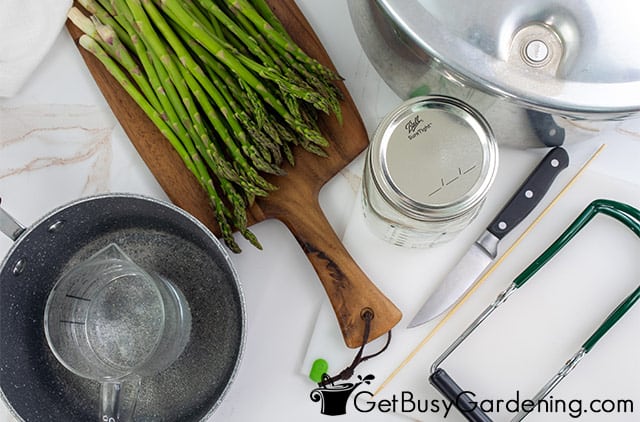
Tools & Equipment Needed
Below is a list of the items that you’ll need to can your asparagus. Make sure you gather everything before you start to make the process easier. You can see my full list of tools and supplies here.
- Pressure canner
- Quart sized jars
- New jar lids
- Paring knife
- Colander
- Bubble remover tool
- Jar lifting tool
- Dissolvable labels
- OR Permanent marker
- Ladle (optional)
- Canning funnel (optional)
How To Store Canned Asparagus
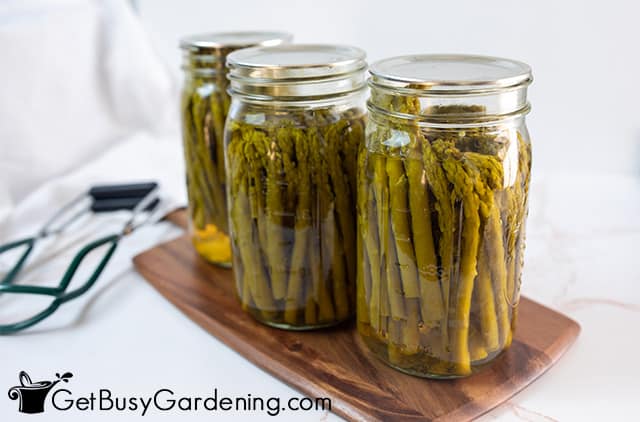
It is important to store your canned asparagus in a cool, dry, and dark place such as your pantry or kitchen cabinet.
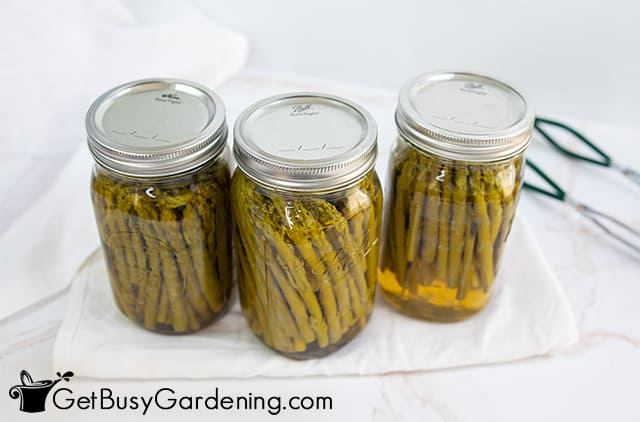
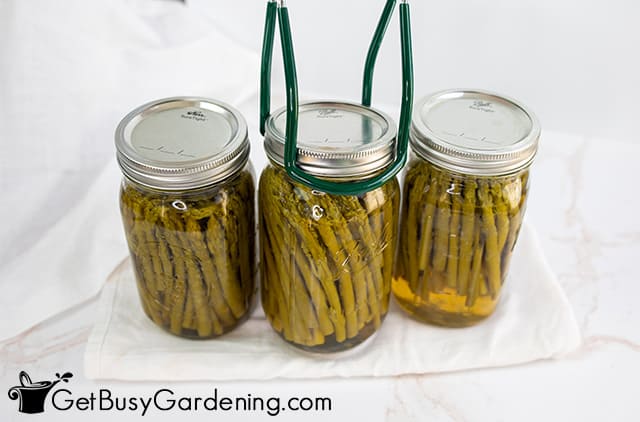
Before storing it, remove the bands and make sure that all of the lids have a tight seal. Check them by pressing on the center of the lid to ensure they don’t move.
If you have any that didn’t seal, put them in the fridge and consume them within 3 to 4 days.
How Long Does Canned Asparagus Last?
When stored properly, canned asparagus will last for about 3 to 5 years. Always check that each one still has a tight seal before eating it.
FAQs
Below are my answers to some of the most common questions I get asked about canning asparagus.
Do you need to blanch asparagus before canning?
No, you do not need to blanch asparagus before canning it, especially in plain water. If you want to use a brine, then it is often nice to blanch it first as it softens the spears slightly to better absorb the flavors from the brine.
Can you can asparagus without pickling it?
Yes, you can can asparagus without pickling it, as long as you use a pressure canner.
Is home canned asparagus mushy?
Home canned asparagus is not mushy as long as you process it correctly, though it will be softer than it is when it’s raw. If yours is mushy it’s usually a result of overcooking.
Does asparagus need to be pressure canned?
Yes, asparagus does need to be pressure canned because it’s a low-acid food. This is the only safe method to use at home, as a boiling water bath can’t get hot enough.
Can asparagus be water bath canned?
No, asparagus cannot be water bath canned, as it is not naturally acidic. A boiling water bath will not get it hot enough to kill all of the harmful bacteria.
If you’d like to learn how to make the most of your space and get as much homegrown food as possible, then my Vertical Vegetables book is perfect! It will teach you all you need to know, has tons of gorgeous photos, and includes 23 DIY projects you can build for your own garden. Order your copy today!
Learn more about my Vertical Vegetables book here.
More Food Canning Posts
- How To Can Peas
- How To Can Carrots
- How To Can Green Beans
- How To Can Peppers
- How To Can Beets
- How To Can Rhubarb
Share your tips for canning asparagus in the comments section below.
Recipe & Instructions
How To Can Asparagus
Canning asparagus is a fantastic way to enjoy it all year round. It’s perfect to use in any recipe, or as a quick heat-and-serve side dish to serve at any meal. Learn everything you need to know in these easy steps.
Ingredients
- 6 pounds of asparagus
- 6 cups of water
Instructions
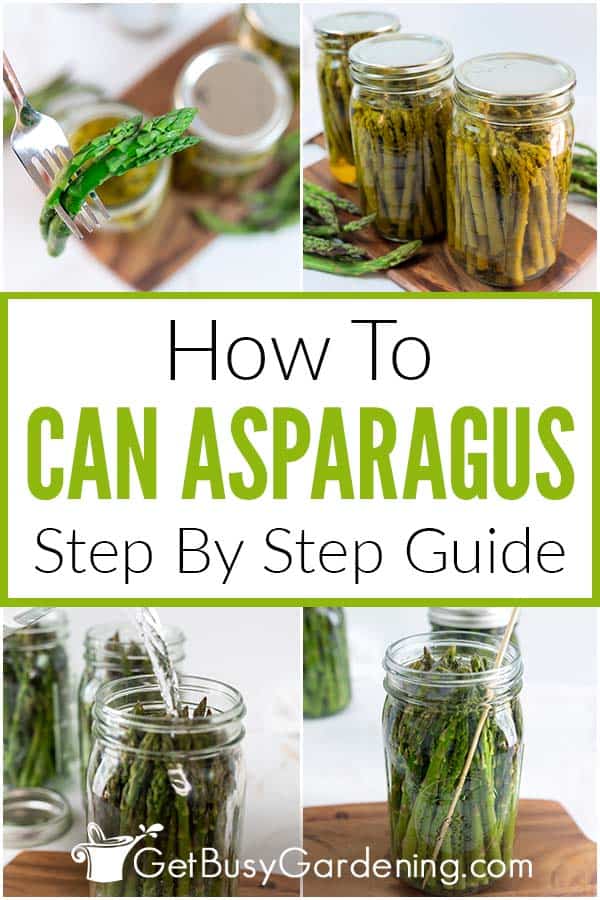
- Prepare the pressure canner - Position the rack in the bottom of your pressure canner, then fill it with 2-3” of water and bring it to a boil on the stove.
- Prepare the asparagus - Rinse your asparagus using a colander then use a knife to remove the hard ends of the stems. Cut the spears short enough so they will fit into your jars with a 1” headspace on top.

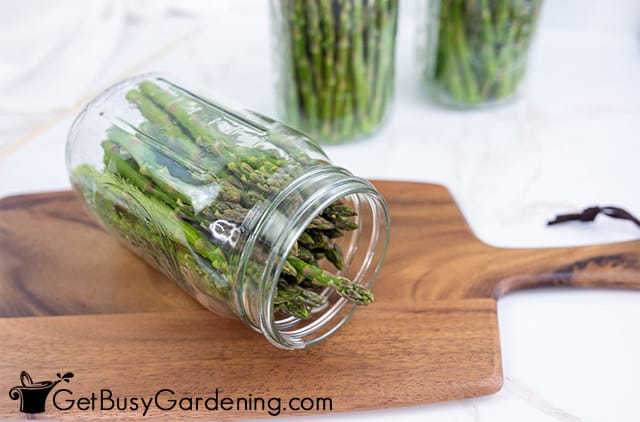
- Pack the jars - Lay each canning jar on its side to make it easier to pack it tightly. Take care not to force any of the spears into the jar or you risk breaking them.

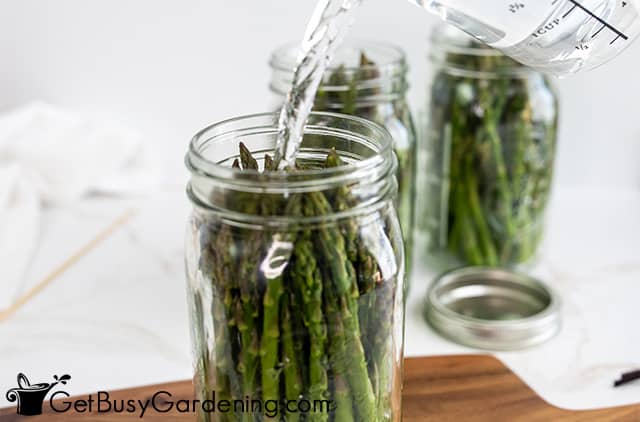
- Add boiling water - Pour boiling water over the asparagus to fill each jar, keeping 1” of headspace on top. You can use a ladle and canning funnel to make this easier.

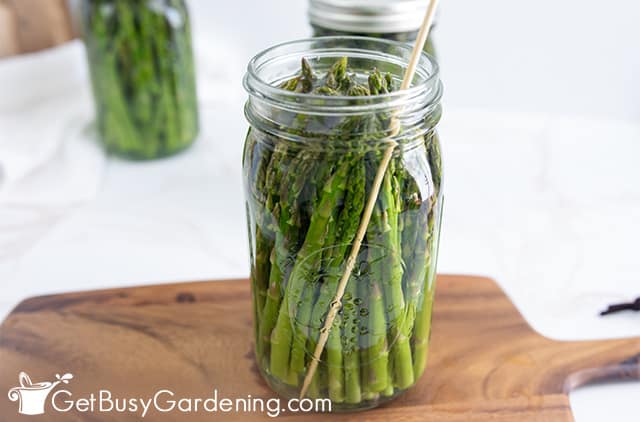
- Remove air bubbles - Use a bubble popping tool or wooden skewer to remove any large air bubbles from the jar. Don’t use metal for this or you risk damaging the glass.
- Place the lids and rings on - Place a new lid on top followed by a band, and twist just enough to secure them finger tight. Do not overtighten.

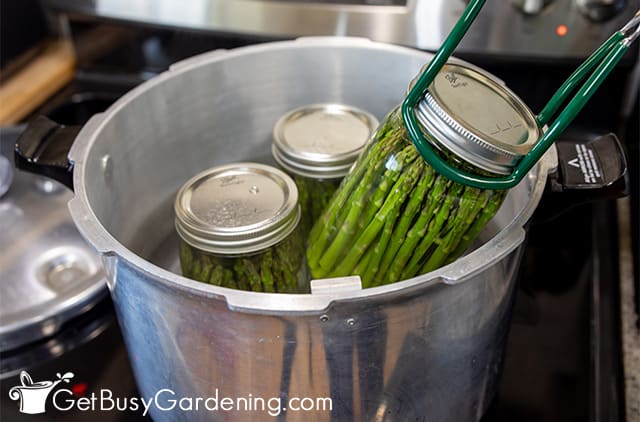
- Put the jars into the canner - Use your jar lifting tool to carefully place each one into the canner right after you fill it so they don't have a chance to cool down. Once all of the jars are inside, place the lid on your pressure canner, lock it into place, and bring it to a boil on high heat.

- Process the jars - Let the canner vent for 10 minutes before closing it fully, or until the vent closes automatically (depending on your canner). Continue heating until it reaches 11 PSI for a dial gauge, and 10 PSI for a weighted gauge. Then process the quart jars for 40 minutes.
- Remove the jars - Turn off the heat and allow the canner to cool completely before opening it and removing the jars. This can take 20-30 minutes.

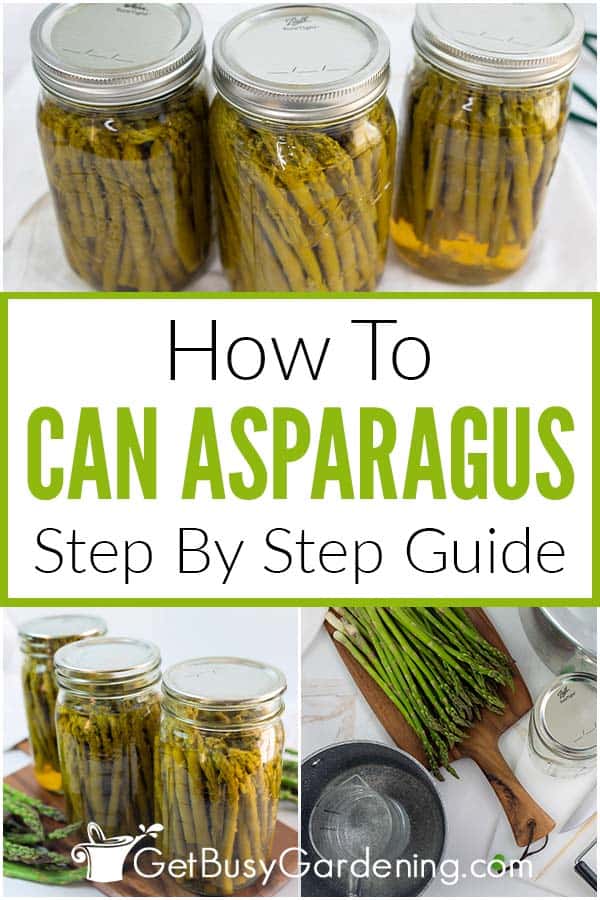
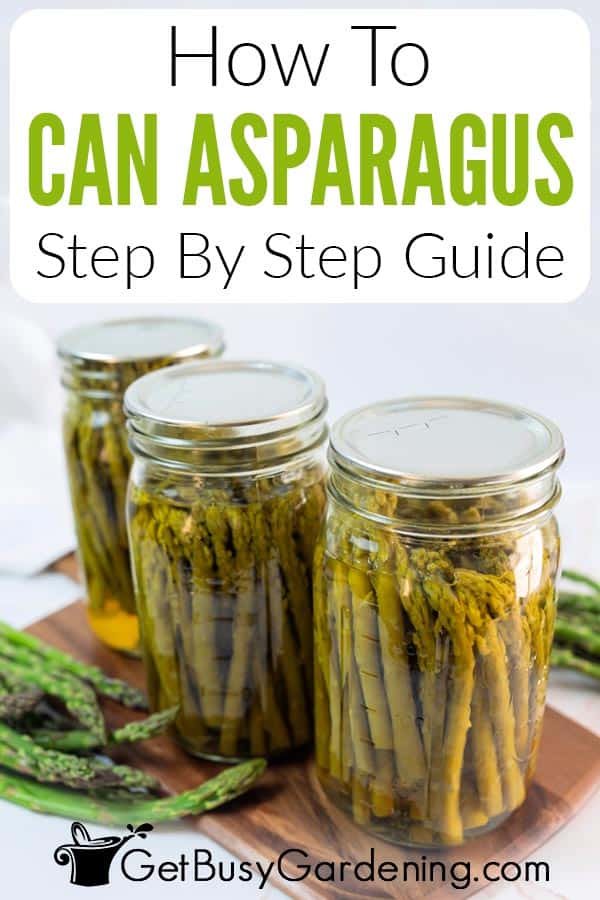
- Cool and label - Let the jars sit out on the counter until they reach room temperature, then remove the bands and label them. You can either write on the tops with a permanent marker or use dissolvable labels. Store them in a cool, dark place.
Notes
- Because asparagus is a low acid food, it must be pressure canned. This is the only way to ensure all bacteria is destroyed, and that it is safe to eat.
- It's important to keep the jars hot at all times. So plan ahead and boil the processing water before filling them, then place them in there as soon as they are packed.
- Also, be sure to work fairly quickly to pack your jars so they do not cool down before processing them.
- Don't be alarmed if you hear the random pinging sounds as the jars cool, it just means the lids are sealing.
- If you live at an altitude higher than 1,000 feet above sea level, then you'll need to adjust your pressure pounds and processing time. Please see this chart for the proper conversions.
Nutrition Information:
Yield:
12Serving Size:
1 cupAmount Per Serving: Calories: 50Total Fat: 1gSaturated Fat: 0gTrans Fat: 0gUnsaturated Fat: 0gCholesterol: 0mgSodium: 36mgCarbohydrates: 9gFiber: 5gSugar: 3gProtein: 5g


Leave a Reply