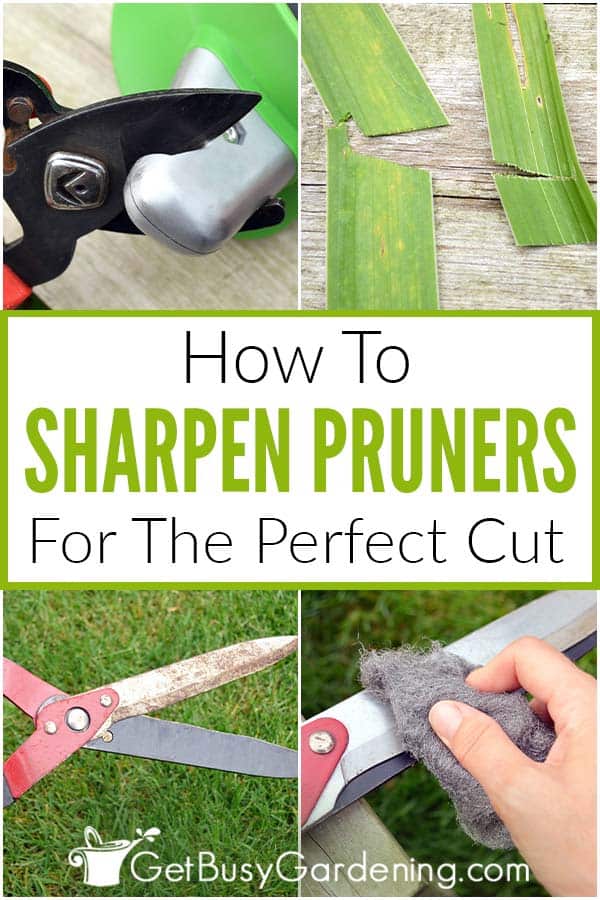
Sharpening pruning shears is very important so you can get the perfect cut every time. It may sound like a lot of work, but it’s actually pretty easy. In this post, I’ll show you exactly how to clean and sharpen garden shears, step by step.
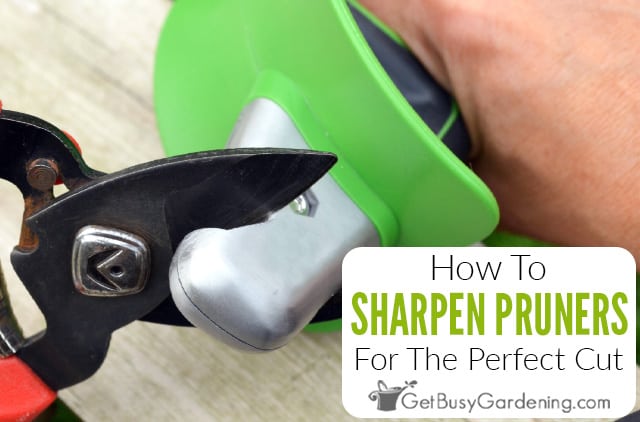
If your garden shears have gotten a little dull and rusty, you don’t have to buy a whole new pair. Sharpening pruning shears yourself is easier than you think!
There’s no need to spend a bunch of money either. With a little bit of time and elbow grease, you can have those old rusty garden tools looking and working like new again.
Plus, taking the time to sharpen your shears on a regular basis will not only make them last longer, pruning plants will be sooooo much easier for you (and healthier for your garden too)!
What To Use To Sharpen Garden Shears
Every time I talk about this topic, one of the first questions I get asked is “what tool do you use to sharpen garden shears?”.
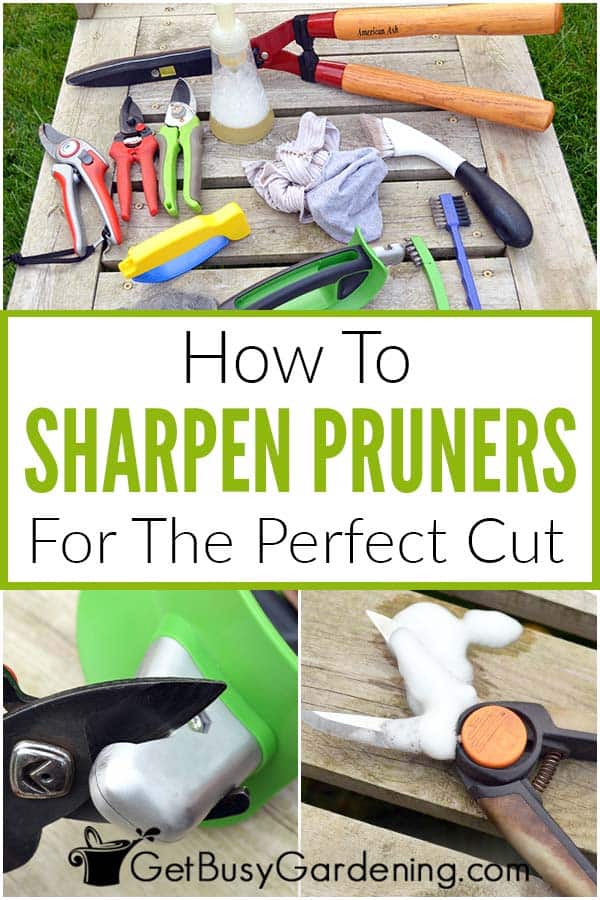
The good news is, you have several options to choose from. Heck, you might already have a sharpening tool on hand that will do the job just fine. Here are a few of the most common…
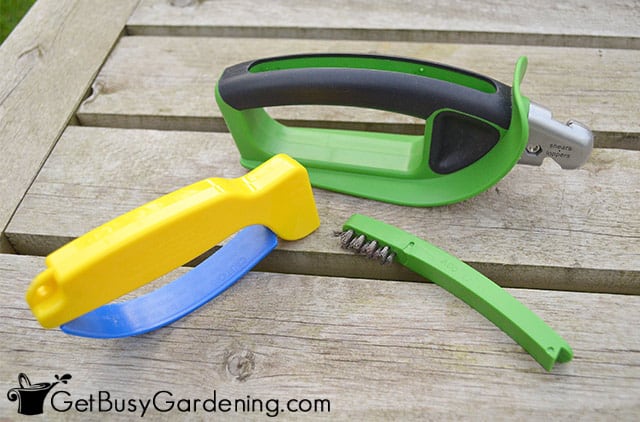
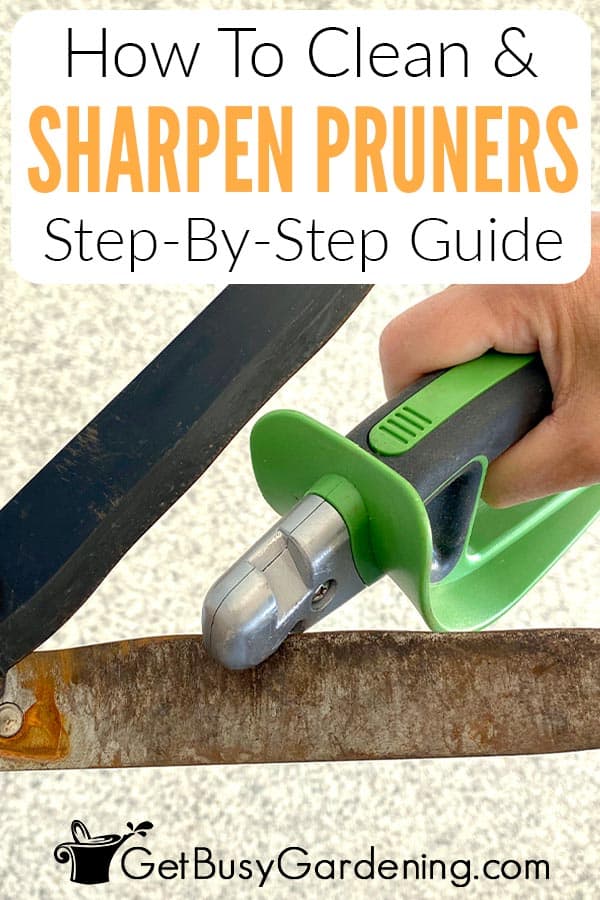
- Garden tool sharpener – This is my preferred tool to use, and is specifically made for sharpening garden shears and loppers. I highly recommend this one, especially for beginners.
- Scissors sharpening tool – If you already have a tool for sharpening your scissors, then you can use that on your shears too. No need to buy a different one.
- Diamond file – Some people prefer to use a basic diamond file. So, if you have experience using one, then it will work great to sharpen garden tools too.
- Sharpening stone – You can also sharpen the blades of your pruning shears just like you would a knife using a sharpening stone.
How To Sharpen Pruning Shears
The good news is that it’s super easy to sharpen pruning shears, and it doesn’t take long to get them working (and looking) like brand new again.
Plus you don’t need many supplies to get the job done. You probably already have most of this stuff around the house.
Supplies Needed
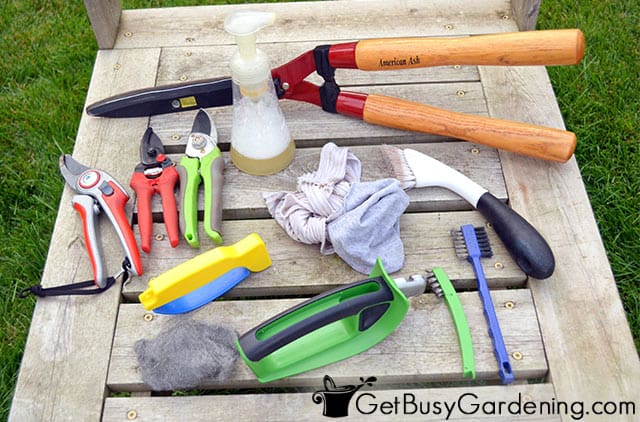
- Sharpening tool (I use either my garden tool sharpener, or a scissors sharpener)
- Something to test your cuts (e.g.: plant stems or leaves)
- Liquid soap
- Cleaning rags (a dry one and a damp one)
- Scrub brush (optional)
- Wire brush (optional)
- Steel wool (optional)
- Lubricating oil (mineral oil, linseed oil, 3-in-one, WD-40, etc…)
- Goo Gone or orange essential oil (optional)
Step By Step Instructions
1. Clean Your Pruning Shears
Before sharpening pruning shears, it’s a good idea to clean them to remove any gunk that has built up over time. This will get rid of any impediments that might get in the way while sharpening the blade.
This might simply be a matter of wiping them off with a damp rag, if they’re not very dirty. But if yours are as neglected as mine have been, then follow these steps to clean them up.
Step 1: Wash them – Wash your pruners with soap and water to remove the dirt, then wipe them off with a damp rag afterward.
You can rinse them off with water when you’re done, but don’t soak them. That could do more harm than good, and cause the metal to rust faster.
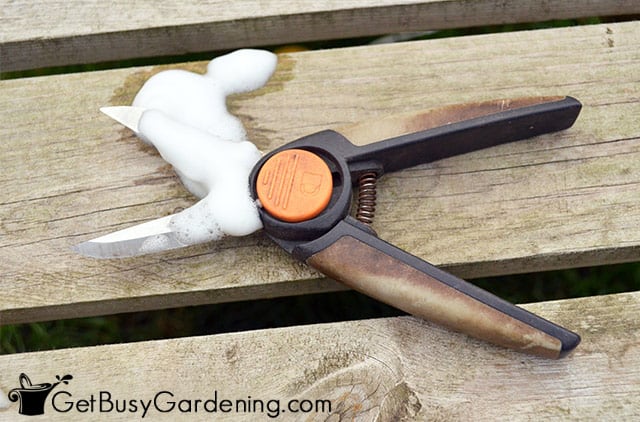
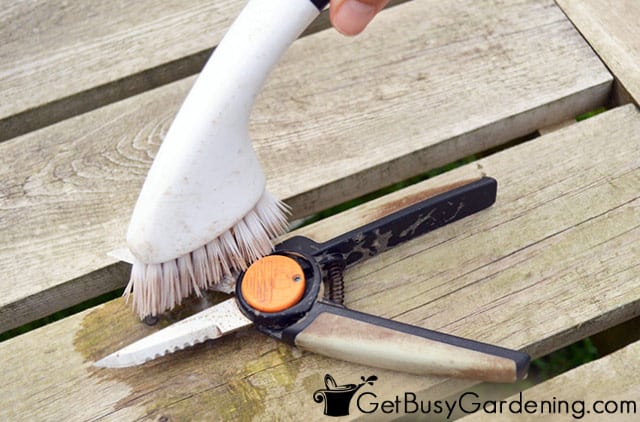
Step 2: Scrub them if necessary – If there’s caked on dirt and grime that won’t come off easily, use a cleaning brush to scrub it off.
If necessary, rub orange essential oil or a product like Goo Gone onto the blade to remove any tough gunk and sticky sap.
While you’re at it, make sure to clean the handles and other parts too, don’t just focus on the blade. You might as well take a few extra minutes to make them look brand new again too.
2. Remove Rust From The Blade
Sometimes rust can build up on the blades of garden shears. This can cause them to stick together, which makes them difficult to use.
So, if any of your pruning tools look like my hedge trimmers, then follow these steps to remove the rust from the blade. Otherwise, skip to section 3: Sharpening Pruning Shears below.
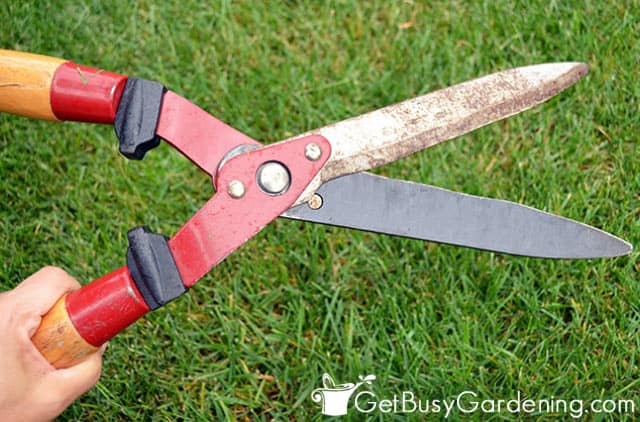
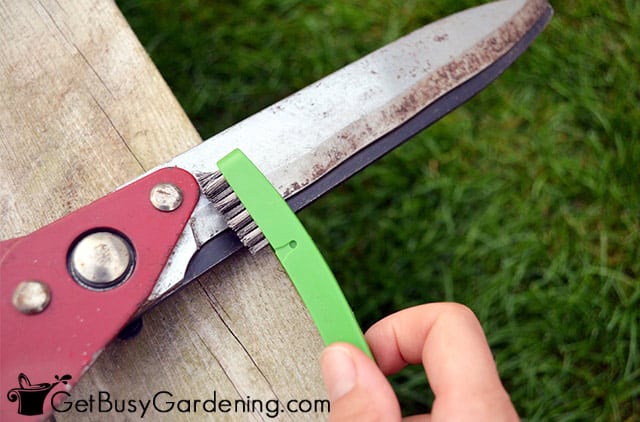
Step 3: Use a wire brush to remove tough rust spots – First, brush off any thick rust spots with a wire brush. You’ll also need to use it to remove the rust around the edges, and in any crevices.
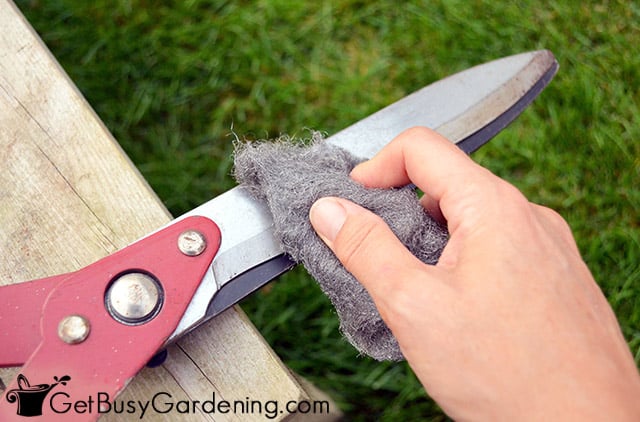
Step 4: Clean rust off the blades with steel wool – Now you can scrub the blade with steel wool to clean off any remaining rust.
It only takes a few minutes to get the blades all shined up and looking brand new (plus it’s a really good tricep workout, bonus!).
With a little bit of elbow grease, your garden shears will look brand new, and be ready for sharpening. Amazing!
3. Sharpen Pruning Shears
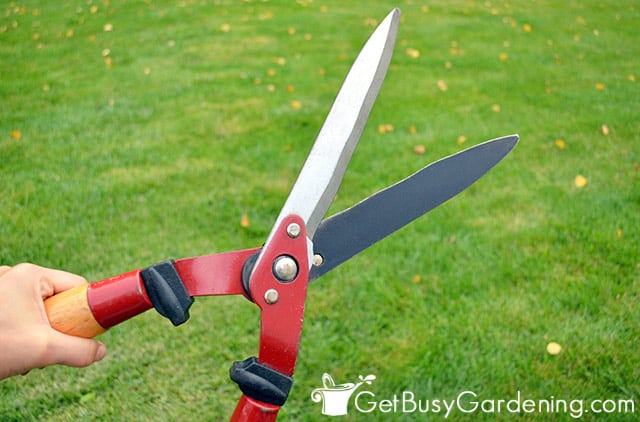
Once you’ve cleaned your garden shears and removed the rust, it’s time to sharpen the blades.
You can follow the steps below to sharpen any type of pruning shears. Whether you have large or small hand pruners, precision snips, hedge trimmers, or loppers.
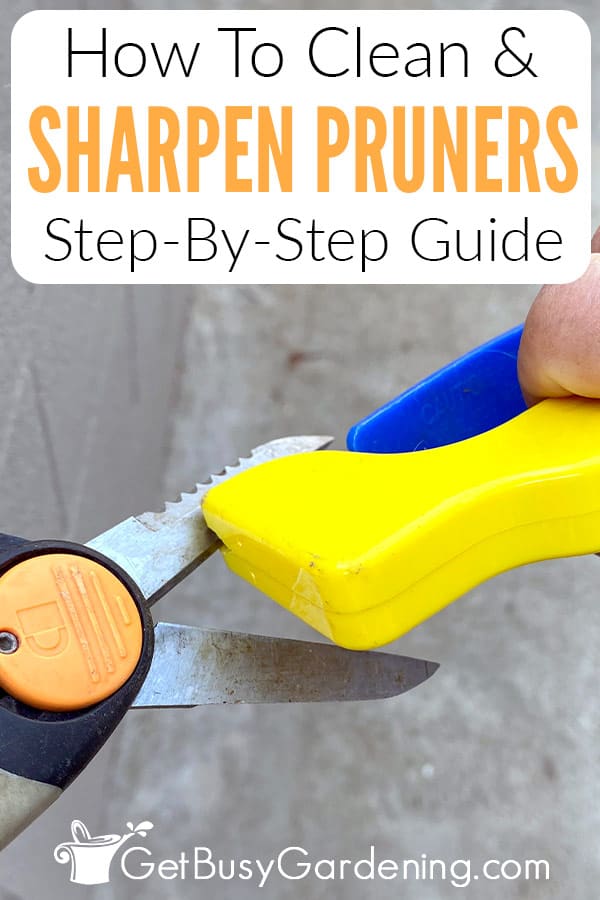
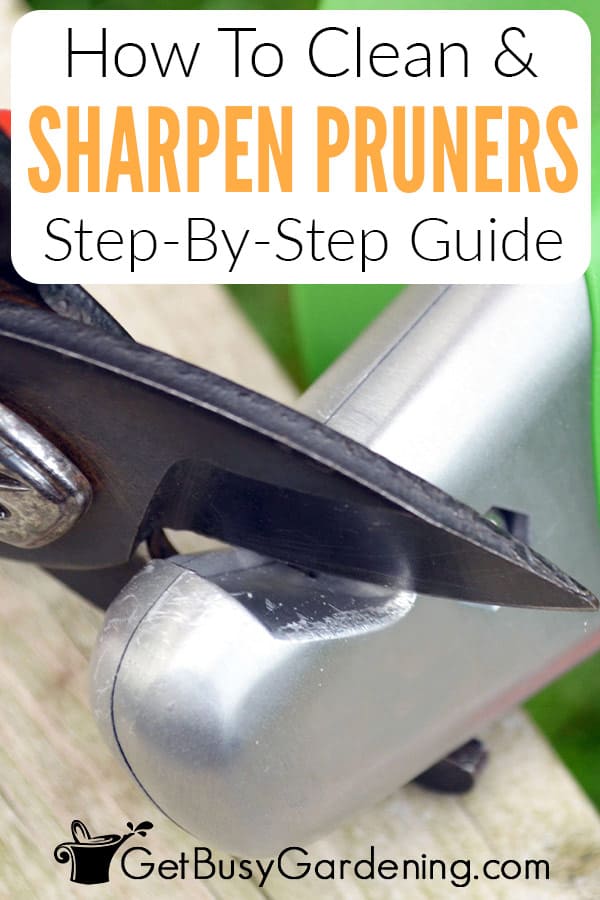
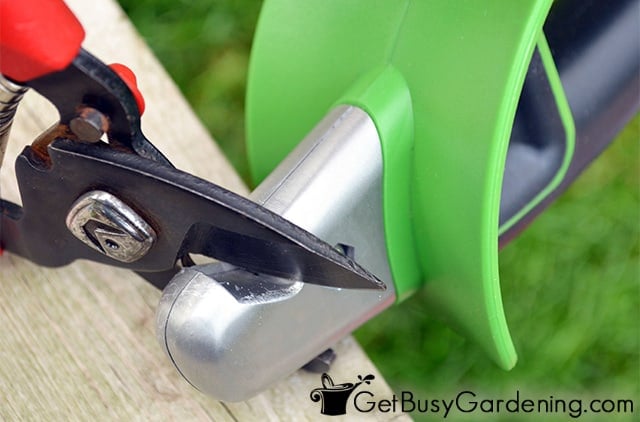
Step 5: Find the correct angle – Hold the sharpening tool against the blade at the same angle of the existing bevel (usually about a 20-25 degree angle).
If you’ve never sharpened pruners before, it might take some practice to get the correct angle on the blade.
Step 6: Sharpen the blade – Working from the base to the tip, scrape the tool sharpener down the length of the blade in one smooth stoke, pressing it firmly.
Repeat the same action 10-20 times (for super dull blades, it could take 25-30 strokes).
Many types of pruners are only sharp on one side of the blade, and the other side is flat. If that’s the case with yours, you only need to sharpen the blade side, and leave the flat side alone.
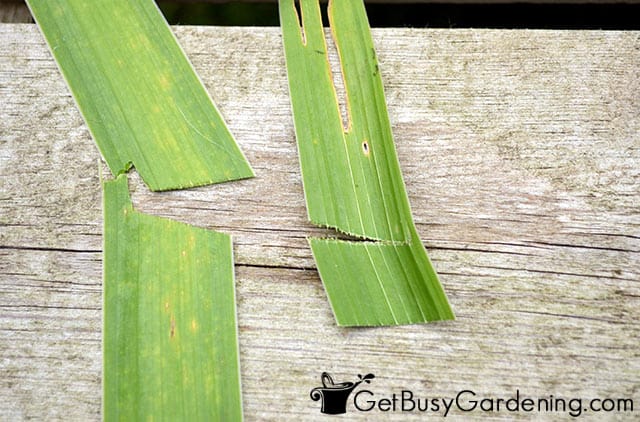
Step 7: Test for sharpness – Test the sharpness of the blade on some leaves or branches after each series of strokes. Once you get a clean and easy cut, then you know you’re done.
4. Lubricate The Blades
This step is completely optional, but I highly recommend taking 5 minutes to lubricate your pruning shear blades after sharpening them.
This will make your hard work last much longer, and protect the metal from future rust and grime buildup.
Step 8: Polish the blades with lubricating oil – For this step, I like to use a more natural product, like linseed oil or mineral oil. But you could certainly use 3-in-one or WD-40, if that’s what you have on hand.
Simply spray the blade with the lubricating oil of your choice. Then use dry rag to rub it in, and wipe off the excess.
Now you can sit back, and enjoy your beautifully sharp and like-new pruners. Or, if you prefer, put them to work right away.
Properly sharpened pruning shears make all the difference. Not only are they better for your plants, but maintaining sharp blades will make pruning so much easier for you too.
More Posts About Garden Tools
More Posts About Pruning
Share your tips for how to sharpen garden shears in the comments section below.



Jamie says
These are great tips to do during fall and winter! Then, come Springtime, you’re ready to go. 🙂
Amy Andrychowicz says
Exactly! I try to make a habit of sharpening my garden tools in the off-season too. Nothing like feeling like you’re getting ahead of the game. LOL!
Erlene Amat says
What a difference it makes to use steel wool to clean up the rust on the blades. I think I have a project for the hubby 🙂
Amy Andrychowicz says
I know, right? It’s amazing how easily it cleans up those rusty blades.