Sterilizing canning jars sounds scary, but it’s really very easy. It just takes a little bit of time.
In this post, I’ll show you how to prepare jars for canning, and walk you through everything you need to know step by step.
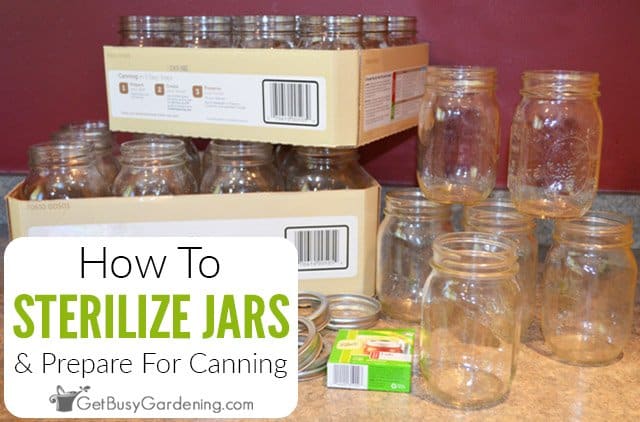
If you are getting into canning, then you know that proper sterilization is one of the most important aspects for safety.
But don’t worry, sterilizing jars for canning is much easier than it sounds. You don’t even need any specialized equipment!
Below I’ll guide you through how to safely prepare jars for canning, with detailed step by step instructions.
Once you’ve gone through the sterilizing process, you’ll be amazed how easy it is. Just follow the instructions below to feel confident about preparing canning jars whenever you need them.
How To Sterilize Jars For Canning
The only safe way to sterilize canning jars is to boil them. Using the dishwasher or a hot oven are not effective methods.
Though it sounds like it would be difficult, sterilizing jars for canning is actually pretty easy. It just takes a little bit of time and preparation.
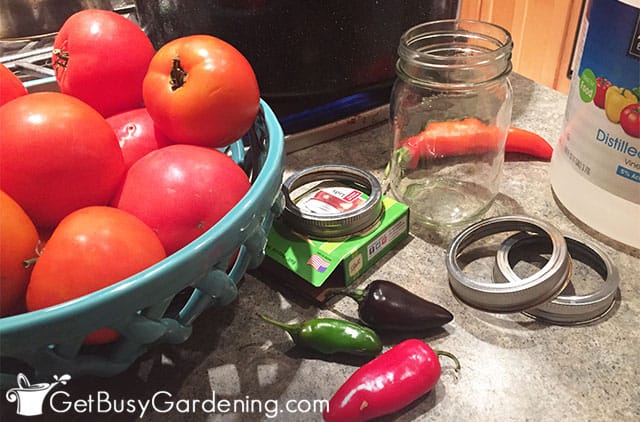
Preparing Jars for Canning
Below I will walk you through the entire process, step by step. But first you should gather your supplies. Here’s what you’ll need…
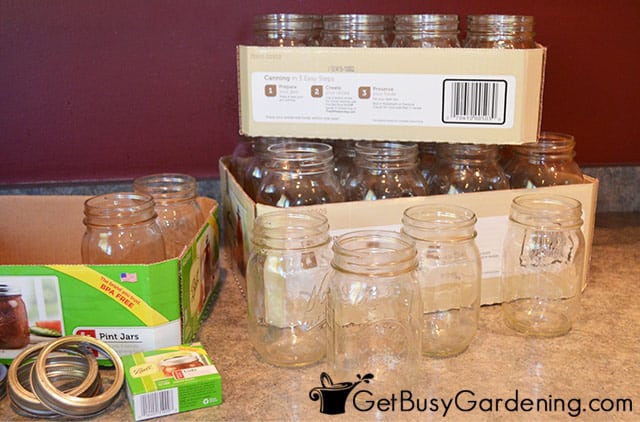
Supplies Needed To Sterilize Jars For Canning
- Canning jars
- Hot water
- Water bath canner, or other large pot
- Soapy water
- Dish brush, or clean dishcloth
- Canning jar lifter, or regular kitchen tongs
- White vinegar (optional)
For more details, see my full list of food canning equipment and supplies here.
Steps For Preparing & Sterilizing Canning Jars
First I’ll give you a quick overview of the steps for your reference, then I’ll go into the details for each below. Here are the steps for sterilizing jars for canning…
- Fill your water bath canner
- Add vinegar (optional)
- Inspect the jars for any defects
- Wash the jars in soapy water
- Rinse the clean jars with hot water
- Put the hot jars into the boiling water canner
- Cover the jars with water
- Boil them for 10 minutes to sterilize
Step 1: Fill your canner with water – It takes a while for a large pot of water to boil, so plan ahead.
The first thing I do is fill my water bath canner with hot water, and turn it on high so it can start to boil as I’m working to clean my jars.
Step 2: Add vinegar to the water (optional) – After using canning jars a few times, you might notice a white film building up on them. This is totally normal, and nothing to worry about.
To get rid of that, I add about 1/4 – 1/2 cup of white vinegar to the water before boiling the jars.
Adding white vinegar to the water prevents this white film buildup, and helps keep your jars looking their best.
Step 3: Inspect the jars for defects – One of the most important steps in preparing jars for canning is to inspect each one. Discard any that have nicks, cracks, or an uneven rim.
You can toss the damaged ones into the recycling bin, or set them aside to use for dry storage or craft projects. Even if your jars are brand new, don’t skip this step.
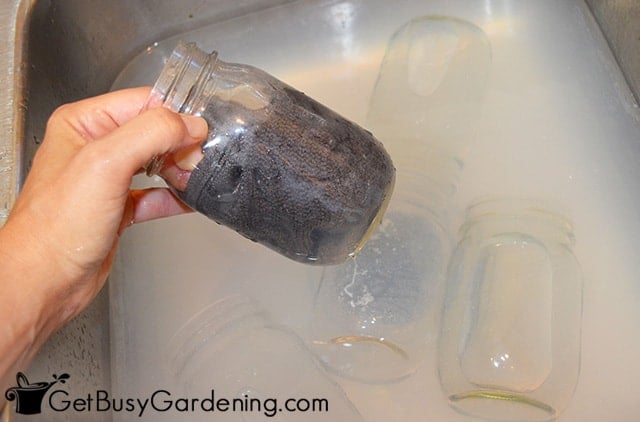
Step 4: Wash them in soapy water – Wash both previously used and brand new jars in hot, soapy water. If you plan ahead, you can wash them in the dishwasher instead of by hand.
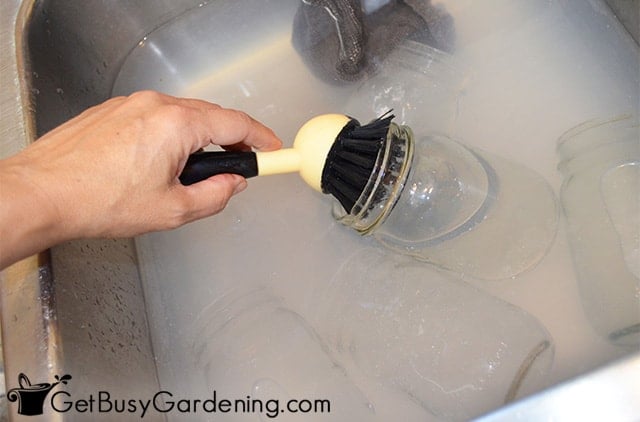
Since I store my empty ones on a shelf in my basement (where they can get dusty), I like to use a plastic dish brush to clean them.
Never use a brush with abrasive bristles though, like wire or steel wool. Those could damage or weaken the glass.
You don’t have to be too fussy about cleaning the jars if they aren’t super dirty. Just give them a quick wash.
Step 5: Rinse the clean jars – Rinse the jars thoroughly, taking care to get all of the soap off.
Since you’re going to be putting them into boiling water, then it’s crucial that you rinse them in hot water, and put them into the pot or canner right away.
As you’re working to sterilize jars for canning, never allow the glass to cool before you put them into hot water, or they could break.
I like to fill my jars before adding them to the canner. This way, I don’t have to fill the pot so full in step 1, and carry that heavy thing to the stovetop.
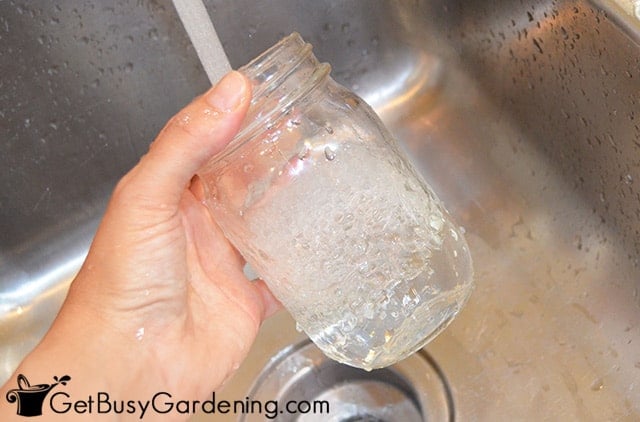
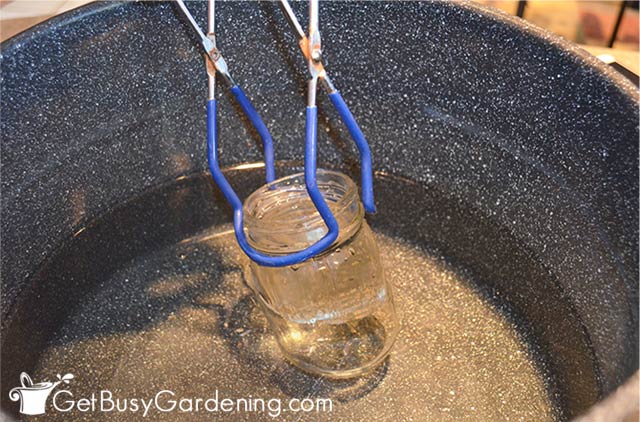
Step 6: Put hot jars into the canner – Gently add the hot, clean jars to the water in the canner, standing them upright.
Don’t drop them into the water, or let them bang against each other. That can cause them to crack or chip.
Plus, if you carelessly plop them into the pot, it will splash scalding water everywhere. Ouch!
To avoid that, turn empty jars sideways as you slowly lower them into the water. If you ask me, a canning jar lifter is an essential tool for moving them in and out of the boiling water.
You could certainly use regular kitchen tongs for this, but they are a bit clunky, and don’t hold on as well as a jar lifter.
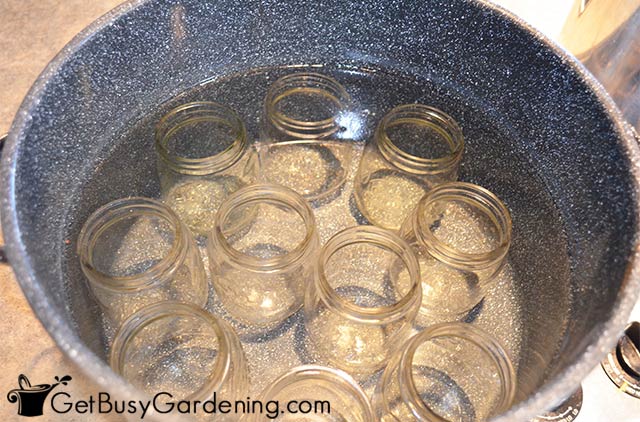
Step 7: Cover the jars with water – Once all the jars have been cleaned and put into the hot bath canner, add more water to cover them completely (if necessary).
Step 8: Boil the jars – Bring the water to a boil, and maintain it with the canning jars fully submerged for 10 minutes to sterilize them.
You can turn off the burner once they are done boiling, but don’t remove them from the canner until you are ready to fill them.
If you let them cool down, they could break while you’re filling them with hot liquid, or when you process them. Plus, cool jars also won’t form a proper seal once you put the lids on.
FAQs
Preparing jars for canning is really quite simple, but you might still have some questions. Below are answers to a few of the most common ones I get about sterilizing jars.
Do you need to sterilize canning jars?
No, it isn’t always necessary to sterilize canning jars before using them.
You can skip this step if you will be processing them in a pressure canner after filling them, or if the instructions in your recipe say you don’t need to sterilize the jars first.
However, taking this extra step doesn’t hurt. And it ensures that your jars are clean, safe, and ready, no matter what method you use to can your food.
Will a mason jar break in boiling water?
If you put a cold mason jar into hot water, then yes, it will likely break. That’s why it’s extremely important to heat the glass before putting them into boiling water.
You can heat them up first by running them under warm water, and slowly turning it up to hot. Or take the jars out of the dishwasher while they’re still hot.
Do you need to sterilize jars for pickling?
Yes, I recommend sterilizing jars before pickling, unless your recipe says you don’t need to. Always follow the exact recipe instructions for safety.
Can you sterilize canning jars in the oven?
No! Using the oven is not an effective method of sterilizing canning jars. The only safe way to do it is by boiling them in hot water for at least 10 minutes, as described above.
How long do you boil lids for canning?
You should allow lids to boil for at least 10 minutes to get the maximum sealing benefits. The lids will be sterilized and softened, which makes them easier to work with when you fill the jars with food.
Overall, preparing jars for canning is simple, and doesn’t take much time. Once you’re familiar with the process, there’s nothing to it. And properly sterilizing canning jars will ensure that your food is safe and healthy.
More Food Canning Posts
Share your tips for how to prepare and sterilize canning jars in the comments section below.


Christine says
I’m not understanding why you wouldn’t just put the jars in the water before you start the burner in the sterilization phase. Other than not knowing when it comes to a boil, is there a reason not to do it that way? Is it because it takes longer to come to a boil with the jars in it? What am I missing?
Amy Andrychowicz says
You can certainly wait until after you wash all of your jars and add them to the pot of water before you turn on the burner if you prefer, it won’t hurt the sterilization process. I like to get the water boiling as I work to clean the jars because it’s much faster. I add each jar into the water as I wash them, I don’t wait until the water is boiling to add them. Usually by the time the pot is full of jars, it’s close to boiling, so I don’t have to wait the extra time it takes for it to come to a boil after washing all of my jars. Hopefully that makes sense. 🙂
Janet Poot says
Do you boil the lids and rings with the jars or separately? Instructions please?
Amy Andrychowicz says
You can do it either way. But I find it’s much easier to boil the lids and rings separate from the jars, in a smaller pot. That way it’s easier to get them out, rather than having to fish them out of the deeper pot around all the jars.
Veronica says
I’m concerned about taking the jars out to be filled. Won’t there be water still in the jar? How do I know that they are dry enough to fill?
Amy Andrychowicz says
Yes, the sterilized jars will be filled with water when you pull them out of the pot. I use my canning jar lifter to carefully tip them as I pull them out to empty them (just pour the water right back into the pot). The jars need to be empty, but you don’t need to dry dry them before you fill them. You should fill them right after pulling them out of the boiling water canner, so they don’t have time to cool down. Hope that makes sense.