Making aloe vera gel at home is surprisingly easy, and you don’t need any special tools or equipment. In this post, I’ll show you exactly how to do it step by step.
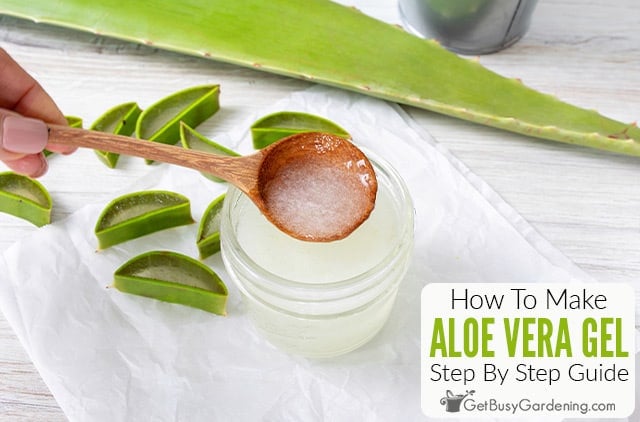
It might sound like making your own aloe vera gel from the leaves of your plant would be a lengthy and complicated process, but it’s actually quick and simple to do.
With just a few common kitchen items and about 30 minutes of your time, you can make your own aloe vera gel from scratch.
Below I’ll show you everything you need to know, and give you detailed step by step instructions for how to do it.
Making Aloe Vera Gel At Home
Yes you can easily make your own aloe vera gel from your plant at home, and it is very quick to do. But it’s important that you do it properly to have the best results.
Don’t worry, I’ll tell you where to find the gel, walk you through how to extract it, and give you processing and storing tips too.
Where To Find The Gel
As you may already know, aloe vera gel is located inside the leaves of the plant.
The larger and plumper they are, the more gel they will have inside of them. If you don’t know how to harvest aloe vera leaves, learn the exact steps here.
But to safely process the gel, you must first properly extract it from the leaves.
How To Extract Aloe Vera Gel From A Leaf
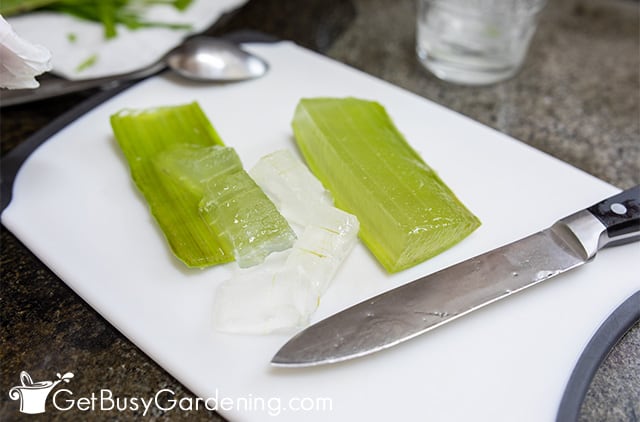
You can extract aloe vera gel from a leaf by squeezing it out (if smaller), by cutting the skin off, or by removing the flat outer layer and then spooning out the flesh.
But before we jump into the details of how to extract the gel, it is important to first get rid of as much of the yellow liquid, called aloin, as possible because it is a skin irritant.
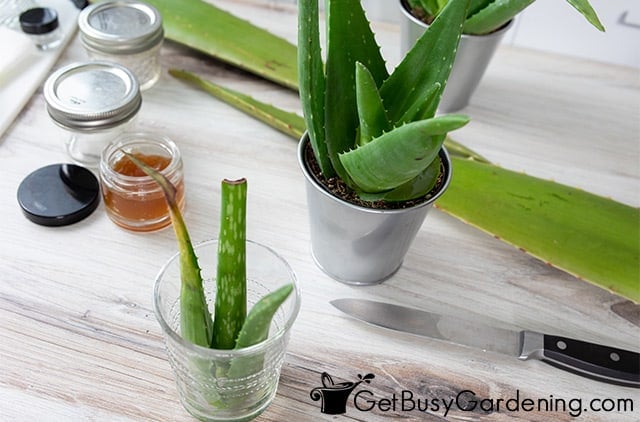
To do that, simply place your leaf into a glass or vase with the cut side facing down for 15 minutes so all of the liquid can drain out. Then simply rinse it away.
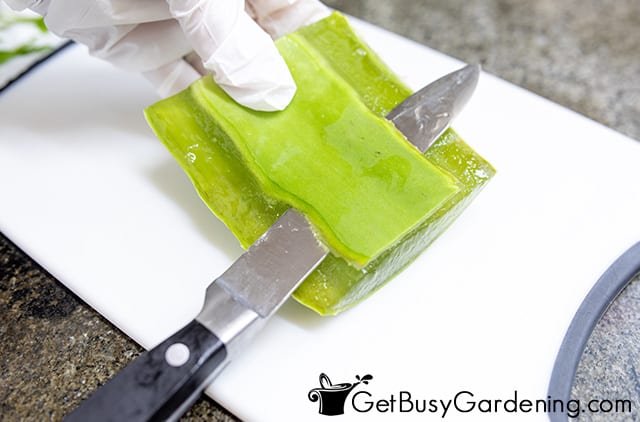
After you have drained and rinsed your leaf, you’re ready to extract the gel. Place the leaf flat-side down on a cutting board, and slice off the outer skin using a sharp knife.
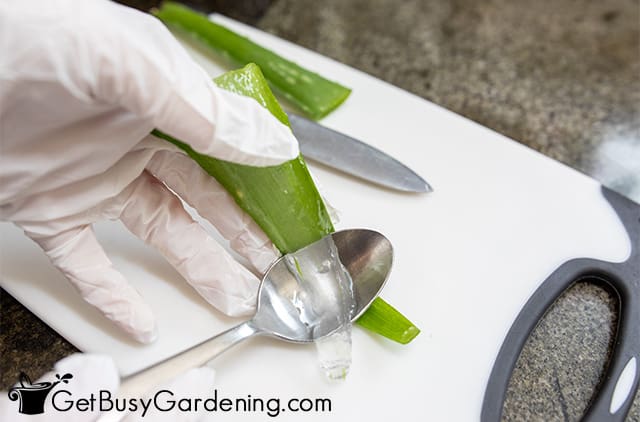
Flip it over and do the same thing on the other side, or use a spoon to scrape out the flesh.
Related Post: How To Grow & Care For Aloe Vera Plants
Tools & Equipment Needed
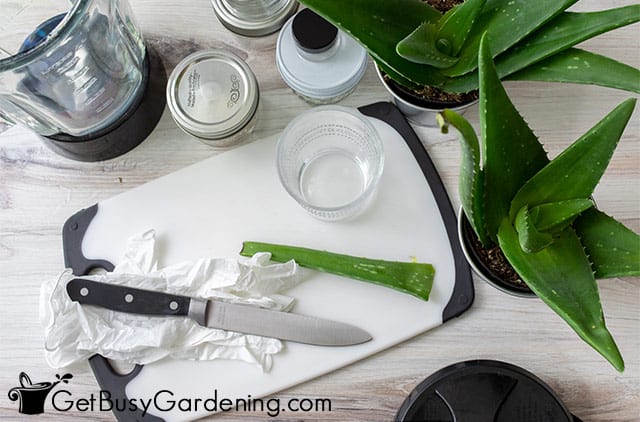
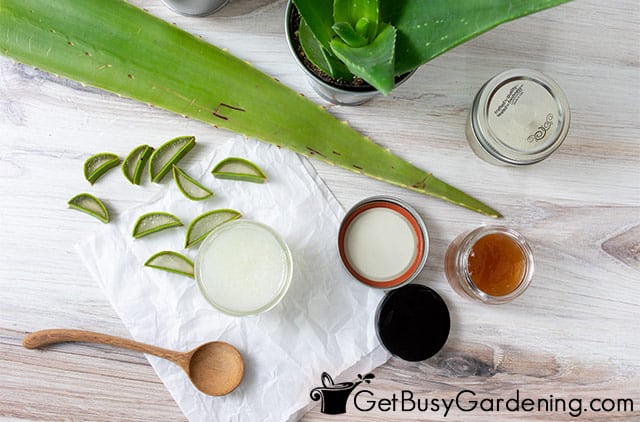
You only need a few things from your kitchen to make homemade aloe vera gel. Gather these items ahead of time to speed up the process.
- Sharp knife
- Cutting board
- Blender
- Small 4 oz jars
- Cup or vase
- Paper towels
- Disposable gloves (optional)
- Spoon (optional)
Tips For Making Aloe Vera Gel
Below are some tips that will help ensure you’ll get the best results from making your own aloe vera gel.
- As I mentioned above, it’s very important to drain the yellow liquid (aloin) from the leaf before you extract the gel. So do not skip this step or the aloin (which is a skin irritant) will contaminate your gel.
- Without added preservatives, homemade aloe vera gel does not have a very long shelf life. So make sure to store it properly if you want to keep it for longer-term use.
- While you can make the gel without using a blender, it will be lumpy. The only way to create a smooth DIY aloe vera gel without lumps is to blend it. But if you don’t have a blender, you could certainly use a mini food processor instead.
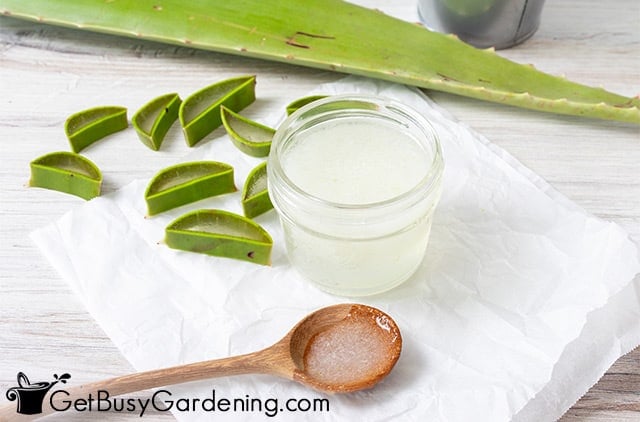
How Long Does Homemade Aloe Vera Gel Last?
Homemade aloe vera gel lasts for 1-2 weeks in a sealed container in the refrigerator, or up to 8 months in the freezer.
You can cube the flesh or pour the blended gel into ice cube trays, then place it into a zipper baggie and freeze it.
Related Post: How To Water Aloe Vera Plants
FAQs
Below I’ll answer some of the most common questions about making aloe vera gel. If you can’t find yours here, ask it in the comments below.
Can you use aloe vera gel straight from the plant?
While you can use aloe vera gel straight from your plant, you should drain the yellow aloin liquid first because it’s a skin irritant. Once that’s gone, you can squeeze the gel straight from the leaf for immediate use.
What is the easiest way to extract aloe vera gel?
The easiest way to extract aloe vera gel is to cut off the outer skin on one side of the leaf, and then use a spoon to scoop out the flesh. Alternatively, you could cut off all of the skin to help ensure the gel will stay in larger pieces.
Does aloe vera gel expire?
Yes, homemade aloe vera gel expires in only a few short weeks unless you add something to preserve it, or you can freeze it for longer term use.
Making your own aloe vera gel from the leaves of your plant is quick and straightforward. Now you’ll be able to have some on hand whenever you need it.
If you want to learn all there is to know about growing up rather than out, my book Vertical Vegetables is exactly what you need. Plus you’ll get 23 projects that you can build in your own garden. Order your copy today!
Learn more about my Vertical Vegetables book here.
More About Aloe Vera
- How To Propagate Aloe Vera By Division
- Rooting Aloe Vera Cuttings Step By Step
- How To Repot Aloe Vera
More About Food Preservation
Share your tips for how to make aloe vera gel in the comments below.
Step By Step Instructions
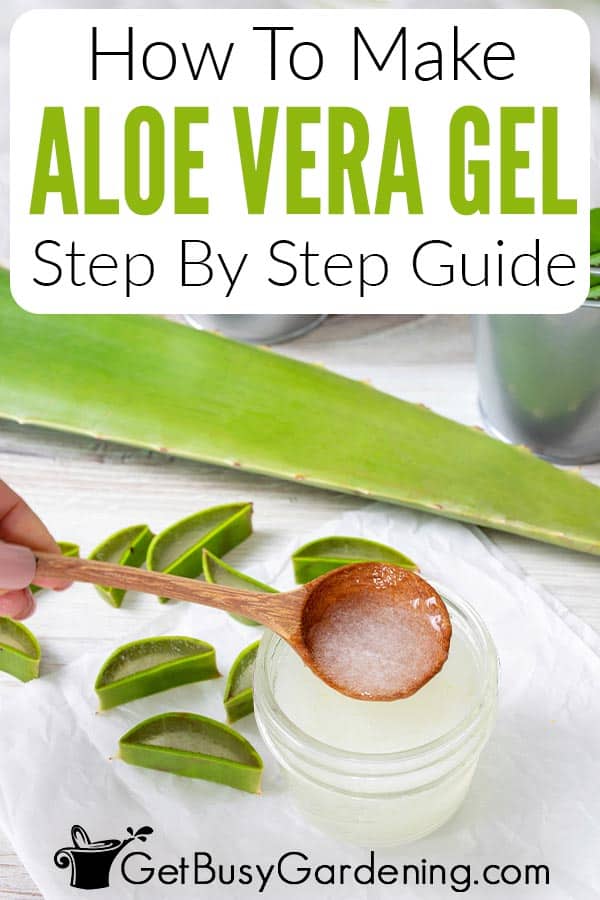
How To Make Aloe Vera Gel
Making aloe vera gel is quick and easy, so you’ll always have some on hand whenever you need it. Whip up a batch in only 30 minutes to use right away, or save it for later.
Ingredients
- 3-4 small aloe vera leaves
Instructions
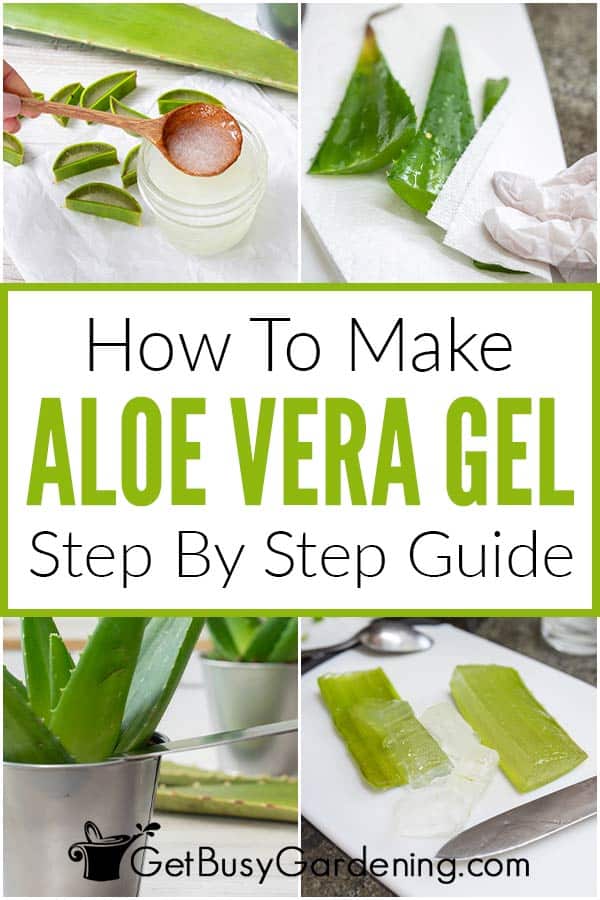
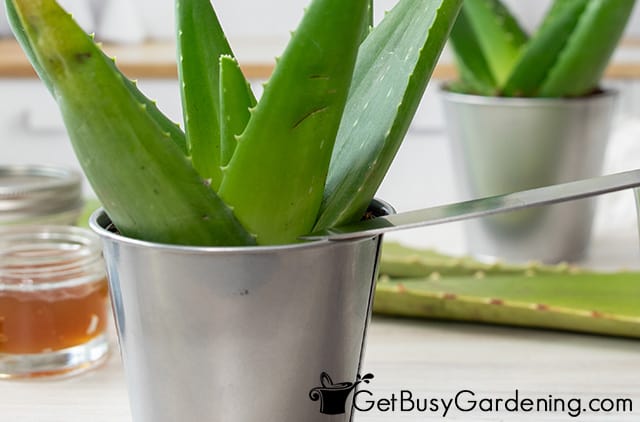
- Remove the leaves - Use a sterile and sharp knife to remove mature leaves at the base of your plant. The leaves you remove will not regrow, so cut them as close to the center of the plant as you can.

- Drain the aloin - Place the leaves into a glass or vase with the cut sides facing down to allow the yellow aloin liquid to drain out. Let them drain for at least 15 minutes, otherwise it could contaminate your gel.

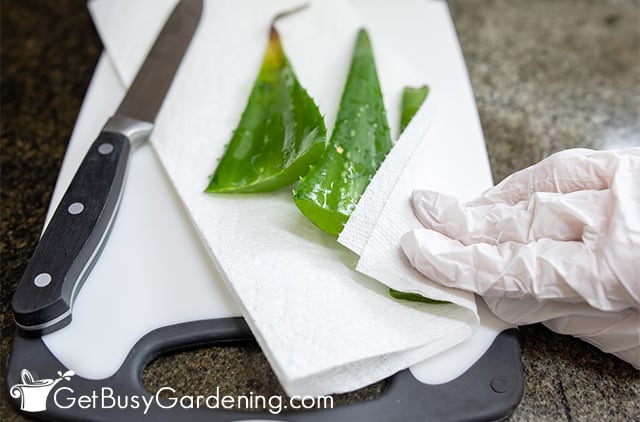
- Rinse and pat dry - Remove the leaves from the vase, and then rinse off any remaining aloin. Gently pat them dry with paper towels. I recommend you wear disposable gloves to prevent the aloin from irritating your skin.

- Remove the outer skin - Place the flat side of the leaf facing down on your cutting board, and use your knife to slice off the skin. Do the same with the other side. Optionally, you can use a spoon to scrape out the inner flesh if you find it’s too difficult to cut off all of the skin.

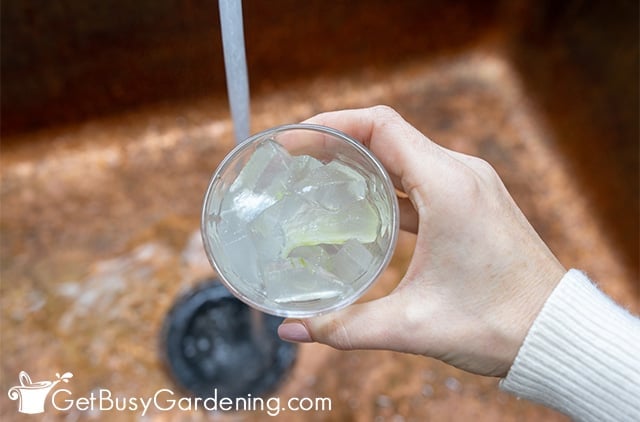
- Rinse the flesh - Once the skin is completely removed from the inner flesh, give the gel a quick rinse to get rid of any remaining aloin.

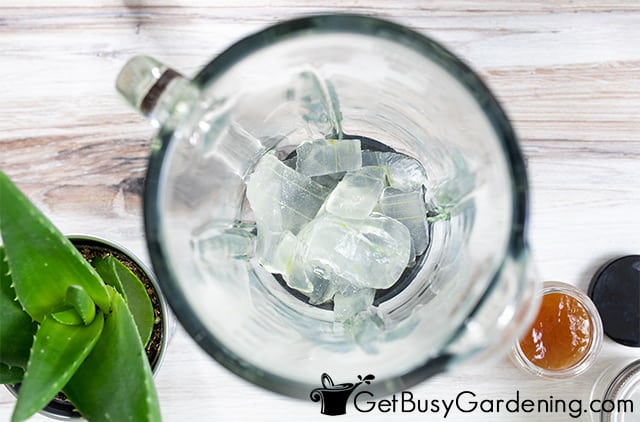
- Process the gel - Cut the flesh into pieces, then place it in your blender. Use the lowest setting to blend it for 2-3 seconds, or until all of the chunks are gone and the gel is smooth.

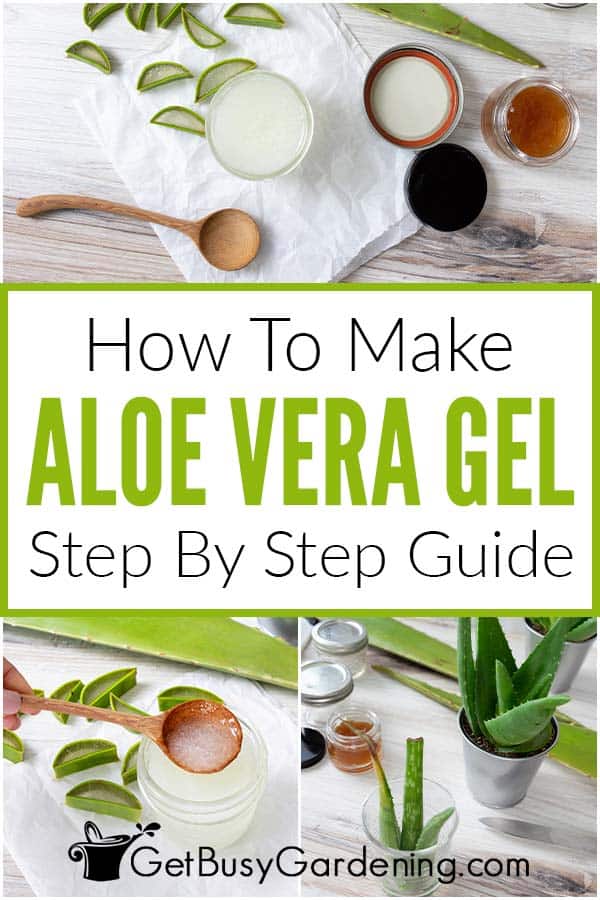
- Store it - Fill your jars with the gel, and place them into the fridge. For longer term storage, you can freeze it.

Notes
- The yellow aloin can cause an allergic reaction, so wear disposable gloves while processing your leaves.
- Homemade aloe vera gel can get foamy when you blend it, which is normal and will go away as it rests. You can either remove the foam by scooping it away with a spoon, or just allow it to settle for about 10-15 minutes after blending.



Michele says
What do you ise to preserve the gel longer? You say add something but don’t mention what that is….???
Thanks!
Amy Andrychowicz says
Here’s a guide for how to store aloe vera longer.
SARAH 😀 says
High percentage olive oil works well