Growing sprouts at home is quick and surprisingly easy. In this post, I will show you exactly how to do it, with complete step by step instructions.
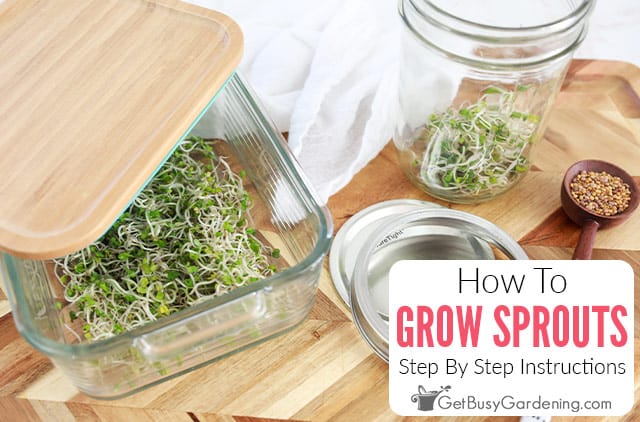
If you’ve ever wanted to learn how to grow your own sprouts this article is for you. The first time I tried, I was pleasantly surprised with how simple and fast it is.
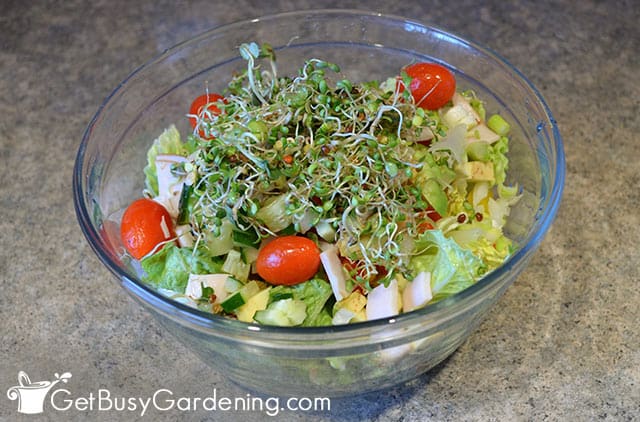
I enjoy the extra crunch they offer in recipes. They are delicious on salads, sandwiches, pizza, avocado toast, wraps, and more.
Below I’ll show you how to grow your own sprouts with a few easy steps.
Information About Sprouts
You may be wondering what exactly sprouts are. Simply put, they’re germinated seeds from edible plants.
People often confuse sprouts with microgreens, but they are not the same thing.
Microgreens are grown in the soil, require up to 5 weeks to mature, they need more sunlight, and are cut off at the base when harvested.
Whereas sprouts germinate in water only, take about 5 days to grow, don’t require soil or much light, and you eat the whole thing, roots and all.
Which Are The Best Seeds To Sprout?
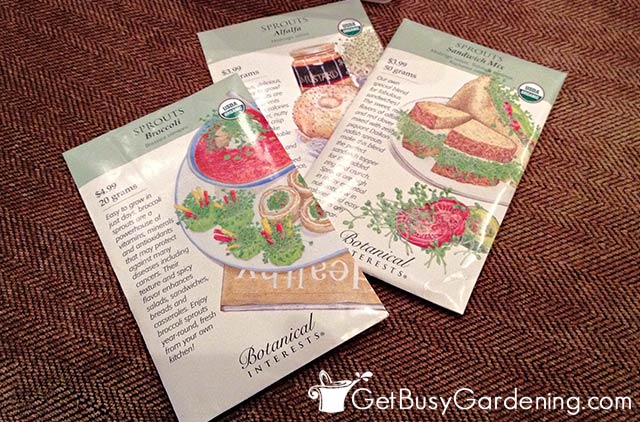
There are various varieties of seeds that you can grow for sprouts. But it is very important to only use ones that are made specifically for this purpose, otherwise they may not be safe to eat.
Some common types are clover, sunflower, broccoli, mustard, radish, garlic, dill, and alfalfa. You can also use various beans, such as pinto, mung, kidney, soy, navy, and wheat berries.
Although there are many options, below are a few that are the most popular. Each has a slightly different flavor, from mild to spicy.
- Alfalfa – This variety sprouts within 3-7 days. When ready, they look thin, with tangled white stalks, and small green leaves. The mild flavor and crunchy texture are best enjoyed on salads and sandwiches.
- Mung bean – These are ready for consumption at 2-4″ long. They have a thick white stalk with tapered yellow ends, and are commonly eaten in Asian inspired dishes.
- Radish – This type tends to have a slightly spicy flavor, and are quite crunchy. They’re most often eaten in salads, sushi, or used as a garnish.
- Broccoli – These are mild with less of a crunch. When ready, they’re thin and white with light green leaves. They can be used for any purpose.
Where To Get Sprouting Seeds
You can find sprouting seeds in your local garden center, grocery store, or order them online.
Just remember, it’s very important to get ones that are specifically made for this purpose, or they may not be safe to eat.
Growing Your Own Sprouts
Growing sprouts is easy and fun, but it is important to understand the proper process to ensure food safety.
What Is The Easiest Way To Grow Sprouts?
The most simple and cost effective way to grow sprouts is in a mason jar. This requires minimal materials, and is very affordable.
Alternatively you could use a seed sprouter, which you’ll have to purchase. But it’s fairly inexpensive, and equally easy to do.
How Long Does It Take Sprouts To Grow?
How long it takes sprouts to grow varies, and depends on both the type of seed you’re using, as well as the environment.
All varieties differ slightly, and some are much faster than others. But in general, it takes 3-7 days.
Methods For Growing Sprouts
There are two main ways to grow sprouts at home, in either a mason jar or a seed sprouter. After reviewing the details of each, you will know which one is best for you.
Growing Sprouts In A Jar
Growing sprouts in a jar is the most cost effective, especially if you already have all of the materials you need.
The drawback to this method is that it’s more hands-on. You have to manually rinse, strain, and adjust your seeds and sprouts several times a day, which can be labor intensive and timely.
If you aren’t one for routine, this may not be right for you. Because if you miss the steps needed, they either won’t germinate well, or they’ll end up getting slimy.
Using A Seed Sprouter
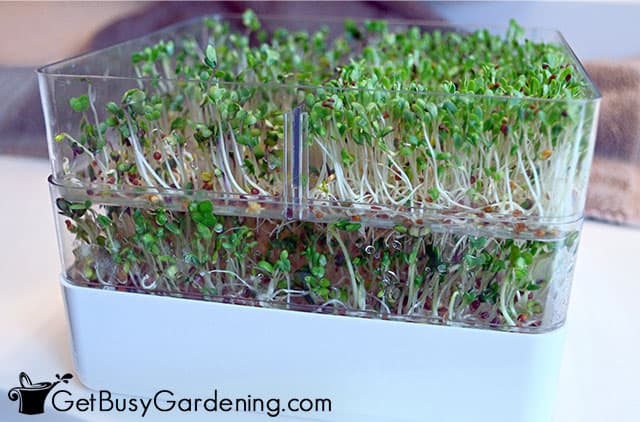
A seed sprouter is another option that, although it requires a purchase, eliminates some of the labor.
You also have a better chance of success, since this container is specifically designed for growing sprouts.
In addition, this method can help to reduce the risk of bacterial contamination.
When Are Sprouts Ready To Eat
Homegrown sprouts are usually ready to eat within 3-7 days, but some types may take a little longer.
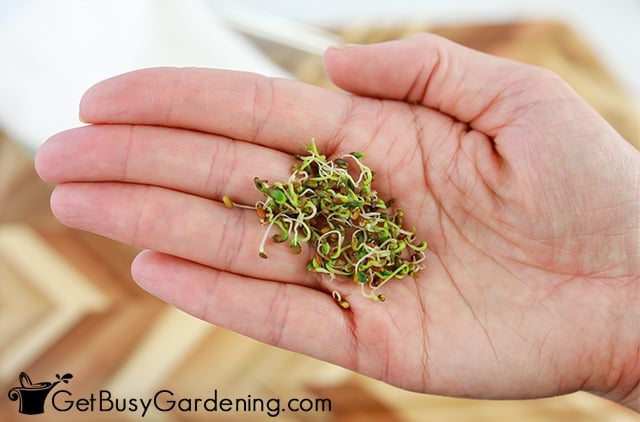
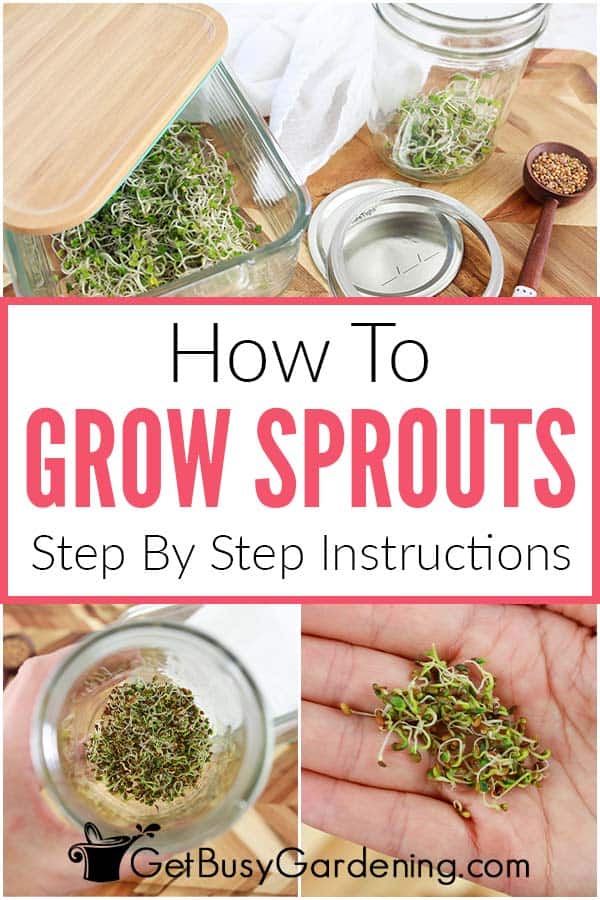
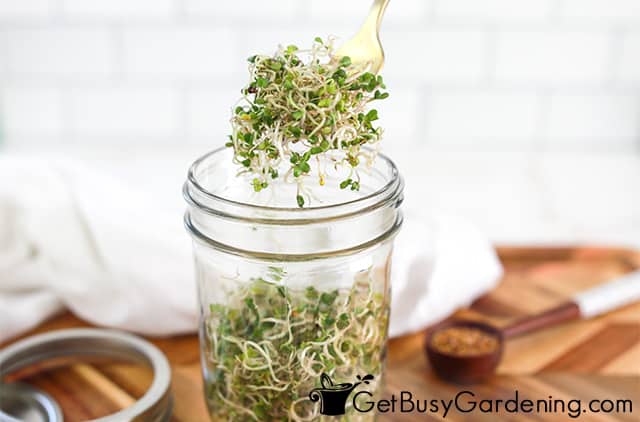
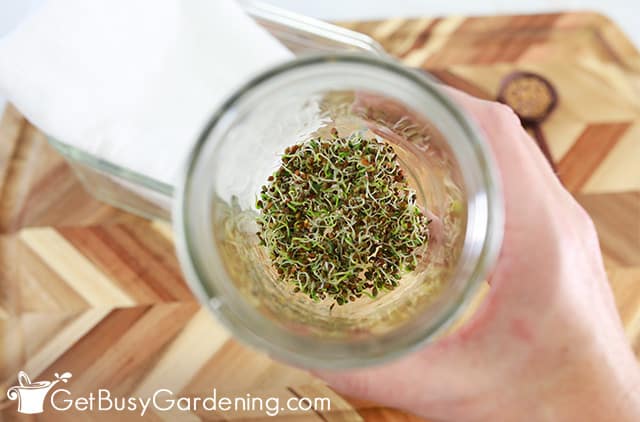
You’ll know they are ready once they’re 1/2-2″ long, with green leaves, and the seed covers have dropped off.
How To Store Leftover Sprouts
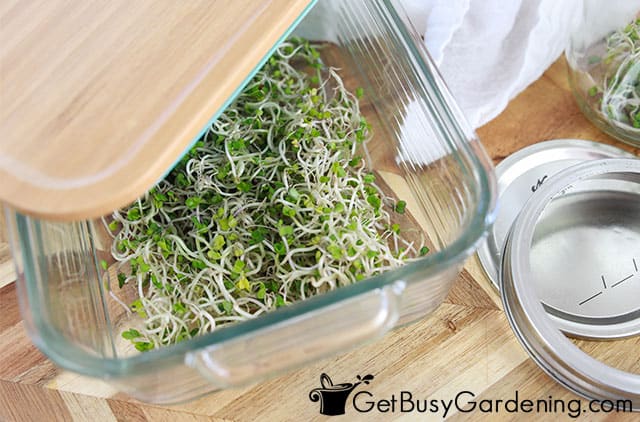
When stored properly, sprouts can last 2 weeks or more in the refrigerator. Put them in a container with an airtight lid, or use a zipper baggie.
If you grew them in a sprouter, you can leave them in there, and put the whole container in the fridge.
One trick for extending their shelf life is to ensure they’re not wet before storing. You can dry them using a salad spinner, or gently dab them with a paper towel.
FAQs
There are often so many questions when trying to grow sprouts for the first time. I hope to answer as many as I can in the details below.
Are sprouts easy to grow?
Sprouts are actually quite easy to grow, no matter which type you choose. They’re also fun to watch, because they’re very fast.
Do sprouts need sunlight to grow?
Yes, sprouts need sunlight to grow, but not too much. Give them indirect sun near a bright window for best results.
Is it safe to grow sprouts at home?
It is safe to grow sprouts at home, as long as you follow the proper steps. It’s also very important to only use seeds that are specifically sold for this purpose, or they may not be safe for consumption.
What temperature is best for growing sprouts?
The best temperature for growing sprouts is between 70-80°F. If it’s too hot or cold they may not germinate.
Growing sprouts at home is a fun way to incorporate new food into your meals. I hope you found this article helpful and encouraging as you venture into trying something new.
If you’d like to learn how to make the most of your space and get as much homegrown food as possible, then my Vertical Vegetables book is perfect! It will teach you all you need to know, and you’ll get 23 DIY projects you can build for your own garden. Order your copy today!
Learn more about my Vertical Vegetables book here.
More About Vegetable Gardening
- How To Grow Blueberries At Home
- How To Grow Spinach At Home
- Growing Vegetables: The Ultimate Veggie Garden Guide
- How & When To Plant Ginger Root
Share your tips for growing sprouts in the comments section below.
Step By Step Instructions
How To Grow Sprouts
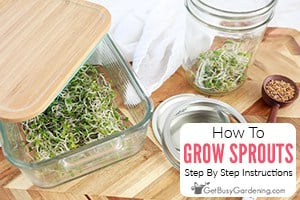
Growing your own sprouts at home is fun, quick, and surprisingly easy. They are delicious with just about any meal and, once you learn the steps, you’ll always have some on hand.
Materials
Tools
- Wide mouth mason jar with ring
- OR seed sprouter
- Measuring spoons
- Bowl or plate (to prop jar on)
- Salad spinner (optional)
- Sealable container
- OR Zipper baggie
Instructions
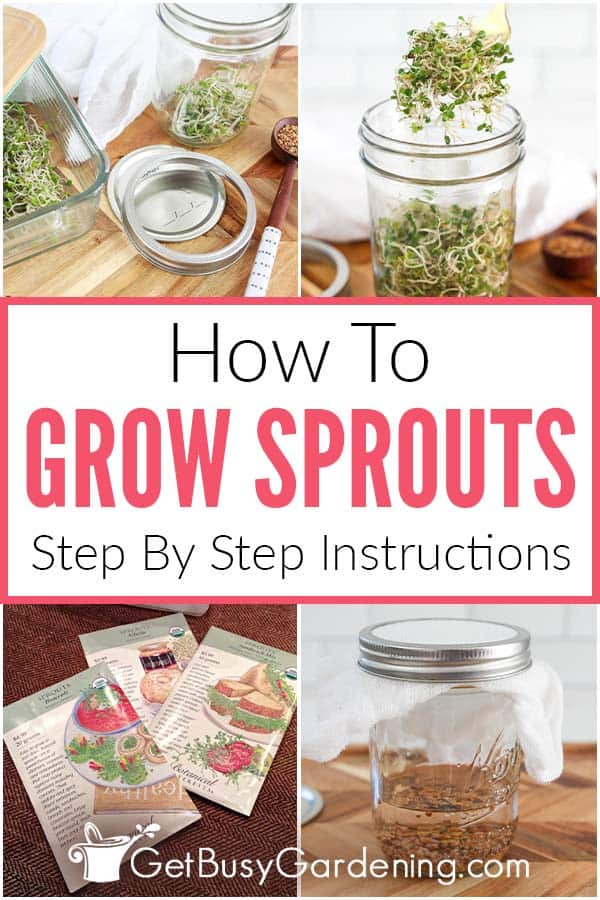
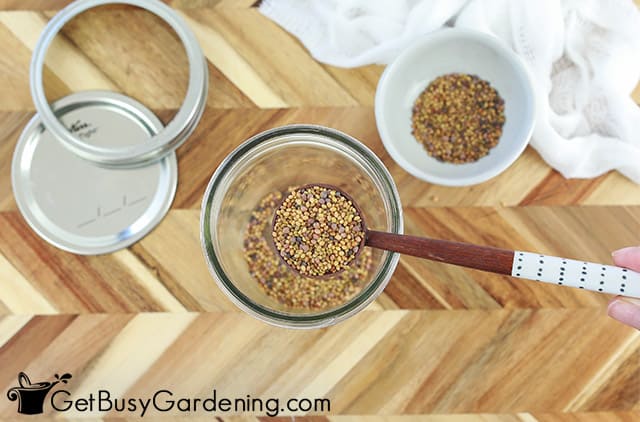
- Wash seeds - Rinse 2 tablespoons of sprouting seeds to ensure they are clean and safe for growing.

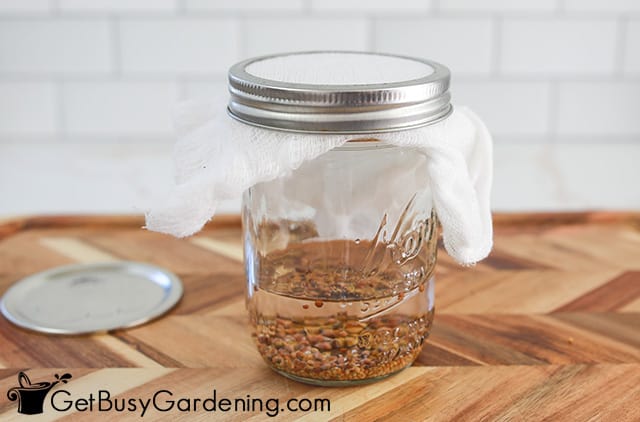
- Place the seeds in the container - Add washed seeds into a clean wide-mouth canning jar or seed sprouter. If using a jar, add about 2 inches of lukewarm water. Cover the jar with a cheese cloth, and then twist on the lid ring to hold it in place. Let it sit overnight.

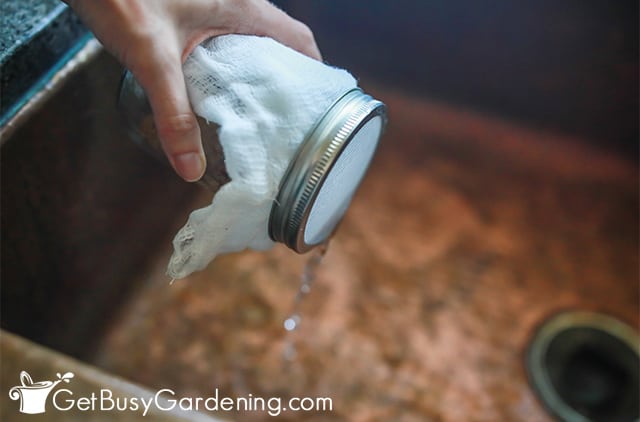
- Drain the water - Tip your jar upside down over a sink to drain the water out.

- Rinse the seeds - Rinse the seeds by adding new water to the jar, swishing it around, and drain again. Repeat this process 2-3 times per day. You do not want the seeds to dry out or remain too wet.
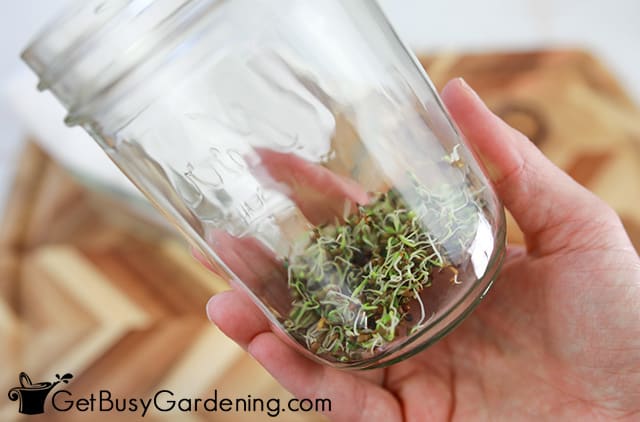
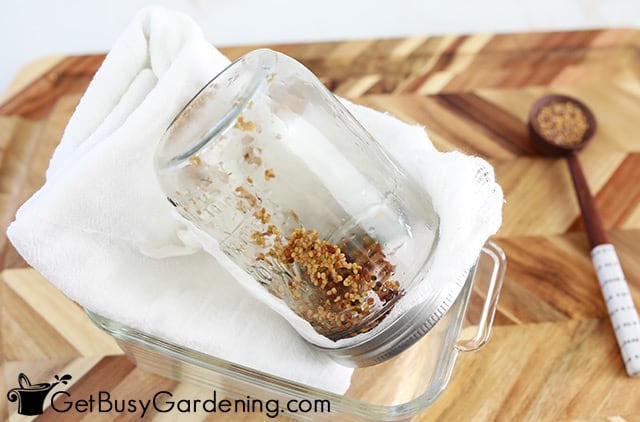
- Let them grow - After each rinse, place the jar in indirect sunlight slightly tilted at a 45 degree angle. I propped mine up with a cloth, but you could use a bowl or plate.

- Harvest and enjoy - Sprouts taste best when they’re ½” to 2” long, and just starting to turn green. Give them a final rinse, removing any unsprouted seeds. Then either eat them right away, or dry with a paper towel or salad spinner. Then store them in a covered container or zipper bag.

Notes
If you use a seed sprouter you will not need a mason jar, cheesecloth, or bowl/plate to prop it in.



Leave a Reply