DIY liquid stevia is simple to make using the leaves right out of your garden. In this post, I’ll show you exactly how to make stevia extract with my easy homemade two-ingredient recipe.
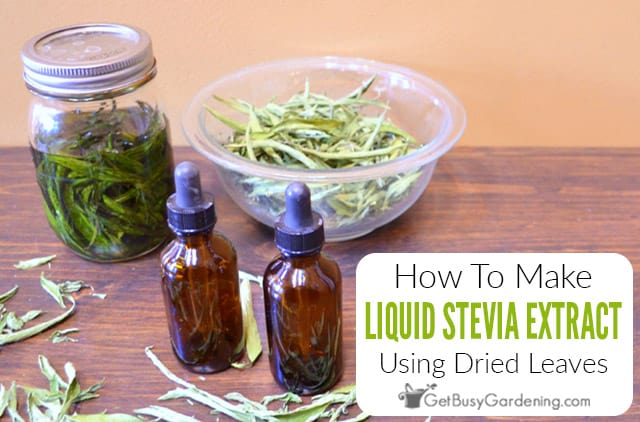
If you love natural sweeteners, I have great news for you. You can easily make your own homemade liquid stevia extract from the plant in your garden!
Whether you are trying to go low-carb, or you just want to avoid processed sugars, DIY stevia extract is a great alternative.
You can use it in drinks, baking, and all kinds of recipes. It’s the perfect way to satisfy your sweet tooth without all that sugar.
Below I will guide you through how to make sugar free liquid stevia sweetener using only two ingredients. It’s so easy, you will kick yourself for never trying it before.
What Is Natural Stevia Extract?
Stevia extract is a liquid sweetener made from either a powder, or the leaves of the plant.
It has become very popular these days, and is widely used as a natural substitute for sugar or artificial sweeteners.
Most people are used to seeing it in a white powder form. But believe it or not, you can easily grow stevia in your garden, and then use the leaves to make your own elixir.
What Part Of The Stevia Plant Do You Use To Make Extract?
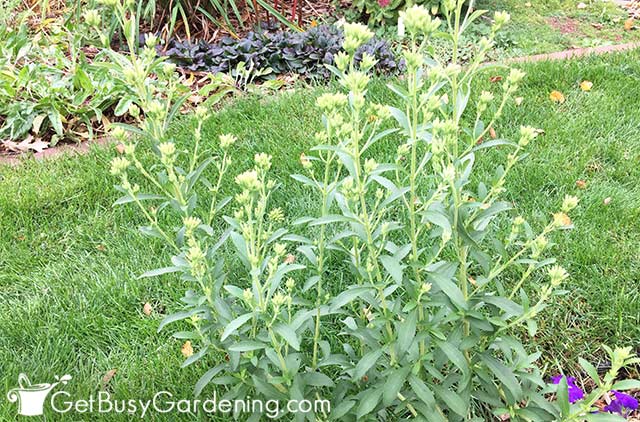
The only parts of the plant that you use for making stevia extract are the leaves. The flowers and stems are bitter, and will ruin the sweet flavor.
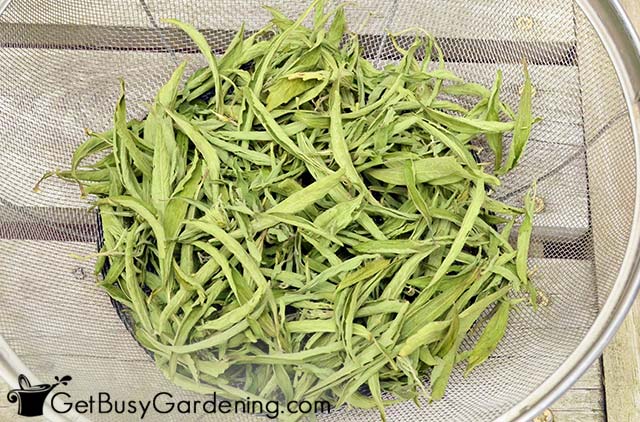
You can use fresh leaves, or dry them first. To do that, simply lay them out on an herb drying rack, use a dehydrator, or hang the stems upside down.
When & How To Harvest Leaves To Make Liquid Stevia
You can harvest the leaves any time during the summer and fall. Just make sure to do it before the plant flowers, or the leaves will taste more bitter than sweet.
Simply pick or cut the leaves from the plant as you need them. Then pull the whole thing once it starts to bloom, or in fall before frost.
How To Make Liquid Stevia From Leaves
DIY liquid stevia extract is super easy to make, and it only requires a few common items from around your kitchen. Be sure to gather all of your supplies before getting started.
Supplies Needed:
- Pint sized glass canning jar with a lid
- Canning funnel (optional)
- Small cooking pot
- Amber glass dropper bottles
- Mini funnel
- Mini strainer
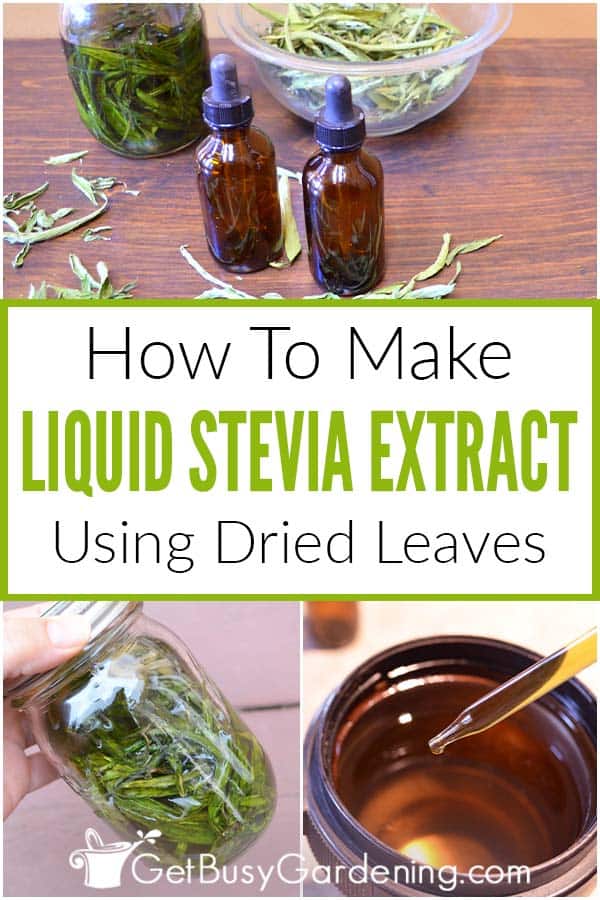
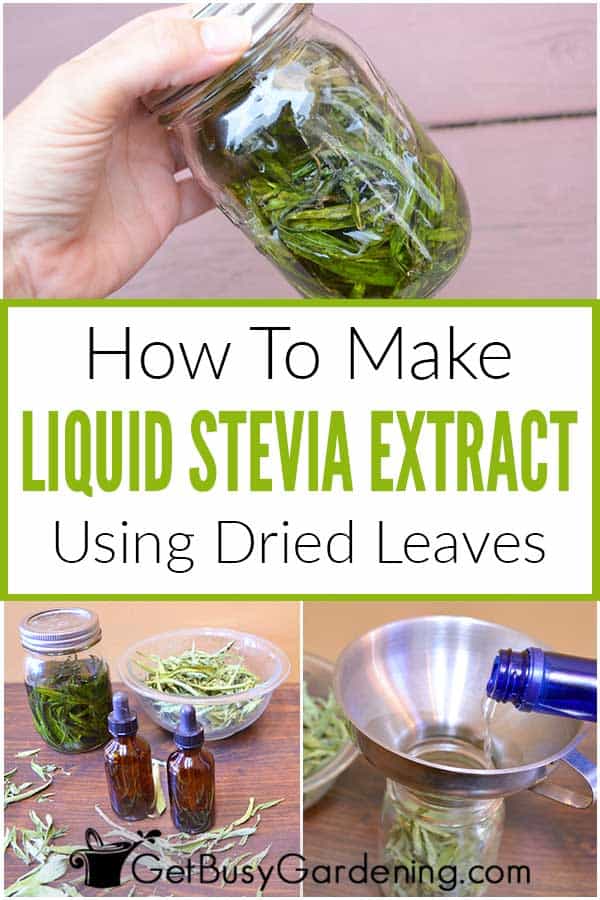
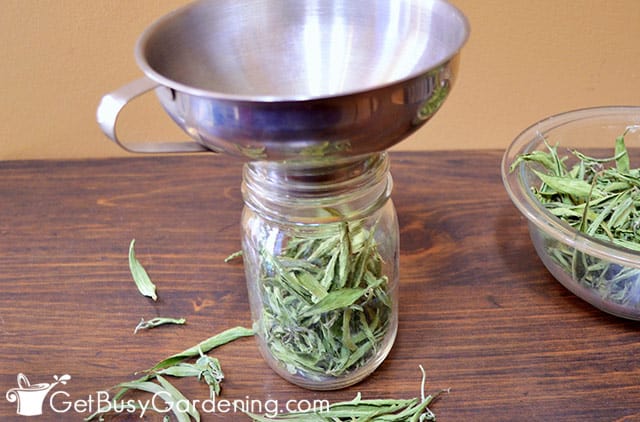
Step 1: Put the leaves into the jar – Put the leaves into the jar. You don’t need to crush them or jam them into the jar, just loosely pack them in. Using a canning funnel makes this job easier.
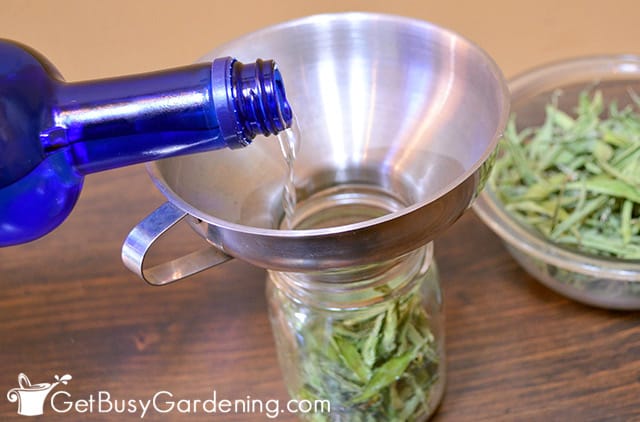
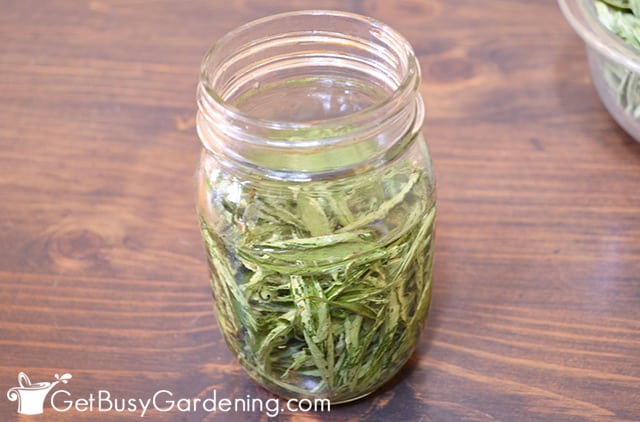
Step 2: Add the alcohol – Pour the alcohol into the glass jar, using enough to fully cover the leaves. You can add a little bit at a time, and gently tap the jar on the counter between pours.
This will allow the leaves to settle, and get rid of air bubbles. It will also will help you to gauge how much more alcohol you need to add to the jar.
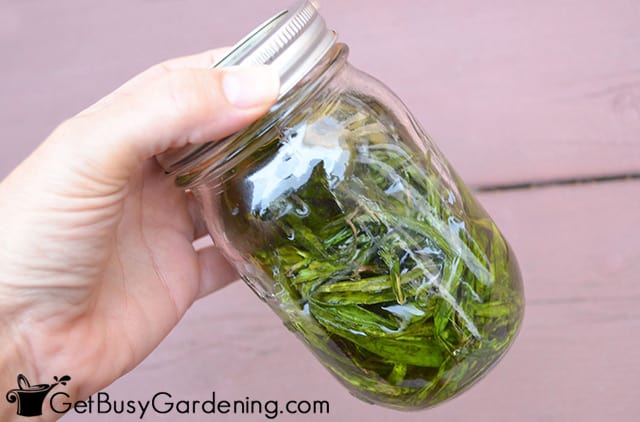
Step 3: Let it infuse – Once you’ve added enough alcohol, cover the jar with the lid, and let it sit for 24-48 hours.
Don’t let it infuse longer than 48 hours, or your DIY stevia extract will start to go from sweet to bitter.
If you think about it, shake the jar every once in a while to help release even more of the sweetness into the alcohol.
Step 4: Strain it – Use a small kitchen strainer to remove the leaves from the alcohol, then discard the leaves.
At this point, you have stevia infused alcohol. You can leave it as is, and use it to sweeten summer cocktails. Or you can continue on with the next steps to turn it into extract.
Step 5: Simmer the liquid – Pour the liquid into a small pot, and let it simmer over low heat for 20-30 minutes to remove the alcohol. Do not allow it to boil, or it could remove the sweetness.
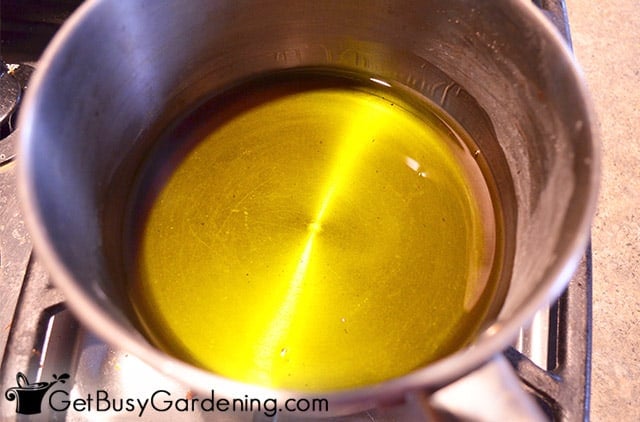
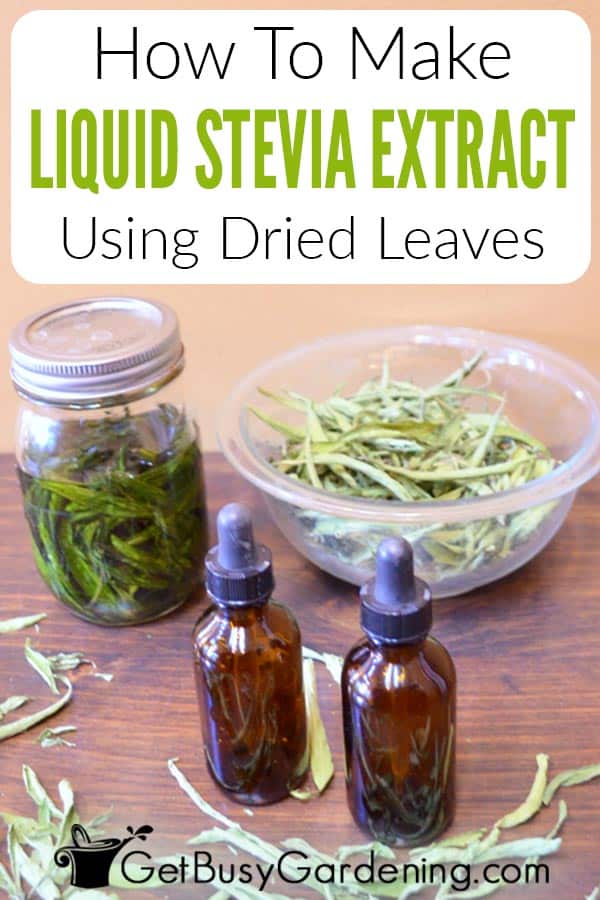
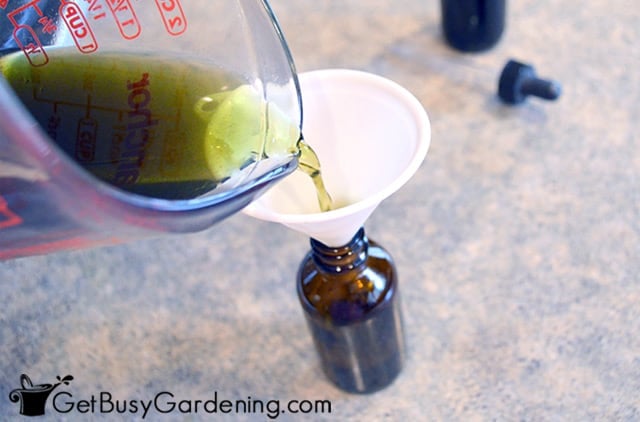
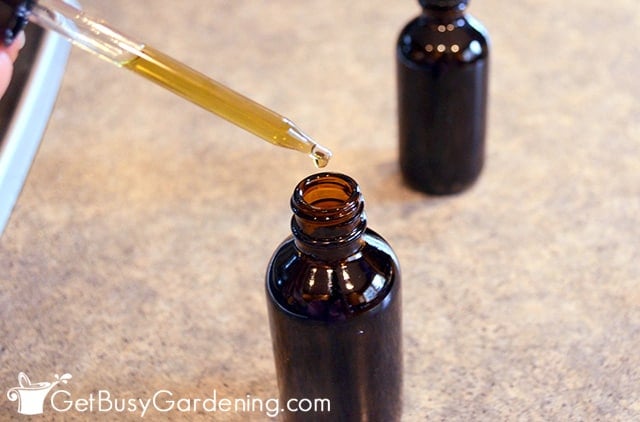
Step 6: Put it into a storage bottle – Allow your sweet extract to cool, and then use the tiny funnel to fill your glass dropper bottles.
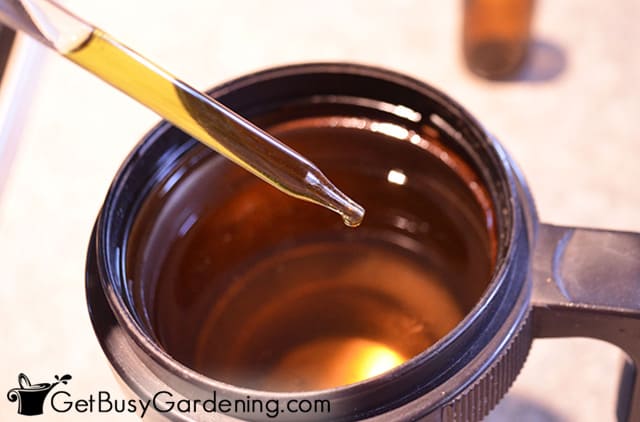
You can use your homemade liquid stevia extract right away, or store it in the fridge to keep it fresh.
If you chose to leave the alcohol infused, rather than turning it into extract, then you don’t need to refrigerate it. The alcohol will keep it preserved.
How To Use Your DIY Liquid Stevia
If you’ve never used homemade liquid stevia as a sweetener before, be careful because it packs a BIG punch. A little really does go a long way.
To sweeten drinks or recipes, start with just a drop or two. If it’s not enough, then stir in one drop at a time until you reach the desired sweetness.
Making homemade stevia extract from leaves you’ve grown yourself is simple, and so rewarding. Whether you are trying to cut out sugar completely, or just looking for the occasional alternative, this easy DIY liquid stevia is the perfect choice.
More Garden Recipes You Might Enjoy
- How To Make Basil Pesto Using Garden Fresh Basil
- How To Make Bee Balm Tea From Your Garden
- Fudgy Chocolate Zucchini Brownies Recipe
- Fast And Easy Homemade Chili Recipe
- Lavender Cookies Recipe (Using Dried Or Fresh Buds)
Have you ever made DIY liquid stevia extract before? Share your homemade recipe below.
Print This Recipe
DIY Liquid Stevia Extract Recipe
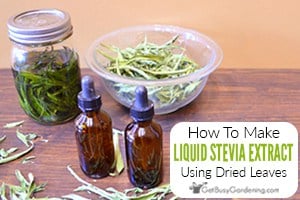
DIY liquid stevia extract is simple to make using the leaves right out of your garden! This easy two-ingredient homemade stevia extract recipe is quick and easy.
Ingredients
- 2 cups loosely packed whole stevia leaves
- 1 1/4 - 1 1/2 cups clear alcohol* (enough to cover the leaves)
Instructions
- Put the leaves into the jar - Put the leaves into the jar. You don't need to crush them or jam them into the jar, just loosely pack them in. Using a canning funnel makes this job easier.
- Add the alcohol - Pour the alcohol into the jar, using enough to fully cover the leaves. You can add a little bit at a time, and gently tap the jar on the counter between pours. This will allow the leaves to settle, and get rid of air bubbles. It will also will help you to gauge how much more alcohol you need to add to the jar.
- Let it infuse - Once you've added enough alcohol, cover the jar with a lid, and let it sit for 24-48 hours. Don't let it infuse longer than 48 hours, or your DIY stevia extract will start to go from sweet to bitter. If you think about it, shake the jar every once in a while to help release even more of the sweetness into the alcohol.
- Strain it - Use a strainer to remove the leaves from the alcohol, then discard the leaves. At this point, you have stevia infused alcohol. You can leave it as is, and use it to sweeten summer cocktails. Or you can continue on with the next steps to turn it into extract.
- Simmer the liquid - Pour the liquid into a small pot, and let it simmer over low heat for 20-30 minutes to remove the alcohol. Do not allow it to boil, or it could remove the sweetness.
- Put it into a storage bottle - Allow your sweet extract to cool, and then use the tiny funnel to fill your glass dropper bottles. You can use your homemade liquid stevia extract right away, or store it in the fridge to keep it fresh.
Notes
If you chose to leave the alcohol infused, rather than turning it into extract, then you don't need to refrigerate it. The alcohol will keep it preserved.


Cécile Stelzer-Johnson says
I bought my 8 stevia plants at my local Home Depot a few days ago. since I have an Excalibur dehydrator, I plan to dry the leaves. How long can I use the leaves once they are good and dry? [Crumbly consistency?]
Also, I’m in Zone 4b Central Wisconsin, so it is not perennial here. Could I “cheat” and safeguard it on a window sill during the cold winter months? [It was the first time I saw Home Depot carrying this item, so it may not come back].
If that is a possibility, I could make cuttings?
Amy Andrychowicz says
Technically you could store the dried leaves indefinitely. But they do tend to start losing their flavor and potency after a few years, so it’s best to replenish your supply every year or so. I have never tried overwintering it indoors myself, but it’s certainly worth a try. Many types of herbs are fairly easy to grow indoors (Growing Herbs Indoors – A Step By Step Guide), so it would definitely be worth experimenting with your stevia plant. And yes, you can take cuttings before it flowers and root them in either water or soil.
Pauline says
Where do you get the seeds to grow the stevia plants
Amy Andrychowicz says
Look for them at a local garden center. They usually have a much larger selection than home improvement stores do.
Bethany says
Why is my extract so bitter? I only let it sit for 30 hours. I did not use stems.
Could it be the variety of stevia plant I have? The oh of my soul?
Amy Andrychowicz says
Stevia does have a natural bitter flavor to it, so some bitterness is normal. However, if your stevia extract is too bitter, then there are a few things to think about… First, did you heat the infused alcohol after steeping it (starting at step 5 above)? Heating it will bring out the sweetness, and technically turn it into extract. Otherwise the liquid will be more bitter. If you did heat it, did it boil? Boiling it will remove the sweetness, resulting in the extract being more bitter. Also, did you harvest your stevia leaves before the plant flowered? Flowering causes the leaves to be even more bitter than normal. Hope this helps you troubleshoot the problem. 🙂
Okta says
Can I change vodka with something else? Because we’re muslim and can’t use it. Thanks for your information. 🙂
Amy Andrychowicz says
I don’t think that you can make any type of extract without using alcohol (technically). But, you could try steeping the leaves in water rather than alcohol. It won’t last very long though since the alcohol preserves the liquid in the extract, but you can still use it for sweetener. You could also dry the leaves, and add crushed stevia leaves right into your tea to sweeten it as needed.
Candy says
I have learned that adding stevia leaves directly to cold drinks does not work. Heat is needed to release the sweetness. I grow balsam tea, and it works great to cut some tea leaves and some stevia at the same time and boil them together, then I refrigerate it to make iced tea. If you want to try making a stevia “syrup” without the alcohol, you would need to use heated water.
Lindsey says
Thanks for the great and informative information! I love Stevia, but it can be expensive, so this is a great resource for saving money on groceries too!
Amy Andrychowicz says
Yes, that’s an excellent point too! 🙂
Roseann Hampton says
Thanks for these directions! Pinning!
Amy Andrychowicz says
You’re welcome! Thanks for pinning.