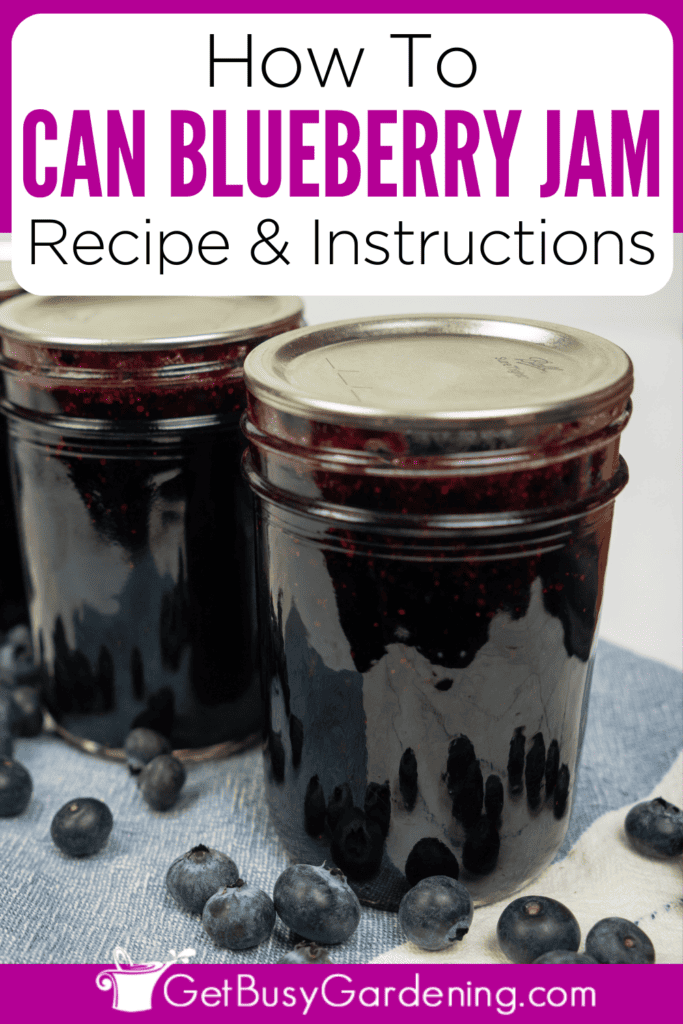
Canning blueberry jam is quicker and easier than you might think, and this recipe is so delicious.
In this post, I’ll show you how to make it from scratch with just a few simple tools and ingredients.
There’s nothing better than homemade blueberry jam right out of the jar, and canning it yourself is simple.
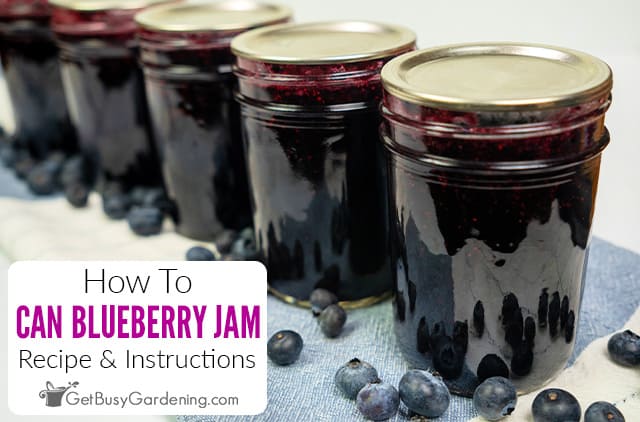
If your blueberry bush has produced more fruits than you can eat, or you find a good bulk deal at the grocery store, it’s time to try canning jam.
Below I will show you exactly how to do it with easy-to-follow steps you can use to make your own at home.
Blueberry Jam Canning Recipe
This homemade blueberry jam recipe is so satisfying and versatile, and I made it specifically for canning.
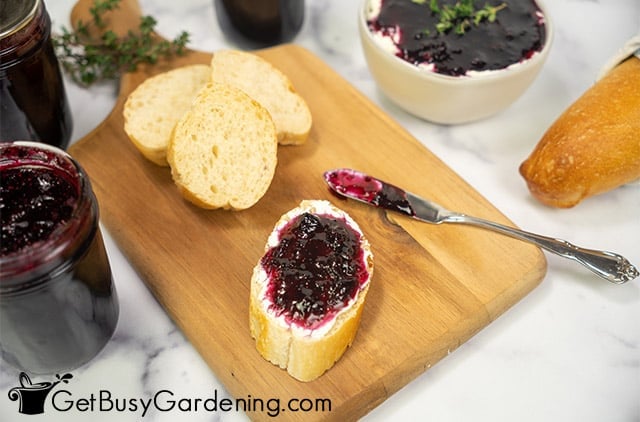
It’s scrumptious on toast, inside a peanut butter sandwich, dalloped on top of waffles, or added to your favorite dessert. The options are truly endless.
With a few simple ingredients and common kitchen tools, you will be on your way to making your own.
Related Post: How To Grow Blueberries In Pots Or The Garden
Ingredients For Canned Blueberry Jam
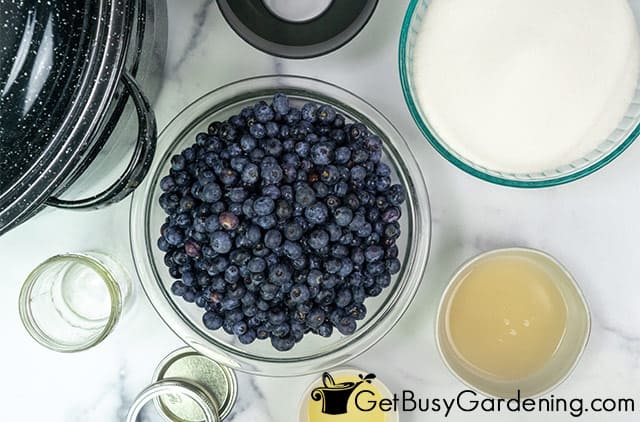
I created this blueberry jam recipe to be simple to make and easy for canning. It’s quick to pull together with only 4 ingredients that you might already have on hand.
- Blueberries – Choose fresh in-season fruits that are plump and ripe for the best results. If you don’t have fresh, then you can substitute with frozen blueberries.
- Sugar – This helps your jam thicken into a gel, and also enhances the natural sweetness of the blueberries. If you want, you could substitute half or all of the sugar with Splenda or stevia, but the texture may end up being thinner.
- Lemon juice – This works with the sugar to thicken the texture and also affects the pH of the jam, which allows it to set. Be sure to use bottled rather than fresh-squeezed, because it has a more consistent level of acidity.
- Liquid pectin – This is an optional ingredient, but does assist in thickening, and shortens the cooking time. If you opt to omit it, you may need to cook your jam a few minutes longer to allow more liquid to evaporate so it can set into a gel. I used liquid pectin for this recipe, as it helps preserve the flavor better than powder. It’s important to note that the liquid and powder pectins are not interchangeable measurement and timing wise. So I don’t recommend substituting with powder here.
Tools & Equipment Needed
Below is a list of all the items you’ll need. Gather everything before you start to simplify the process. You can see my full list of canning tools and supplies here.
- Water bath canner
- Pint canning jars
- New jar lids
- Canning funnel
- Ladle
- Measuring spoons
- Jar lifting tool
- Large mixing bowl
- Potato masher
- Small plate
- Dissolvable labels (optional)
- OR Permanent marker (optional)
Water Bath Canning Blueberry Jam
Since the blueberries and lemon juice add acidity to this jam recipe, it’s safe for water bath canning.
Don’t try to use a pressure canner, because the extreme heat will damage the integrity of the jam, leaving it mushy and runny.
How To Store Canned Blueberry Jam
If you don’t want to can your blueberry jam you could use it right away. After it cools from cooking, eat it while it’s still warm, or put it into the refrigerator. Once open, it’s good for a few months in the fridge.
Otherwise allow the jars to cool to room temperature before storing them in a cool dark place, like a pantry, cabinet, or shelf.
How Long Does Canned Blueberry Jam Last?
When processed and sealed properly, your jars of canned blueberry jam will last for up to 1 year. Before eating it, make sure to check that the lid still has a tight seal.
Related Post: How To Make Blueberry Jelly: Easy Recipe
FAQs
Below are my answers to some of the most common questions I get asked about how to can blueberry jam.
Does blueberry jam need to be pressure canned?
No, blueberry jam does not need to be pressure canned, and you should not try processing it that way. That method is too hot, and will end up breaking down the thick gel texture of the jam, making it runny. Instead, always process it in a boiling water bath.
How do you thicken homemade blueberry jam for canning?
This homemade blueberry jam will thicken naturally as you cook it from the sugar and lemon juice. You can also add liquid pectin for thickening.
Do you have to crush blueberries for jam?
Yes, I do recommend that you crush the blueberries for jam. You don’t have to be diligent and crush every single one. But it helps to release the flavor and juices from the fruits, which aid in thickening while cooking, and makes for a better overall consistency.
Canning your own homemade blueberry jam is effortless with my recipe. Soon you’ll have several jars of deliciousness for your whole family to enjoy.
If you’d like to learn how to make the most of your space and get as much homegrown food as possible, then my Vertical Vegetables book is perfect! It will teach you all you need to know, has tons of gorgeous photos, and includes 23 DIY projects you can build for your own garden. Order your copy today!
Learn more about my Vertical Vegetables book here.
More Food Canning Posts
- How To Can Strawberry Jam (With Recipe!)
- How To Make Strawberry Jelly: Easy Recipe
- Canning Blueberries: Easy Recipe
- How To Can Strawberries
Share your favorite blueberry jam canning recipe in the comments section below.
Recipe & Instructions
How To Can Blueberry Jam
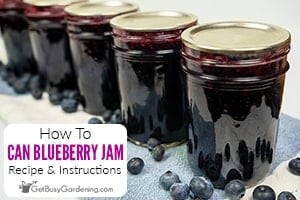
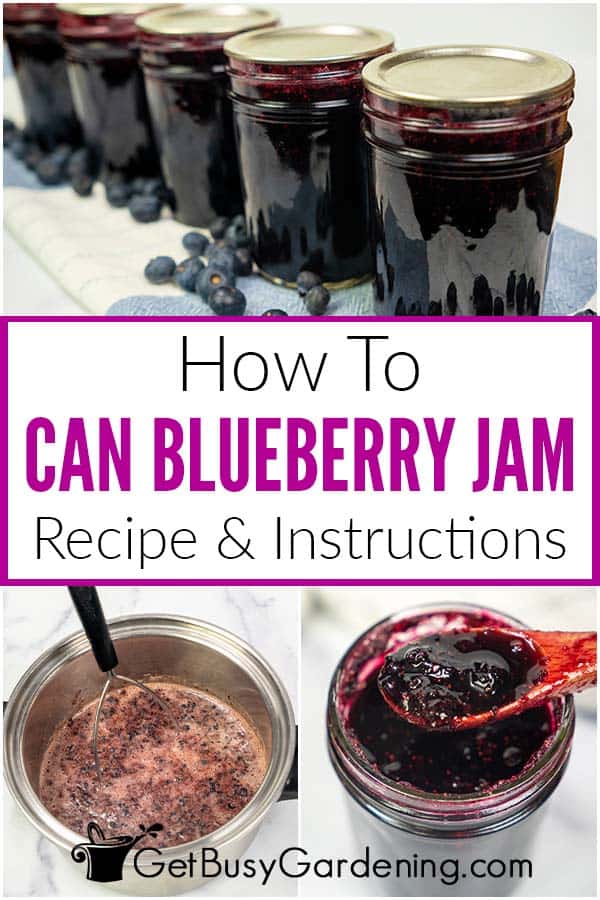
Enjoy this easy and scrumptious blueberry jam canning recipe that you can make at home in just a few simple steps. Spread it on your morning toast or waffles, or use it to make your favorite desserts.
Ingredients
- 6 cups blueberries
- 4 cups sugar
- 2 tablespoons lemon juice
- 3 ounces liquid pectin (optional)
Instructions
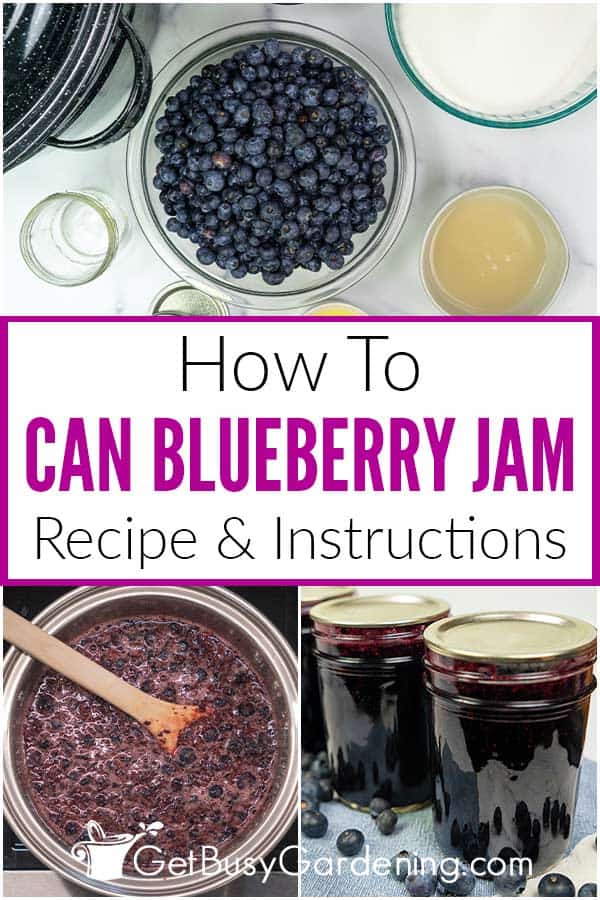
- Prepare the canner and berries - Fill your water bath canner and bring it to a rolling boil over high heat. Place a small plate into the freezer (you'll need it later), then rinse and drain the blueberries.
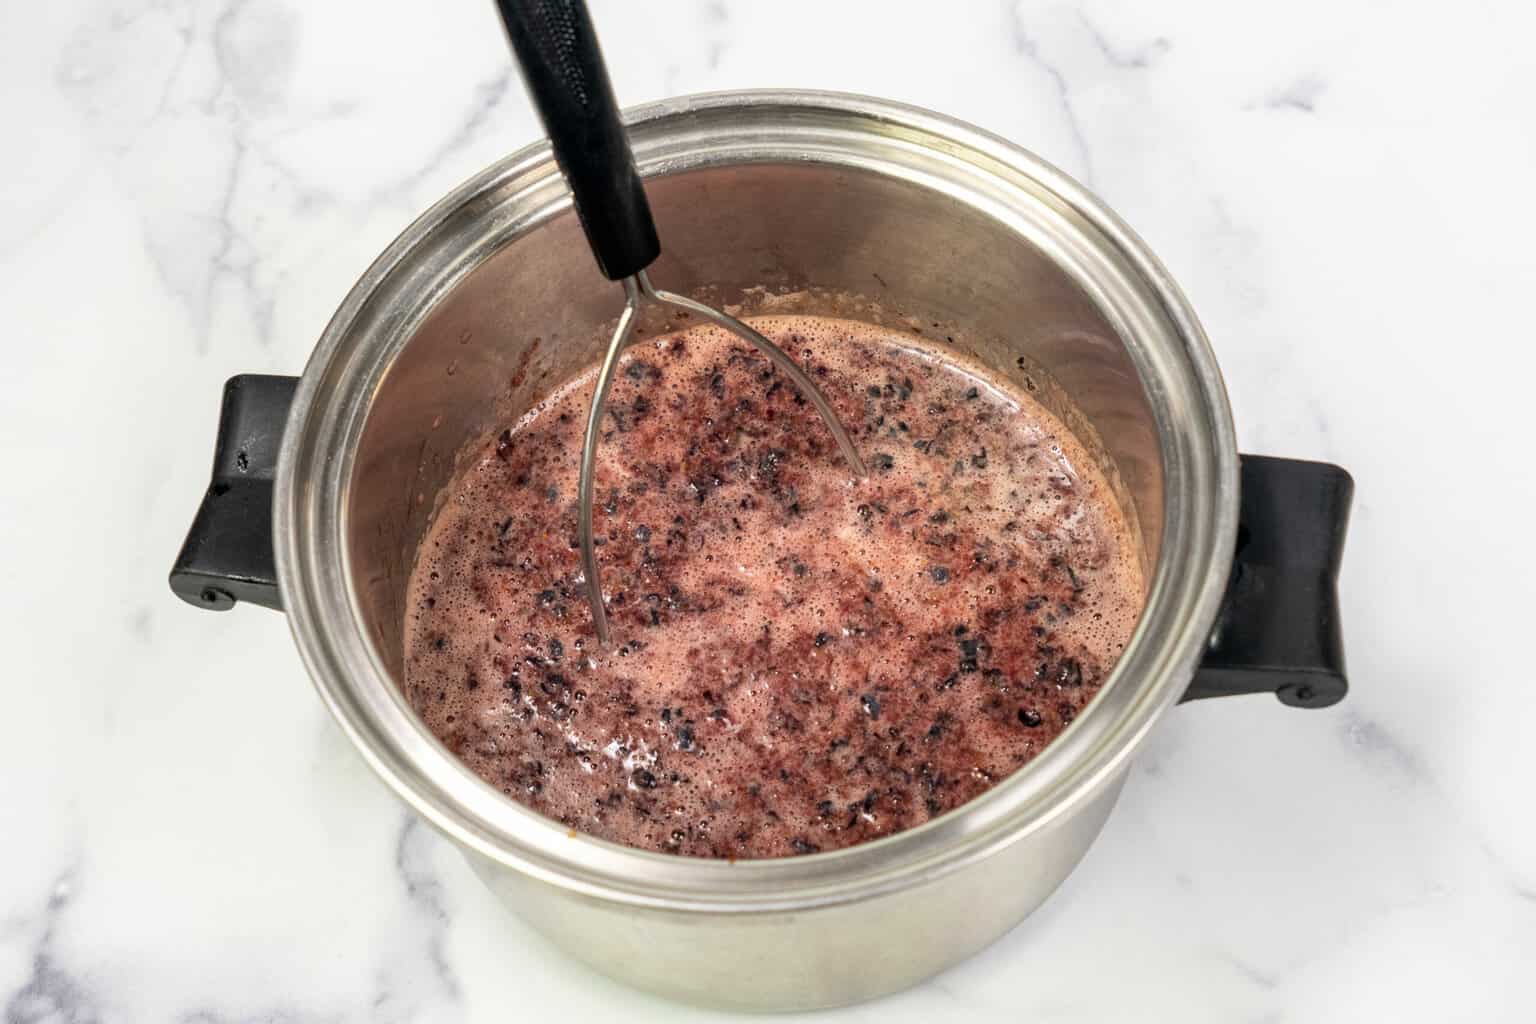
- Crush the blueberries - Pour the blueberries into a large mixing bowl and use a potato masher to crush them. When they’re ready, there should still be some small chunks, but no more whole berries.

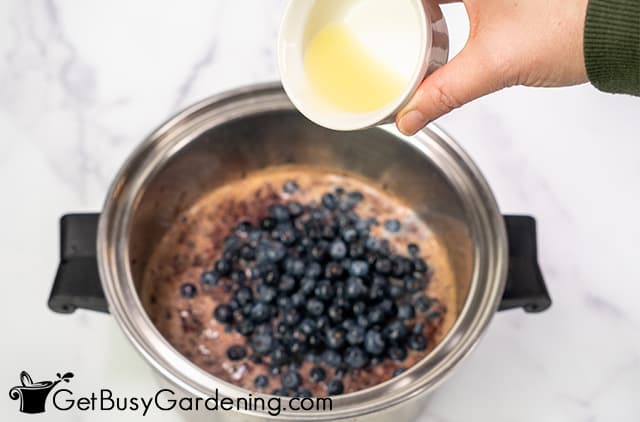
- Mix the jam ingredients - Pour the mashed blueberries into a cooking pot. Add the sugar and lemon juice, and stir everything together.

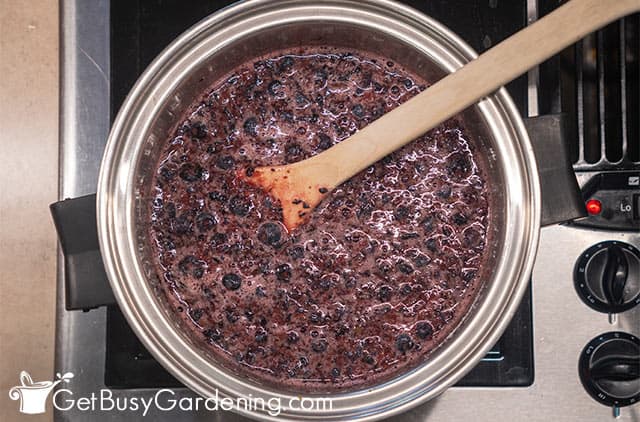
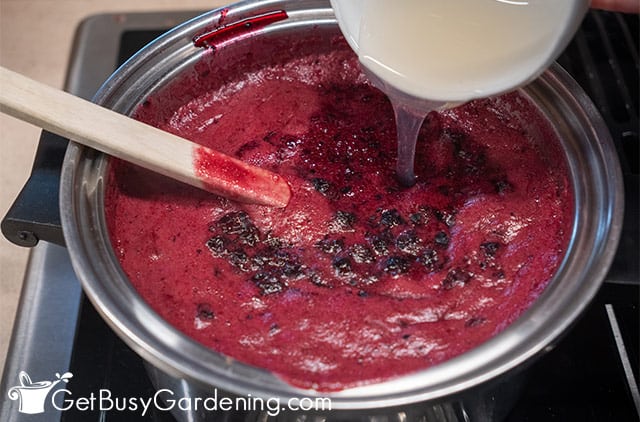
- Cook the jam - Turn the burner on low heat, and continue stirring until all of the sugar has completely dissolved. Turn it up to high heat, and allow the jam to come to a full rolling boil for 10-15 minutes, stirring it occasionally.

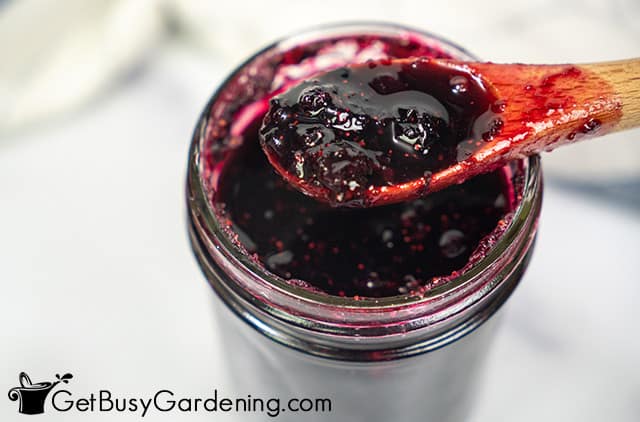
- Test the doneness - Remove the plate from the freezer and immediately drop a spoonful of jam onto it. If the jam gels up in 1-2 minutes, then it’s done. If it’s still runny, bring it back to a boil for a few minutes longer, and then retest the thickness.
- Add pectin (optional) - If you’re happy with the thickness, then you can skip this step. However if it’s still too runny, then add liquid pectin to the jam mixture. Simply turn off the burner and stir in the pectin for 1-2 minutes, or until the jam thickens.

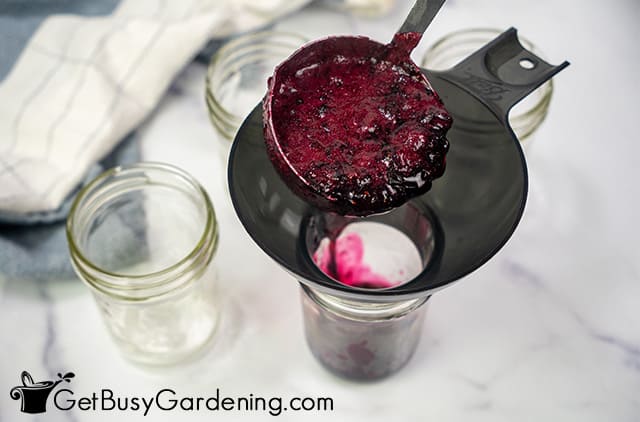
- Fill the jars - Pour the jam into the hot jars using a canning funnel, leaving ¼ inch of headspace. Then wipe the rim before placing a new lid and a ring on top, and securing the bands so they are fingertip tight.

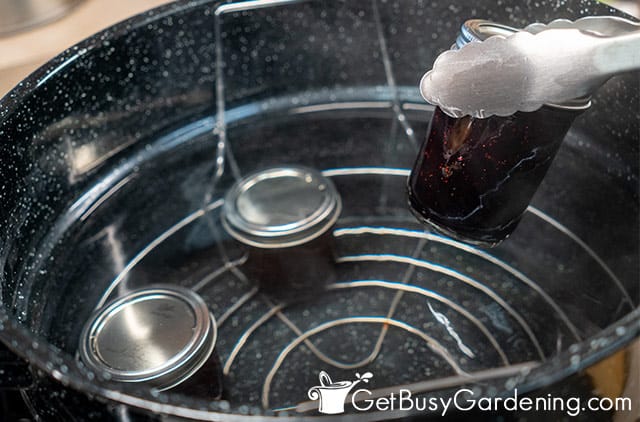
- Put the jars into the canner - Using your lifting tool, carefully place the jars into the boiling water canner.
- Process the jars - Process your jars of blueberry jam in the boiling water for 10 minutes. Once the time is up, turn off the burner and remove the jars right away.

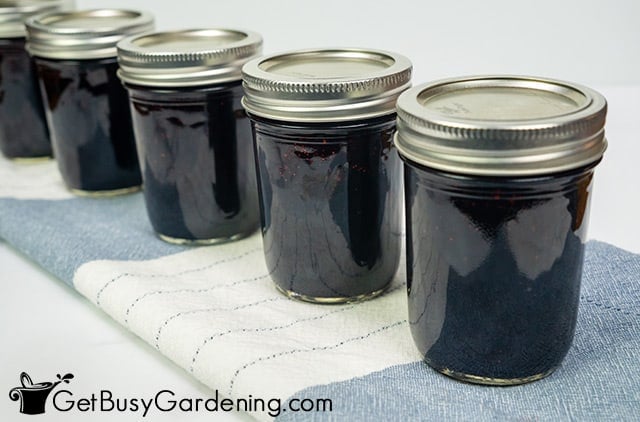
- Cool and label - Let the jars sit out and cool for 12-24 hours before you remove the bands. Then label them before storing by writing the date on top with a permanent marker, or try dissolvable labels.

Notes
- It's important to keep the jars hot at all times. So plan ahead and boil the processing water before filling them, then place them in there as soon as they are packed.
- Also, be sure to work fairly quickly to pack your jars so they do not cool down before processing them.
- Don't be alarmed if you hear the random pinging sounds as the jars cool, it just means the lids are sealing.
Nutrition Information:
Yield:
112Serving Size:
2 TablespoonsAmount Per Serving: Calories: 35Total Fat: 0gSaturated Fat: 0gTrans Fat: 0gUnsaturated Fat: 0gCholesterol: 0mgSodium: 2mgCarbohydrates: 9gFiber: 0gSugar: 8gProtein: 0g



Rianna says
Should I heat my jars in the oven, or in boiling water, before putting the jam in?
Amy Andrychowicz says
I use boiling water – here’s my process for how I sterilizing my jars before canning.
Linda says
Hello and thank you !
Can you double this recipe !?
Amy Andrychowicz says
Yes.
John says
When using frozen blueberries. Do they have to be thawed first?
Amy Andrychowicz says
Yes, you should thaw the frozen blueberries first, so they’re easy to crush.
Amanda J vansetters says
Its perfect. It went 20 mins on a roiling boil so i didnt have to put pectin in. I just put a small plate in the freezer and dabbed some boiling juice in a lil puddle then put it back in the freezer for 2 mins. When you push your fingertip through it it crinkles or sheets its done. I still tend to cook a few more minutes just in case. Ive never had jam go liquid on me so this works for me. I water bathed my blueberry jam in 1/2 pint jars i got 5 of them.
Amy Andrychowicz says
Awesome, so glad you love it and the recipe turned out great for you! Enjoy your homemade blueberry jam. YUM!
Sandy Hodsdon says
Hi! I was wondering how or if I need to change the recipe if the blueberries I’m using are high bush berries.
Thank you
Sandy Hodsdon
Amy Andrychowicz says
No, you don’t need to make any modifications to this jam recipe for high bush blueberries. They tend to be a bit sweeter than low bush varieties, so you may decide next time to use a little less sugar, but that may change the texture, so your jam might end up being a little thinner.
Pascale says
Thank you for the recipe. Why do I have to remove the bands? Is it necessary?
Amy Andrychowicz says
You’re welcome! There are two reasons why you should remove the bands before storing your jars of blueberry jam. One is that the bands could rust onto the jars, making it difficult to get them off later. The other is for safety reasons – if any of the lids lose their seal in storage, you want it to be obvious. The bands tend to hold the lids on tight, so you might not realize they popped open, which is very dangerous.