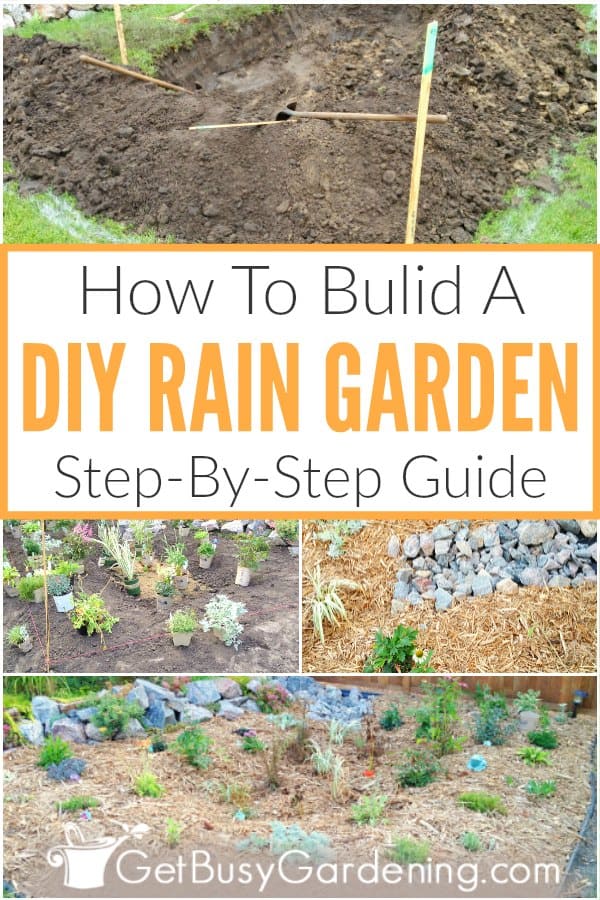
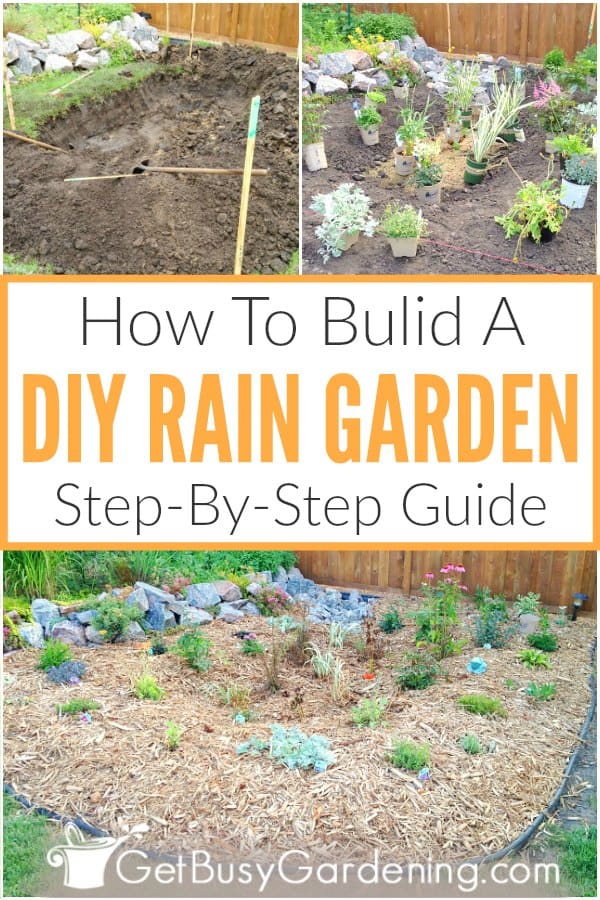
Building a rain garden is a bit more labor intensive than other flower beds, but it’s really not that difficult. Below I will walk you through the entire process step by step, and show you exactly how to make a rain garden of your own.
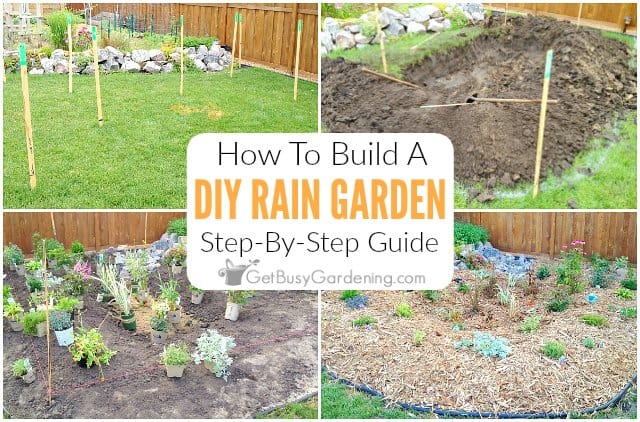

If you’ve been following along with my series on rain gardens, then you’ve already gone through the design process, and you’re ready to start digging.
But before you grab your shovel, it’s important to understand that building a rain garden is a little more work than most other flower beds.
That’s because you’ll need to dig down deeper to create the basin, and also build the berm to the right level.
But don’t worry, it’s really not that much extra work. And the reward will last for years and years (and probably save you a lot of headaches and money).
So, let’s get into the details of exactly how to build your rain garden to make it match your vision. I’ll walk you through each step below
How To Build A Rain Garden, Step-By-Step
Make sure you have everything you need ready before you start building a rain garden. Also, try to do it during a week when there’s no rain in the forecast.
While your construction work can be stretched over several days, it’s always frustrating to be in the middle of a task and find out you need a different tool. Plus, you don’t want to repeat any work if it rains in between.
Supplies Needed:
- Stakes
- Shovel
- Compost
- String
- Line/string level
- Rubber mallet (for pounding in the stakes)
- Hardwood mulch
- Garden edging
Step 1: Remove the sod – The first thing you need to do is clear the area of any sod or weeds that are currently growing there. You can dig it out by hand using a shovel.
Or, to make it super easy, consider renting a sod cutter from your local hardware store. That way you can reuse the sod or give it away, if you want.
Step 2: Dig the basin – The basin is the bowl where the water collects and soaks in. Dig down to the depth that you calculated during the design phase.
As you dig it out, you can just pile the soil around the outside of the basin for now, you’ll use it later to build the berm.
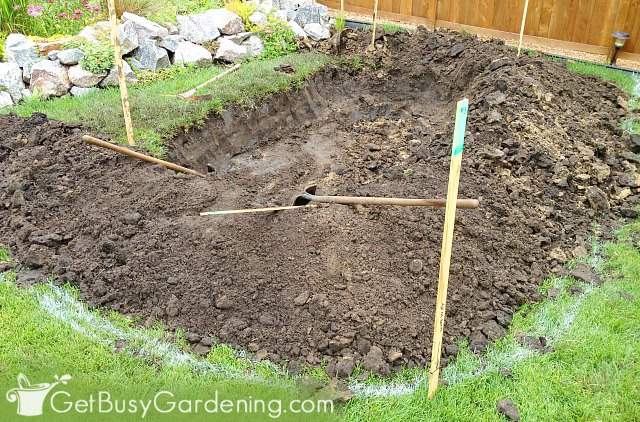
Step 3: Loosen the soil in the bottom – Once you finish digging the basin, the soil at the bottom needs to be loosened so the water will soak in faster.
Use a tiller or shovel to break up the soil, and try to go down at least 12″ deep. The harder the soil, the more time you’ll want to spend loosening it up.
Step 4: Spread compost in the basin (optional) – If you have heavy clay, or very sandy soil, then it’s best to mix compost into the basin substrate to help regulate the drainage.
Before adding the compost, remove an additional 2-3″ of the soil to make room, and so you don’t fill the basin back up again.
The amount of compost you’ll need depends on the size of the rain garden you’re building. The goal is to mix 2-3″ of compost into the soil. For example, my rain garden is 150 sq ft, so we added one cubic yard of compost.
When you have thoroughly mixed in the compost, and loosened up the soil, rake the basin flat, and measure it again to make sure it’s still the desired depth.
Once you are done, try not to walk in it as you work to build the rain garden, or you’ll only compact it back down again.
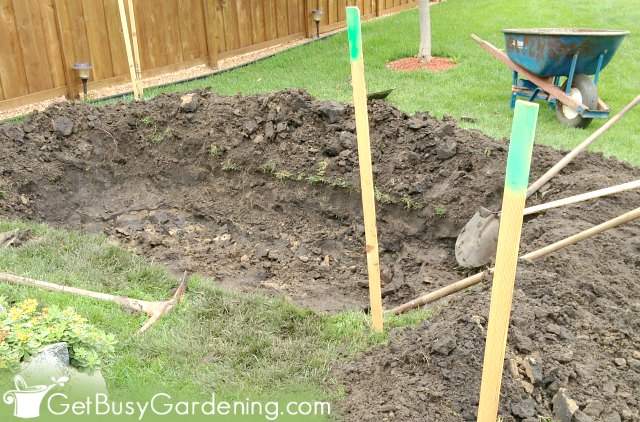
Step 5: Build the berm – The berm is the higher area you’ll build around the basin, and its purpose is to keep the water from escaping.
The ground needs to be the same height all the way around the basin. You’ll need to build up the berm on the lower sides so that it matches the level at the highest point.
The inlet (where the water enters the basin) should be at the point where the ground is naturally the highest.
The outlet (where the water will exit) should be at the point where the ground is the lowest, and it should stay slightly lower than the rest of the berm.
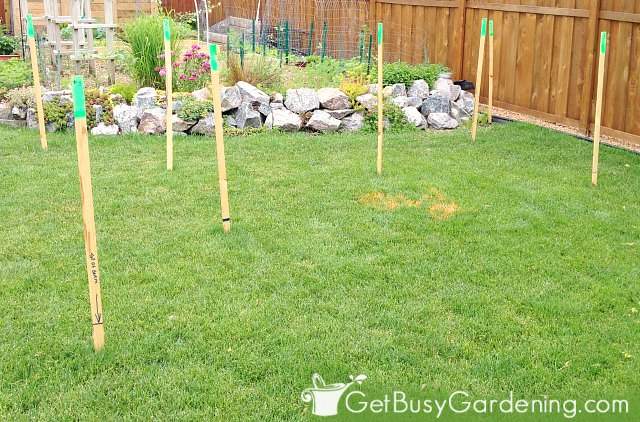
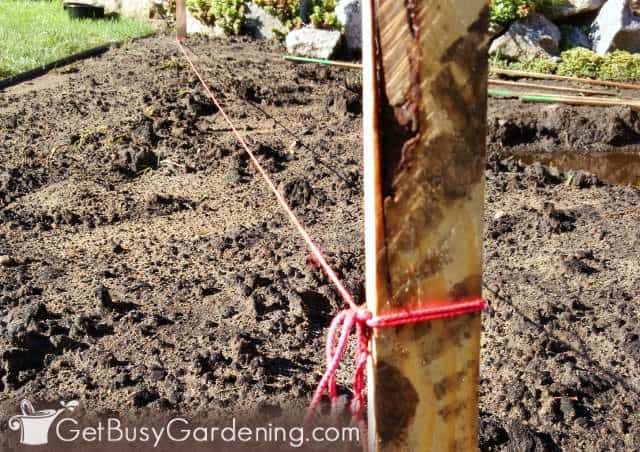
To figure out the height of the berm, pound stakes into the highest and lowest points around the outer edges of the garden using a rubber mallet.
Run the string around the outside of the stakes, then use a line level to determine how high the berm should be on each side. Once the string is level all the way around, you’ll build the berm up to that height.
Create the berm using the dirt you removed from the basin. You will probably have extra dirt, so don’t be tempted to use it up, or you could end up making the berm too high.
If you build the rain garden berm too high, the drainage may not work properly. Plus it will look silly. So just use the extra dirt to fill in other areas of your yard or garden beds.
Step 6: Create the inlet – The inlet is the area where the water flows into the basin. This area should be at the highest point of the garden, but slightly lower than the surrounding area, to direct the flow of water.
It’s a good idea to line this spot with rock to prevent erosion, and save on mulch. I chose to create a dry creek bed for mine. I also covered my inlet with landscaping fabric before adding the rock for further erosion protection.
A dry creek bed isn’t necessary for the inlet, but it can be decorative. For mine, I used the same rock as we used for the adjacent retaining wall.
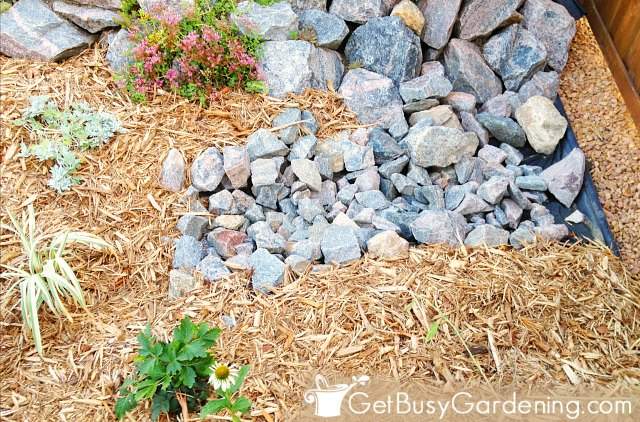
Step 7: Install edging – Once you’re done building your rain garden, it’s a good idea to install landscaping edging. This will prevent grass and weeds from growing into the bed.
I chose to use black plastic edging for mine to help cut costs. But you could use any type of edging or rock that you would use in other garden beds, there aren’t any limitations here.
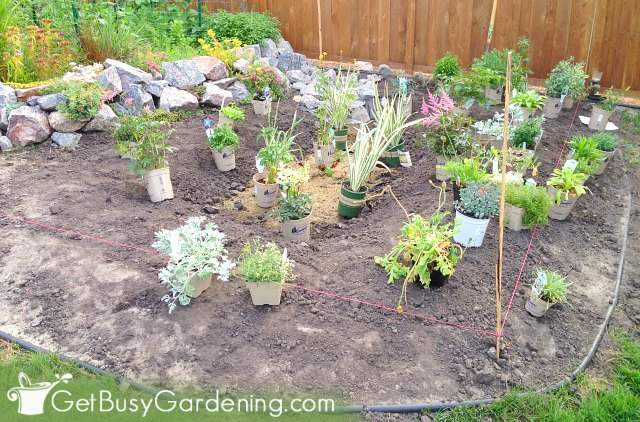
Step 8: Add the plants – Now for the fun part, planting everything! Lay out all of your plants for spacing, and decide where everything goes.
Then, simply pop the plants into the ground, just like you would with any other garden.
If the basin is full of water, then you can dig a temporary trench at the outlet point to drain it. You may need to wait several days for the basin to dry out enough for planting.
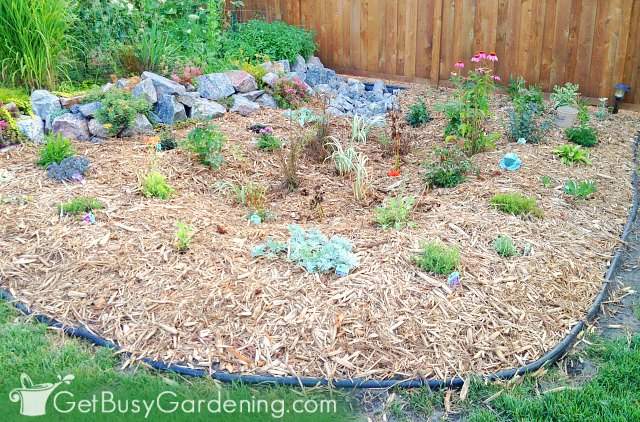
Step 9: Cover with mulch – Mulching your newly built rain garden will not only look nice, it also prevents weeds, and retains moisture. However, it’s important to use the right kind of mulch.
Most types of mulch are too lightweight, and will wash away easily, or float when the middle is full of water.
So it’s best to use a hardwood mulch. Hardwood mulches will last longer, and stay in place. You’ll get a few floaters here and there, but most of it will stay put.
Building a rain garden isn’t that complicated when you break it all down step by step. Sure, it requires a bit of hard work, but is very doable. Just keep yourself organized and follow these steps, and you will make a rain garden that is both beautiful and functional.
Recommended Books
- The Rain Garden Planner
- The Blue Thumb Guide to Raingardens
- Creating Rain Gardens
- Rain Gardens: Sustainable Landscaping for a Beautiful Yard and a Healthy World
More About Flower Gardening
- 29 Rain Garden Plants For Sun Or Shade
- How To Keep Peonies From Falling Over
- How To Transplant A Plant In Your Garden
- Tips For Creating A Butterfly Friendly Garden
Share your tips for building a rain garden in the comments section below!

PlantPostings says
I have to do this! We’re having some issues with gutters overflowing and causing erosion on one side of our house. But I keep thinking I don’t want to spend the money on putting in a rain garden. How expensive were all the construction and materials?
Amy Andrychowicz says
My city actually had a grant program, and they gave me $500 to install this garden. These types of grants are becoming very popular, so check with your city/county/watershed district to see if you have any rain garden grant programs available to you. I spent the whole $500, but if you did build your own rain garden, it wouldn’t cost any more than any other garden. Just the cost of plants, mulch, edging, and compost. And you could probably even use plants from around your yard to fill it, that always helps to bring the cost down. 🙂
El Gaucho says
Very cool, that looks like it was a lot of shoveling. So there's no "intake" per se into the rain garden, but the berm is along the low side and the water runs into the area from higher ground, correct? In your picture there was an awful lot of water, it seems like more than could just collect from rain falling from directly above.
Amy Andrychowicz says
LOL! Yes, it’s a lot of digging to get the rain garden basin built. But we have very sandy soil, so it was easy digging. The depth of the basin depends on the soil type, so it wouldn’t be as deep in harder clay soils.
Actually, there is an intake area. The spot in the corner where the rock wall and fence meet is the point where the water comes into the basin. We put a dry creek bed there to help direct the water in.
The idea is to build a rain garden in a location above where the flow of rainwater runoff is the strongest. Our backyard has a slope from the back to the middle of the yard. Then it has a steeper grading between the houses to funnel the water down to the street. We put our rain garden at the bottom of the slope, before the steeper grading starts, so we can capture some of that water to slow down the flow, and prevent erosion. Hope that gives you a better idea.
El Gaucho says
Gotcha. I was having a bit of a hard time envisioning exactly where it was positioned in the yard. I’m excited to watch your rain garden progress, I think it will look great when it’s fully grown in and ready for business.
Amy Andrychowicz says
Yah, it’s kinda hard to explain exactly where to put it, but you can see more details in my post about how to design a rain garden. I never realized how much our yard sloped before we put in that rock wall a few years ago. Plus the neighbors behind us are up an even steeper hill. No wonder we have so much rainwater runoff moving through our yard.