Zucchini relish is quick to make, and my delicious recipe will have you coming back for more. You can whip up a batch to use right away, or can it for later if you prefer. Here you’ll find instructions for both.
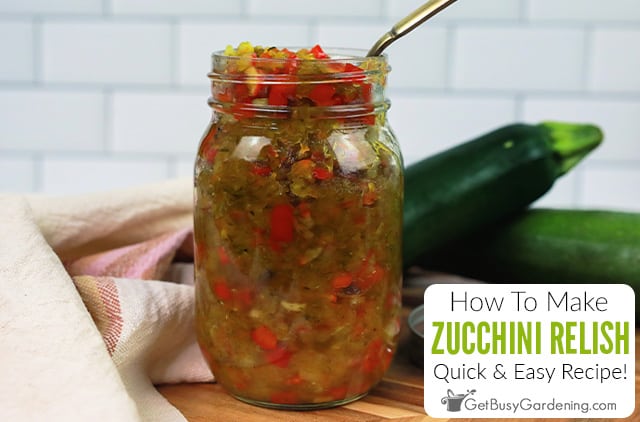
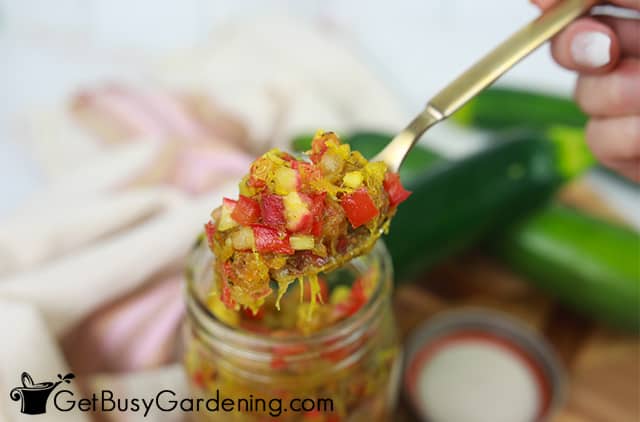
This homemade zucchini relish recipe has a perfectly sweet and tart taste, with just the right amount of crunch.
It’s surprisingly simple to make, and just as delicious right off the spoon as it is served with your favorite meals.
Below I’ll show you how to make this quick and easy zucchini relish in just a few steps. I’ve even included optional instructions for canning it.
Related Post: How To Grow Your Own Zucchini
Homemade Zucchini Relish
You may question whether you are truly a zucchini relish fan. But once you taste this recipe, I’m sure you will fall in love! Here are several reasons why it works.
- Nice flavor balance with a touch of crunch
- Unique flavor and ingredient mix
- Prep time is only 15 minutes
- Perfect to add to many meals
- Great to give as a gift
- Easy to whip up a batch
- Great way to utilize the produce in your garden
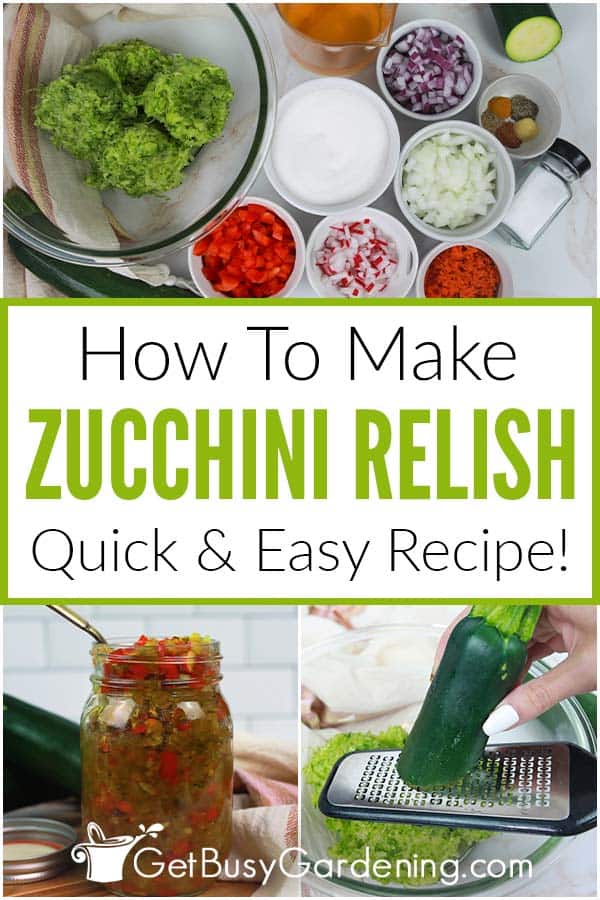
Zucchini Relish Ingredients
This homemade zucchini relish recipe includes a variety of spices and fresh vegetables. Here’s what you’ll need.
- Zucchini – This provides the main substance and base of the recipe. When grated it creates the perfect texture you are looking for.
- Onion – I used both red and sweet white, and finely diced them. This creates a nice flavor that makes this delicious.
- Bell pepper – I used a red bell pepper for its sweetness, but you could use any variety you like. It provides extra flavor and texture.
- Carrot – Grated carrot adds a nice boost of color and flavor, as well as adding to the crisp texture.
- Radish – This offers a wonderful touch of spice, without being as hot as a jalapeno.
- Salt – We’ll use this to leach the liquid from the vegetables so your zucchini relish won’t end up too watery. If you plan on canning it, then use pickling salt rather than regular.
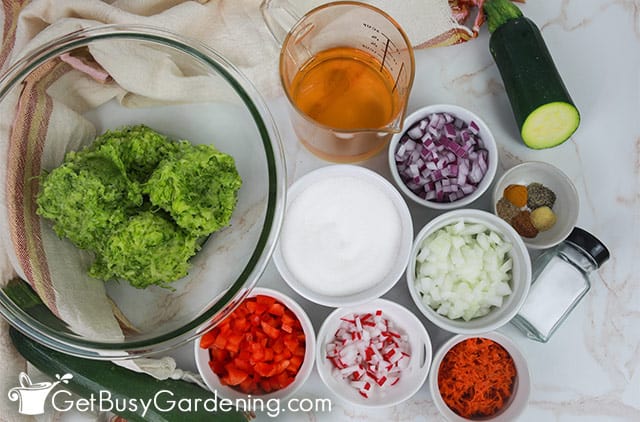
- Sugar – Adds a little extra sweetness, and also balances out and neutralizes the vinegar flavor.
- Apple cider vinegar – The acidity offsets the sweetness, and also preserves the color.
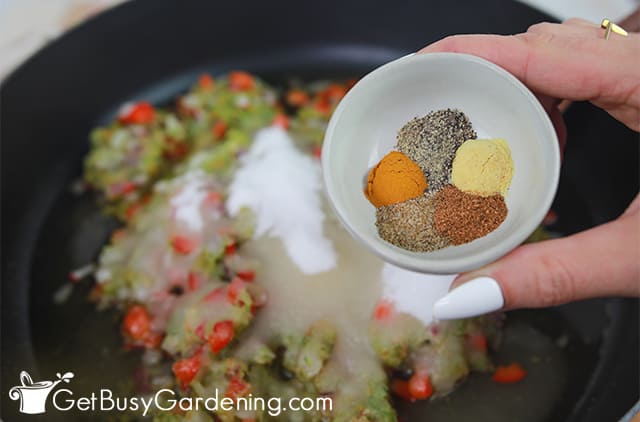
- Turmeric – This earthy spice adds color and depth, with a slightly bitter, sharp flavor, giving this recipe a nice balance.
- Dry mustard – Adds a distinct tangy flavor to the zucchini relish, as well as intensifying the color.
- Black pepper – Provides an earthy touch, while bringing out a more bold flavor of the other ingredients.
- Celery seed – Enhances the flavor without adding bulk to the recipe.
- Ground nutmeg – Adds a nutty, sweet flavor that brings out the warm undertones.
Tools & Equipment
The good news is that you don’t need any special equipment, you should already have what you need on hand. Gather everything before starting will speed things up.
- Grater
- Spatula or wooden spoon
- Mixing bowl
- Plastic wrap
- Measuring cups
- Measuring spoons
- Paring knife
- Fine colander
- Cooking pot or skillet
- Pint sized canning jars (optional)
Tips For Making Zucchini Relish
Here are a few tips and hacks that will help you have the best possible zucchini relish using my recipe below.
- Be flexible in your vegetable varieties – This will taste great, even if you decide to change it up a bit. You can use any variety of summer squash, as well as different types of peppers or onions.
- Don’t skip the salt – If you skip the step of allowing the salt to sit on the vegetables in the fridge overnight, your zucchini relish will be too watery.
- You can use white vinegar – If you do not have apple cider vinegar on hand, you can use white instead. It does have a slightly sharper flavor though, so keep that in mind.
- Have fun – Try experimenting with various ingredients to see what you like best.
Canning Your Zucchini Relish (Optional)
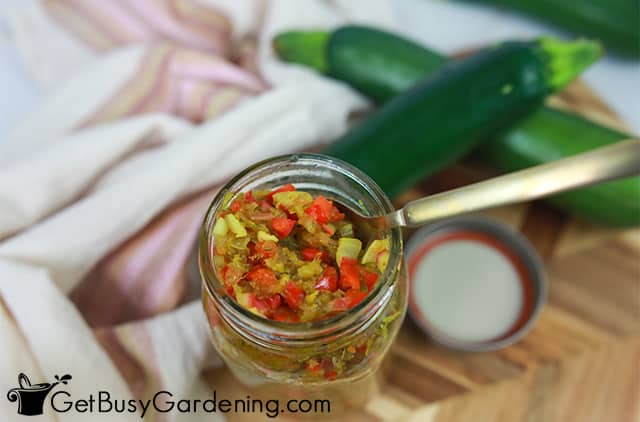
You can store your fresh zucchini relish in a closed container in your refrigerator. In that case, it’s generally good for a week.
If you would like it to have a much longer shelf life, canning is the answer. That will make it last for 12-18 months.
Water bath canning works well, since this recipe contains vinegar.
Simply pack prepared jars with the hot zucchini relish, and process them in boiling water for 10 minutes (time can vary depending on altitude).
Then turn the heat off, and allow it to sit in the hot water for an additional 5 minutes. When you remove the jars, let them cool for 12-24 hours untouched.
FAQs
What can I do with zucchini relish?
There are lots of things you can do with zucchini relish. It is delicious all by itself, or try it on burgers, wraps, hotdogs, pulled pork, BBQ sandwiches, nachos, and more.
How do you cut zucchini for relish?
To cut your zucchini for relish, you can use a hand grater. Or place it in a food processor, and pulse for 30 seconds to one minute, or until it’s the texture you like.
Making zucchini relish is a great way to use up vegetables from your garden. This recipe has the best flavor and texture, and it’s fun to experiment with to add your own twist.
If you want to learn how to best utilize your garden space, then you need a copy of my book Vertical Vegetables. It will teach you all you need to know in order to have both a beautiful and bountiful veggie garden. Order your copy today!
Learn more about my Vertical Vegetables book here.
More Garden Fresh Recipes
- Fudgy Chocolate Zucchini Brownies Recipe
- How To Make Homemade Zoodles (Zucchini Noodles)
- How To Make Pickled Garlic (With Recipe)
- How To Make Pickled Asparagus (With Recipe)
- How To Make Rhubarb Jam: Easy Recipe
- How To Make Onion Jam (Recipe & Instructions)
Share your favorite zucchini relish recipe in the comments section below.
Recipe & Instructions
Zucchini Relish Recipe
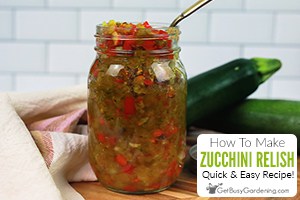
This homemade zucchini relish recipe is the perfect mix of sweet and tangy with a nice added crunch from a variety of vegetables. You can whip this up quickly and enjoy it the next day.
Ingredients
- 3 cups zucchini, grated (about 2 large)
- ½ cup diced red onion
- ½ cup diced sweet onion
- 1 bell pepper, diced
- ¼ cup carrot, grated
- ¼ cup radish, diced
- 2 Tablespoons salt
- 1 cup sugar
- 1 cup apple cider vinegar
- ¼ teaspoon turmeric
- ¼ teaspoon dry mustard
- ¼ teaspoon black pepper
- ¼ teaspoon celery seed
- ¼ teaspoon ground nutmeg
Instructions
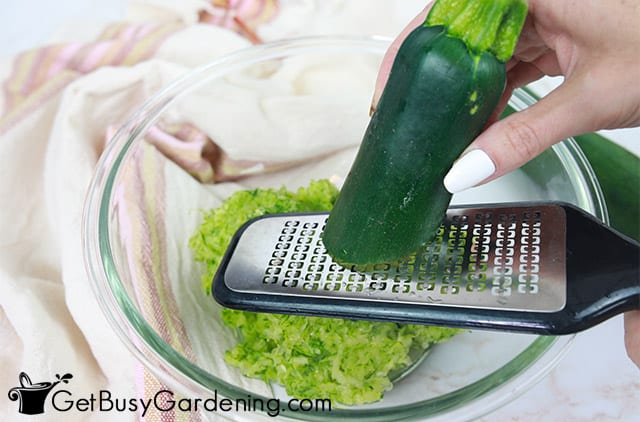
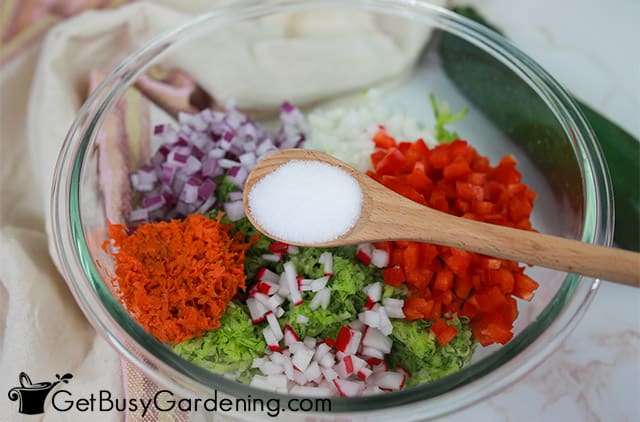
- Prepare the vegetables - Use a grater to shred the zucchini into a mixing bowl. Then dice all of the remaining vegetables, and add them to the same bowl.

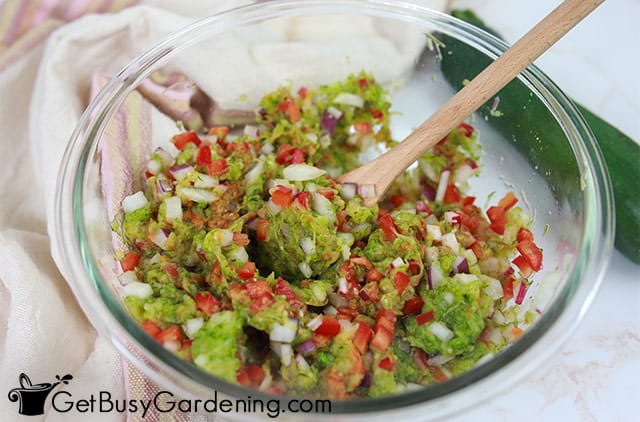
- Salt and let sit - Sprinkle the salt over the top of the vegetables, and toss everything together. Then cover with plastic wrap, and place in the refrigerator overnight.

- Strain - Pour the mixture into a fine colander, and use a wooden spoon or spatula to press all the liquid out.

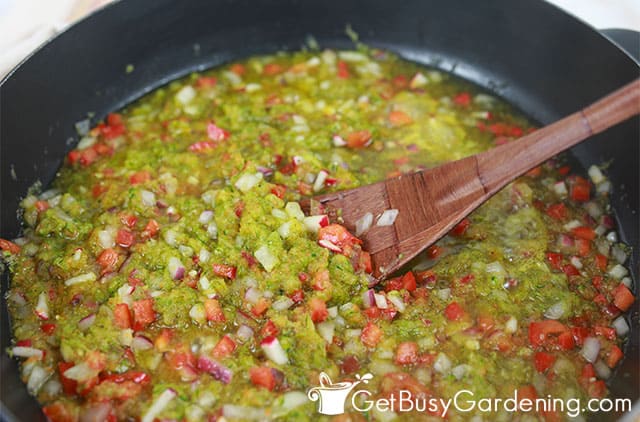
- Cook mixture: Place the mixture into a large cooking pot or skillet. Heat it on medium to high to bring to a boil briefly, then decrease to low heat.

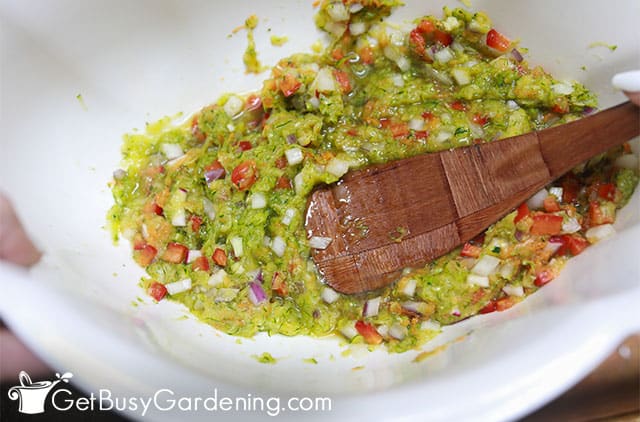
- Season - Add the sugar, vinegar, and all remaining seasonings, and toss until everything is well mixed. Continue to simmer on low for a total of 20 minutes.

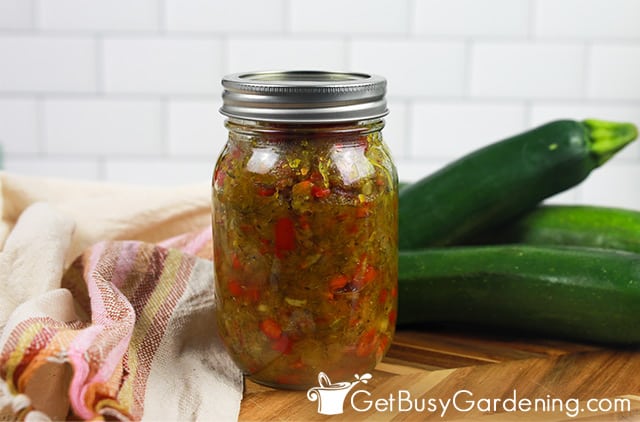
- Store - If you plan to can it, pack the hot zucchini relish into pint jars, and follow the steps above to process it. Otherwise, allow it to cool before putting it into a container with a lid or a mason jar. You can store this fresh in the refrigerator for up to 1 week.
Nutrition Information:
Yield:
32Serving Size:
1 TablespoonAmount Per Serving: Calories: 33Total Fat: 0gSaturated Fat: 0gTrans Fat: 0gUnsaturated Fat: 0gCholesterol: 0mgSodium: 399mgCarbohydrates: 8gFiber: 0gSugar: 7gProtein: 0g





LanOhNo! says
Ok. Great relish!
I’m a big BBQ fan, here’s how I used it :
Toasted brioche bun cut in half
Kewpie mayo on the bottom, topped with pulled beef brisket.
This relish liberally on top of the brisket.
BBQ sauce on the top half of the bun.
Eat!
This relish is the absolute best with BBQ.
Amy Andrychowicz says
Wonderful, I’m so glad to hear that you love my zucchini relish! I haven’t tried it on BBQ, but I certainly will now! Thanks for the suggestion. 🙂
Lia Sullivan says
Can this be frozen too?
Amy Andrychowicz says
I wouldn’t. Zucchini has a lot of water in it, and I worry that your relish would turn to mush if you freeze it. I’ve never tried it though, so you could certainly experiment with a small amount to see what happens.