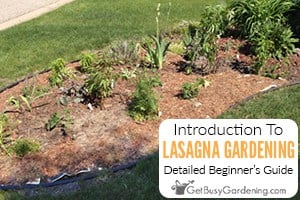
Lasagna gardening is an easy way to create and maintain low-maintenance beds. In this post, I’ll explain everything you need to know about this simple method, and walk you through how to make your own, step by step.
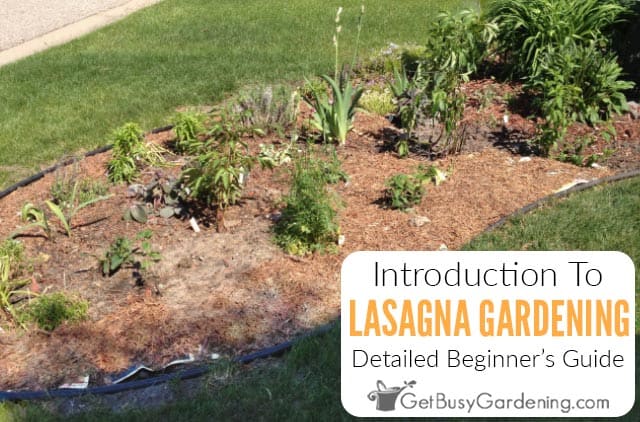
If you want to create new garden beds with rich, healthy soil, you don’t have to buy a bunch of amendments at the store. Instead, try lasagna gardening.
Hold on, I know what you might be thinking here. But I’m not referring to a garden where you grow all of the ingredients to make a yummy dinner.
The lasagna method is a simple way to create a new growing space by layering rich organic matter, rather than digging or tilling.
Building lasagna garden beds is easy, and a great way to use up all of your compostable yard and kitchen waste.
Think about it, starting a new garden area the traditional way is hard work. First you have to dig up and dispose of all the sod and weeds.
Then you have to add compost and amend the soil, not to mention tilling, and raking, and all of the other manual labor that’s involved…. UGH!
Well guess what, you don’t have to do any of that in a lasagna garden. Below I will walk you through everything step by step.
What Is Lasagna Gardening?
Lasagna gardening (also called “sheet composting”) is a form of the no dig gardening method.
However, this new spin on the century-old practice focuses on layering different types of organic matter over the top of the soil (like layers in a lasagna).
The idea is to pile layer upon layer of green (nitrogen) and brown (carbon) organic materials on top of the ground, similar to how you would do it in a compost heap. So essentially, the garden bed becomes a large composting area.
And there’s no need for digging anything up first. The thick layers block the light from reaching the weeds and grass underneath, smothering and killing them.
Over time, the organic materials (including the dead grass and weeds underneath) are composted in place. Thus creating rich soil that’s ready for planting.
The lasagna gardening technique isn’t just for starting new beds. It also works great to fill up raised beds, amend a garden that has poor quality soil, or to reclaim a plot that’s been overtaken by weeds.
Pros & Cons Of Lasagna Gardening
Just like with everything, there are pros and cons for lasagna gardening. So, before you decide if this method is right for you, it’s a good idea to understand both the advantages and disadvantages.
Advantages
There are many benefits of lasagna gardening, but the main one is that it requires much less work than the traditional way of creating new beds. Here are all of the wonderful advantages…
- Less manual labor
- Fewer weeds
- Better water retention
- Improves poor quality soil
- Requires less fertilizer or expensive soil amendments
- Creates loose, fluffy, fertile soil where plants will thrive
- Gives you a place to put your yard waste if you don’t have a compost bin
- Inexpensive, since you get the materials for free
Disadvantages
But along with these great advantages come a few disadvantages. These may not be a huge concern for you, or they could be a deal breaker. It really depends on where you live, and your specific circumstances.
- It can be hard to find enough materials to build up the thick layers
- Kitchen scraps can attract critters like mice and raccoons (to avoid this, make sure to thoroughly cover all food scraps with a thick layer of browns)
- If you don’t cover the bed with compost or mulch, it can be a bit of an eyesore
- The materials need to be kept moist at all times, or they won’t break down – so you’ll need to keep it well watered in dry climates
- It can take time for the layers to break down into the fluffy, fertile soil for planting (but you can cover it with compost for immediate planting)
- The green materials can attract destructive bugs like slugs and snails, and the layers give them lots of places to hide
Materials For Lasagna Gardening Layers
When it comes to finding materials to use for your lasagna garden, there are tons of options. Just remember that there is no exact recipe for the layers, so don’t fret over getting it exactly right.
Think of it like this… You can build up the layers using anything you would put into your compost bin. So, just use what you have on hand, or materials that are readily accessible to you.
The most important part to remember is to alternate the carbon rich materials (browns) with layers of nitrogen rich materials (greens). The ideal ratio is 2 browns to 1 green, but that’s just a rough gauge to go by.
Here’s a list of both brown and green items that you can use to give you some ideas, and to get you started.
Brown Layers (Carbon)
Browns are carbon-rich materials that you can usually find in your own backyard (especially in the fall). Just make sure to avoid adding anything that has seeds.
This is because the lasagna garden layers won’t get hot enough to destroy them, like a compost heap would. Here are some examples…
- Straw or hay
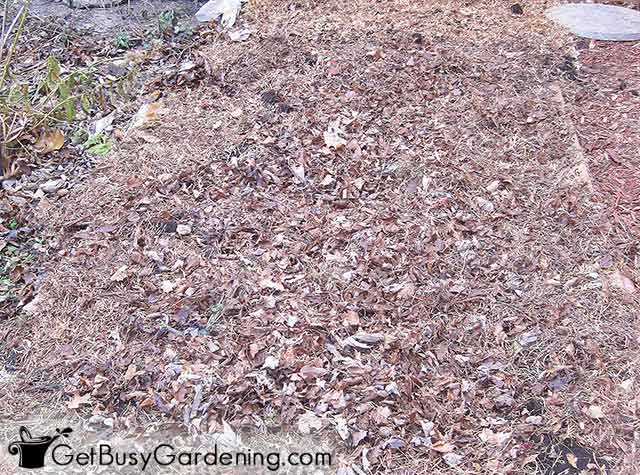
- Dead leaves
- Compost
- Cardboard and newspaper
- Peat moss or worm castings
- Pine needles
- Saw dust or shredded wood
- Yard waste
- Toilet paper or paper towel rolls
- Potting soil (recycled from your summer pots)
Green Layers (Nitrogen)
The green layers can be waste from the kitchen, or other materials that are easy to find around your yard or neighborhood.
Just make sure that when you use any type of kitchen scraps, bury them under the thicker brown layers. That way, there’s less risk of attracting unwanted critters that are scavenging for food.
- Untreated grass clippings
- Compostable kitchen scraps (the waste from fruits and veggies)
- Eggshells
- Coffee grounds
- Tea leaves and bags
- Rotted manure (from horses, chickens, rabbits, or cows)
When To Build A Lasagna Bed
The best time to make a lasagna garden is after the first killing frost in the fall. That way, the grass will be dormant, and easy to layer over.
You’ll also have a plethora of yard waste and fallen leaves to use (ask your neighbors to save theirs if you need more!).
Plus, it will have all winter to break down, and be ready for planting once the ground thaws in spring.
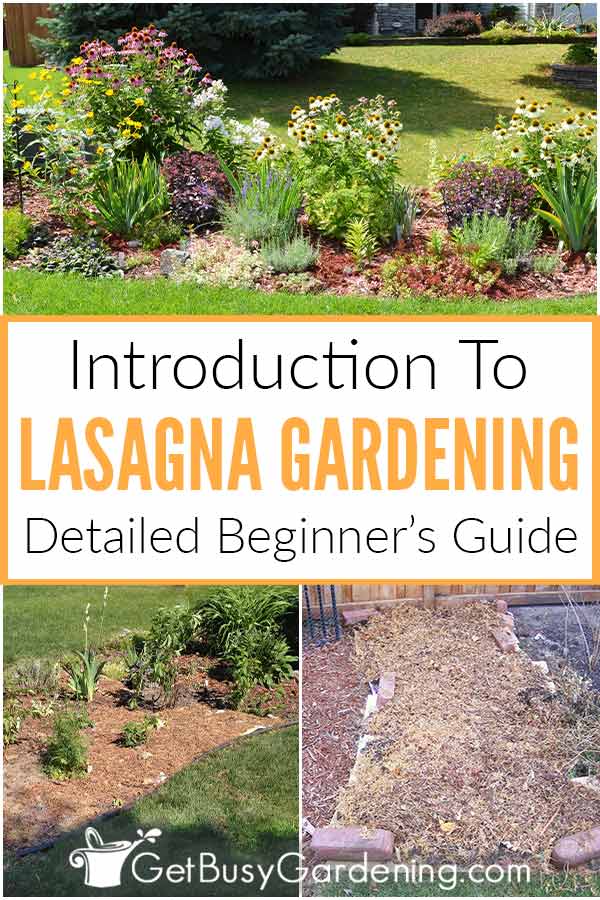
Come spring, the grass and weeds underneath all those layers will be dead, and you’ll have a new bed full of rich fertile soil that’s ready for planting.
Of course, you could start sheet composting at any time during the year. In order to plant right away, just top it off with 4-6 inches of compost.
How To Make A Lasagna Garden
If you plan ahead, you can have a new garden area with lush, rich soil, and start planting it right away – without breaking a sweat. Now, that’s what I’m talking about!
Here’s what you’ll need, and the detailed steps to make a lasagna garden…
Supplies Needed
- Newspaper or heavy cardboard
- Green matter (see list above)
- Brown matter (see list above)
- Water
- Compost (optional)
- Mulch (optional)
Step By Step Instructions
Follow the steps below to build your lasagna garden. Remember, you don’t need to be super fussy about the exact ratio of brown to green layers.
But, if you have a technical mind, then aim for a 2:1 brown to green ratio (for example: use 1 inch of greens for every 2 inches of browns).
Step 1: Mow the area – Start by mowing the existing grass or weeds down as low as you can. If there aren’t any seeds, you can bag the clippings, and save them to use in your layers.
If mowing isn’t an option for you, then wait to make your lasagna garden until late fall when everything is dormant.
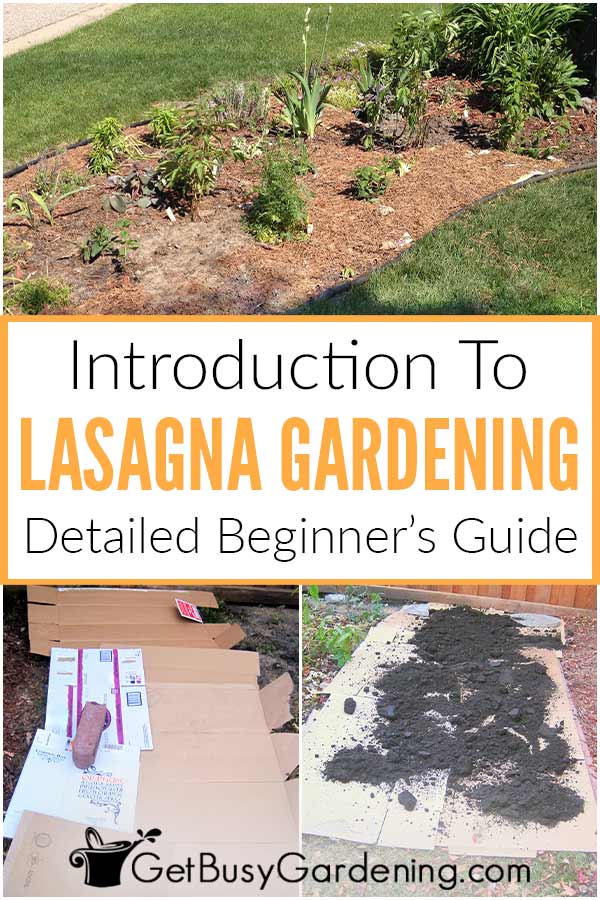
Step 2: Lay out the cardboard or newspaper – The first layer should be heavy cardboard or a thick layer of newspapers (6-10 sheets).
This will smother the sod and weeds and attract earthworms, which will help turn the layers into a light and fluffy soil.
Lay down your cardboard or newsprint sheets right over the top of the grass. Make sure to overlap each section by a few inches so there aren’t any holes.
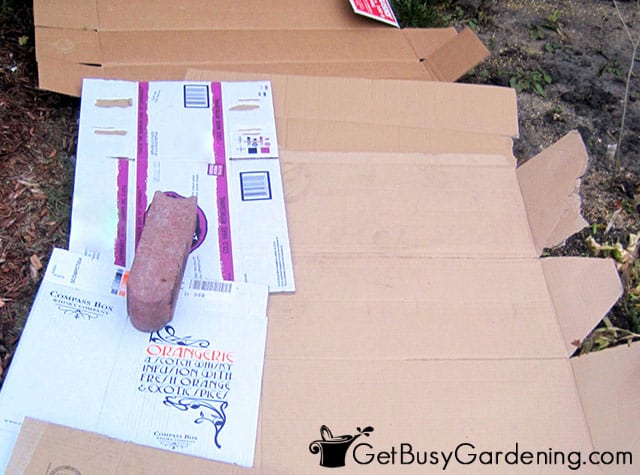
Step 3: Wet it down – It’s easier if you wet down the cardboard or newspaper so it stays put while you are adding the other layers (especially on a breezy day!).
If necessary, you could use bricks around the edges, or put a layer of compost over the top to hold down the cardboard until the layers are wet and heavy enough to stay in place.
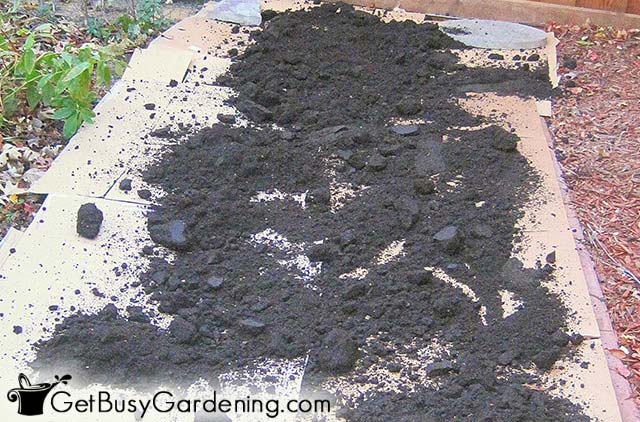
Step 4: Add the first green layer – Since we started with a brown layer (the cardboard/newspaper), next comes the first green layer.
This layer should be 2-3 inches deep. Use items such as garden waste, vegetable food scraps, grass clippings, manure, etc. See the list above for more green layer materials.
Step 5: Pile on the browns – Next comes another brown layer. This one should be 4-6 inches deep.
Pile on materials such as leaves, yard waste, peat moss, and pine needles, for example. See the list above for more ideas.
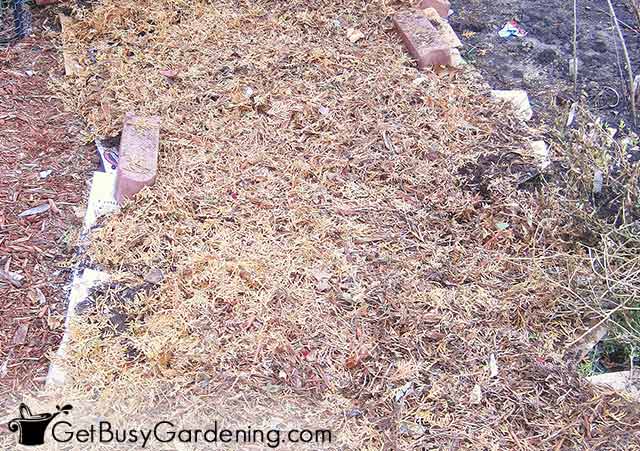
Step 6: Add more layers – At a minimum, add one more green and one more brown layer on top, so you have a total of four layers (not including your initial newspaper/cardboard layer).
But ideally, you should keep alternating greens and browns until your lasagna garden layers are 6-12 inches deep.
You could certainly go higher than that if you want. Some people pile it on until their sheet composting layers are 2-3 feet deep.
Don’t worry if it looks too high initially, everything will shrink as the organic materials break down.
Step 7: Hose everything down – Moisture will activate the natural decomposition process, and attract worms into your lasagna garden. So grab the hose, and thoroughly wet down the layers.
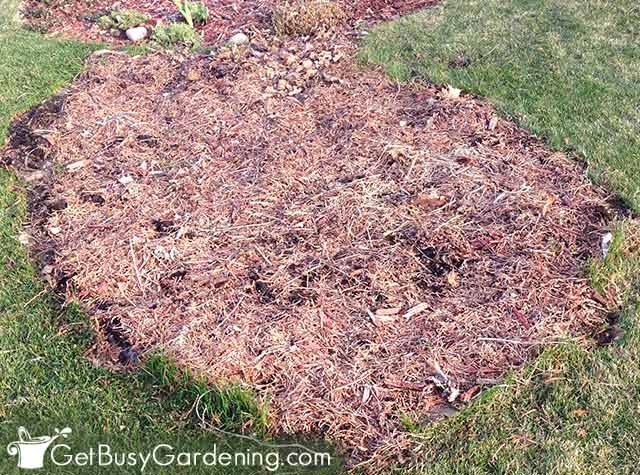
Step 8: Cover it with compost (optional) – If you want to plant in your new bed right away, then top it off with 3-4 inches of compost.
This has the added benefit of hiding the layers of organic materials, making it look nicer and more finished.
It also helps keep the layers moist, and prevents the lighter weight materials (like paper or leaves) from blowing away.
Step 9: Top it off with mulch (optional) – Another optional step is to cover the entire bed with mulch, like straw, pine needles, or shredded leaves.
This can double as your final brown layer, and give the bed a more finished look. You can add it whether or not you covered everything with compost in the previous step.
Planting In Your Lasagna Garden
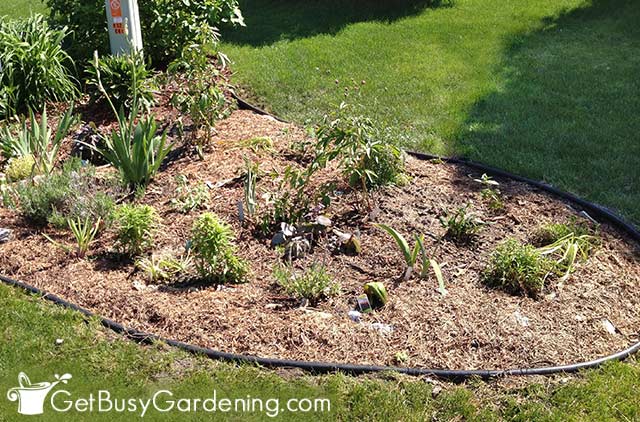
If you create a lasagna garden in the fall, everything will be broken down and ready to go in the spring. However, if you don’t want to wait that long, you can plant it right away.
To plant immediately after building it, simply add a thick layer of compost over the top. Then you can plant away.
Otherwise, once the layers have settled, push them aside, and then plant directly into the soil underneath.
Maintenance Tips
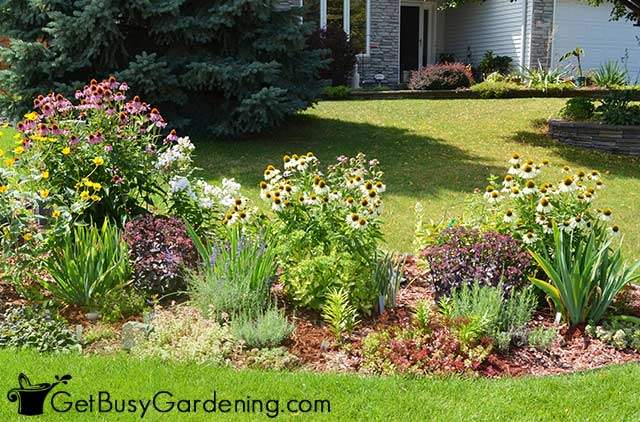
The beauty of using this technique is that there’s less weeding and watering than with traditional methods. So, you will likely find that your lasagna garden beds will be much easier to maintain.
Once the bed is established, all of those layers will help to hold moisture longer, meaning less watering. And any weeds that do grow will be easy to pull, since they’ll be on the surface.
There’s no need to ever till or turn the soil. In fact, that defeats the purpose. Instead, each year you can add more layers of browns and greens in the fall, and the soil will get even better with time.
FAQs
Now that we covered the main concepts, you might still have a few questions about lasagna gardening. Here are some that I get most frequently. If you can’t find an answer here, then ask your question in the comments below.
How soon can you plant in a lasagna garden?
You can plant in your lasagna garden as soon as you build it, or you can wait until spring. In order to plant it right away, your top layer should be 4-6 inches of compost.
How many layers should I put in my lasagna garden?
At minimum, you should alternate four layers of browns and greens (2 each) on top of the cardboard in your lasagna garden. In the end, it should be at least 6 inches deep in order to smother the weeds.
But the more layers you add, the better. Some gardeners build them up to be 1-2′ deep. It may look silly to you, but don’t worry. Everything will settle and shrink down once it starts decomposing.
The lasagna gardening method is an easy way to create new beds without being overwhelmed with manual labor. You can have a new garden area with lush, rich soil, and start planting in it right away – without breaking a sweat. That sounds good to me!
Recommended Books
If you love the idea of lasagna gardening, and want to learn even more, here are a few books that I recommend.
- No Digging, No Tilling, No Weeding, No Kidding!
- Lasagna Gardening for Small Spaces
- Lasagna Gardening with Herbs
More About Garden Soil
Share your tips for using the lasagna gardening method in the comments section below.
Print The Instructions
How To Make A Lasagna Garden
If you plan ahead, you can have a new garden area with lush, rich soil, and start planting it right away – without breaking a sweat. Follow the steps below to build your lasagna garden.
Materials
- Newspaper or heavy cardboard
- Green matter (see list above)
- Brown matter (see list above)
- Water
- Compost (optional)
- Mulch (optional)
Instructions
- Step 1: Mow the area – Start by mowing the existing grass or weeds down as low as you can. If there aren’t any seeds, you can bag the clippings, and save them to use in your layers. If mowing isn’t an option for you, then wait to make your lasagna garden until late fall when everything is dormant.
- Step 2: Lay out the cardboard or newspaper – The first layer should be heavy cardboard or a thick layer of newspapers (6-10 sheets). This will smother the sod and weeds and attract earthworms, which will help turn the layers into a light and fluffy soil. Lay down your cardboard or newsprint sheets right over the top of the grass. Make sure to overlap each section by a few inches so there aren’t any holes.
- Step 3: Wet it down – It’s easier if you wet down the cardboard or newspaper so it stays put while you are adding the other layers (especially on a breezy day!). If necessary, you could use bricks around the edges, or put a layer of compost over the top to hold down the cardboard until the layers are wet and heavy enough to stay in place.
- Step 4: Add the first green layer – Since we started with a brown layer (the cardboard/newspaper), next comes the first green layer. This layer should be 2-3 inches deep. Use items such as garden waste, vegetable food scraps, grass clippings, manure, etc. See the list above for more green layer materials.
- Step 5: Pile on the browns – Next comes another brown layer. This one should be 4-6 inches deep. Pile on materials such as leaves, yard waste, peat moss, and pine needles, for example. See the list above for more ideas.
- Step 6: Add more layers – At a minimum, add one more green and one more brown layer on top, so you have a total of four layers (not including your initial newspaper/cardboard layer). But ideally, you should keep alternating greens and browns until your lasagna garden layers are 6-12 inches deep. You could certainly go higher than that if you want. Some people pile it on until their sheet composting layers are 2-3 feet deep. Don’t worry if it looks too high initially, everything will shrink as the organic materials break down.
- Step 7: Hose everything down – Moisture will activate the natural decomposition process, and attract worms into your lasagna garden. So grab the hose, and thoroughly wet down the layers.
- Step 8: Cover it with compost (optional) – If you want to plant in your new bed right away, then top it off with 3-4 inches of compost. This has the added benefit of hiding the layers of organic materials, making it look nicer and more finished. It also helps keep the layers moist, and prevents the lighter weight materials (like paper or leaves) from blowing away.
- Step 9: Top it off with mulch (optional) – Another optional step is to cover the entire bed with mulch, like straw, pine needles, or shredded leaves. This can double as your final brown layer, and give the bed a more finished look. You can add it whether or not you covered everything with compost in the previous step.
Notes
You don’t need to be super fussy about the exact ratio of brown to green layers. But, if you have a technical mind, then aim for a 2:1 brown to green ratio (for example: use 1 inch of greens for every 2 inches of browns).


Lisa says
I started a bed in mid-October & it’s now late March & I’m not sure it did what it was supposed to do.
I first put down hardware cloth to keep out moles & then put cardboard over that. Then layers of grass clippings, shredded newspaper, kitchen scraps, straw, garden waste, etc. It was probably about 6 inches total & then I put a layer of leaves on top. It’s rained on them all winter (we didn’t have any snow to speak of) & the pile does look somewhat shorter, but the leaves on top look the same. I dug down a little today & there were still some little pieces of newspaper that I could still tell that’s what it was. Did I do something wrong? I”m not sure I’ll be able to plant in this. Do I need to take the leaves off to plant?
Amy Andrychowicz says
It’s common for some of the layers to still be visible in the spring, especially if you have a fairly dry winter. You can either just push the leaves/paper aside and plant in the ground underneath, or add a thick layer of compost over the top and plant in that instead. No need to remove any of the layers, they will break down through the spring/summer.
Nina L. Trainor says
I think the hardware cloth was a mistake. The materials should all be botanical to be able to break down.
Tessa says
Hi there! Do you know if it’s okay to use bay tree bark. We felled a tree and have lots of sod and bark, though I have heard it can be toxic?
Amy Andrychowicz says
As far as I know they are not toxic to other plants.
Lisa Griggs says
How long does it take for the lasagna layers to break down? I’m worried I’ve started too late for it to work?
Amy Andrychowicz says
If you started your lasagna garden in the fall, then the grass will die off over the winter. As long as the layers were thick enough, it should be ready in time for spring planting. But you can start one at any time of the year. Just put a 4-6″ layer of compost over the top, and you can plant in it right away.
Dottie says
How do you keep the layers from getting moldy?
Amy Andrychowicz says
Mold is a normal part of composting, and it’s not a huge concern if you’re starting a new garden bed. However, mold can be a sign that the layers are too wet. If that’s the case, then try adding more browns or less greens to help keep it from getting so soggy.
lorna Rogers says
Can I do lasagna gardening in a partially shaded area? I’m thinking of a long border that edges a wooded area.
Amy Andrychowicz says
Yes, lasagna gardening will work in any type of sun exposure – full shade through full sun.
Nikki says
Okay I am way late to the party on this post, but love this garden layering idea. I have never heard of this technique … I am definitely going to try doing this in my garden that has been overgrown with weeds.
Amy Andrychowicz says
Yes, piling on the layers really does work, and it’s so much easier than constantly digging up all those weeds.
Jasen says
Hi, Just wondering if I’ve put to thick of a layer of lush green (wet)lawn clippings?
First layer was thick cardboard second was a 100mm layer of blended composed cow manure, gypsum and topsoil third shredded paper 4th sugar cane straw then the last 8 inches was the blend of cow manure, gypsum and topsoil.
I’m worried it might struggle for oxygen.
I made a raised bed 300mm high and 1.2m wide and 2.4m long.
Hoping to plant in 3 weeks.
Thanks in advance.
Amy Andrychowicz says
If it’s really wet and soggy and never seems to dry out at all, then I would add more “browns” to the pile, like dead leaves, cardboard, newspaper, or straw. That will help absorb some of the excess moisture from the other ingredients, so the pile can start breaking down into plantable soil. Otherwise, it sounds like you’ve got a great start to your lasagna garden!
Beth says
Yes, I’ve done this, too, and it really works quite well. The plants in these areas seem especially healthy. Thanks for the reminder, I was planning to start another bed this fall!
Amy Andrychowicz says
You’re welcome. Fall is a great time to start a new lasagna gardening bed, have fun!
El Gaucho says
I’ve used this same lasagna method for converting grass area to garden area and it works great. Anything that can reduce the amount of heavy labor is OK in my book.
Amy Andrychowicz says
Yes, I hear that! Lasagna gardening has been a game changer for me, it’s so easy.