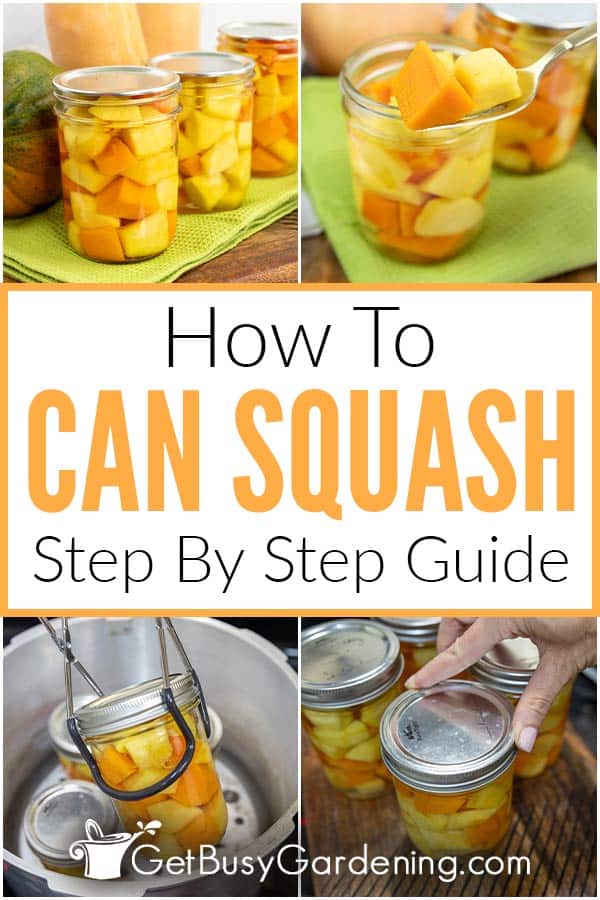
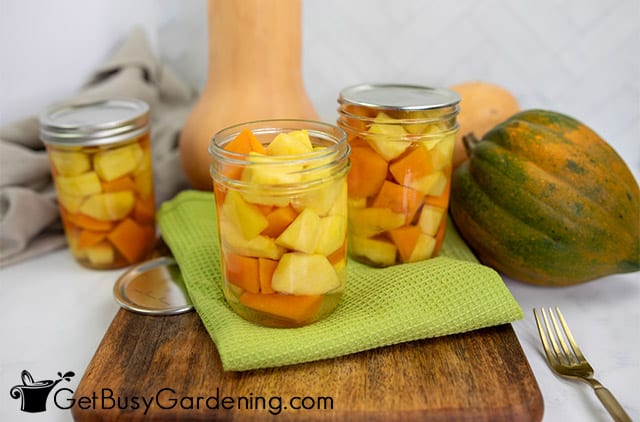
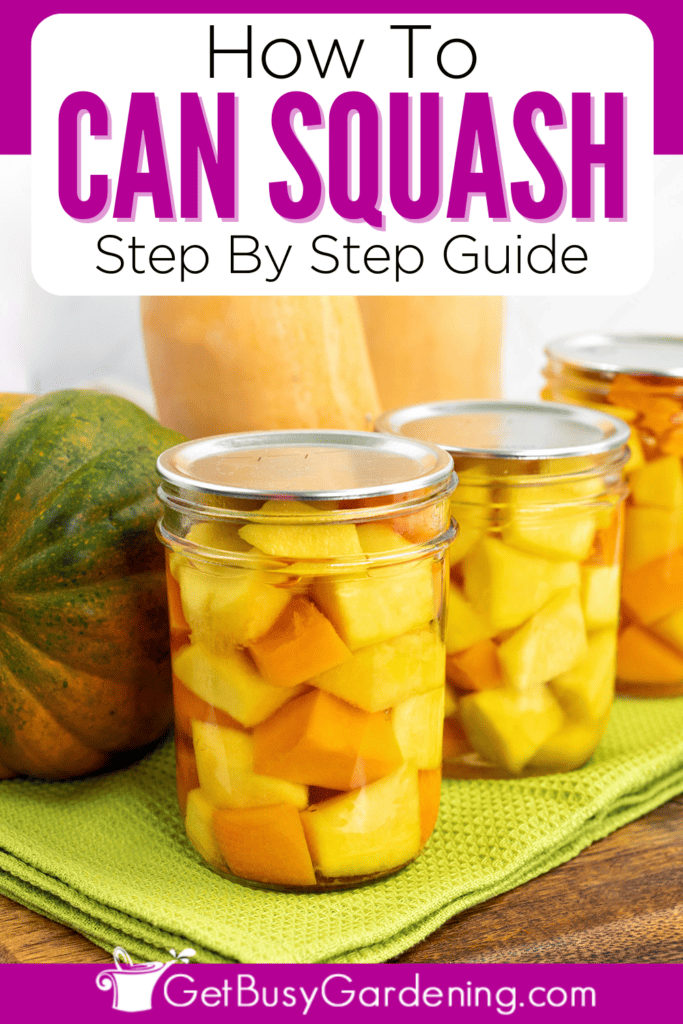
Canning squash is a simple process that allows you to enjoy your homegrown bounty all year round.
Learning how to can squash is a useful skill – no matter if you have extra from your garden, or just find a deal at the grocery store or farmers market.
Canned squash is great to use in any of your favorite recipes, like casseroles and soups, or it makes a quick heat-and-serve side dish to any meal.
In this tutorial, I’ll show you how to do it step by step, including helpful tips and the best safety practices.
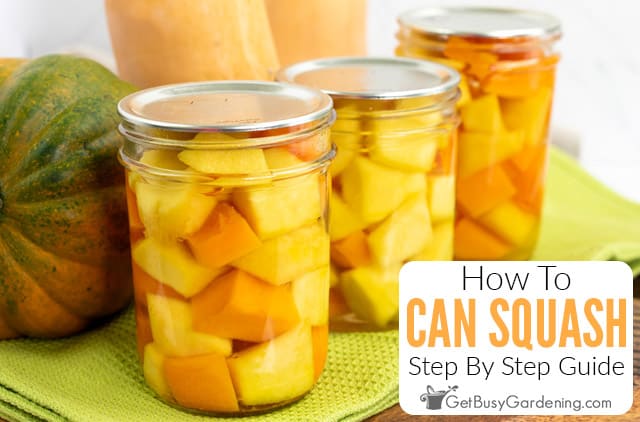
Can Squash Be Safely Canned?
Many types of squash can be safely canned, as long as you follow modern standards and procedures.
Because it is a low-acid food, you must use a pressure canner, as a boiling water bath cannot not get hot enough to kill all of the harmful bacteria.
It’s also important to cube or slice the squash rather than mashing or pureeing it. Otherwise the consistency will be too thick to safely process at home, even with a pressure canner.
However, summer squash (like zucchini, yellow, crookneck, etc) is not safe for home canning. It is an outdated practice, and was deemed unsafe several years ago.
The reason it’s no longer recommended to can summer squash is that it could get mushy during processing. If this happens, the heat can’t evenly penetrate it to effectively kill botulism.
Related Post: How To Grow Winter Squash At Home
Best Types Of Squash For Canning
The best types of squash to use for canning are winter varieties, and the most popular options are butternut, pumpkin, or acorn.
The main exception is spaghetti squash, because it’s too dense to safely process in a home canner.
Preparing Squash For Canning
Preparing your squash for canning is easy. First wash them off, using a vegetable brush to remove any caked on dirt.
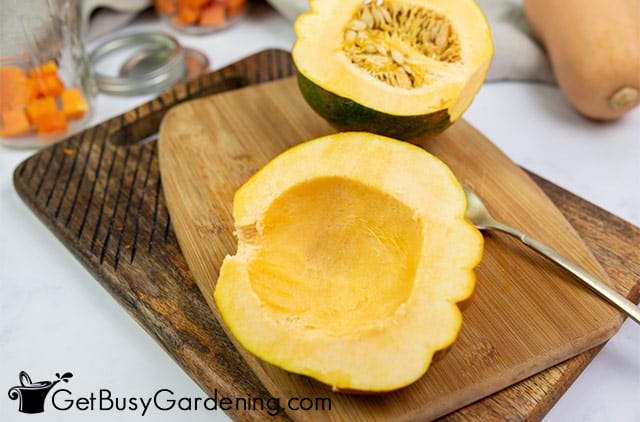
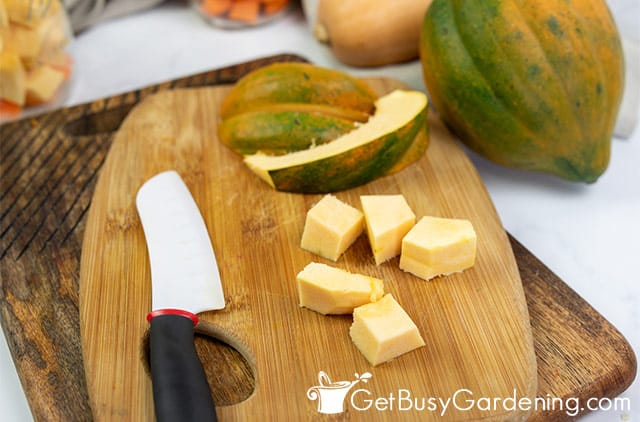
Then cut them in half, scoop out the seeds and guts, and remove the skins. Finally, cut the flesh into 1” or larger cubes or slices.
Related Post: How To Can Pumpkin Step By Step
Methods For Canning Squash
There are two methods you could use to can squash, either hot or raw packing. The one you choose comes down to time constraints and personal preference. Below are the pros and cons for each.
Hot Packing
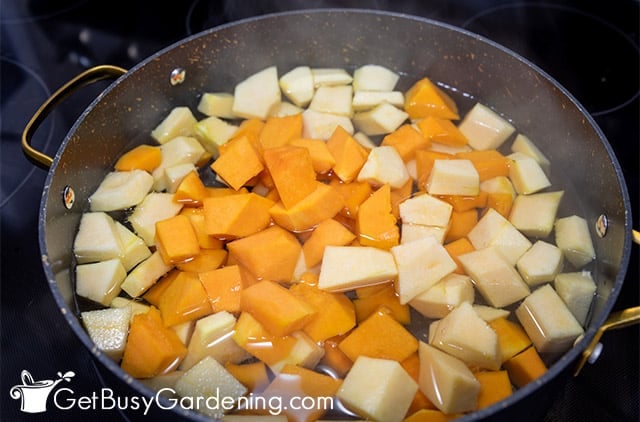
Hot packing means that you blanch the squash pieces in boiling water for 2-3 minutes before canning them.
The benefit is that they tend to hold their color, texture, and flavor better, but the main con is that it requires an extra step, which takes a little more time.
Raw Packing
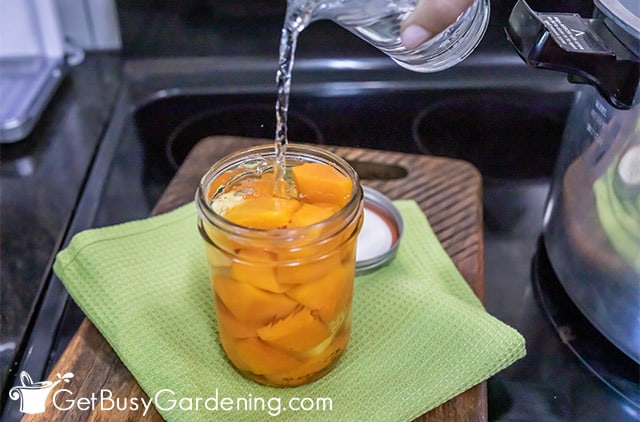
Raw packing is where you place the uncooked pieces into your jars, and then pour boiling water over them.
The benefit to this process is that it’s easier and quicker. The drawback is that sometimes raw packing causes a waterlogged effect, which can degrade the quality.
Pressure Canning Squash
Because squash is non-acidic, you must process your jars in a pressure canner, because a boiling water bath cannot get them hot enough to kill harmful bacteria.
Process the jars at 10 pounds of pressure for 55 minutes for pints and 90 minutes for quarts, adjusting for altitude if you need to.
Then let the jars cool in the canner for another 10 minutes before removing them.
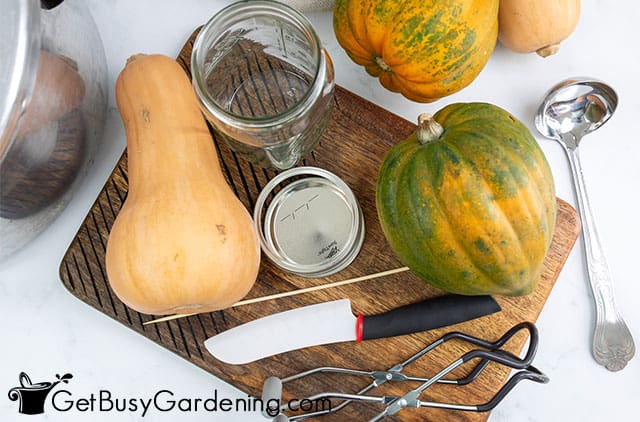
Tools & Equipment Needed
Below is a list of items you’ll need. Gather everything before you start to make the process easier. You can see my full list of tools and supplies here.
- Pressure canner
- Pint canning jars (OR you could use the quart size)
- New jar lids
- Cutting board
- Paring knife
- Large spoon (to scoop out the seeds)
- Slotted spoon
- Ladle
- Bubble remover tool
- Jar lifting tool
- Dissolvable labels
- OR Permanent marker
- Vegetable brush (optional)
- Canning funnel (optional)
How To Store Canned Squash
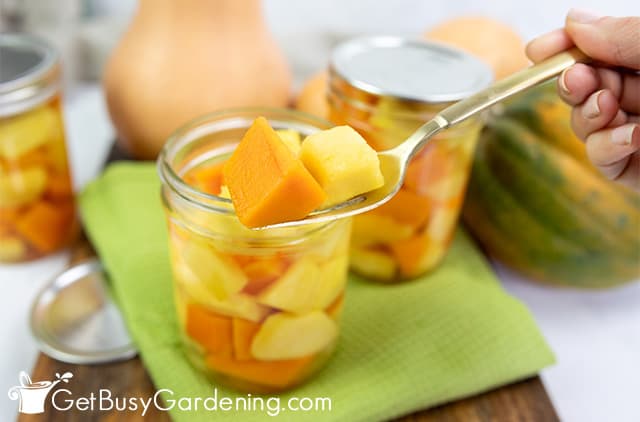
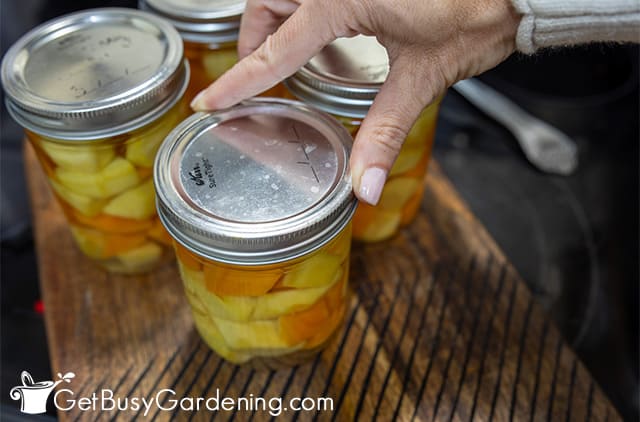
Before storing your canned squash, make sure to check that each lid has a tight seal. You’ll know because they shouldn’t move at all when you press on the center.
If any of your jars did not seal, put those into the fridge and use them up within 4-5 days.
Otherwise, store your canned squash in a cool, dry place away from direct light. A cupboard, pantry, or basement shelf are perfect options for this.
Don’t forget to write the date on each one using dissolvable labels or a permanent marker so you know when they expire.
How Long Does Canned Squash Last?
As long as you store them properly, your jars of canned squash will last for up to 12 months.
Always check the lid on each jar before using it to ensure it is still sealed. Leftovers will last in the fridge for 4-5 days.
Related Post: When & How To Harvest Squash
FAQs
Can squash be canned without a pressure canner?
No, squash cannot be canned without a pressure canner because it is a low-acid food. A boiling water bath will not get it hot enough to destroy any harmful pathogens.
What’s the best way to can squash?
The best way to can squash is to cut it up into 1” pieces or slices, then flash-cook it in boiling water to hot pack the jars, and process them using a pressure canner.
Can you can squash puree?
No, you cannot can squash puree because it’s too dense, which means the heat cannot penetrate it evenly to ensure it’s safe to eat.
Do you have to cook squash before canning?
No, you do not have to cook squash before canning it, you could raw pack it instead. The benefit of cooking it first is that the pieces tend to hold their texture, flavor, and color better than raw.
Can I can raw squash?
Yes, you can can raw squash. The drawback is that it tends to become more waterlogged, so it may not hold its texture, color, or flavor as well as the blanched pieces do.
Why is it not safe to can summer squash?
It’s not safe to can summer squash because it could become mushy during processing. If that happens, it will be too dense for the heat to evenly penetrate and kill any botulism that may be present.
If you’d like to learn how to make the most of your space and get as much homegrown food as possible, then my Vertical Vegetables book is perfect! It will teach you all you need to know, has tons of gorgeous photos, and includes 23 DIY projects you can build for your own garden. Order your copy today!
Learn more about my Vertical Vegetables book here.
More Squash Posts
- How To Grow Summer Squash
- How To Hand Pollinate Squash
- How To Grow Squash Vertically
- How To Build A Squash Arch For Your Garden
More Food Canning Posts
Share your tips for canning squash in the comments section below.
Recipe & Instructions
How To Can Squash
Canning squash is easy and a great way to keep it on hand longer. Use it in your favorite recipes, like soup or casserole, make fresh puree whenever you need it, or enjoy it as a quick heat-and-serve side dish to any meal.
Ingredients
- 4-5 pounds winter squash
- 8 cups of water (for filling the jars)
Instructions
- Prepare the water - Add water to your pressure canner. Then fill a large pot with water for blanching, and another with 8 cups of water for filling your jars. Bring the two pots to a boil on the stove.
- Prepare the squash - Wash your squash, scrubbing with a veggie brush if necessary, and pat them dry. Cut each one in half and use a large spoon to remove seeds and guts. Then slice off the skin and cut the flesh into 1 inch pieces.

- Par-boil - Use a slotted spoon to gently place the cubes into the large pot of boiling water for 2-3 minutes.

- Pack the jars - Pack the hot squash pieces into your canning jars leaving a 1” headspace. Then use a large funnel and ladle to fill the jars with the fresh boiling water, maintaining the 1” headspace.

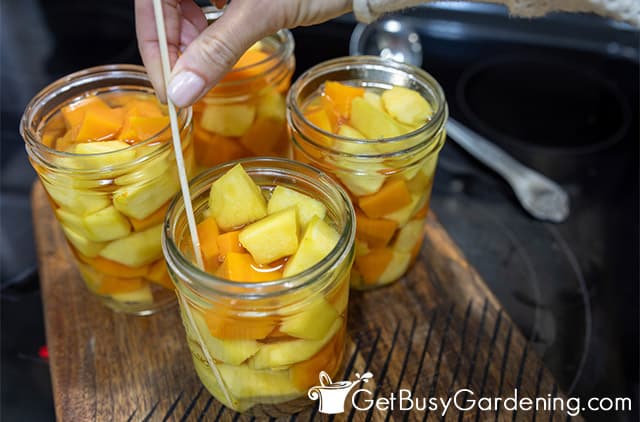
- Remove air bubbles - Use a bubble remover tool and slide it down the inside of the jars to release any stuck air bubbles. Then place a new lid and a ring on each, and fasten it finger-tight.

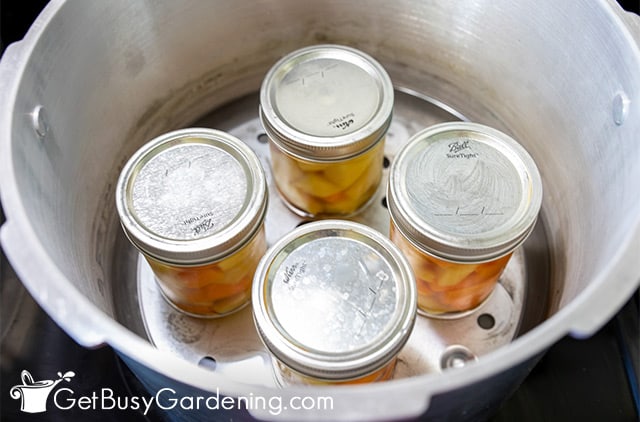
- Process the jars - Carefully place each jar into the canner as you fill them. Then lock the canner lid and turn the burner on high. Allow your canner to vent for 10 minutes, or until it closes automatically. Then bring it to 10 pounds of pressure and process the pint jars for 55 minutes (90 minutes for quarts).

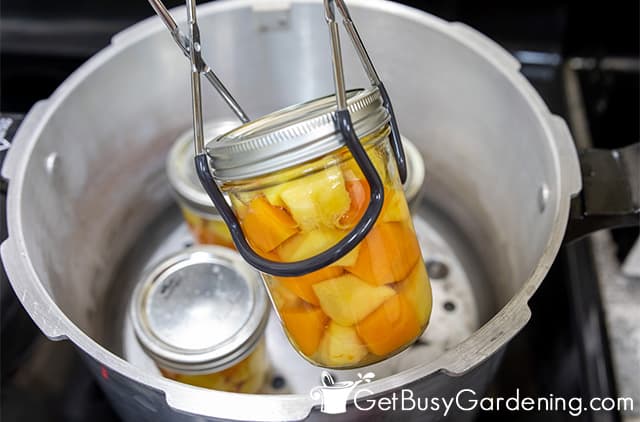
- Remove and cool - Turn off the burner and allow the canner to return to zero pressure before opening the lid. Let the jars cool in the open canner for 10 minutes, then use your jar lifting tool to remove them.

- Label and store - Allow the jars to cool and set for 12- 24 hours, then remove the bands. Be sure to use a permanent marker or dissolvable labels to write the date on the jars before storing them.

Notes
- Because squash is a low acid food, it must be pressure canned. This is the only way to ensure all of the harmful bacteria is destroyed, and that it is safe to eat.
- It’s only safe to home-can sliced or cubed squash pieces. Pureed is too dense for the heat to penetrate and kill all potential botulism spores, even when you use a pressure canner.
- Spaghetti and all summer squash varieties are not safe for home canning, so stick to other winter varieties like pumpkin, acorn, or butternut.
- It's important to keep the jars hot at all times. So plan ahead and boil the processing water before filling them, then place them in there as soon as they are packed.
- Also, be sure to work fairly quickly to pack your jars so they do not cool down before processing them.
- Don't be alarmed if you hear the random pinging sounds as the jars cool, it just means the lids are sealing.
- If you live at an altitude higher than 1,000 feet above sea level, then you'll need to adjust your pressure pounds and processing time. Please see this chart for the proper conversions.
Nutrition Information:
Yield:
8Serving Size:
1 cupAmount Per Serving: Calories: 105Total Fat: 1gSaturated Fat: 0gTrans Fat: 0gUnsaturated Fat: 0gCholesterol: 0mgSodium: 12mgCarbohydrates: 25gFiber: 8gSugar: 9gProtein: 3g





Leave a Reply