Canning corn is a wonderful way to enjoy the summer’s bounty all year round. In this article, I’ll show you exactly how to do it in a few easy steps.
If you have an overabundance of corn from your garden, or find a great deal at the grocery store or farmer’s market, canning it is one of the best ways to preserve it before it goes bad.
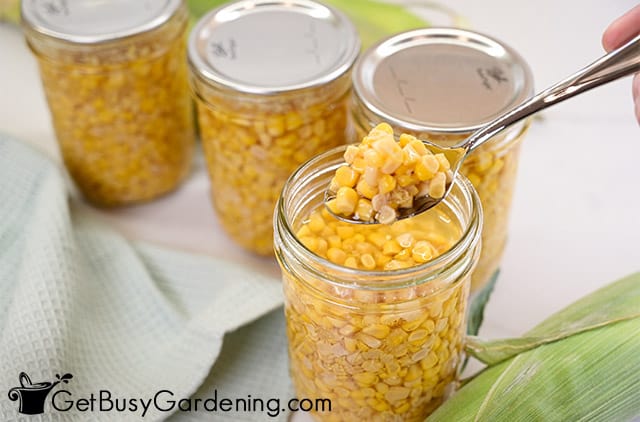
Canned corn is not only easy and convenient to use in your favorite recipes throughout the year, it makes for a classic and delicious side dish to any meal.
Follow along below as I show you all you need to know about how to can corn, including tons of helpful tips for success.
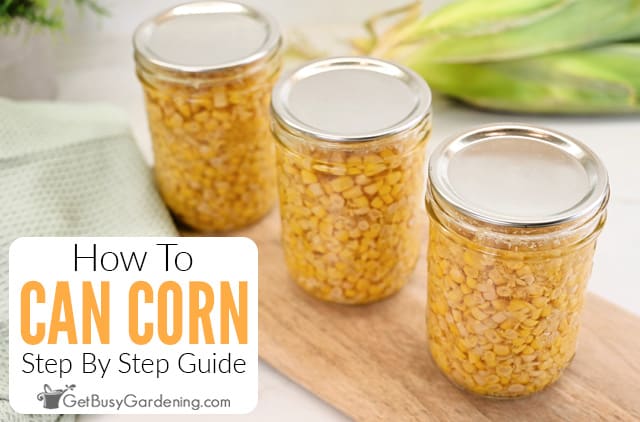
Best Types Of Corn For Canning
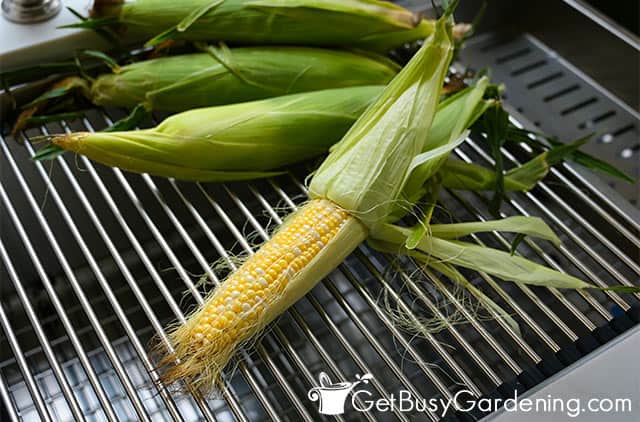
The best corn to use for canning are ears that are fresh, crisp, and brightly colored. The kernels should be plump and full.
Some good varieties include Bodacious and Incredible for their extra sweetness, and bicolor ones like Temptation, Delectable, or Providence.
You could even use white varieties like Silver King, Silver Princess, or Whiteout if you want.
Preparing Corn For Canning
Preparing your corn for canning is simple. First shuck the cobs and discard the husks.
Rinse them off to remove any remaining silk, gently scrubbing with a vegetable brush if necessary.
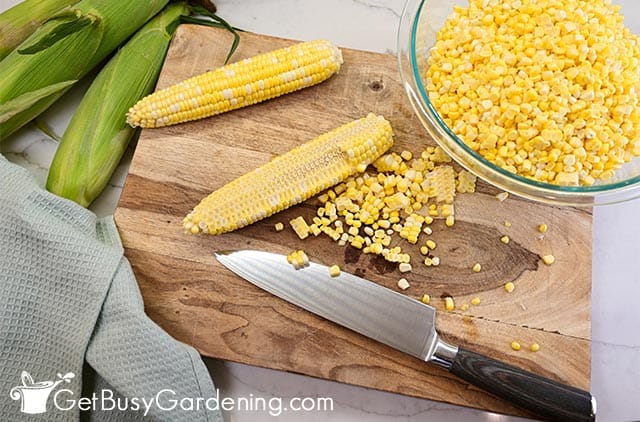
Then use a sharp knife to cut the kernels off the cob. A corn peeler or stripping tool can make this job faster and easier.
Also be sure to wash and sterilize your jars and keep them hot until you’re ready to pack them.
How To Keep Corn From Turning Brown When Canning
Corn turns brown while canning when the heat caramelizes the natural sugars, but you can prevent it from happening.
But don’t worry, if some of yours turn brown, although it’s not pretty, it’s safe to eat and generally tastes just fine.
Here are a few ways to prevent corn from turning brown when canning:
- Make sure the ears are room temperature before starting, which allows the sugar to convert to starch.
- Always use mature/ripe corn.
- Watch the heat, and only process the jars as long as you need to.
Methods For Canning Corn
There are two methods you can use to fill your jars of corn for canning, either hot or raw packing.
The one you choose usually comes down to personal preference. Below I’ll talk about the pros and cons of each.
Hot Packing
Hot packing is when you flash-cook the corn for 2 minutes in boiling water before placing it in the jars.
This can help to preserve the color, texture, and flavor better. The only drawback is the extra step and time it takes.
Raw Packing
Raw packing is when you fill your jars with uncooked corn kernels. The benefit of this method is that it’s easy and quick to do.
The drawback is that the kernels tend to float, which can make it harder to pack the jars. They can also lose some of their color and flavor, and tend to be a bit softer.
Related Post: How To Freeze Corn On Or Off The Cob
Pressure Canning Canned Corn
Since corn is a low-acidic food, you must use a pressure canner to process the jars.
A boiling water bath cannot get hot enough to kill all of the harmful pathogens, and is not safe to use for canning corn.
Once your pressure canner is primed, process the jars for 55 minutes at 11 PSI on a dial gauge, or 10 PSI for a weighted gauge, (adjust for altitude if necessary).
Tools & Equipment Needed
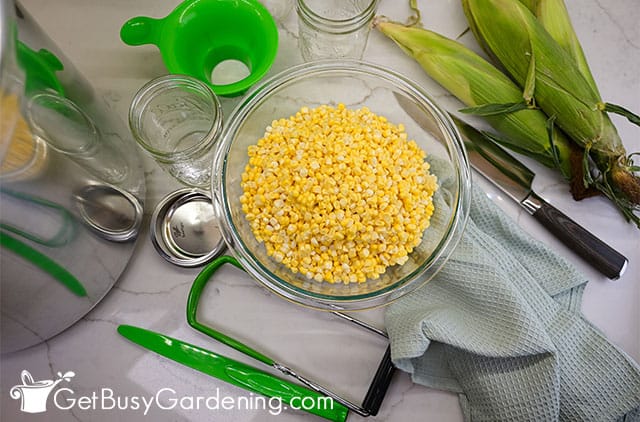
Below is a list of items you’ll need. Gather everything before you start to make the process easier. You can see my full list of tools and supplies here.
- Pressure canner
- Pint canning jars
- OR Quart sized jars
- New jar lids
- Paring knife
- Cutting board
- Canning funnel
- Ladle
- Measuring cups
- Large saucepan
- Bubble remover tool
- Jar lifting tool
- Dissolvable labels
- OR Permanent marker
- Corn peeler OR stripping tool (optional)
- Vegetable brush (optional)
How To Store Canned Corn
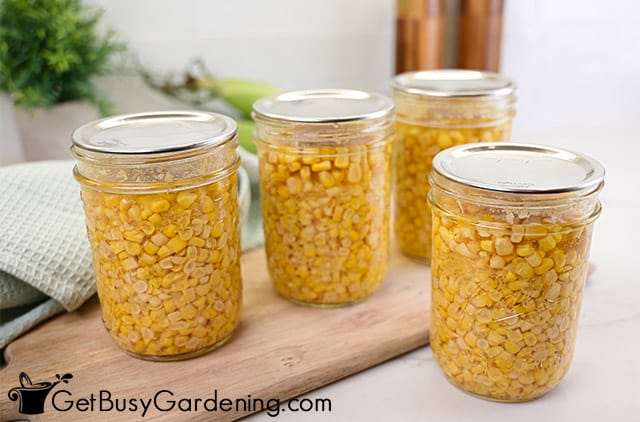
It’s important to store your canned corn in a cool, dry, and dark place, like a pantry or cupboard.
Before storing the jars, check each lid to make sure it has a tight seal. If any of them didn’t seal, put those jars into the fridge and use them within a week.
Also, write the date and name on each using dissolvable labels or a permanent marker so you know when they’ll expire.
How Long Does Canned Corn Last?
Canned corn has a shelf life of about one year, if stored correctly. Always check that the lids are still tightly sealed before using them.
Once you open the jars, keep them in your refrigerator and eat them within 3-4 days.
FAQs
Below I have answered some of the most common questions about canning corn.
Can you can corn without a pressure canner?
No, you cannot safely can corn without a pressure canner, due to its low acidity. A boiling water bath will not get hot enough to kill harmful pathogens, like botulism.
Can I add sugar when canning corn?
You can add sugar when canning corn to enhance the flavor, although it is not required. If you’d like to, you can add ½ teaspoon per pint jar.
What is the best method for canning corn?
The best method for canning corn is to either raw or hot pack the jars, then use a pressure canner to process them.
Can fresh corn be canned?
Yes, fresh corn can be canned – in fact it’s ideal. Straight out of the garden is best, but you can use fresh cobs from the farmer’s market or grocery store instead.
Do you have to cook corn before canning?
No, you do not have to cook corn before canning it, you can simply pack the jars with raw kernels.
Can you can frozen corn?
Yes, you can can frozen corn, but be sure to thaw it to room temperature first, or it could turn brown.
Can I can corn on cob?
No, you cannot can corn on the cob because the cob is too dense for the heat to evenly penetrate. The best and safest method is to remove the kernels and discard the cob before canning.
If you’d like to learn how to make the most of your space and get as much homegrown food as possible, then my Vertical Vegetables book is perfect! It will teach you all you need to know, has tons of gorgeous photos, and includes 23 DIY projects you can build for your own garden. Order your copy today!
Learn more about my Vertical Vegetables book here.
More Food Canning Posts
Share your tips for canning corn in the comments section below.
Recipe & Instructions
How To Can Corn
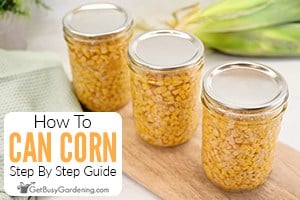
Canning corn is a great way to enjoy the garden-fresh flavor all year round. Use it in your favorite recipes, or as a quick and easy heat-and-serve side dish to any meal.
Ingredients
- 8-12 ears of corn
- 6 cups of water
Instructions
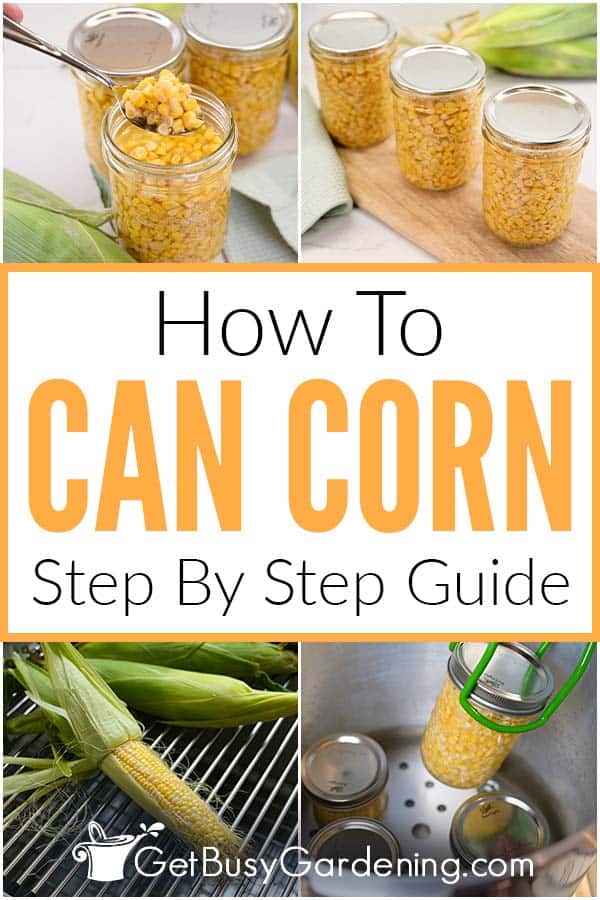
- Prepare the canner - Position the rack in the bottom of your pressure canner, then fill it with 2-3” of water, or per the user manual. Different models may vary. Then bring 6 cups of water to a boil in a separate pot.
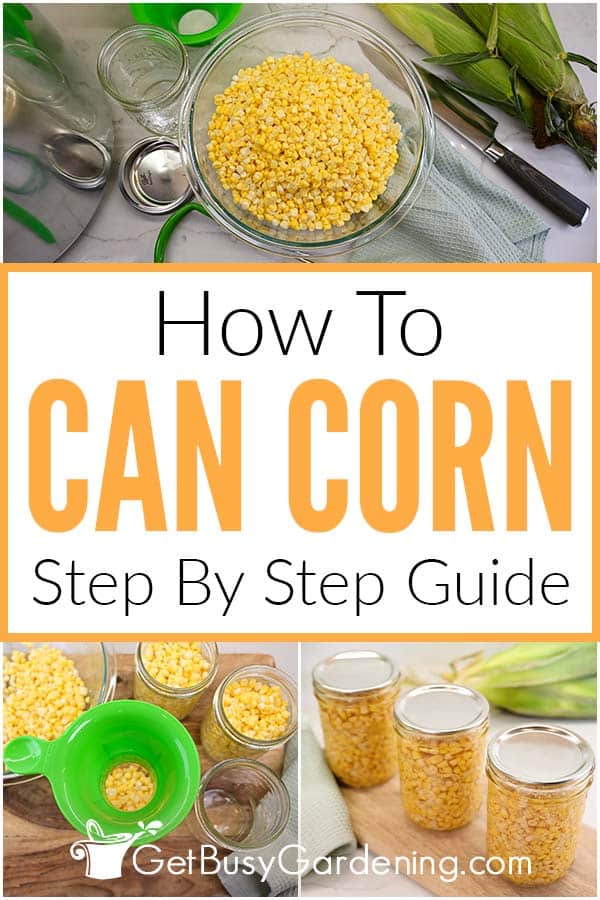
- Prepare the corn - Remove the husks and rinse your corn, scrubbing gently with a veggie brush if necessary to remove all of the silk. Then use a knife, corn peeler, or stripping tool to cut the kernels off the cobs.

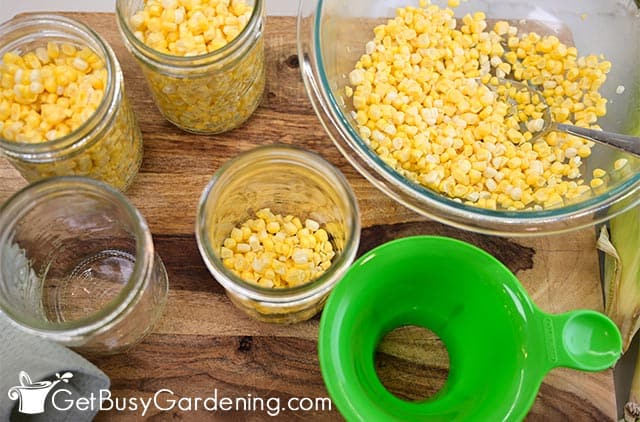
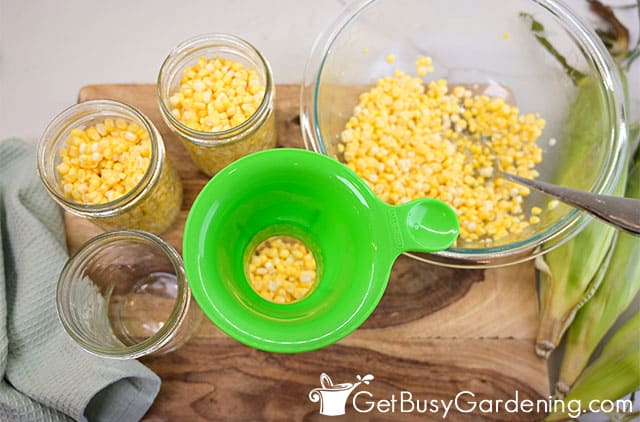
- Pack the jars - Fill each canning jar with kernels, taking care to pack them loosely, and leaving a 1" headspace on top. Use your large funnel and a ladle to pour boiling water over the corn to fill each jar, maintaining the 1” headspace.

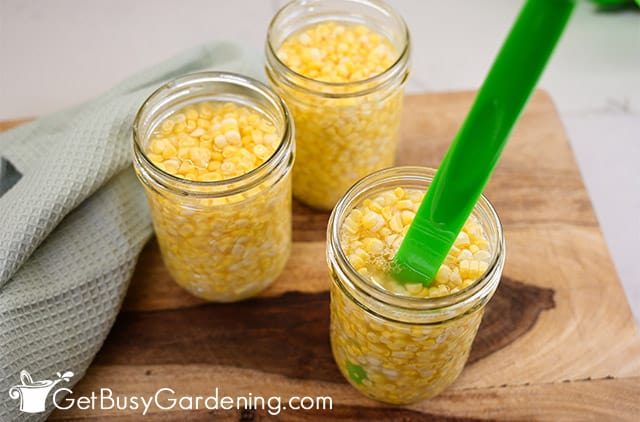
- Remove air bubbles - Use a bubble popping tool or wooden skewer to remove any large air bubbles from the jar. Then place a new lid on top followed by a band, and secure them finger tight.

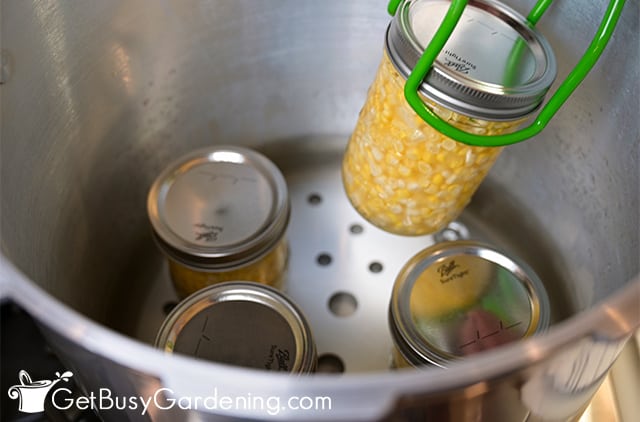
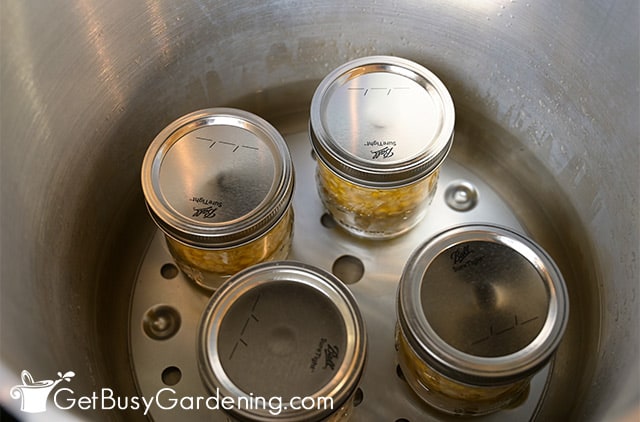
- Put the jars into the canner - Use your lifting tool to carefully place each jar into the canner right after you fill them so they don't have a chance to cool down. Once all of the jars are inside, place the lid on your pressure canner, lock it in place, and bring it to a boil on high heat.

- Process the jars - Let the canner vent for 10 minutes before closing it (or until the vent closes automatically, depending on your canner). Continue heating to reach 11 PSI for a dial gauge, and 10 PSI for a weighted gauge (adjusting for altitude if necessary, see notes). Then process the jars for 55 minutes.

- Remove the jars - Turn off the heat and allow the canner to cool completely before opening it and removing the jars. This can take 10-20 minutes.

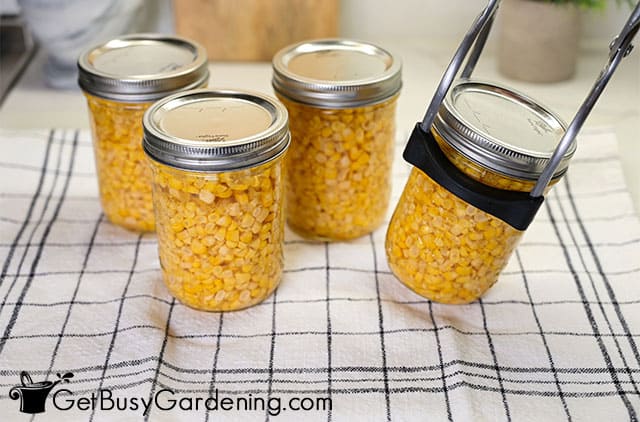
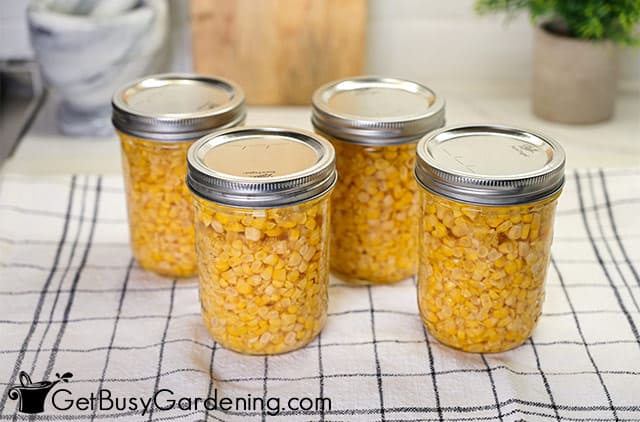
- Cool and label - Let the jars sit on the counter until they reach room temperature, then remove the bands. Be sure to either write the date on the lids with a permanent marker, or use dissolvable labels. Then store them in a cool, dark place.

Notes
- Because corn is a low acid food, it must be pressure canned. This is the only way to ensure all bacteria is destroyed, and that it is safe to eat.
- Avoid packing your jars too tightly, as this can affect the crispness of your corn.
- It's important to keep the jars hot at all times. So plan ahead and boil the processing water before filling them, then place them in there as soon as they are packed.
- Also, be sure to work fairly quickly to pack your jars so they do not cool down before processing them.
- Don't be alarmed if you hear the random pinging sounds as the jars cool, it just means the lids are sealing.
- If you live at an altitude higher than 1,000 feet above sea level, then you'll need to adjust your pressure pounds and processing time. Please see this chart for the proper conversions



Leave a Reply