
This DIY pea trellis arch is easy to build, and only requires a few tools. Follow these step-by-step instructions for building a homemade pea trellis in your garden.

![]()
Growing peas vertically is a great way to save space in the garden, and it’s a fun way to try your hand at vertical vegetable gardening.
If you love growing vertically as much as I do, then you’re always looking for fun new trellis ideas for climbing plants.
Staking peas is common practice, but I always like to step things up a notch and use unique garden plant supports whenever I can. I came up with this easy pea trellis design because I wanted to try a different way to trellis my peas.
The best part about this metal and wire arch trellis is that it’s strong enough to support heavier vining crops such as cucumbers or mini melons as well – which will make crop rotation super easy.
Climbing Peas Varieties
If you want to try growing your peas on a trellis, it’s important to understand that there are two different types of pea plants, climbing peas and bush peas.
Bush peas will stay compact, and won’t grow vines to climb a trellis like climbing peas will. So always check the seed packet to make sure you’re buying climbing peas and not bush peas.
A few of my favorite climbing peas varieties are Oregon Giant, Sugar Daddy, and Tendersweet.
Benefits Of The Pea Arch Trellis Design
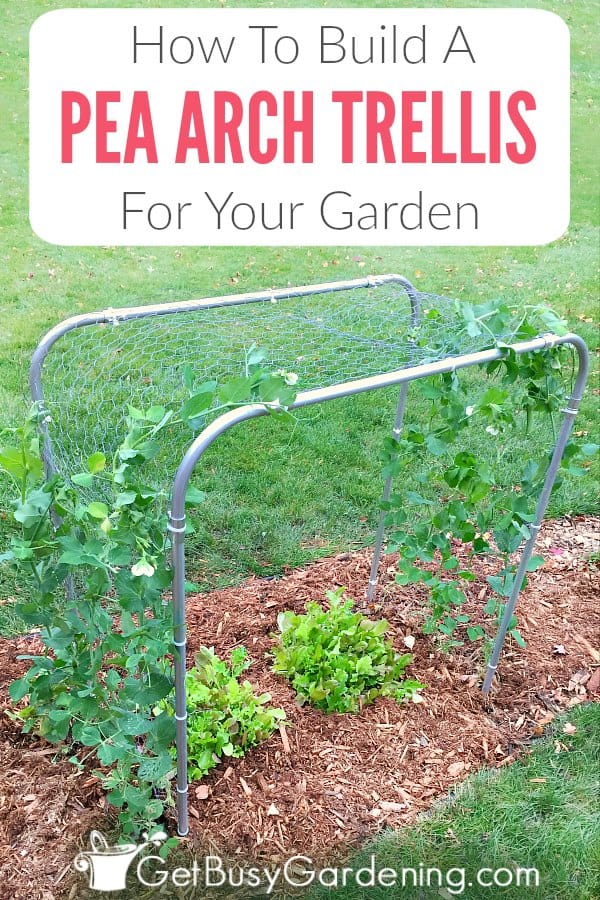
Using an arch top trellis for peas in the vegetable garden is not only beautiful, it also doubles your growing space.
Grow garden peas on the outside of the arch, and smaller crops like salad greens or herbs underneath. The heat sensitive crops will appreciate the extra protection from the hot sun.
The arch design also makes harvesting easier since the peas will hang down from the trellis, making them easy to spot and pluck from the vine.
Using an arched trellis for peas also allows for better airflow around the plants, which helps to prevent mildew and disease problems.
Related Post: How To Can Peas: Easy, Safe Recipe
How To Build A Pea Trellis Arch
This DIY trellis arch is made out of metal pipes, which means it’s extremely durable and will last for years. I chose to use EMT conduit pipes (which an be found at any home improvement store) because they are lightweight and inexpensive to buy.
Here’s what you’ll need to build your own trellis for peas…
Supplies Needed:
- 2-foot tall chicken wire fencing (also called poultry netting) *
- Two 10-foot 1/2-inch EMT conduit pipes
- Four 1/2-inch EMT conduit pipe elbows
- Eight 1/2-inch EMT set screw couplings
- 8-inch cable ties (20) or wire twist ties
- Metal pipe cutter **
- Wire cutters
- Screwdriver
- Tape measure
- Work gloves (to wear whenever you’re handling the chicken wire)
*If you don’t like the idea of using chicken wire netting for peas, you could use nylon plant support netting instead.
**Don’t be intimidated by the fact that you need a pipe cutter. If you’ve never worked with a pipe cutter before, they are extremely easy to use.

Supplies for building a pea trellis arch
Step 1: Measure and cut the pipe for trellis frame – Measure the lengths of pipe, then use the metal pipe cutter to cut the pieces. Each pipe should be cut three times: two 4-foot lengths (frame legs), and one 2-foot length (arch frame top).

Measure and cut pipe for trellis frame
Step 2: Assemble the pea arch trellis frame – Lay the pipes for one side of the arch frame flat on the ground making a U shape out of the three pipes and two of the EMT elbows. Use two 4-foot pipes for the legs, and one 2-foot pipe for the top. Loosely assemble the frame with the screw couplings.

Assemble the metal trellis arch frame
Step 3: Tighten the couplings to secure the frame – Use a screwdriver to tighten each of the screw couplings until the frame is secure. Repeat steps 2-3 to assemble the other half of the metal arch trellis frame using the remaining three pipes and two elbows.

Tighten couplings to secure metal arch trellis frame
Step 4: Install your pea arch trellis into the garden – Drive one half of the frame into the ground, ensuring it is level across the top of the frame. Position the second half of the frame so that it is parallel to the first, spacing the arch frame pieces 2-feet apart. Then drive the second half of the frame into the ground to the same depth as the first, ensuring it is level across the top as well.

Install pea arch trellis in the garden
Step 5: Secure the fencing onto the frame using cable ties – Starting at the bottom of one end of the arch frame, unroll the chicken wire netting and loosely lay it over the top of the arch. Use cable zip ties to attach the chicken wire netting to the frame along the entire length of the arch.
Once the pea trellis netting is attached to the frame, use wire cutters to cut off the excess netting so it’s level with the ground at the bottom of the arch. You can also use the wire cutters to clip the extra tabs off the zip ties if desired.

Secure the pea netting onto the frame
How To Plant Peas On Your DIY Arch Trellis
Plant peas on both sides of the arch so that they will eventually meet over the top of the trellis. You can plant your peas either on the inside or on the outside of the arch, or stagger them. It doesn’t matter because either way they will climb it.
This easy trellis for peas is a quick project, but if making a pea trellis isn’t your thing, you can buy some pretty cool pea supports instead.
Try an expandable pea plant trellis, a lean-to style climbing peas support, or a fun tower trellis. Or you could use bamboo stakes to create a teepee for your peas, or simply use them for staking pea plants the old fashioned way.
Once you’re done building your garden pea trellis, next you’ll want to learn how to trellis peas.

Want even more vertical gardening information and step-by-step projects? Then my brand new book, Vertical Vegetables: Simple Projects That Deliver More Yield In Less Space is just what you need! It has nearly two dozen step-by-step projects for building gorgeous vertical gardening structures, and everything you need to take your vegetable garden to new heights (with vertical gardening!). Order your copy now!
Learn more about my new Vertical Vegetables gardening book here.
More DIY Garden Projects
- How To Make A Cattle Panel Trellis Arch
- How To Build A Squash Arch For Your Garden
- How To Make A Simple DIY Trellis Arch
- How To Make A Cheap DIY Compost Bin
- How To Make Sturdy DIY Tomato Cages
Share your pea trellis ideas and tips in the comments section below.
![]()

Cathie Bourne says
Hi Amy, I love the idea of this trellis and am getting ready to build it. I am wondering how tall you have found is best for this setup, and if the height discourages squirrels from eating the produce. And what other veggies have you found this trellis practical for? Thank you in advance.
Cathie
Amy Andrychowicz says
The legs are 4′ long, but I recommend driving them at least 1′ into the ground. So the tallest you could go on this design would be 3′. I don’t think it would discourage squirrels from eating your produce, but I haven’t had problems with them on my trellises before, so I can’t say for sure. It’s a pretty heavy-duty arch, so you could support just about any veggies on it, including beans, cucumbers, tomatoes, cucamelons…etc. Just keep in mind the small size when choosing your crops, because super long/large vines will overwhelm it. If you want something taller for those, check out my squash arch.
Sue Couch says
Hi Amy, this DIY trellis project is absolutely brilliant! So easy, user friendly, adaptable! I’ve sent it to my gardening daughters as a project for them and their teenage kids. I, too, am a very keen gardener. I’m so glad I stumbled across your blog.
Amy Andrychowicz says
Wonderful to hear that you love my pea trellis! 🙂 Enjoy!